

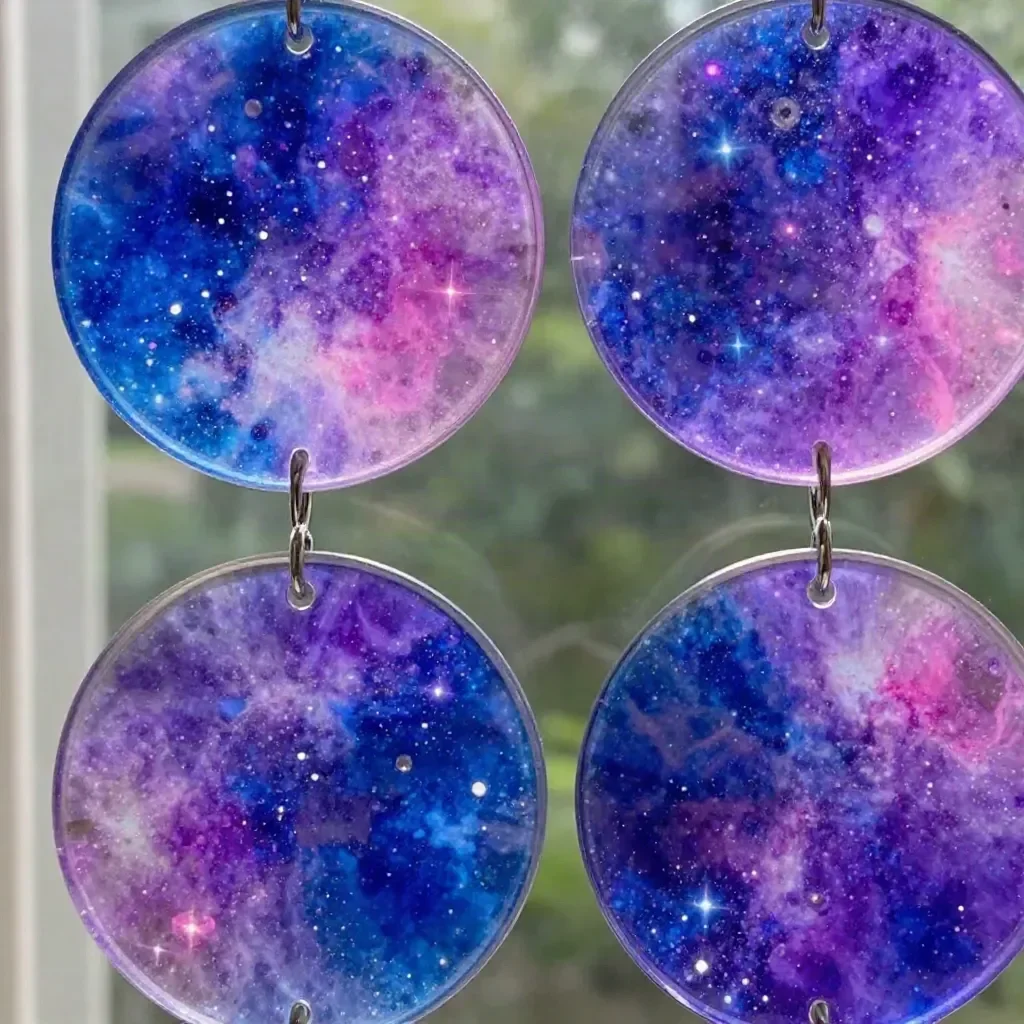
Galaxy Bubble Glue Suncatchers
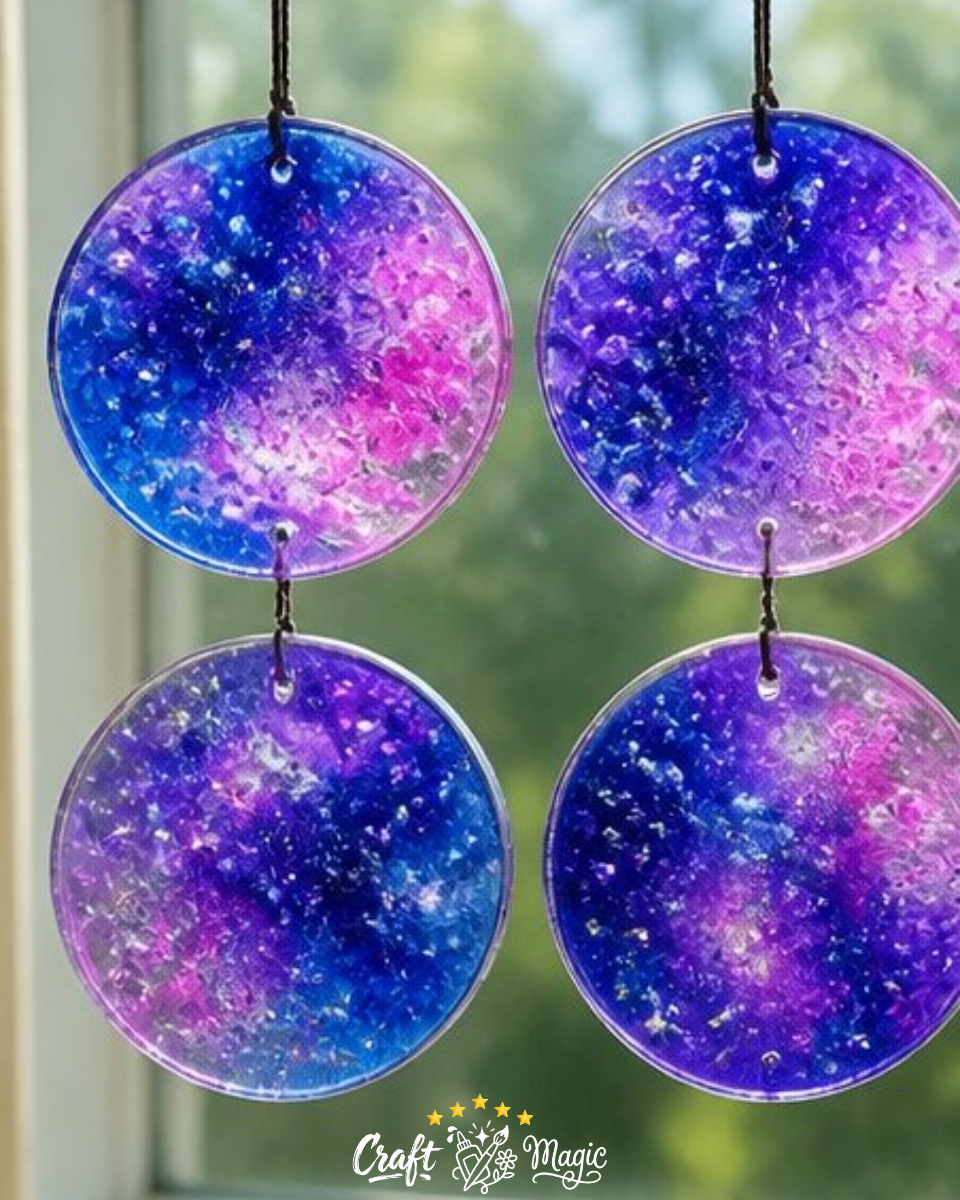
Create stunning Galaxy Bubble Glue Suncatchers that bring a touch of whimsy and color to your windowpanes. This craft is perfect for families looking to engage in a fun and creative activity together. The mesmerizing swirls of dark blue, purple, and pink alongside a sprinkle of glitter will surely catch the light in a beautiful way, transforming simple materials into eye-catching decorations. Plus, the process is straightforward and satisfying, making it accessible for crafters of all ages. If you’re looking for more colorful projects, consider checking out this delightful unicorn suncatcher.
Materials You’ll Need
To get started on your Galaxy Bubble Glue Suncatchers, gather the following materials: You may also find Rainbow Unicorn Haunted House Decor useful.
- Clear glue
- Dark blue liquid watercolor
- Purple liquid watercolor
- Pink liquid watercolor
- Tiny silver glitter
- Clear plastic lids
- Toothpick
Step-by-Step Instructions
Follow these simple instructions to create your suncatchers:
Prepare Your Work Area: Start by laying down newspaper or a plastic sheet to catch any spills. Ensure that your workspace is well-lit and organized.
Pour the Glue: Begin by pouring clear glue into each of the plastic lids. Aim for about a quarter-inch deep, as this will create the base for your colors.
Add the Colors: Using the liquid watercolors, add drops of dark blue, purple, and pink to the lids, spacing them out to maintain distinct areas of color.
Sprinkle Glitter: Sprinkle a little of the tiny silver glitter over the wet glue and colors. This step will add a dazzling effect to your suncatchers.
Swirl the Colors: Take a toothpick and gently swirl the colors a few times in each lid. Be careful not to mix them entirely keeping the colors distinct will enhance the galaxy effect.
Drying Time: Allow the suncatchers to dry completely. It usually takes 24 hours for them to fully set, so be patient!
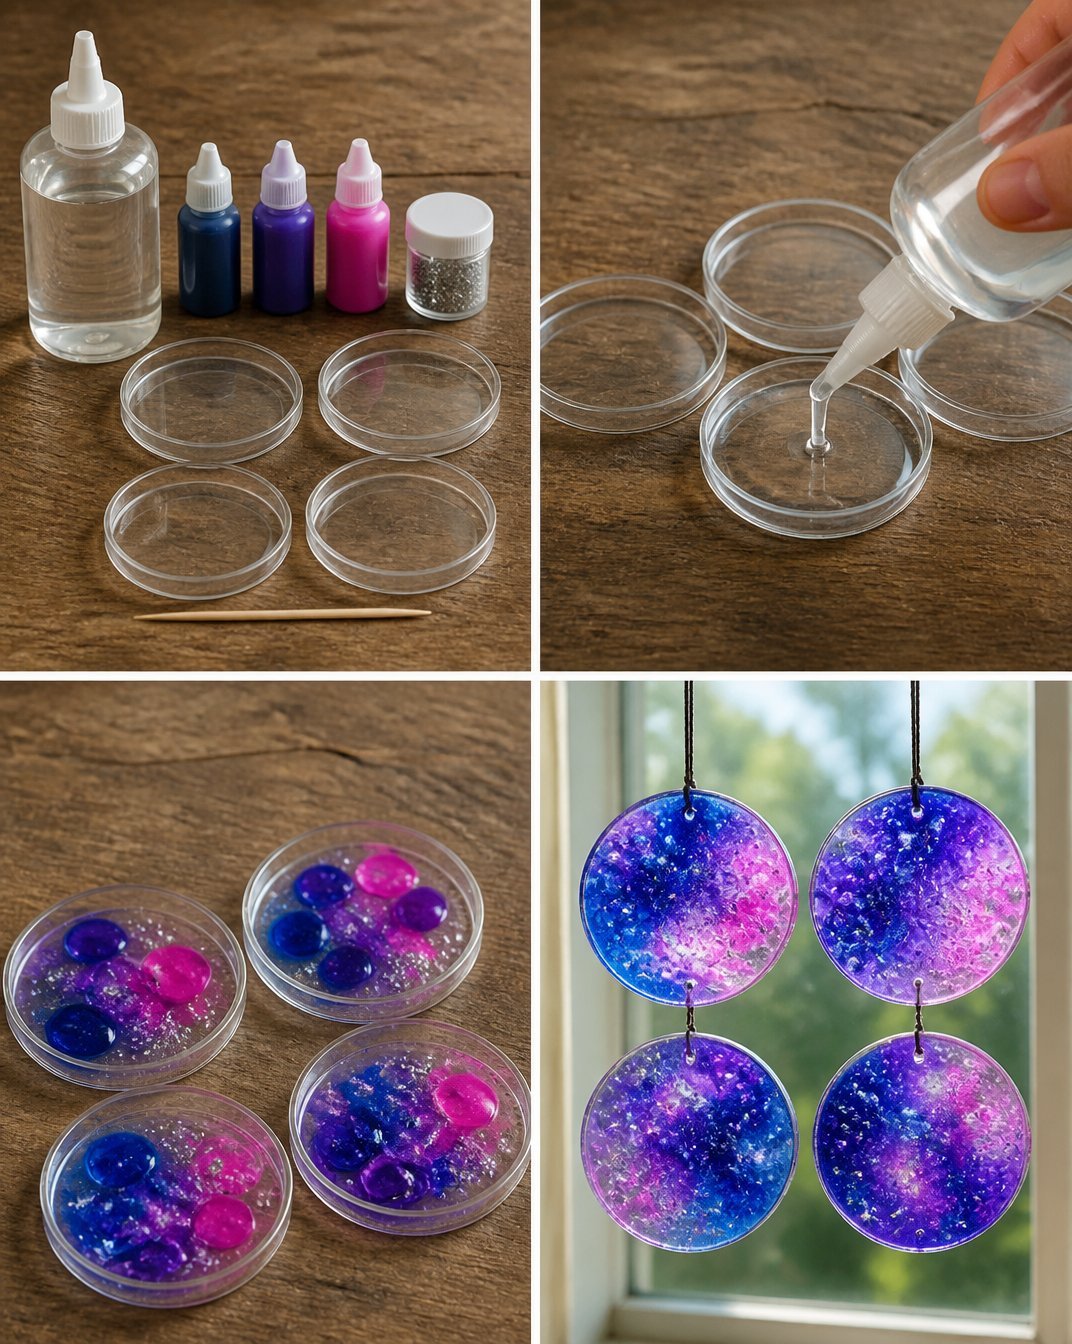
- Remove the Suncatchers: Once dry, gently peel the suncatchers out of the plastic lids. They should pop out easily, revealing your beautiful creations.
Display Ideas
Once your Galaxy Bubble Glue Suncatchers are ready, display them in windows where they can catch the sunlight. Consider hanging them with fishing line or string for a floating effect. You can also create a whole galaxy theme in your space by pairing them with other crafts such as the Rainbow Panda Fall Leaf Friends for a colorful display.
Common Mistakes to Avoid
Too Much Mixing of Colors: While it’s tempting to swirl the colors a lot, excessive mixing can lead to muddy hues. Aim for soft swirls that maintain the integrity of each color.
Using Too Much Glitter: A little goes a long way! Adding too much glitter can clutter the visual experience rather than enhance it.
Peeled Before Drying: Make sure your suncatchers are completely dry before peeling them out of the lids to avoid tearing or losing their shape.
Crafting With Kids
This craft is a wonderful opportunity to engage children in art and creativity! Be sure to supervise them, especially with the liquid watercolors, as they can stain. Encourage them to explore different patterns and color combinations, making each suncatcher a unique piece of art.
Variations
To customize your Galaxy Bubble Glue Suncatchers, consider these variations:
Seasonal Colors: Change the color palette based on the season use red, orange, and yellow for fall; or pastel colors for spring.
Different Shapes: Instead of using lids, try other molds like cookie cutters or silicone molds for different shapes.
Layering: After the first layer is dry, add a second layer of glue and more colors for added depth.
FAQ
How long do the suncatchers last?
With proper care, your Galaxy Bubble Glue Suncatchers can last for months or even years, depending on your environment.
Can I use different colors of glue?
Absolutely! Experimenting with different glue colors can yield even more vibrant suncatchers.
What should I do if it doesn’t peel off easily?
If your suncatcher doesn’t come out easily, let it sit longer to ensure it’s fully dry. You can also gently pry around the edges with the toothpick for a little help.
Conclusion
Crafting Galaxy Bubble Glue Suncatchers is not just a project, but an invitation to explore your creativity. Whether using vibrant watercolors or mixing in glitter, each piece turns into a stunning decoration. For more colorful DIY ideas, visit the Colorful DIY Glue Suncatcher Craft – Mombrite. Enjoy the process and delight in the beautiful results!
Print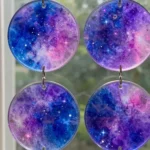
Galaxy Bubble Glue Suncatchers
- Total Time: 1455 minutes
- Makes: 4 suncatchers
Description
Create stunning Galaxy Bubble Glue Suncatchers with dark blue, purple, and pink swirls, accented with glitter, perfect for a fun craft activity.
Materials
- Clear glue
- Dark blue liquid watercolor
- Purple liquid watercolor
- Pink liquid watercolor
- Tiny silver glitter
- Clear plastic lids
- Toothpick
Instructions
- Prepare your work area: Start by laying down newspaper or a plastic sheet to catch any spills.
- Pour the glue: Begin by pouring clear glue into each of the plastic lids about a quarter-inch deep.
- Add the colors: Using liquid watercolors, add drops of dark blue, purple, and pink to maintain distinct areas of color.
- Sprinkle glitter: Sprinkle tiny silver glitter over the wet glue and colors for a dazzling effect.
- Swirl the colors: Use a toothpick to gently swirl the colors a few times in each lid to enhance the galaxy effect.
- Drying time: Allow the suncatchers to dry completely for about 24 hours.
- Remove the suncatchers: Once dry, gently peel them out of the plastic lids to reveal your beautiful creations.
Notes
Avoid excessive mixing of colors and using too much glitter to ensure a clean visual effect.