

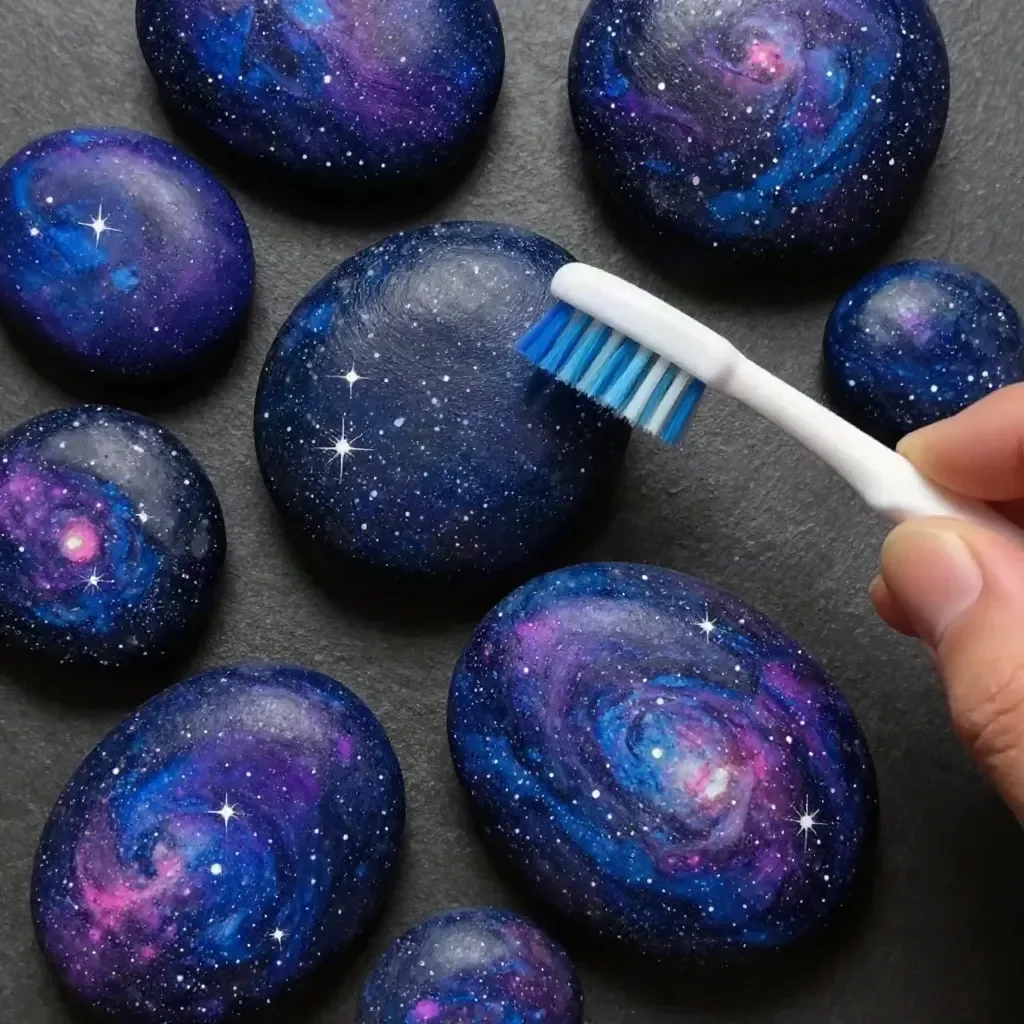
Galaxy Painted Pebbles
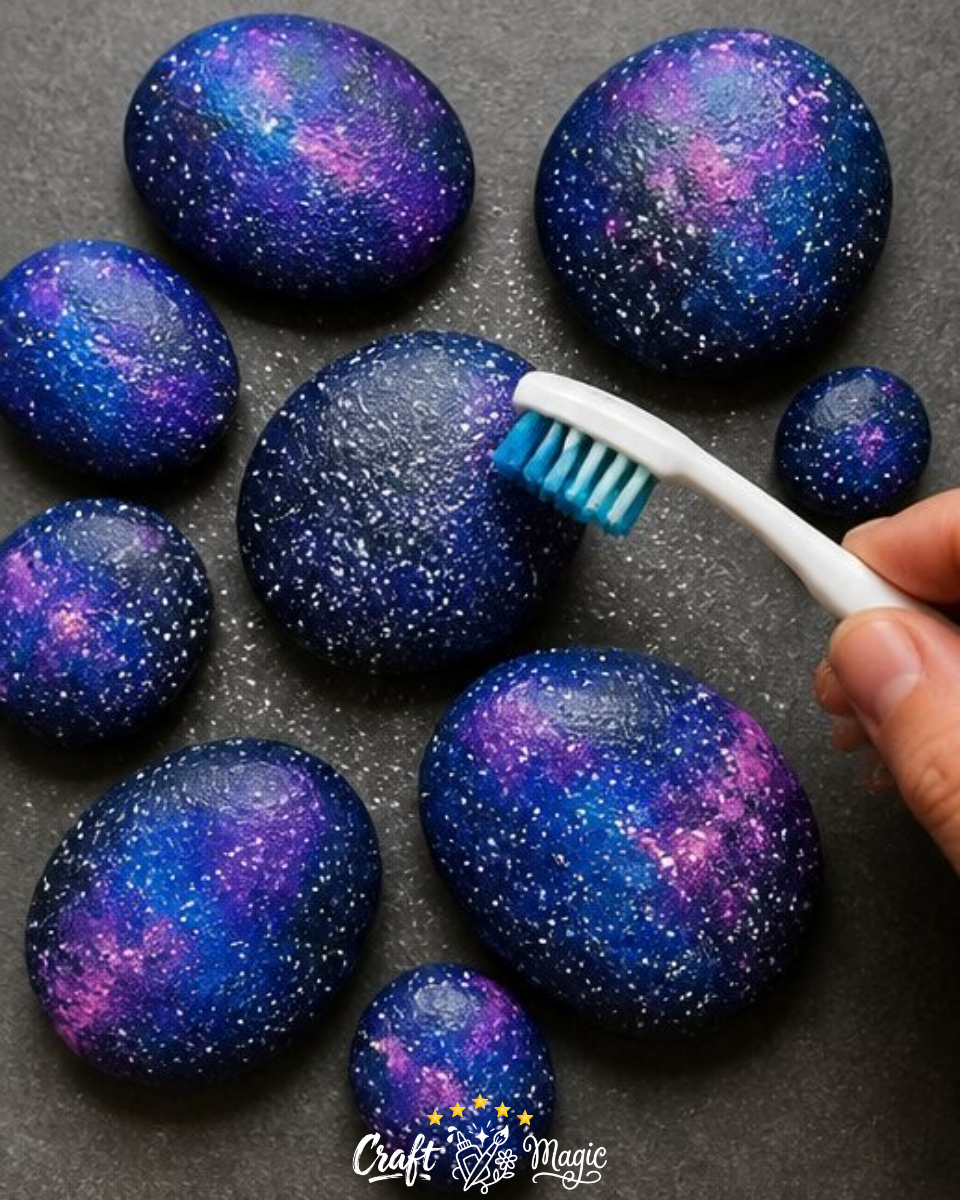
Get ready to transform ordinary smooth stones into stunning galaxy-painted pebbles that are sure to catch the eye! This fun and approachable craft involves simple painting techniques that create a vibrant, cosmic effect. Using a combination of dark and bright colors, you’ll achieve a beautiful layered look that mimics the vastness of the universe. Perfect for family craft time or as a unique decorative piece, let’s dive into the steps needed to create your very own galaxy-inspired pebbles.
Materials You’ll Need
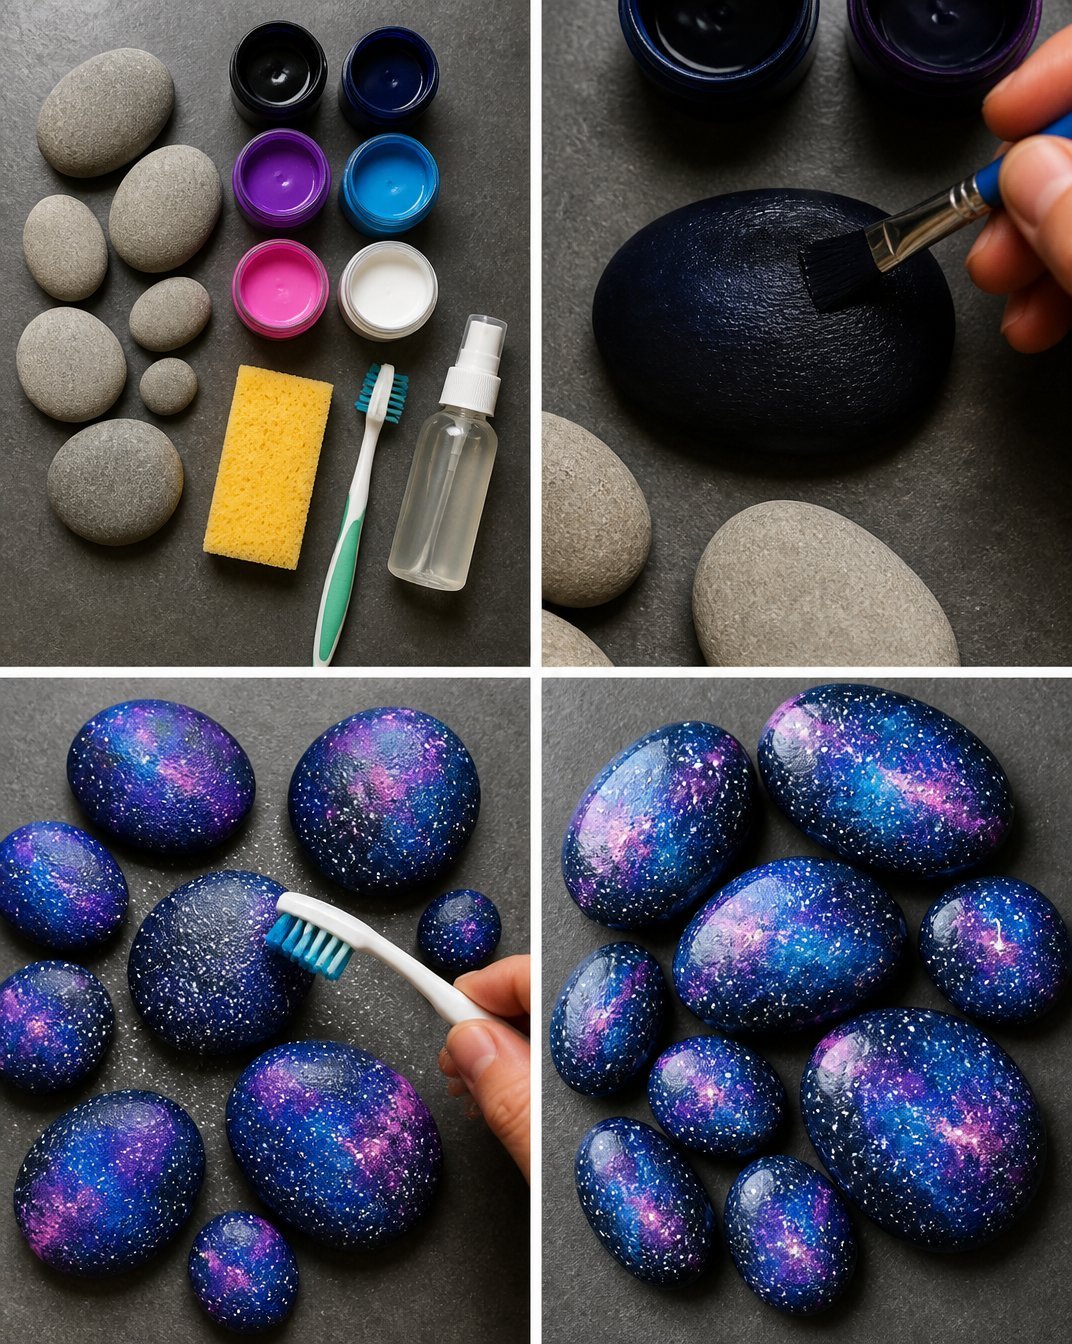
To embark on this colorful adventure, gather the following materials:
- Smooth stones
- Black or navy acrylic paint
- Purple acrylic paint
- Blue acrylic paint
- Pink acrylic paint
- White acrylic paint
- Sponge
- Toothbrush
- Clear sealer
How to Make Galaxy Painted Pebbles
Creating galaxy-painted pebbles is a straightforward process, making it suitable for crafters of all ages. Follow these step-by-step instructions to achieve a beautiful galaxy effect:
Start with Dark Base: Begin by painting your stones with a layer of dark paint either black or navy. Allow them to dry completely. This dark base is essential for making the brighter colors pop, giving depth to your galaxy design.
Add Colorful Patches: Once your dark base is dry, use a sponge to gently dab on patches of purple, blue, and pink. Don’t be afraid to blend the colors slightly to create a more dramatic and layered effect. This technique resembles the swirling gases of a galaxy and adds dimension to your finished pebble.
Flick on Stars: To create stars in your galaxy, take a toothbrush and dip it in white acrylic paint. Carefully flick the bristles with your finger to splatter tiny dots of paint across the pebble. This will give the look of scattered stars in the night sky. For larger stars, use a fine brush and add a few larger dots.
Seal Your Masterpiece: After allowing the paint to dry completely, apply a clear sealer over your pebbles. This step is crucial for protecting your artwork and ensuring that the colors remain vibrant over time.
Tips for the Best Results
To make your galaxy-painted pebbles even more stunning, consider the following tips:
Experiment with Colors: While purple, blue, and pink work beautifully together, don’t hesitate to experiment with other colors like turquoise or violet for a different vibe. You can even check out some creative inspirations such as rainbow painted rocks for more vibrant ideas.
Layering: Don’t be shy about layering the colors. The key to a successful galaxy effect is the interplay between light and dark colors, creating a feel of depth.
Protective Coating: Ensure that the clear sealer you use is suitable for outdoor use if you plan to display your pebbles in the garden or outside.
Creative Display Ideas
Once your galaxy-painted pebbles are ready, think of creative ways to display them. You might want to group them in a decorative bowl, place them among your houseplants, or scatter them throughout your garden for a whimsical touch. Consider them as unique gifts for friends or use them as decorative pieces for your child’s room!
Frequently Asked Questions
How long should I let the paint dry between layers?
It’s best to let each layer of paint dry completely before adding the next one. This usually takes about 30 minutes to an hour, depending on the thickness of the paint and the humidity.
Can I use different types of stones?
Yes, different stones can add character to your project! However, smooth stones are recommended for easier painting and a better overall finish.
What should I do if the paint chips?
If the paint chips, you can easily touch it up by applying a new layer of paint and sealing it again. Regular sealing will help maintain the durability of your painted pebbles.
Conclusion
Creating galaxy-painted pebbles is a delightful craft that combines creativity with the joy of transforming simple materials into beautiful art. Whether you make them for home decor, a special gift, or simply as a fun activity with your family, these painted stones are sure to bring a bit of cosmic beauty into your world. For additional galaxy-themed craft inspiration, you might want to explore this guide on How to Make Galaxy Painted Rocks. Happy crafting!
Print
Galaxy Painted Pebbles
- Total Time: 45 minutes
- Makes: 5 pebbles
Description
Transform ordinary smooth stones into stunning galaxy-painted pebbles using vibrant colors and simple techniques.
Materials
- Smooth stones
- Black or navy acrylic paint
- Purple acrylic paint
- Blue acrylic paint
- Pink acrylic paint
- White acrylic paint
- Sponge
- Toothbrush
- Clear sealer
Instructions
- Start with Dark Base: Begin by painting your stones with a layer of dark paint—either black or navy. Allow them to dry completely.
- Add Colorful Patches: Once your dark base is dry, use a sponge to gently dab on patches of purple, blue, and pink.
- Flick on Stars: To create stars, dip a toothbrush in white acrylic paint and flick it across the pebble.
- Seal Your Masterpiece: After the paint dries, apply a clear sealer over your pebbles to protect your artwork.
Notes
Experiment with colors and layering for best results. Use outdoor-safe clear sealer for garden display.