

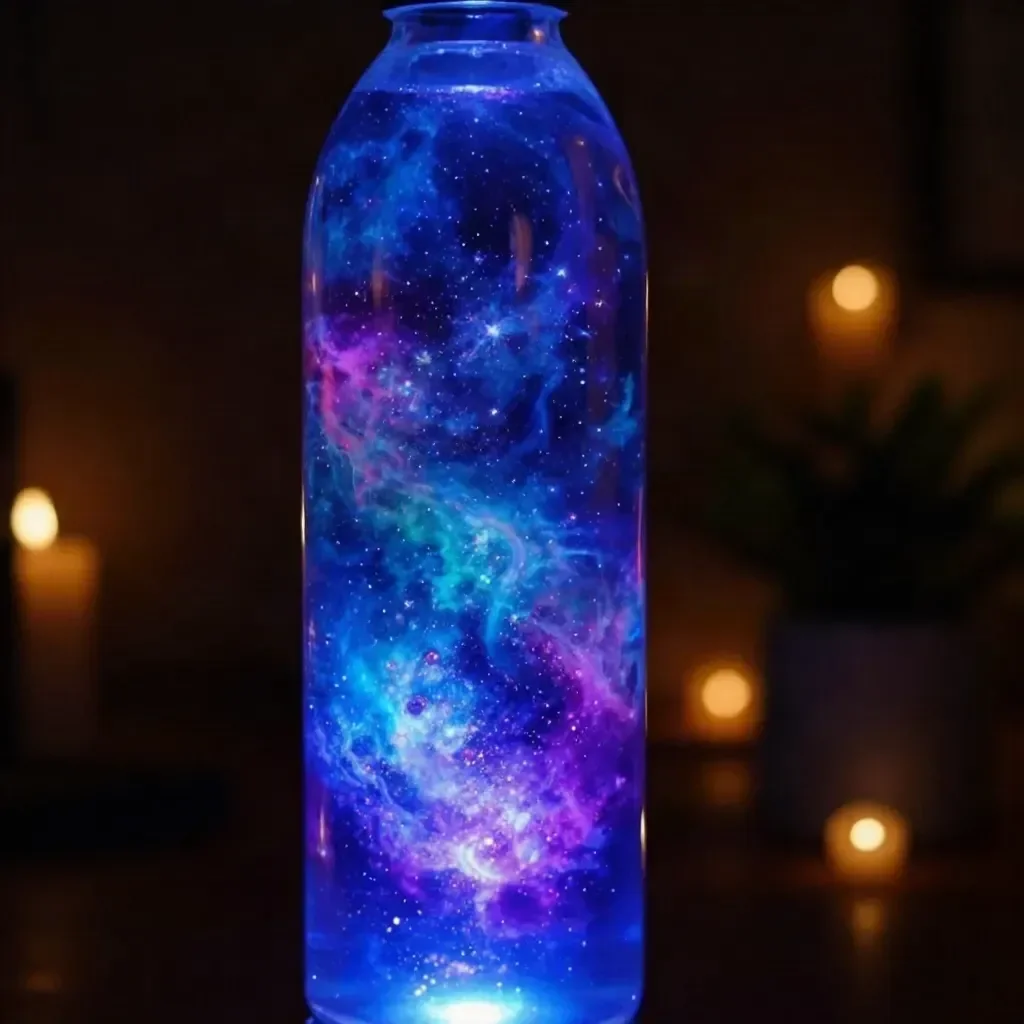
Glow-in-the-Dark Nebula Bottle
Creating a Glow-in-the-Dark Nebula Bottle combines vibrant colors with a touch of creativity, resulting in a stunning visual piece that can light up any space. This project involves layering cotton balls with blue and purple liquid watercolors, adding a sprinkle of glitter, and finishing with glow-in-the-dark paint and a waterproof LED. The layering process not only makes the craft visually interesting but also gives beginners a satisfying way to express their creativity using simple materials. You may also find Rainbow Panda Pencil Cup Recycled Bottle useful.
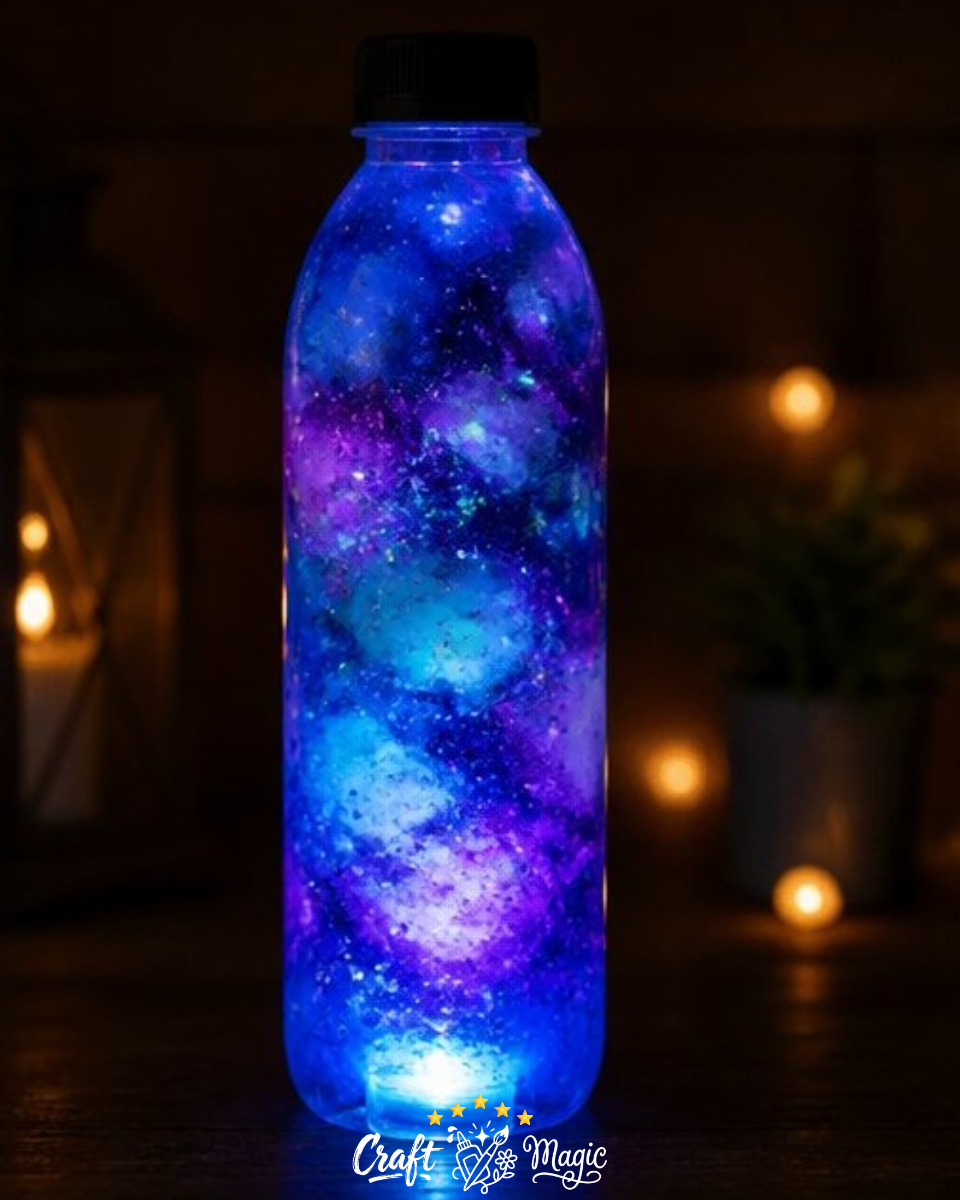
Materials You’ll Need
To embark on your Glow-in-the-Dark Nebula Bottle project, gather the following materials:
- Clear plastic bottle
- Water
- Cotton balls
- Blue liquid watercolor
- Purple liquid watercolor
- Glitter
- Glow-in-the-dark paint
- Waterproof LED
By using these everyday items, you can create a dazzling craft that showcases your artistic flair. Consider also checking out other creative recycling projects, such as the rainbow flower garden stakes for additional inspiration.
Step-by-Step Instructions
1. Prepare Your Workspace
Before diving into the crafting fun, ensure that you have a clean workspace to avoid any mess. Lay down some old newspapers or a craft mat to catch any spills.
2. Layer the Materials
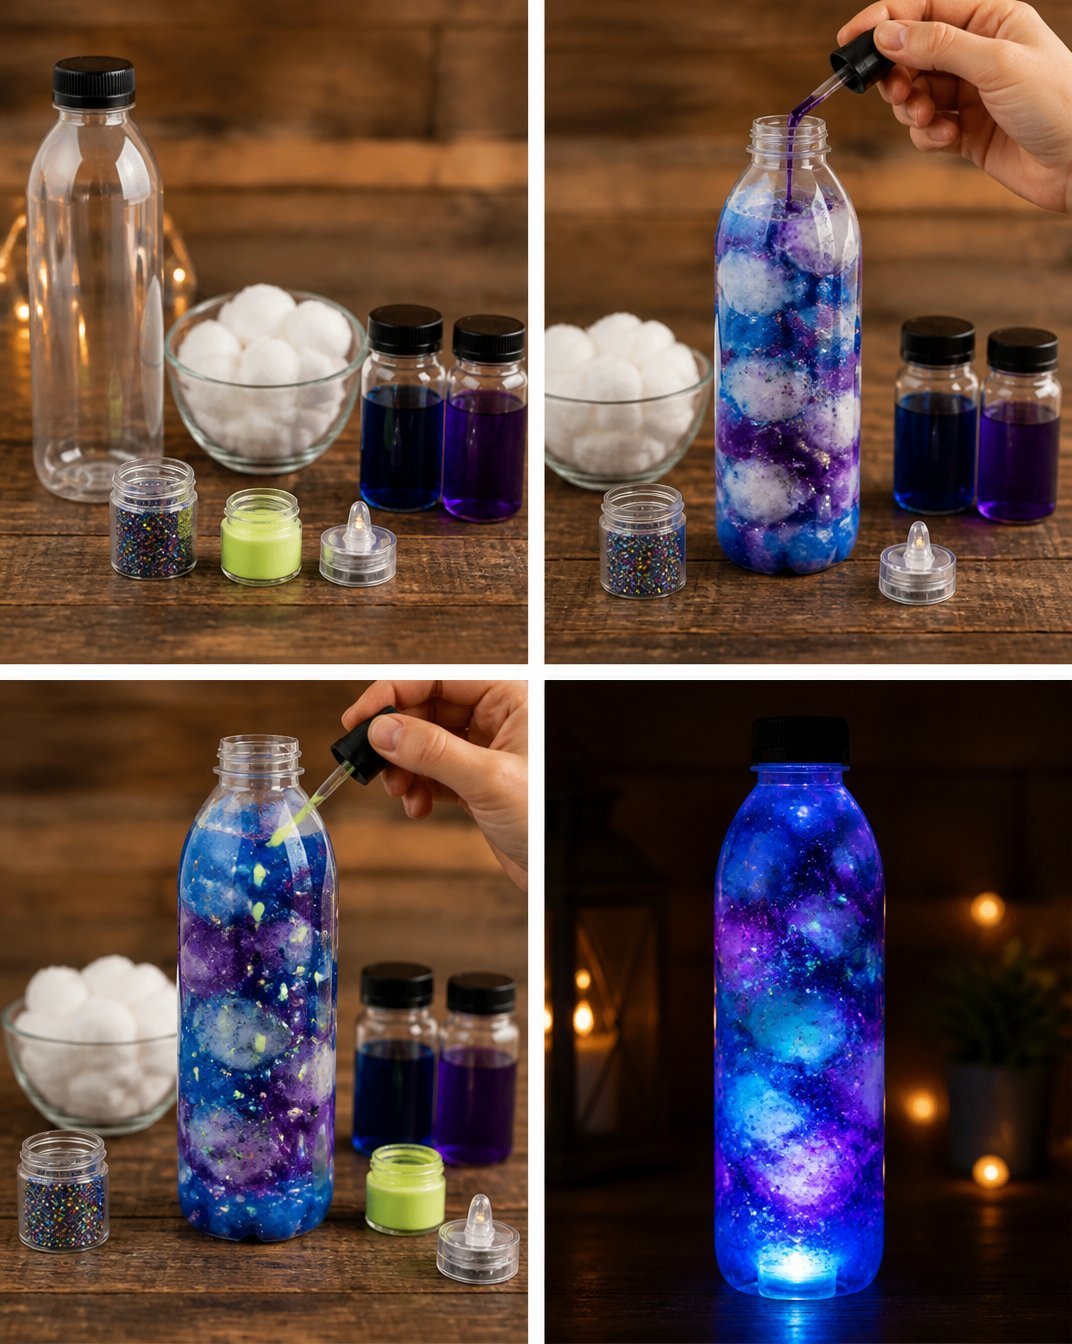
Begin by filling your bottle with cotton balls, alternating between blue and purple liquid watercolor. Add water as you go, allowing the colors to blend beautifully. Don’t forget to sprinkle in some glitter to create that sparkling effect this step makes a significant difference in the final appearance.
3. Add the Glow
For an extra magical touch, dot some glow-in-the-dark paint on the inside of the bottle before filling it completely. This gives your creation an enchanting luminescence.
4. Insert the LED
Once your bottle is filled to your liking, it’s time to add the waterproof LED. This light will not only bring your nebula to life but also ensure it glows brilliantly in the dark. Finally, seal your bottle tightly to keep all the beautiful layers intact.
Helpful Tips
Choosing the Right Bottle: Opt for a clear plastic bottle with a wide mouth for easy filling and viewing of the layers. The clearer the bottle, the more vibrant your colors will appear.
Mixing Colors: When using the watercolors, experiment with different ratios of blue and purple to find the shade that you love best. This project is all about personalization.
Try Different Glitter: Different types of glitter can yield different effects. Consider using holographic glitter for an even more dynamic visual.
Common Mistakes to Avoid
Overfilling: Be sure not to overfill the bottle, which can cause the colors to mix too much and create a muddy look. Keep those layers distinct!
Skipping Safety: Remember to use waterproof LEDs designed for crafts; using the wrong type may result in leakage.
Variations
Once you’ve mastered the basic Glow-in-the-Dark Nebula Bottle, you might want to try variations such as adding more layers, using different colors of watercolors, or creating themed bottles for seasons or holidays. You can also incorporate themes from other projects, like the rainbow butterfly stakes, which could inspire further decorative elements.
Crafting With Kids
This project is a fantastic opportunity to engage children in creativity. Since it involves safe materials, it can be done with minimal adult supervision. Make sure to explain the importance of each step, particularly when mixing colors or using glitter.
Frequently Asked Questions
How long does the glow last?
The glow from the paint will last a few hours after charging it under a light source. For best results, expose it to bright light before displaying it in darker areas.
Can I substitute with other paints?
Yes! While liquid watercolors work well for this project, you can also experiment with acrylic paints. Just be cautious, as some brands may not dissolve well in water.
How can I display my nebula bottle?
Consider placing it on a windowsill or a shelf where it can soak up sunlight during the day for maximum glow effect at night. It can also serve as a stunning centerpiece for parties or night-time gatherings.
Conclusion
Creating a Glow-in-the-Dark Nebula Bottle is not only an artistic endeavor but also an enjoyable way to spend time crafting with family or friends. For those interested in adding to their creative supplies, you might want to explore the vibrant options available, such as the colorful SpaceBeams Nebula Glow in the Dark Paint. Enjoy your crafting journey!
Print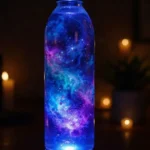
Glow-in-the-Dark Nebula Bottle
- Total Time: 10 minutes
- Makes: 1 nebula bottle
Description
Create a stunning Glow-in-the-Dark Nebula Bottle using vibrant colors and simple materials. Perfect for showcasing creativity and adding a touch of magic to any space.
Materials
- Clear plastic bottle
- Water
- Cotton balls
- Blue liquid watercolor
- Purple liquid watercolor
- Glitter
- Glow-in-the-dark paint
- Waterproof LED
Instructions
- Prepare your workspace by laying down newspapers to catch spills.
- Layer the cotton balls, alternating between blue and purple watercolors, adding water and glitter.
- Add glow-in-the-dark paint inside the bottle for a magical look.
- Insert the waterproof LED and seal the bottle tightly.
Notes
Consider using a wide-mouthed clear plastic bottle for better layering and color visibility. Experiment with different color ratios and types of glitter for unique effects.