

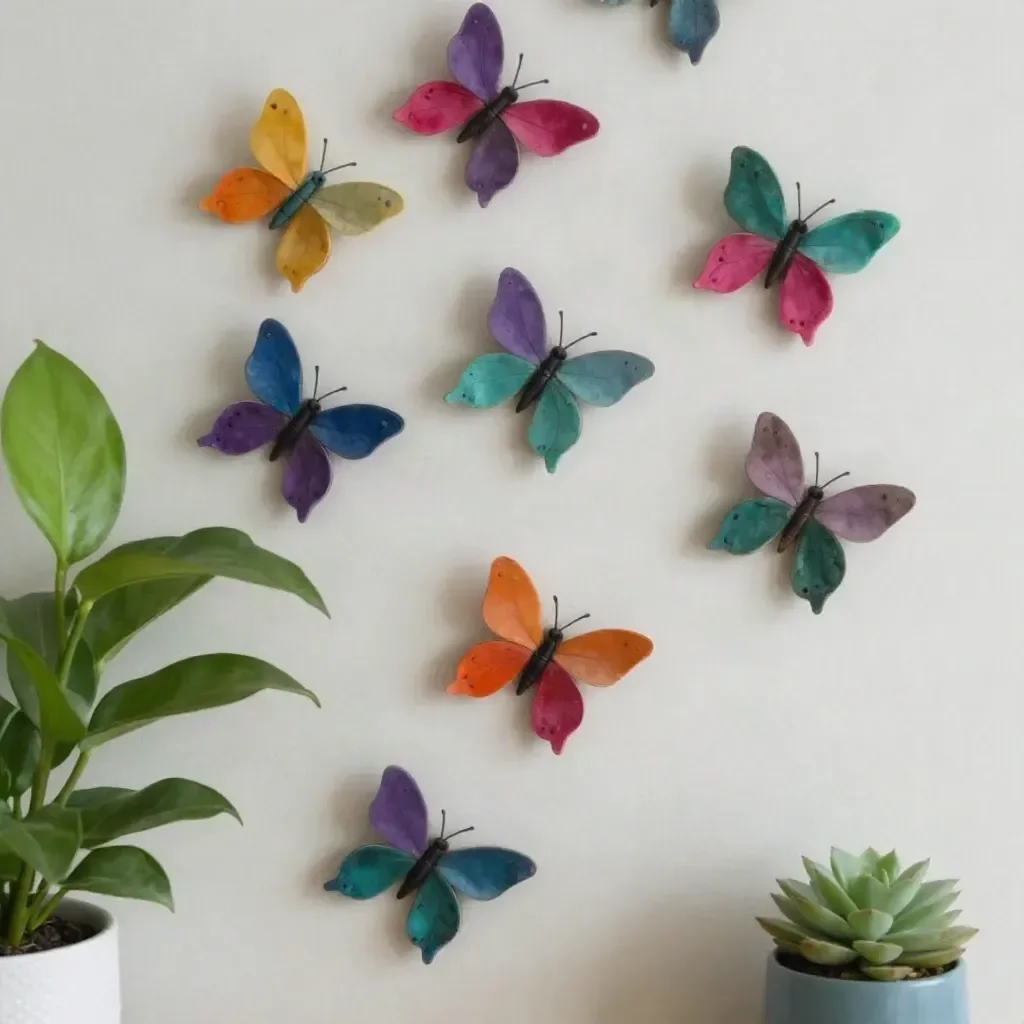
Toilet Paper Roll Butterfly Wall Décor
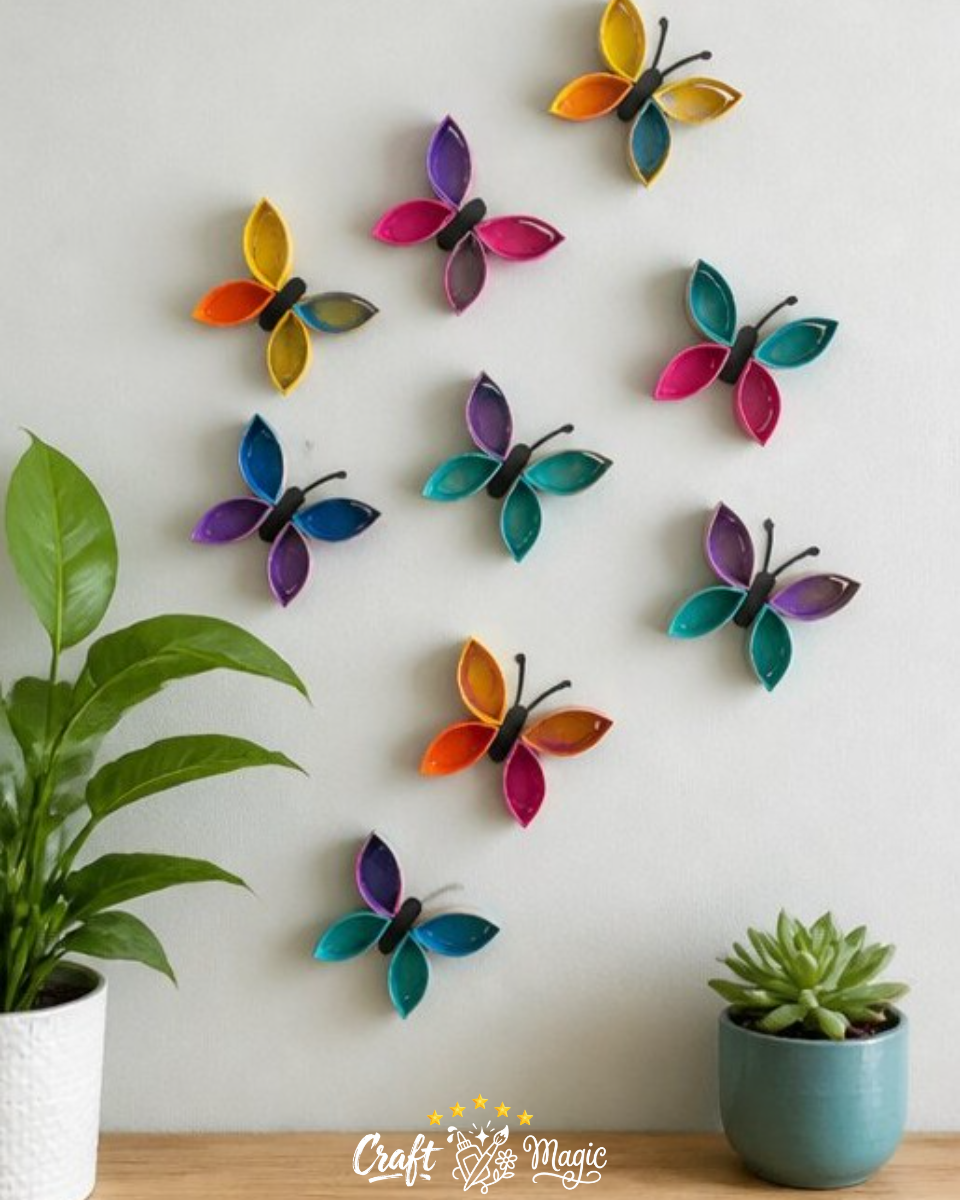
Transform your everyday cardboard toilet paper rolls into vibrant butterfly wall décor that celebrates color and creativity! This project is not only fun but also an excellent way to repurpose materials that you already have at home. The end result features whimsical butterflies in eye-catching hues, making them perfect for brightening up any space. Plus, this craft is approachable for crafters of all ages! You may also find First Day Rainbow Pencil Butterfly Suncatcher useful.
You may also find Melted Crayon Rainbow Butterfly Suncatcher For Kids useful.
Materials You’ll Need
To get started on your butterfly wall décor, gather the following materials: You may also find Rainbow Butterfly Stakes Recycled Bottles useful.
- Cardboard toilet paper rolls
- Scissors
- Acrylic paint (various bright colors)
- Glue
- Cardstock (for the butterfly body)
- String or removable wall adhesive
Step-by-Step Instructions
Creating these delightful butterflies involves a few simple steps that allow your creativity to take flight!
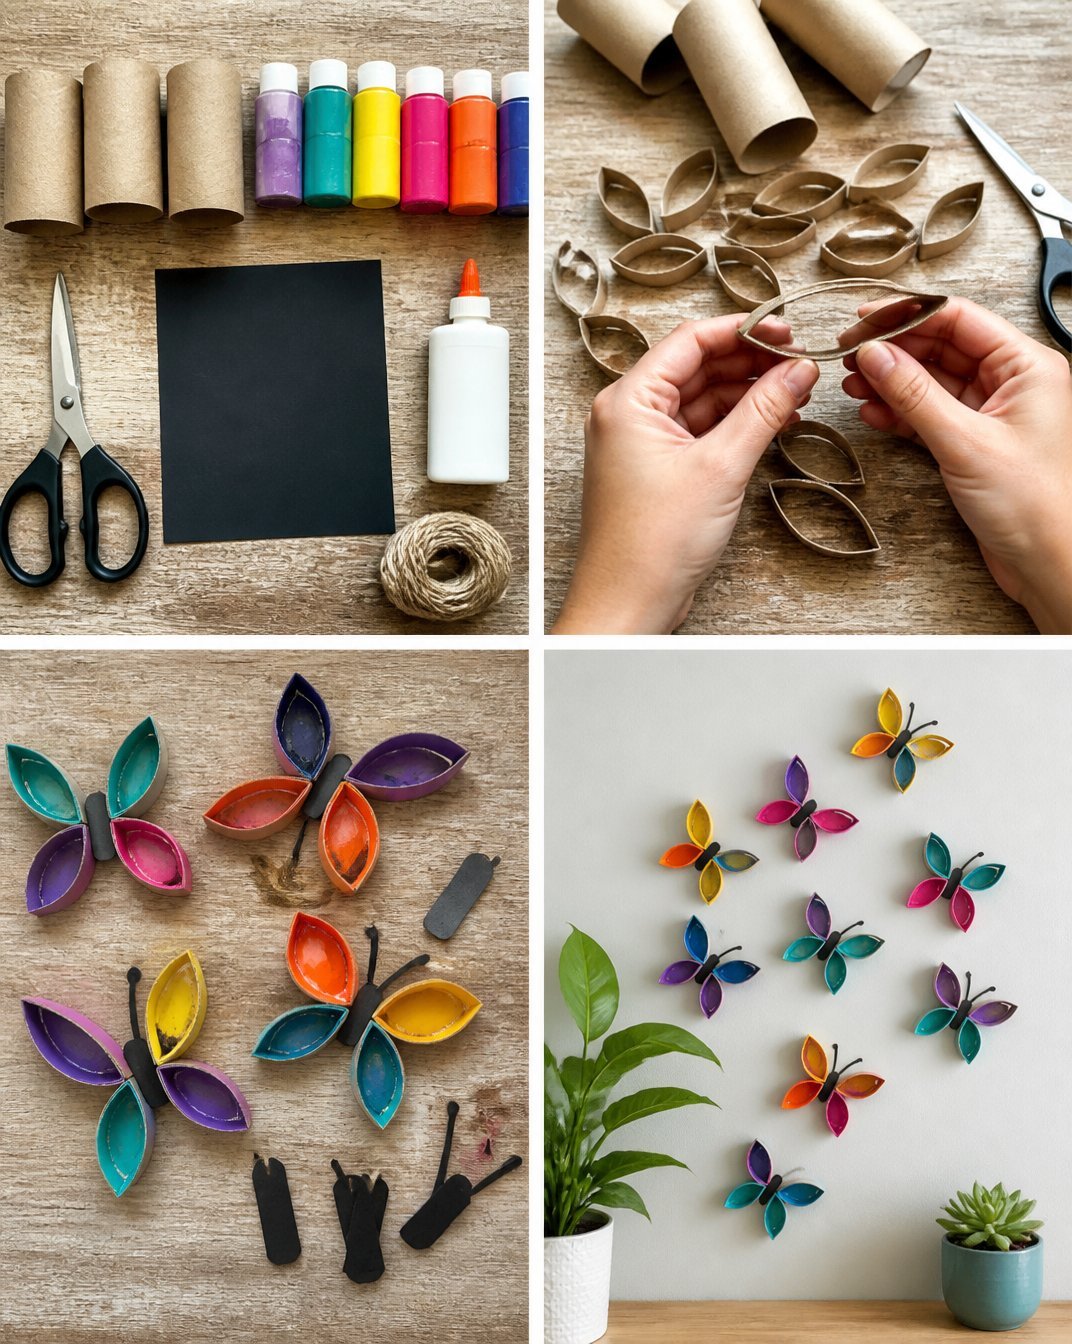
Flatten the Toilet Paper Rolls: Start by flattening each toilet paper roll. This will make it easier to cut them into rings.
Cut Into Rings: Using scissors, carefully cut the flattened rolls into 1-inch rings. You will need about 8 rings per butterfly for an intriguing wing structure.
Shape the Wings: Take two rings to form each wing. Pinch them into a wing-like shape and paint them with bright colors of your choice. Get creative! Use multiple colors per wing for a gorgeous blend.
Create the Butterfly Body: Cut a strip of cardstock around 3 inches tall to serve as the body of your butterfly. Glue four painted wings around the cardstock body, creating a symmetrical look.
Assembly and Display: Allow the glue to dry completely. After drying, use string or removable wall adhesive to attach your butterflies to the wall in a cheerful cluster. Arrange them in a way that showcases their colors and shapes!
Helpful Tips for Success
- Get Creative with Colors: Feel free to mix colors to create unique shades. You can also experiment with patterns, such as stripes or polka dots, on the wings.
- Customize Your Butterfly Sizes: For an added touch, try making your butterflies in different sizes. Just adjust the number of rings you use for each butterfly accordingly.
- Work with Kids: This craft is great for family activities. Each child can create their own unique butterfly by choosing their favorite colors.
Common Mistakes to Avoid
- Glue Too Quickly: Ensure that you allow each part to dry before moving on to the next step. This helps in achieving a strong bond between the wings and the body.
- Not Securing With Adhesive: Be sure to use enough adhesive to avoid your butterflies falling off the wall. Test their strength by gently tugging on them before decorating your space.
Display Ideas
Once you’ve completed your butterfly wall décor, consider different display options. You can create a focal point by clustering the butterflies or spreading them around the room for a whimsical touch. These butterflies also make great gifts or room decorations for children!
Variations to Try
- Seasonal Themes: Change the color scheme to match the season. For example, use pastels for spring or warm hues for autumn.
- Add Glitter or Stickers: Shine is always an option! Apply some glitter or decorative stickers to enhance the look.
- Create a Garden Scene: Consider crafting additional elements like flowers or grass to create an enchanting scene on your wall.
Frequently Asked Questions
1. Can I use other types of rolls besides toilet paper rolls?
Yes! You can use paper towel rolls or any other similar cardboard tubes. Just adjust the sizes to create your butterflies.
2. How long will these decorations last?
With proper drying and wall mounting, these butterflies can last for a long time. However, they should be kept away from direct moisture.
3. How do I hang these butterflies without damaging my walls?
Using removable wall adhesive allows for easy placement and removal without damage, perfect for temporary decorations.
Conclusion
Creating butterfly wall décor from toilet paper rolls is a wonderful way to recycle materials and unleash your creativity. This craft is suitable for all ages and can brighten any room. For more unique butterfly-themed décor ideas, check out the Gojoquanzhou Funny Butterfly Toilet Paper Roll Holders that add charm to your space. Embrace your inner artist and enjoy crafting these delightful butterflies!
Print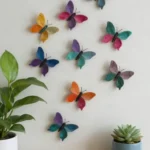
Toilet Paper Roll Butterfly Wall Décor
- Total Time: 40 minutes
- Makes: 4 butterflies
Description
Transform cardboard toilet paper rolls into vibrant butterfly wall décor that’s fun for all ages!
Materials
- Cardboard toilet paper rolls
- Scissors
- Acrylic paint (various bright colors)
- Glue
- Cardstock (for the butterfly body)
- String or removable wall adhesive
Instructions
- Flatten the toilet paper rolls by pressing them down.
- Cut the flattened rolls into 1-inch rings, about 8 rings per butterfly.
- Shape two rings into each wing and paint them in bright colors.
- Create a butterfly body using a 3-inch tall strip of cardstock and glue four painted wings around it.
- Allow the glue to dry completely before using string or adhesive to attach the butterflies to the wall.
Notes
Get creative with colors and customize sizes. Ensure glue dries before moving to the next step.