

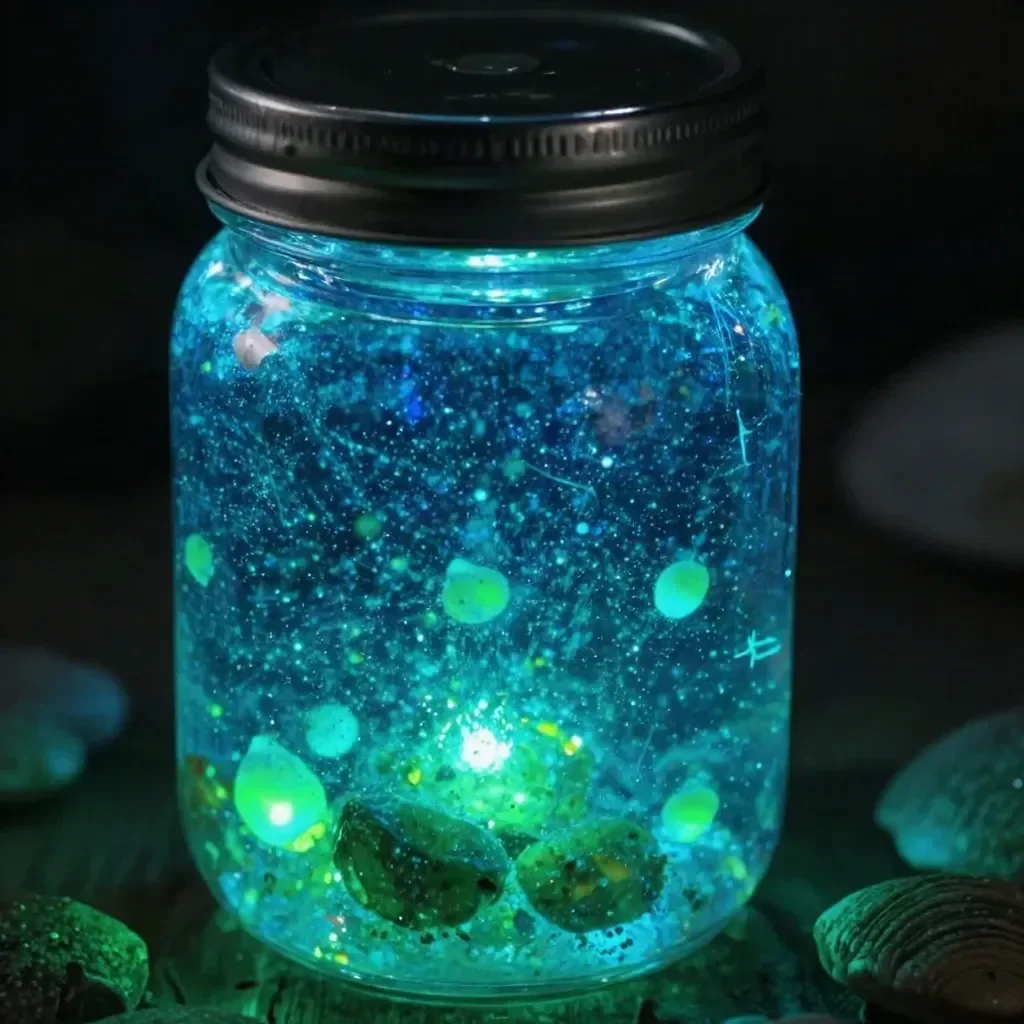
Glow-in-the-Dark Mermaid Jar: A DIY Adventure
Transform an ordinary clear jar into a fantastical glow-in-the-dark mermaid jar that glows magically in the evening! With a little creativity, you can create a visually captivating piece that doubles as both a decorative item and a fun project for the family. The final result sparkles and shines, featuring delicate shells and shimmering glitter that reflect a mesmerizing blue hue. This accessible craft is perfect for crafters of all ages, so let’s gather our materials and dive right in! You may also find Rainbow Unicorn Haunted House Decor useful.
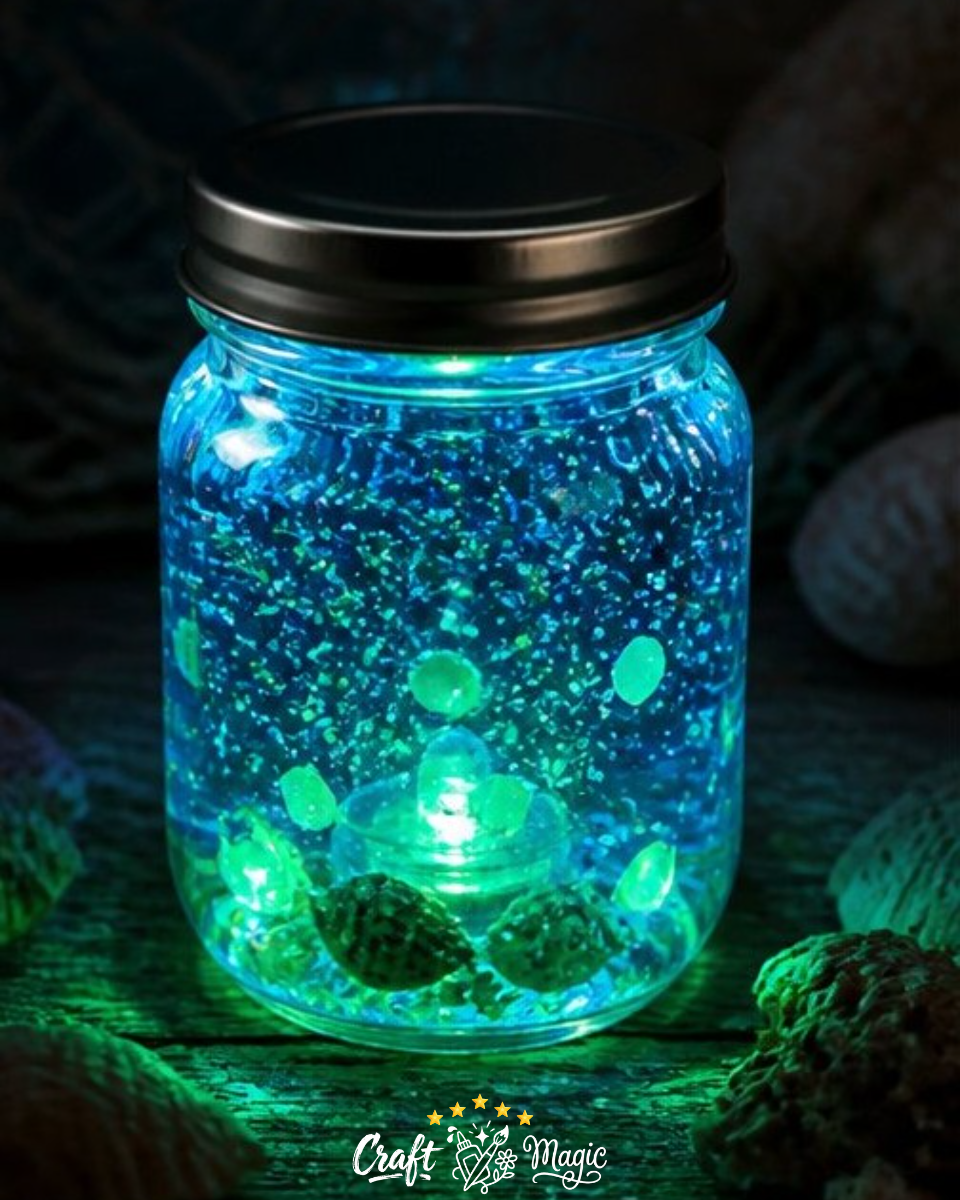
Materials You’ll Need
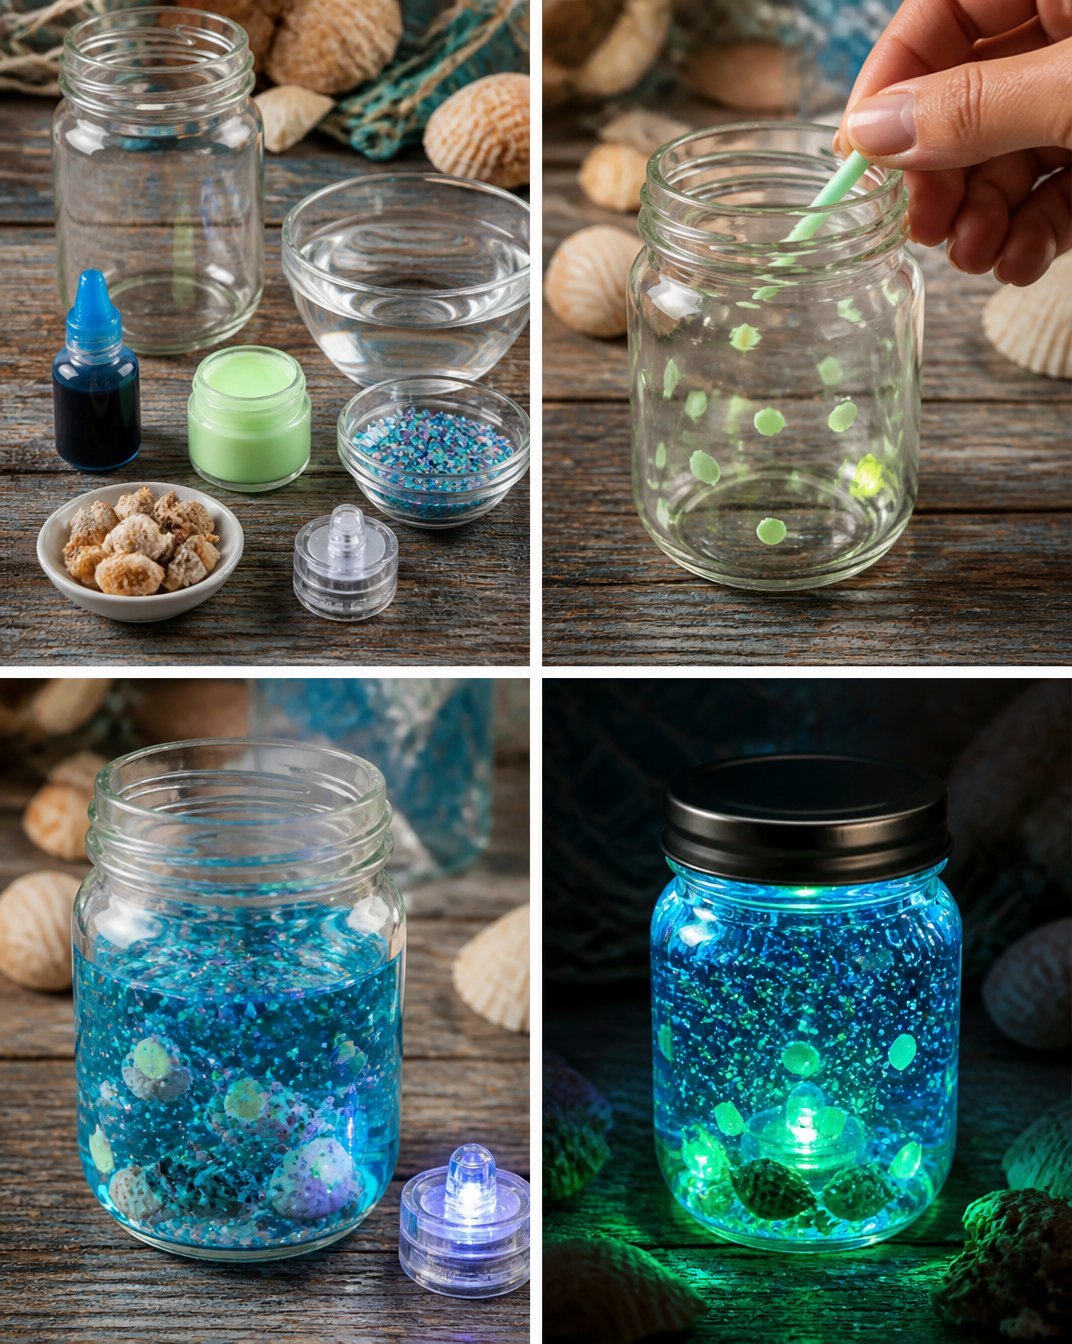
Before we get started, make sure you have the following materials gathered in a clean area:
- Clear jar
- Water
- Blue liquid watercolor
- Iridescent glitter
- Glow-in-the-dark paint
- Small shells
- Waterproof LED
Now that you have everything ready, let’s begin the crafting adventure!
Step-by-Step Instructions
Step 1: Prepare Your Jar
First, take your clear jar and dot a little glow-in-the-dark paint inside. This will create a luminous base for your project. Allow the paint to dry completely this can take a bit of time, so feel free to get creative with another craft while you wait!
Step 2: Mixing the Glamorous Ingredients
Once the glow paint is dry, it’s time to fill your jar with enchanting elements. Pour in some water, and add a few drops of blue liquid watercolor to achieve that oceanic look. This step sets the perfect backdrop for your mermaid theme!
Step 3: Adding Sparkle
Now, sprinkle in some iridescent glitter. This is where your jar will start to come alive with a shimmering effect! Additionally, toss in the small shells for a thoughtful touch of marine life.
Step 4: Light It Up!
Before sealing your jar, place the waterproof LED light inside. This little feature will be the magical touch that makes your jar glow in the dark. Once everything is in place, firmly close the jar and give it a gentle shake to mix the glitter and shells together.
Getting the Colors Right
Crafting this glow-in-the-dark mermaid jar is not just about the ingredients, but also about balancing the colors. If you want it to appear more vibrant during the day, don’t hesitate to add more blue watercolor or an extra pinch of glitter. Experimentation is key to achieving the look you desire!
Creating the Crystal Effect
For added visual interest, consider layering different sizes of shells or varying the amounts of water and glitter. The interplay of texture and transparency will make your jar even more captivating!
Helpful Tips
- Be Patient: Allowing the glow paint to dry completely prevents smudging and results in a cleaner finish.
- Experiment with Color: Don’t be afraid to add more blue or glitter for a bolder look! If you’d like to explore other color projects, try out the clear pink unicorn apple teacher suncatcher.
- Seal It Tight: Make sure the jar is securely closed to prevent any spills.
Common Mistakes to Avoid
- Rushing the Drying Process: Make sure each layer dries fully before adding the next element.
- Too Much Water: Excessive water may dilute the glow paint effect. Start with smaller amounts and add more as needed.
- Using Regular Lights: Only use waterproof LEDs inside the jar to avoid damage and ensure safety.
Ways to Customize It
Consider personalizing your glow-in-the-dark mermaid jar by selecting shells that mean something special to you, or by using different colors of glitter. You can also create themed jars for different occasions, incorporating seasonal elements or coordinating with your home decor. For inspiration on fun and seasonal crafts, explore the rainbow panda fall leaf friends craft for kids for a delightful autumn project!
Frequently Asked Questions
Can I use a different type of jar?
Absolutely! While a clear jar is recommended for the best visual effects, any transparent container can work as long as it can hold the ingredients safely.
How long will the glow-in-the-dark effect last?
The longevity of the glow effect can vary based on the quality of the paint and light used. Typically, the glow should last a few hours when exposed to light.
Can this project be done with children?
Yes! This is a family-friendly project, but adult supervision is recommended to handle the LED lights and glow paint safely.
Conclusion
Creating a glow-in-the-dark mermaid jar is not only a fun craft but also a fantastic way to explore your creativity while engaging your family. It’s a wonderful addition to any room or a themed party decor. To further complete your mermaid aesthetic, you might consider pairing it with a Rainbow Mermaid Glow-in-the-Dark Mackenzie Water Bottle! Embrace the enchantment of crafting and let your imagination swirl!
Print
Glow-in-the-Dark Mermaid Jar
- Total Time: 15 minutes
- Makes: 1 jar
Description
Transform an ordinary clear jar into a fantastical glow-in-the-dark mermaid jar that glows magically in the evening, creating a visually captivating piece for decor.
Materials
- Clear jar
- Water
- Blue liquid watercolor
- Iridescent glitter
- Glow-in-the-dark paint
- Small shells
- Waterproof LED
Instructions
- Prepare your jar by dotting glow-in-the-dark paint inside and allowing it to dry completely.
- Mix water and a few drops of blue liquid watercolor into the jar for an oceanic look.
- Add iridescent glitter and small shells for a shimmering effect.
- Light it up by placing a waterproof LED inside before sealing the jar.
Notes
Experiment with colors and shells to personalize your jar. Be patient and let each layer dry completely.