

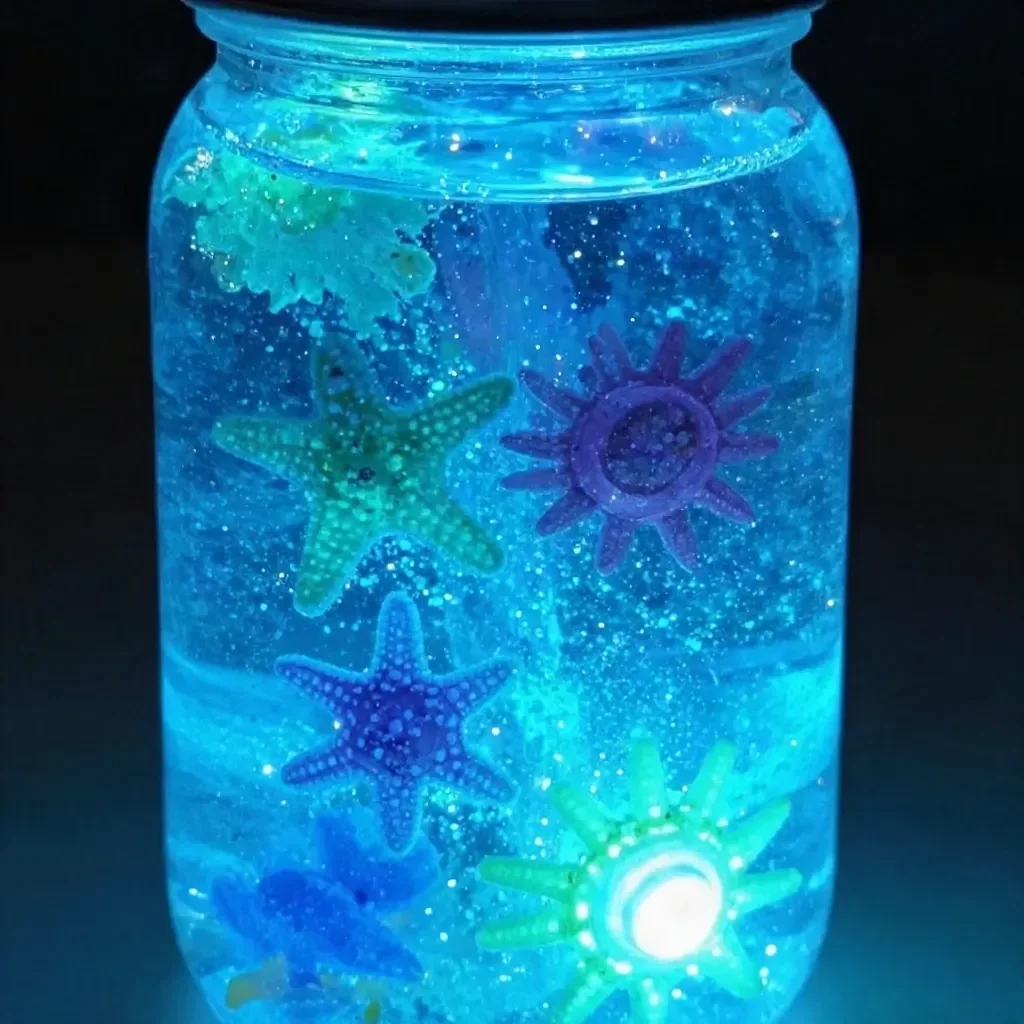
Create Your Enchanting Glowing Ocean Jar
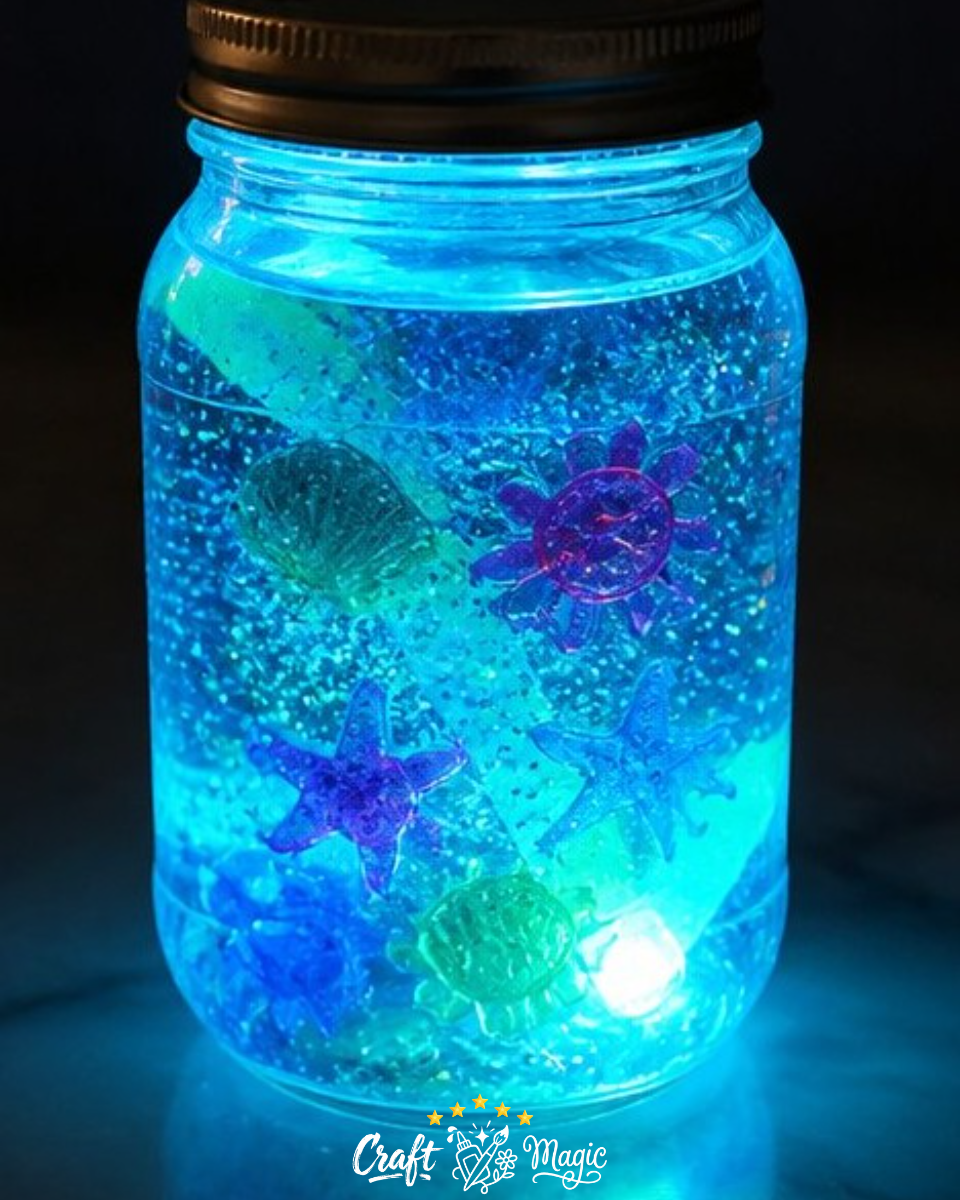
Imagine a mesmerizing ocean scene captured within a jar, complete with swirling blues and sparkling lights. The Glowing Ocean Jar is not only a fun project for kids and families but also a delightful addition to any room décor. With just a handful of materials and a bit of creativity, you can craft this stunning piece that reflects the beauty of the ocean and brings a calming glow to your space. Ready to dive into this colorful ocean adventure? Let’s get started! You may also find Clear Pink Unicorn Apple Teacher Suncatcher useful.
You may also find Rainbow Panda Fall Leaf Friends Craft For Kids useful.
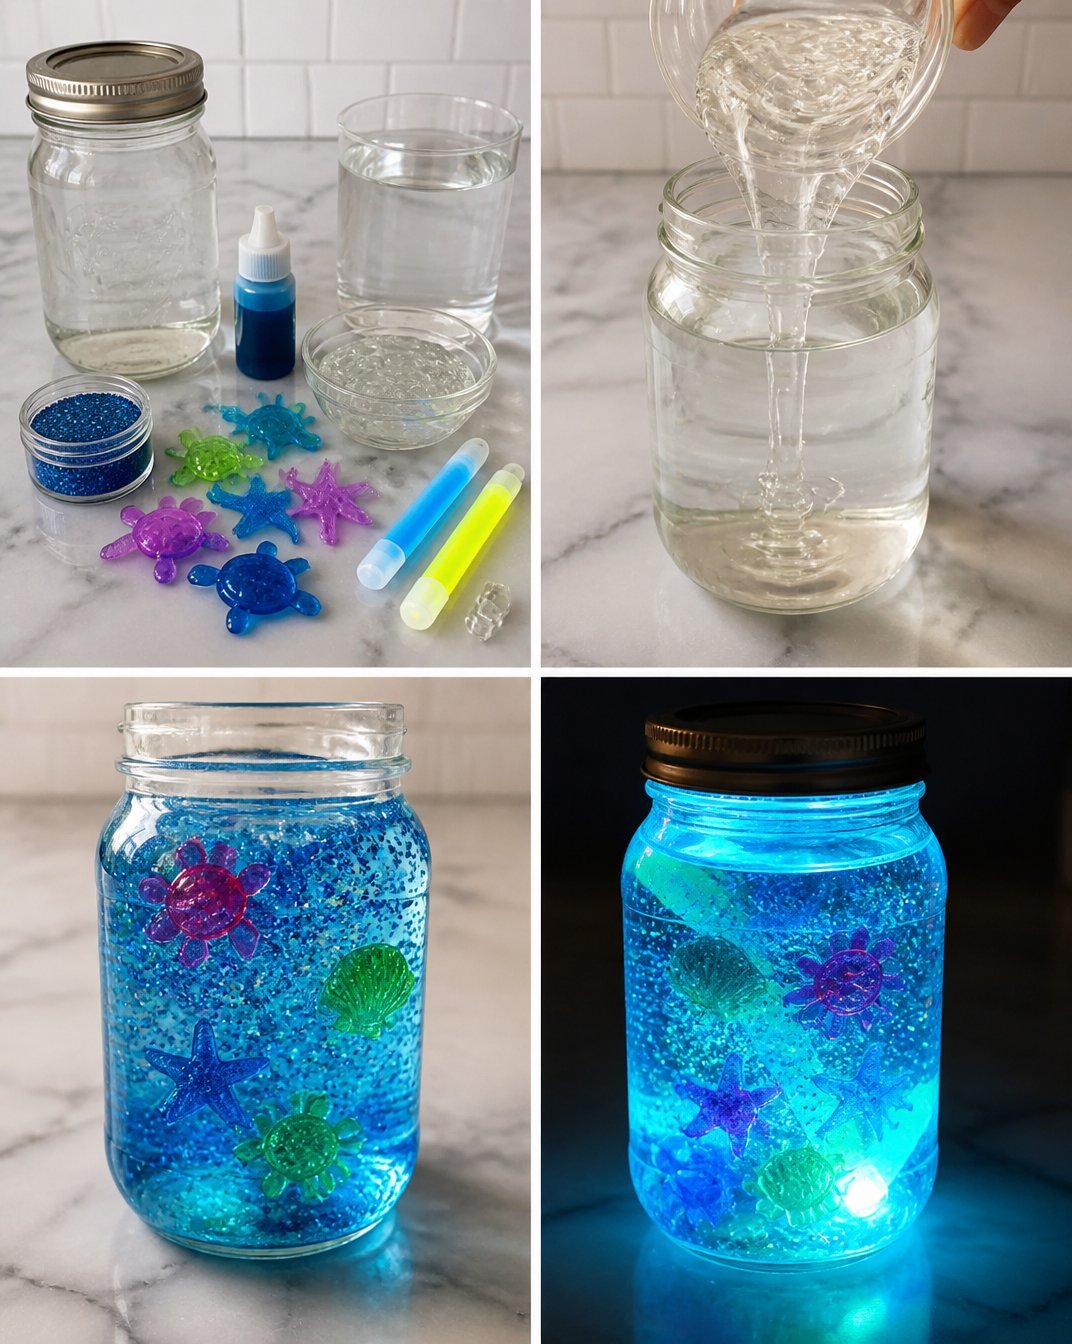
Materials You’ll Need
Before we begin crafting, gather the following materials:
- Clear jar with lid
- Water
- Blue food coloring
- Clear hair gel or glycerin
- Glitter
- Glow sticks or waterproof LED light
- Small plastic sea shapes
This project combines simple materials to create a vibrant and glittering effect, reminiscent of the ocean waves.
Step-by-Step Instructions
1. Prepare Your Workspace
Start by finding a clean and spacious area to work on your craft. It’s essential to keep your space organized, especially when working with colorful substances that can spill.
2. Fill the Jar with Water
Next, fill your clear jar mostly with water. This will be the main medium that showcases the glowing ocean effect. After that, add a small amount of clear hair gel or glycerin into the water. This ingredient will help to create a thick, jelly-like texture, enhancing the visual depth of your ocean scene.
3. Add Colors and Sparkle
Mix in a few drops of blue food coloring, stirring gently to distribute the color evenly throughout the water. You’ll want it to resemble the stunning hues of the ocean. To make your jar really sparkle, add a good sprinkle of glitter. This shimmering element will mimic the sun’s reflection on the water, creating a delightful visual effect.
4. Incorporate Sea Creatures
Now comes the fun part: add your small plastic sea shapes! You can use anything from tiny fish to starfish, depending on what you have on hand. This will add personality and theme to your ocean jar.
5. Activate the Glow
To finish off, place a glow stick or a waterproof LED light inside the jar. Close the lid tightly, ensuring no water leaks out. Gently shake the jar to mix everything up before letting it sit to see the glow come to life. The light will illuminate the blue water and glitter, giving it an enchanting glow.
Helpful Tips
Customize Your Ocean Jar: You can vary the colors by using different shades of food coloring or even mixing colors for a unique ocean experience. Experimenting with additional materials, such as shells or beads, can further enhance your design.
Safety First: If you’re crafting with younger children, ensure they are supervised during this project, especially when handling water and small craft pieces.
Display Ideas: The Glowing Ocean Jar can be a perfect nightlight or decorative piece. Place it on a bedside table, in a child’s room, or anywhere you want to create a cozy atmosphere.
Common Mistakes to Avoid
- Adding Too Much Gel: Using too much hair gel or glycerin can make the jar too thick and hinder the glowing effect. Just a small amount is needed to achieve the right consistency.
- Not Securing the Lid Properly: Make sure the jar is sealed tightly to avoid spills or leaks, especially if you decide to give it a gentle shake.
- Using Non-Waterproof Lights: If you opt for LED lights, ensure they’re waterproof. Regular lights can be damaged if submerged.
Frequently Asked Questions
How long will the glow last?
The duration of the glow depends on the brightness and type of light used. Glow sticks typically glow for a few hours, while LED lights can last much longer, making them a great option for extended use.
Can I use different colors of glitter?
Absolutely! Using different colored glitters can beautify your jar and create more vibrant effects. Just keep in mind that mixing colors may change the overall appearance.
What should I do if my water becomes cloudy?
If your water becomes cloudy over time, it could be due to the gel separating. You can gently shake the jar to mix it again but avoid overdoing it to prevent mixing the contents too much.
Final Thoughts
Creating a Glowing Ocean Jar is not just a craft; it’s a delightful journey into creativity that you can share with family and friends. From the satisfying process of layering materials to the magical reveal of the glowing ocean beneath a jar lid, this project promises to be enjoyable and rewarding.
For more creative ideas, consider making a charming haunted house decoration or explore other fun craft projects.
Conclusion
Crafting your own glowing ocean scene can be a wonderful way to brighten your home and spark creativity. With just a few materials, you can create something beautiful and captivating. If you’re looking for more enchanting craft ideas, check out inspiring projects like Who Needs Fireflies When You Can Have a Jar of Luminous Lights? and let your crafting journey continue!
Print
Glowing Ocean Jar
- Total Time: 10 minutes
- Makes: 1 jar
Description
Create a mesmerizing ocean scene in a jar with vibrant colors and a calming glow, perfect for decor or a fun family project.
Materials
- Clear jar with lid
- Water
- Blue food coloring
- Clear hair gel or glycerin
- Glitter
- Glow sticks or waterproof LED light
- Small plastic sea shapes
Instructions
- Prepare your workspace in a clean area.
- Fill the jar mostly with water.
- Add a small amount of clear hair gel or glycerin into the water.
- Mix in a few drops of blue food coloring.
- Add a good sprinkle of glitter.
- Incorporate small plastic sea shapes into the jar.
- Activate the glow with a glow stick or waterproof LED light and seal the jar.
Notes
Customize your ocean jar with different colors and decorations. Supervise children during the project for safety.