

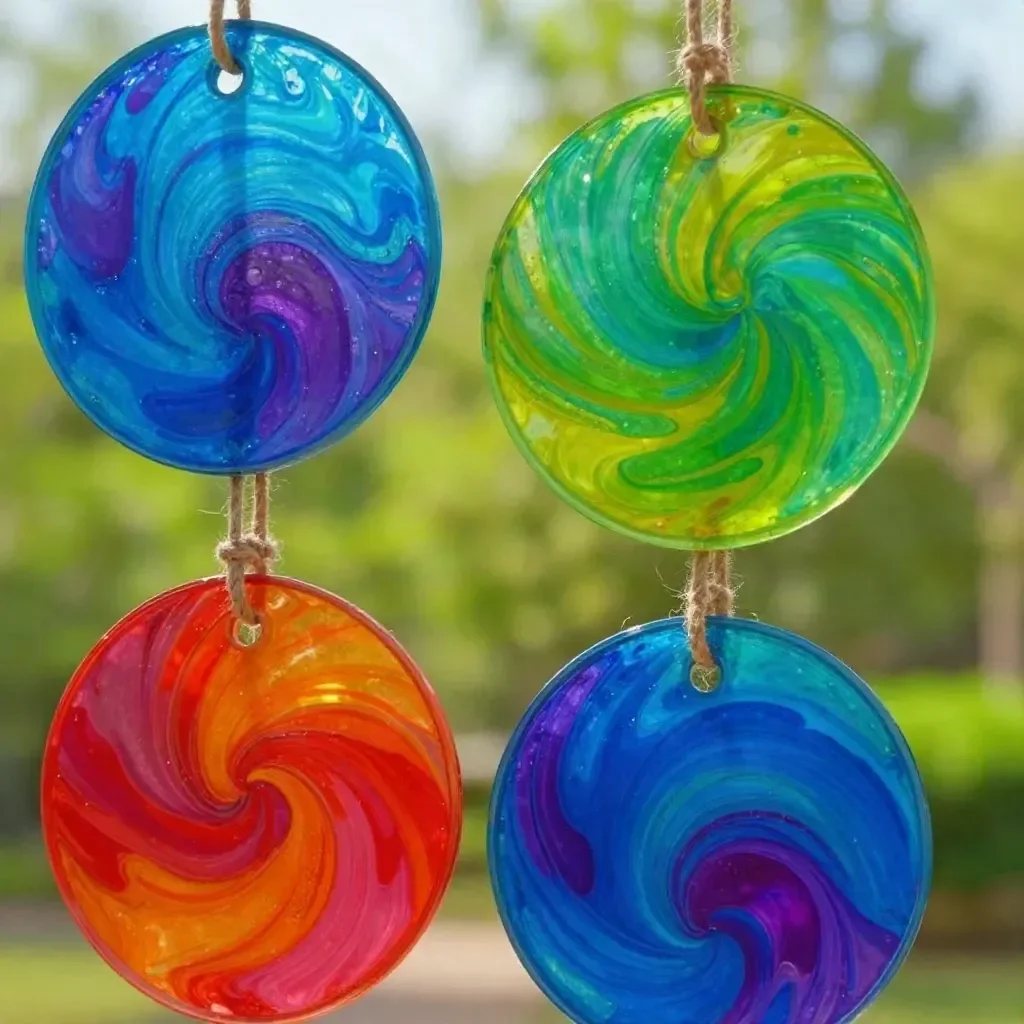
Swirl Glue Suncatchers
Are you ready to create some dazzling Swirl Glue Suncatchers that will brighten up your windows? This project is a fantastic way to make colorful, translucent decorations that catch the light beautifully. The process is straightforward and relaxing, allowing both kids and adults to express their creativity easily. With just a few everyday materials, you can transform simple glue and watercolor into stunning art pieces to display at home. You may also find Clear Pink Unicorn Apple Teacher Suncatcher useful.
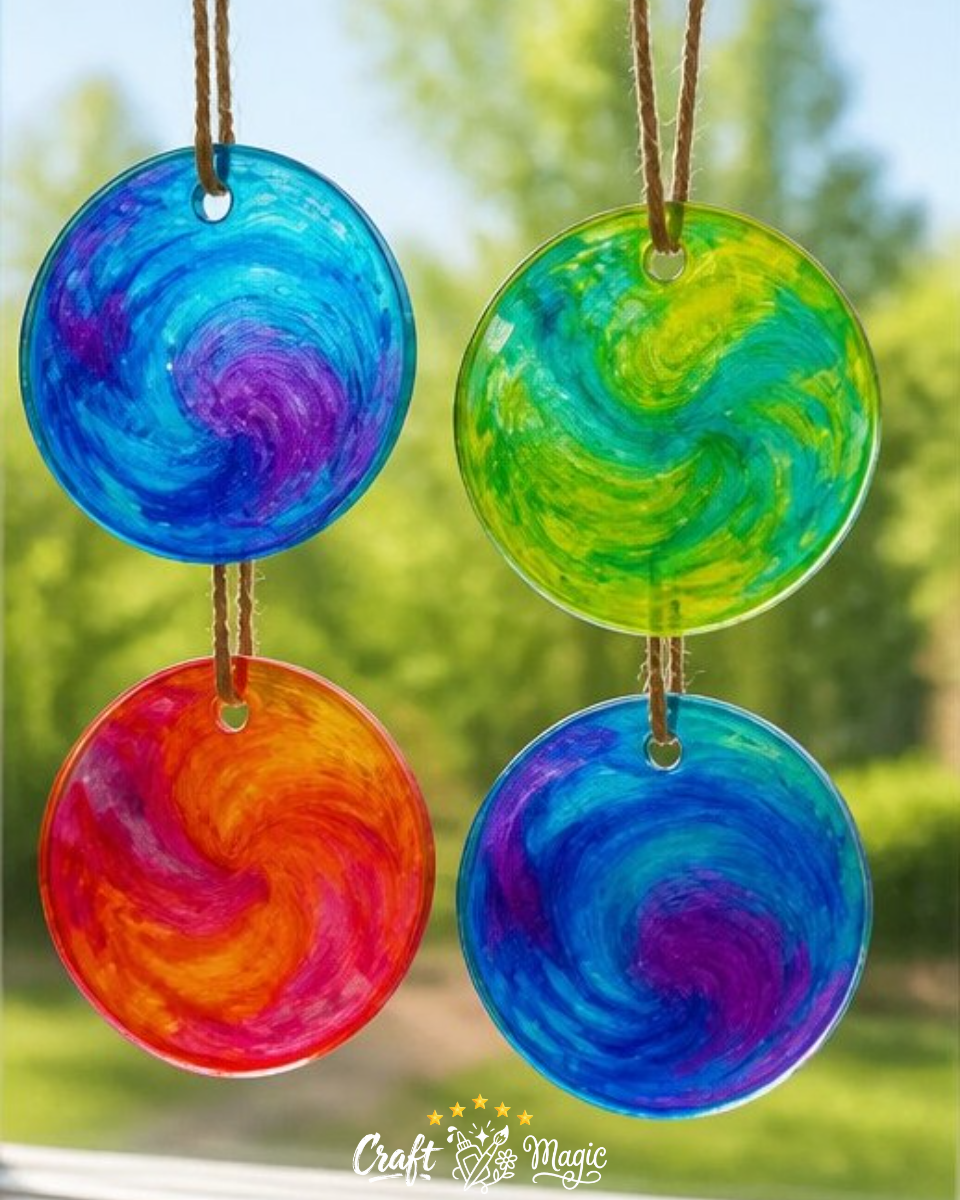
Materials You’ll Need
To make your Swirl Glue Suncatchers, gather the following materials:
- Clear glue
- Liquid watercolor
- Plastic lids
- Cotton swab or toothpick
- Hole punch
- String
How to Make Swirl Glue Suncatchers
Now, let’s dive into the step-by-step instructions for creating these vibrant suncatchers. Each step is designed to help you achieve the best results, so let’s get started!
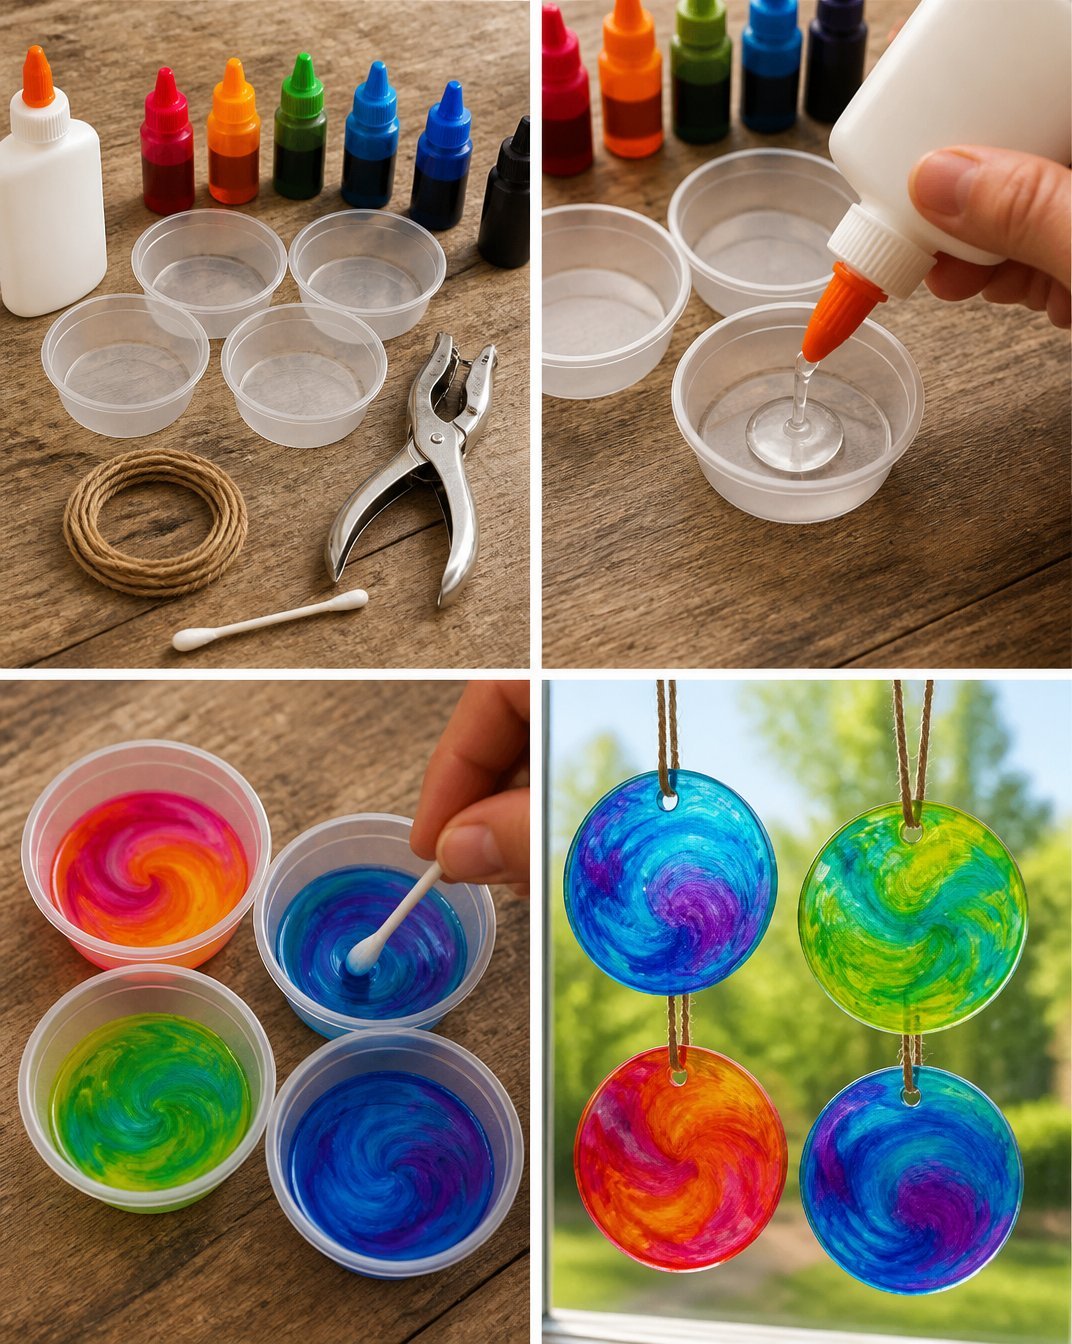
Pour the Glue: Begin by pouring clear glue into the plastic lids. Aim for a thin but even layer to ensure easy swirling and drying.
Add Color: Next, add several drops of liquid watercolor into the glue. Feel free to experiment with different colors to achieve a unique blend.
Swirl the Colors: Using a cotton swab or a toothpick, gently swirl the colors together. Don’t overmix; you want to see defined streaks of color for a more dynamic suncatcher.
Let It Dry: Leave the lids flat until the glue is fully transparent and dry. This usually takes a few hours. Patience is key here to ensure your suncatchers turn out perfectly!
Final Touches: Once dry, carefully peel the suncatchers from the lid. Use a hole punch to create a hole at the top and thread a string through for hanging.
Tips for Crafting Success
Choosing Colors: When selecting colors, consider using complementary shades for a visually striking effect. If you want more ideas, check out this fun craft for kids that also involves vibrant colors.
Creating Texture: Experiment with layering colors to create a textured look. You can apply more glue and watercolor layers once the first layer dries.
Displaying Your Suncatchers: Hang your completed suncatchers in windows where they can bask in sunlight, showcasing their colorful brilliance.
Common Mistakes to Avoid
Overmixing Colors: It’s easy to get carried away while swirling. Overmixing can lead to muddy colors instead of the vibrant swirls you desire.
Thin Layers: Pouring the glue too thick can result in longer drying times and may affect the clarity of the suncatcher.
Ways to Customize It
Feel free to customize your suncatchers in various ways. You can experiment with different shapes by using various-sized lids or incorporate additional embellishments like glitter or small sequins for extra sparkle. Consider making a seasonal display or a themed decoration for upcoming holidays, such as a haunted house decor for Halloween.
Crafting With Kids
This project is excellent for kids! It encourages creativity, fine motor skills, and patience. Set up a crafting area where they can explore color mixing and design without any stress. Just be sure to supervise them while using the hole punch and any scissors.
Frequently Asked Questions
How long does it take for the glue to dry?
The drying time can vary depending on the thickness of the glue layer. Generally, it takes about 2-4 hours to dry completely.
Can I use something other than plastic lids?
Absolutely! Any shallow dish or mold will work, but ensure it’s non-stick for easy removal.
Will the colors stay vibrant over time?
Yes, as long as they are kept out of direct sunlight for prolonged periods. Too much sunlight can fade the colors over time.
Conclusion
Making Swirl Glue Suncatchers is not only a fun and creative project, but it also leaves you with beautiful results that will enhance any room. For more engaging ideas, you might find inspiration in this Colorful DIY Glue Suncatcher Craft. Happy crafting!
Print
Swirl Glue Suncatchers
- Total Time: 250 minutes
- Makes: 3-5 suncatchers
Description
Create colorful, translucent suncatchers using clear glue and liquid watercolor that catch the light beautifully.
Materials
- Clear glue
- Liquid watercolor
- Plastic lids
- Cotton swab or toothpick
- Hole punch
- String
Instructions
- Pour the glue into the plastic lids, aiming for a thin but even layer.
- Add several drops of liquid watercolor into the glue, experimenting with different colors.
- Swirl the colors together using a cotton swab or a toothpick, ensuring defined streaks.
- Let the lids sit flat until the glue is transparent and dry, typically a few hours.
- Peel the suncatchers from the lid, then use a hole punch to create a hole and thread a string for hanging.
Notes
Consider using complementary colors and experimenting with layering for unique textures. Supervise children while crafting.