

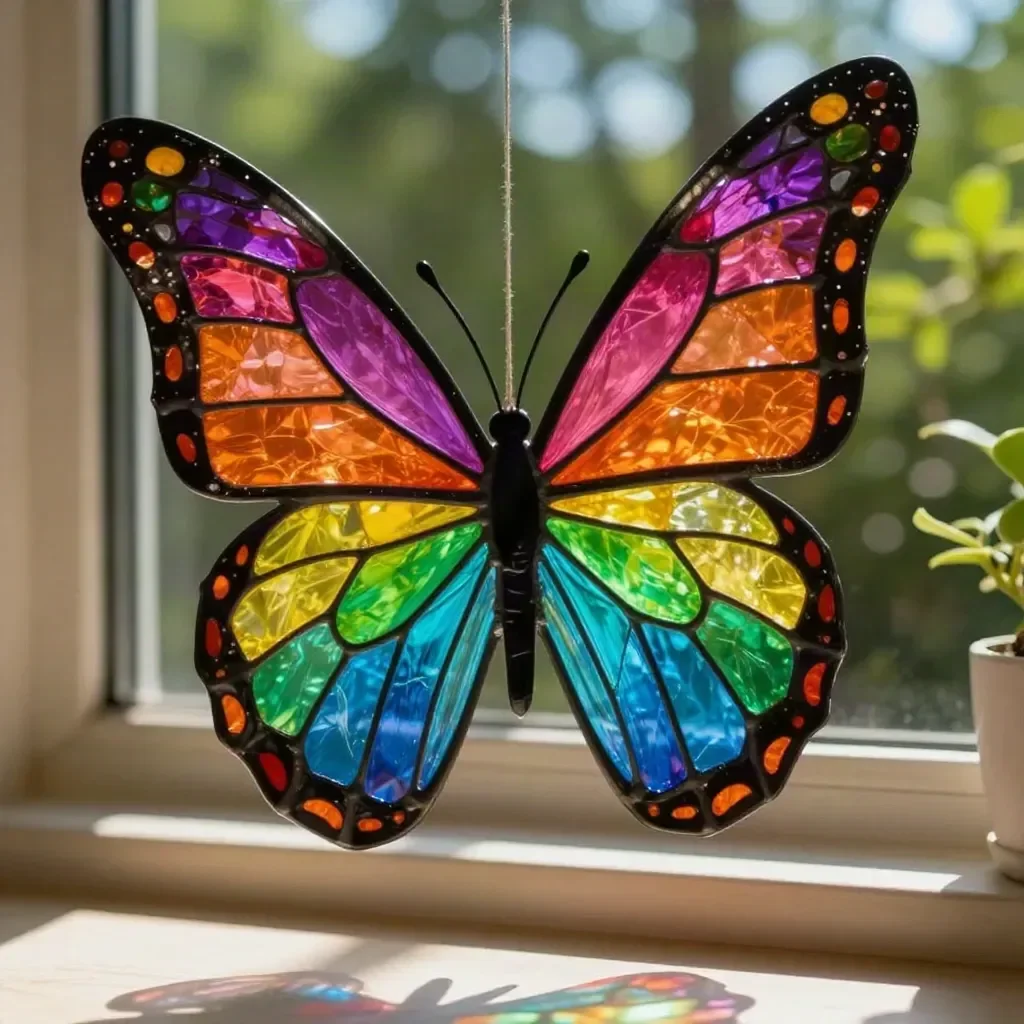
Create a Stunning Recycled Bottle Butterfly Suncatcher
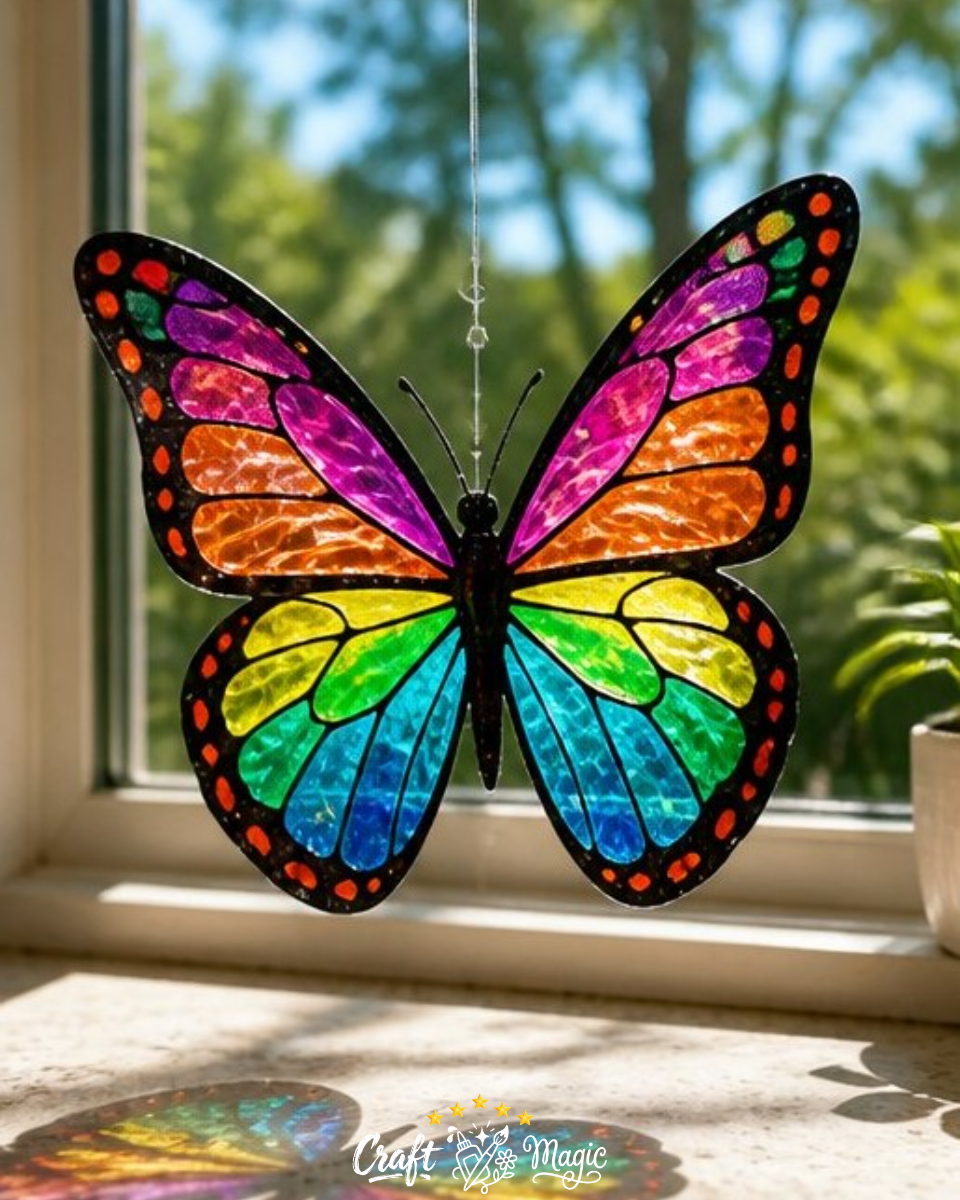
Are you looking for a way to transform ordinary plastic bottles into beautiful, colorful butterfly suncatchers? This fun and straightforward project combines creativity with recycling, making it perfect for families and crafters of all ages. Not only does it brighten up your space, but it also teaches children about sustainability and the joy of crafting. Using simple materials like scissor, permanent markers, and fishing line, you can create a dazzling decoration that catches the sunlight beautifully. You may also find Rainbow Butterfly Stakes Recycled Bottles useful.
Materials You’ll Need
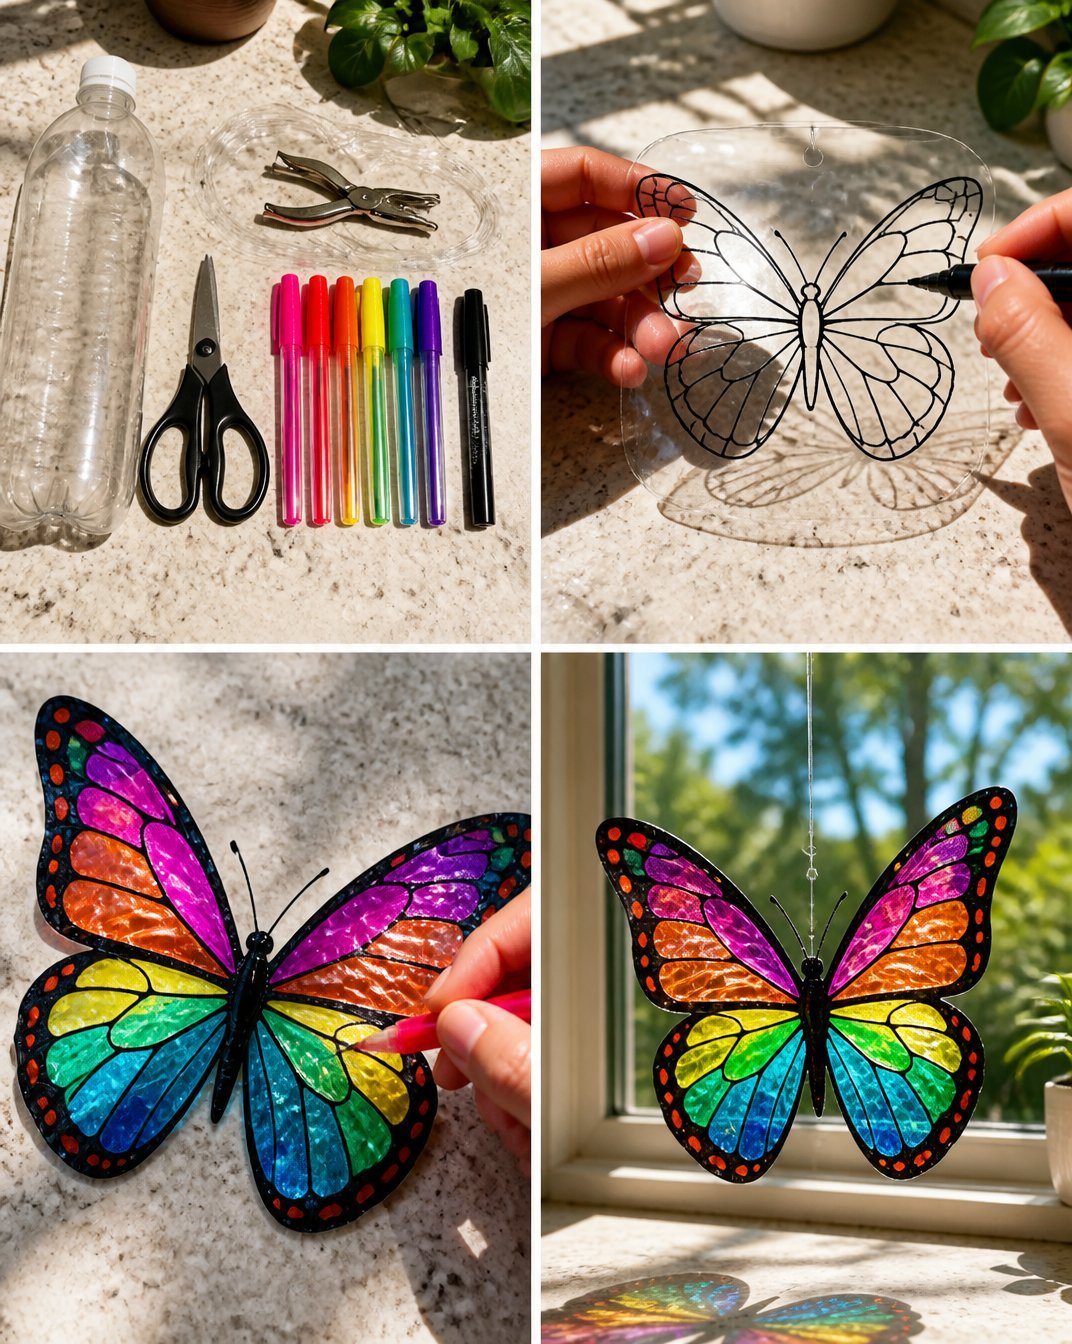
Before diving into the fun, gather your materials so you have everything handy. Here’s what you’ll need for your recycled bottle butterfly suncatcher:
- Clear plastic bottle
- Scissors
- Permanent markers
- Black marker
- Hole punch
- Fishing line
Step-by-Step Instructions
1. Gather Your Materials
Ensure your workspace is clean and organized for crafting. This helps you focus on creating without distractions.
2. Cut a Flat Piece from the Bottle
Begin by carefully cutting a flat section from the plastic bottle. Aim for a piece that is large enough to form both wings of your butterfly. Use your scissors safely and avoid sharp edges.
3. Draw the Butterfly Outline
Once you have your flat piece, use a permanent marker to sketch out the shape of a butterfly. Focus on making the wings symmetrical, as this will enhance the visual appeal of your suncatcher.
4. Color the Wings
Next, it’s time to add color! Use bright, transparent markers to fill in the wings. Opt for vibrant colors that will stand out when the sun hits them. After coloring, take your black marker and outline the wings to create a striking contrast.
5. Cut Out the Butterfly Shape
Now, carefully cut around your drawn butterfly outline. Aim for smooth edges to ensure a polished look. Be cautious with your scissors, especially when cutting intricate details.
6. Punch a Hole
After cutting out the butterfly, use a hole punch to create a small hole at the top center of the butterfly’s body. This step is essential for hanging your suncatcher later.
7. Hang Your Butterfly
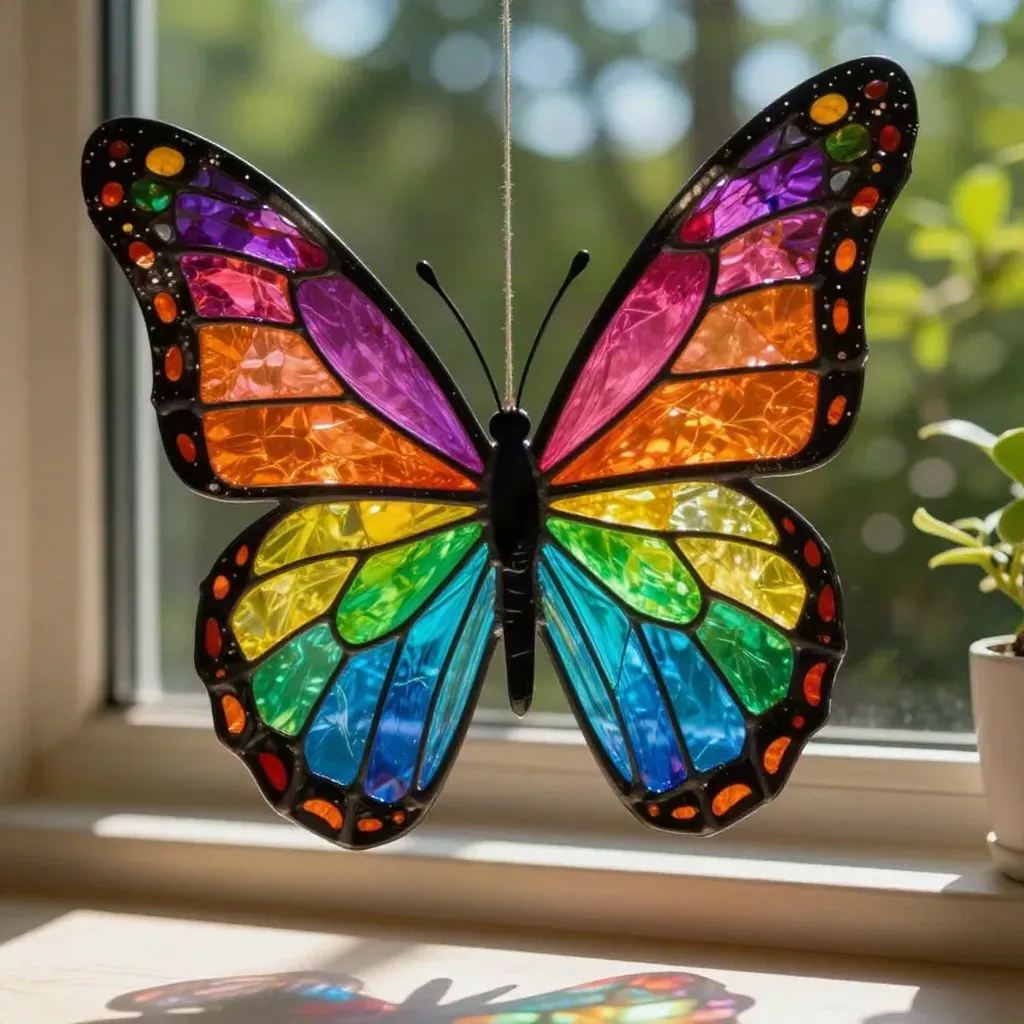
Finally, thread some fishing line through the hole you just punched. You can use the fishing line to hang your butterfly in a sunny spot, whether it be in your window or outside where it can catch the light. The result will be a fluttering display of colors that will brighten any space.
Tips for Crafting with Kids
Crafting with kids can be incredibly rewarding! Here are some tips to make the experience enjoyable:
- Encourage freehand art: Let children experiment with their designs, inspiring creativity.
- Supervise with scissors: Always monitor younger children when using scissors to ensure their safety.
- Explore different colors: Discuss color theory and let kids choose color combinations that appeal to them, similar to those used in our melted crayon rainbow butterfly suncatcher project.
Ways to Customize Your Suncatcher
Customization makes every craft unique. Here are a few ideas to personalize your butterfly suncatcher:
- Color Variations: Use seasonal colors, such as pastels for spring or warm tones for fall, to match your home’s decor.
- Add Glitter: For a sparkly effect, apply a thin layer of glue on the wings and sprinkle glitter before the glue dries.
- Size Options: Experiment with larger or smaller butterflies by adjusting the size of your initial cut from the bottle, which can resemble our first day rainbow pencil butterfly suncatcher variation.
Common Mistakes to Avoid
When crafting your suncatcher, here are some common pitfalls to be aware of:
- Overly Thick Cuts: If the plastic is too thick, it may not allow light to pass through effectively.
- Skipping the Hole Punch: Forgetting to punch a hole can make hanging your creation tricky later on.
- Using Non-Transparent Markers: Stick to transparent or semi-transparent markers for vibrant colors that shine in the light.
Frequently Asked Questions
How durable is the suncatcher?
The suncatcher is fairly durable as long as it is handled gently and not exposed to extreme weather conditions.
Can I use other types of plastic?
While clear plastic bottles work best, you can experiment with other clear plastic containers, just make sure they can be cut and colored.
How do I clean the suncatcher once it’s made?
To clean, simply use a damp cloth to wipe away dust or grime without damaging the artwork.
Conclusion
Crafting doesn’t just create beautiful items; it also fosters creativity and teaches valuable life skills. For more inspiration, consider exploring this delightful beaded butterfly wine bottle wind chime. Happy crafting!
Print
Recycled Bottle Butterfly Suncatcher
- Total Time: 15 minutes
- Makes: 1 suncatcher
Description
Transform ordinary plastic bottles into beautiful butterfly suncatchers with this fun and straightforward recycling project.
Materials
- Clear plastic bottle
- Scissors
- Permanent markers
- Black marker
- Hole punch
- Fishing line
Instructions
- Gather Your Materials
- Cut a Flat Piece from the Bottle
- Draw the Butterfly Outline
- Color the Wings
- Cut Out the Butterfly Shape
- Punch a Hole
- Hang Your Butterfly
Notes
Encourage creativity when crafting with kids, and explore different colors together. Supervise the use of scissors for safety.