

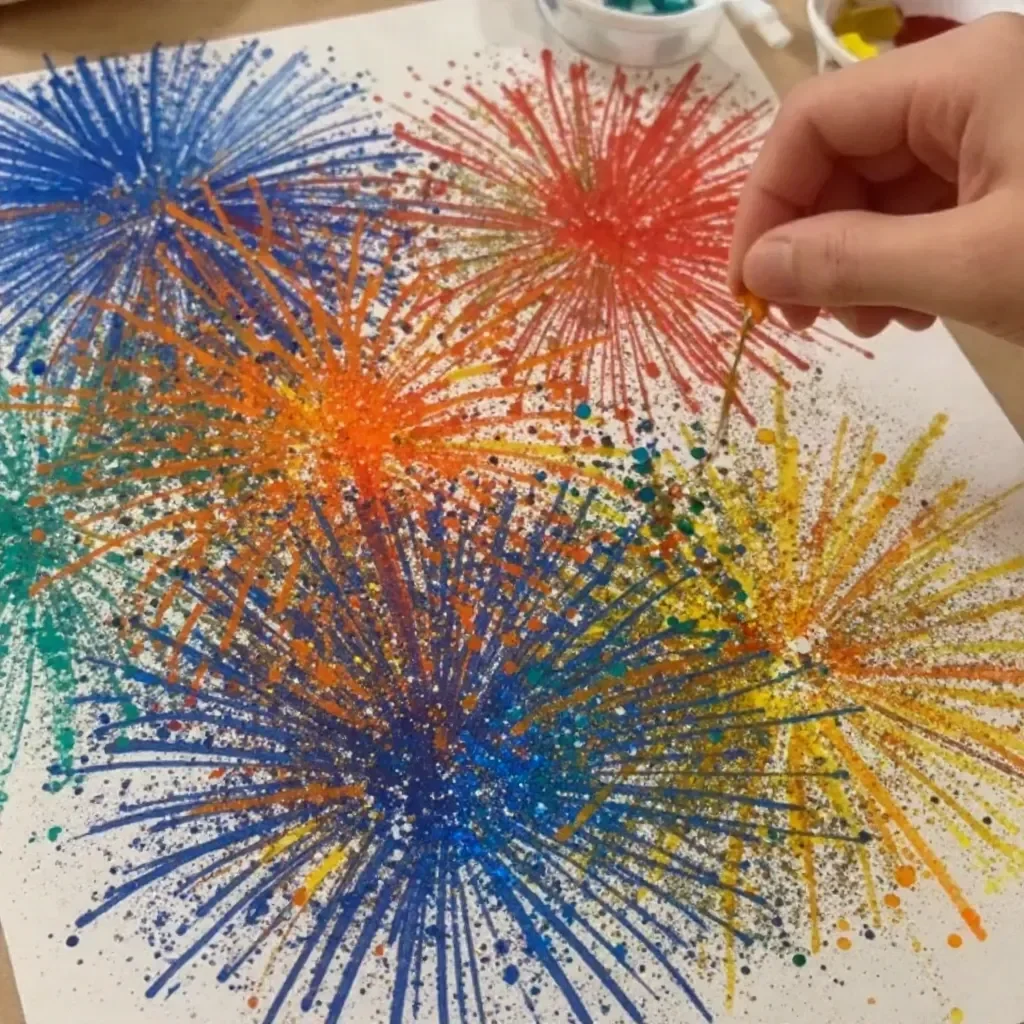
Fly Swatter Firework Prints
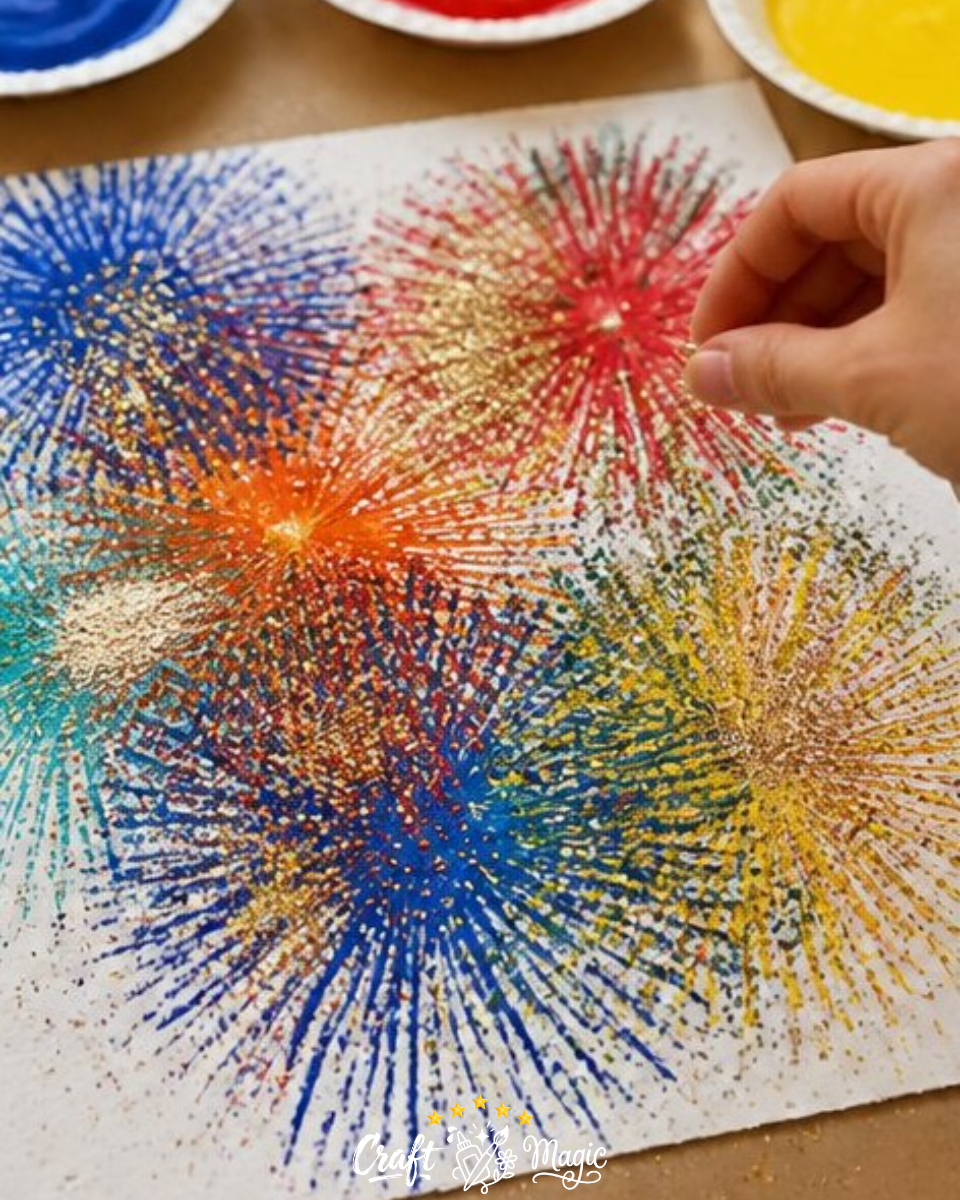
Get ready to unleash your creativity with a fun and easy project Fly Swatter Firework Prints! This craft involves using a clean plastic fly swatter and washable paint to create stunning burst patterns on paper. The colorful explosion of paint layered on each other will make your finished results eye-catching and unique, turning a simple afternoon into a vibrant display of art. Perfect for crafting with kids or adding a fun twist to your art activities, this project is approachable and satisfying. You may also find Rainbow Butterfly Stakes Recycled Bottles useful.
Materials You’ll Need
Before we dive into the fun, gather these materials to get started:
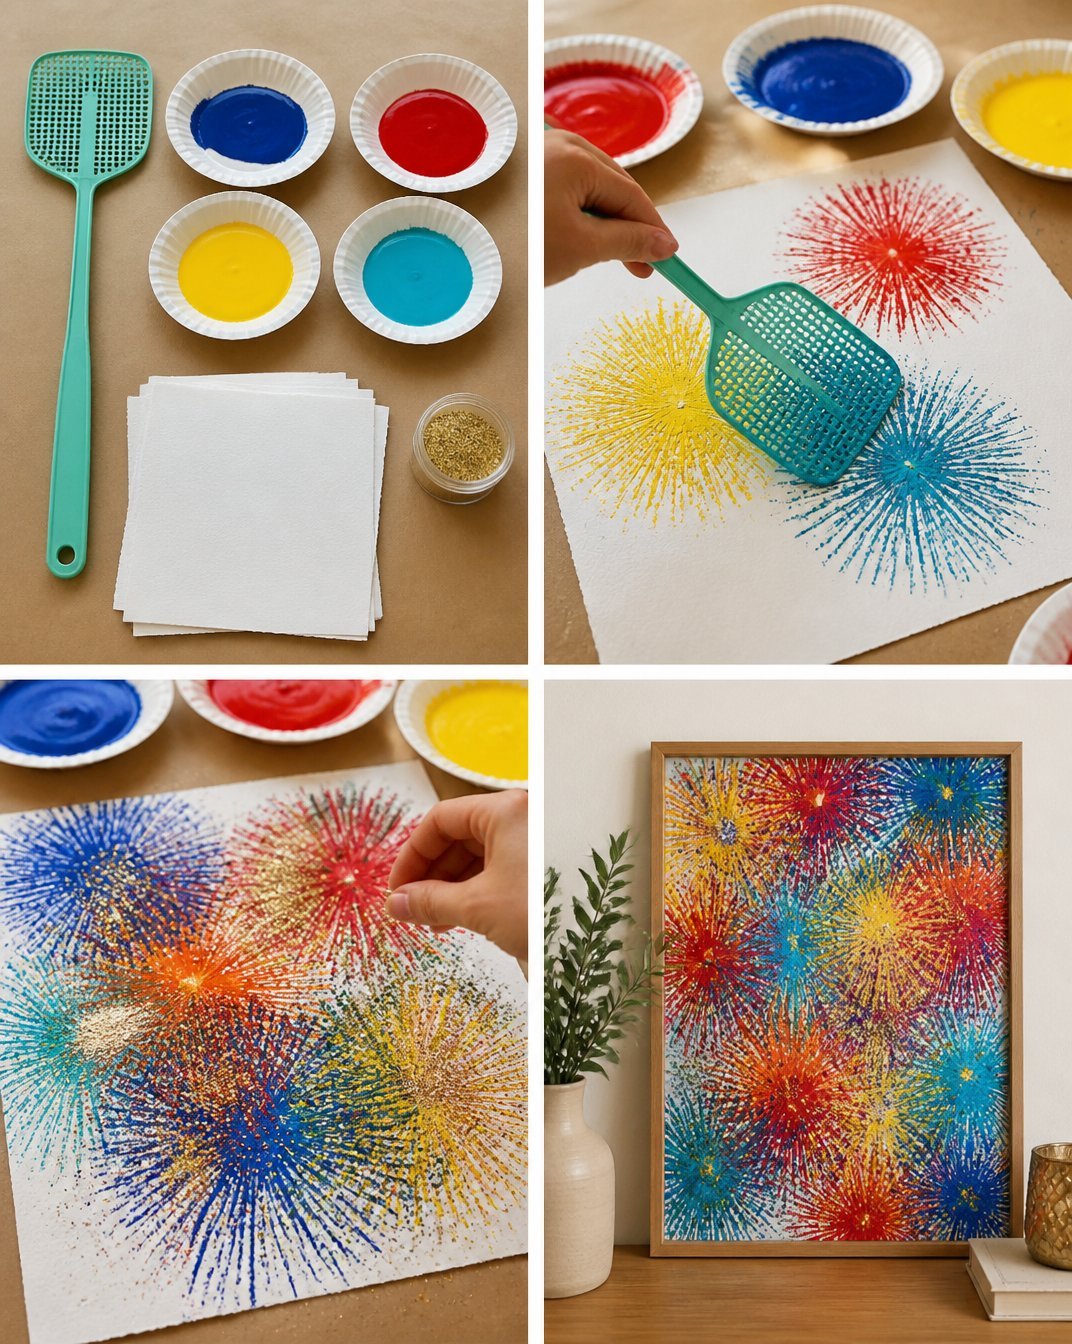
- Clean plastic fly swatter
- Washable paint
- Paper
- Shallow plates
- Glitter (optional)
How to Make Fly Swatter Firework Prints
Follow these simple steps to create your colorful firework prints:
Step 1: Prepare Your Workspace
First, set up a clean and spacious workspace where you can enjoy the painting process without worrying about mess. Lay down some newspaper or an old sheet to protect your surfaces.
Step 2: Pour Paint Into Plates
Next, pour different colors of washable paint onto your shallow plates. Aim for a variety of colors to make your prints as vibrant as possible. You might want to choose colors that complement each other or go for a rainbow palette for a festive touch.
Step 3: Get Printing
Now comes the fun part! Lightly dip the fly swatter into one of the paint colors, ensuring you don’t soak it too heavily. Press the swatter onto your paper to create burst patterns. You can vary the pressure and angle to see what kinds of prints you can create.
For added excitement, consider layering several colors. Just remember to sprinkle glitter on your prints while the paint is still wet for that extra sparkle!
Step 4: Allow to Dry
Once you’re satisfied with your vibrant firework prints, let your masterpiece dry completely. This drying stage is crucial to ensure your artwork sets properly.
Helpful Tips for Success
- Experiment with Techniques: Don’t hesitate to try different swatting techniques. You can twist the swatter while pressing down or even try lifting it quickly to create varied textures.
- Create a Series: If you have enough paint, create a series of prints with different color combinations. This can be a great way to enjoy the process and see how different colors interact.
- Customize Your Prints: Think about ways to customize your art further. You could frame the finished pieces or use them as wrapping paper or greeting cards.
Common Mistakes to Avoid
- Overloading on Paint: Avoid dipping the swatter too deep into the paint. A light touch is key to achieving clear prints.
- Skipping the Glitter Step: If you plan to add glitter, do it immediately while the paint is wet. Otherwise, your prints won’t have that dazzling touch.
Display Ideas
Your finished firework prints can make great wall art for a child’s room or fun decorations for a party. You could also create greeting cards or gift tags using your prints, adding a personal touch to your gifts.
If you enjoyed this project, you might also like creating Rainbow Pencil Butterfly Suncatchers or exploring our Melted Crayon Rainbow Butterfly Suncatcher for Kids for more colorful creativity!
Frequently Asked Questions
1. How long should I let my prints dry?
Typically, letting them dry for at least 1-2 hours in a well-ventilated area is ideal, but this can vary based on paint thickness.
2. Can I use different types of paper?
Absolutely, any kind of paper should work, but thicker paper or cardstock can provide a sturdier base for your prints.
3. What if I don’t have a fly swatter?
You can use other textured sponges or stamp pads; just make sure they can dab paint without soaking too much.
Customize Your Crafting Experience
One of the joys of crafting is that you can always find ways to innovate or change your creations. Think about seasonal themes using reds and greens for Christmas or pastels for spring. The beauty of Fly Swatter Firework Prints is the flexibility in color choices and designs.
Conclusion
Fly Swatter Firework Prints are a delightful way to explore creativity with everyday materials. As a bonus, these prints can also serve as excellent decorative pieces that celebrate the beauty of art in a family’s home. For additional inspiration on attracting various pollinators through gardening efforts, check out this resource on flower flies as surprise pollinators. Happy crafting!
Print
Fly Swatter Firework Prints
- Total Time: 1 hour
- Makes: Varies
Description
Create stunning burst patterns using a plastic fly swatter and washable paint in this fun and easy crafting project.
Materials
- Clean plastic fly swatter
- Washable paint
- Paper
- Shallow plates
- Glitter (optional)
Instructions
- Prepare your workspace by laying down newspaper or an old sheet to protect surfaces.
- Pour different colors of washable paint into shallow plates.
- Get printing by lightly dipping the fly swatter into paint and pressing it onto the paper.
- Allow your prints to dry completely for best results.
Notes
Experiment with techniques and customize your prints for a personal touch. Make sure to add glitter while the paint is wet for extra sparkle.