

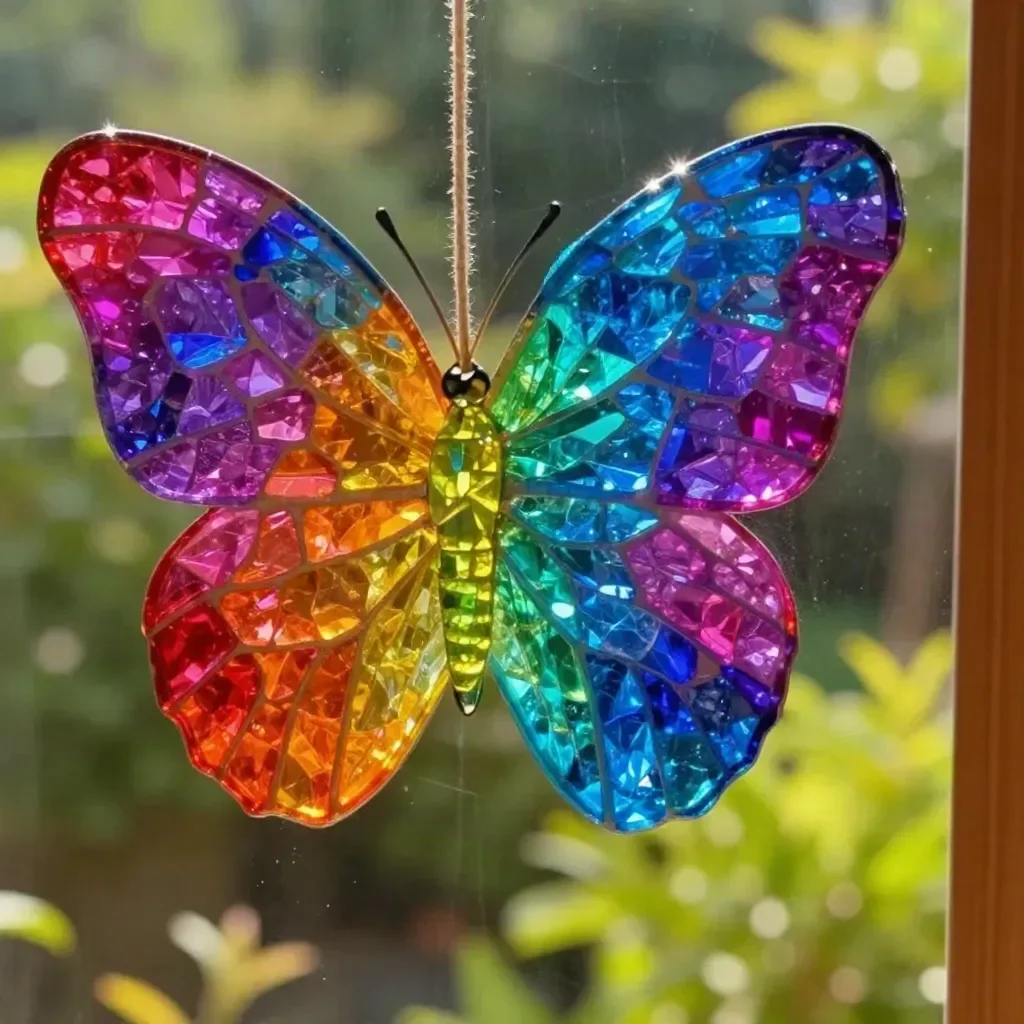
Melted Bead Butterfly Suncatcher
Creating a melted bead butterfly suncatcher is a delightful way to add color and charm to your windows while providing a fun crafting experience. This project transforms simple translucent pony beads into beautiful, glossy creations that catch the light and create mesmerizing colors in your space. Not only is the process of melting and shaping the beads satisfying, but it also makes for a perfect craft to enjoy with family or friends. You may also find Melted Crayon Rainbow Butterfly Suncatcher For Kids useful.
Materials You’ll Need
Gather the following materials to get started on your melted bead butterfly suncatcher:
- Translucent pony beads
- Metal butterfly cookie cutter
- Parchment-lined baking sheet
- Oven
- String
Why This Craft Works So Well
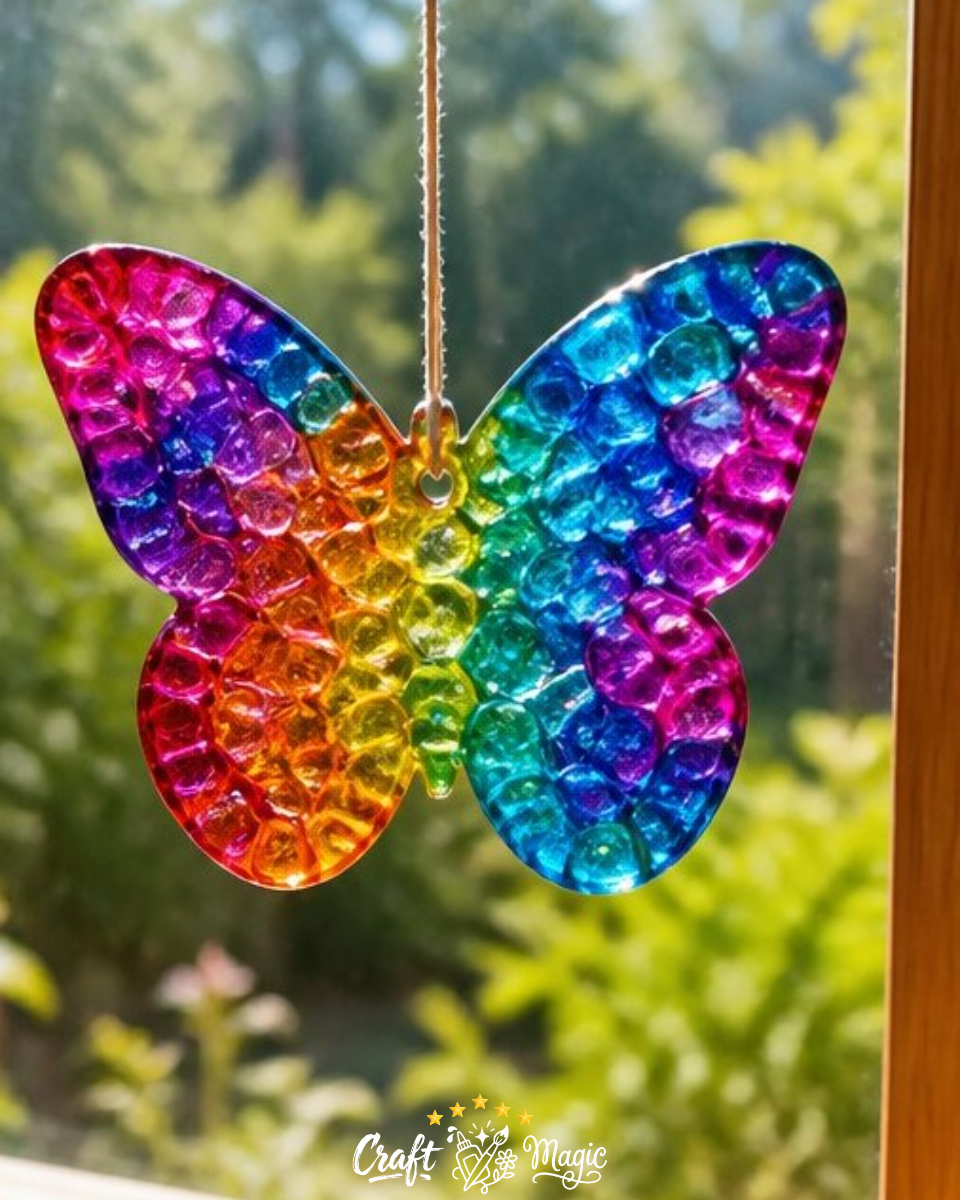
The melted bead technique is a fantastic crafts method, especially for creating colorful suncatchers. The translucent nature of the beads allows sunlight to filter through, resulting in a lovely, vibrant display. By using a cookie cutter in the shape of a butterfly, you’ll not only make a striking piece of art but also inspire creativity in those around you. If you’re interested in more similar crafts, check out this melted crayon rainbow haunted house suncatcher craft for further inspiration!
Step-by-Step Instructions
Prepare Your Workspace: Begin by gathering all your materials and clearing a flat surface. Make sure your workspace is well-ventilated and easy to clean up afterward.
Arrange the Beads: Place the metal butterfly cookie cutter on the parchment-lined baking sheet. Inside the cutter, arrange the translucent pony beads in a single layer. You can mix colors creatively, placing them close but not overlapping, as they will expand when melted.
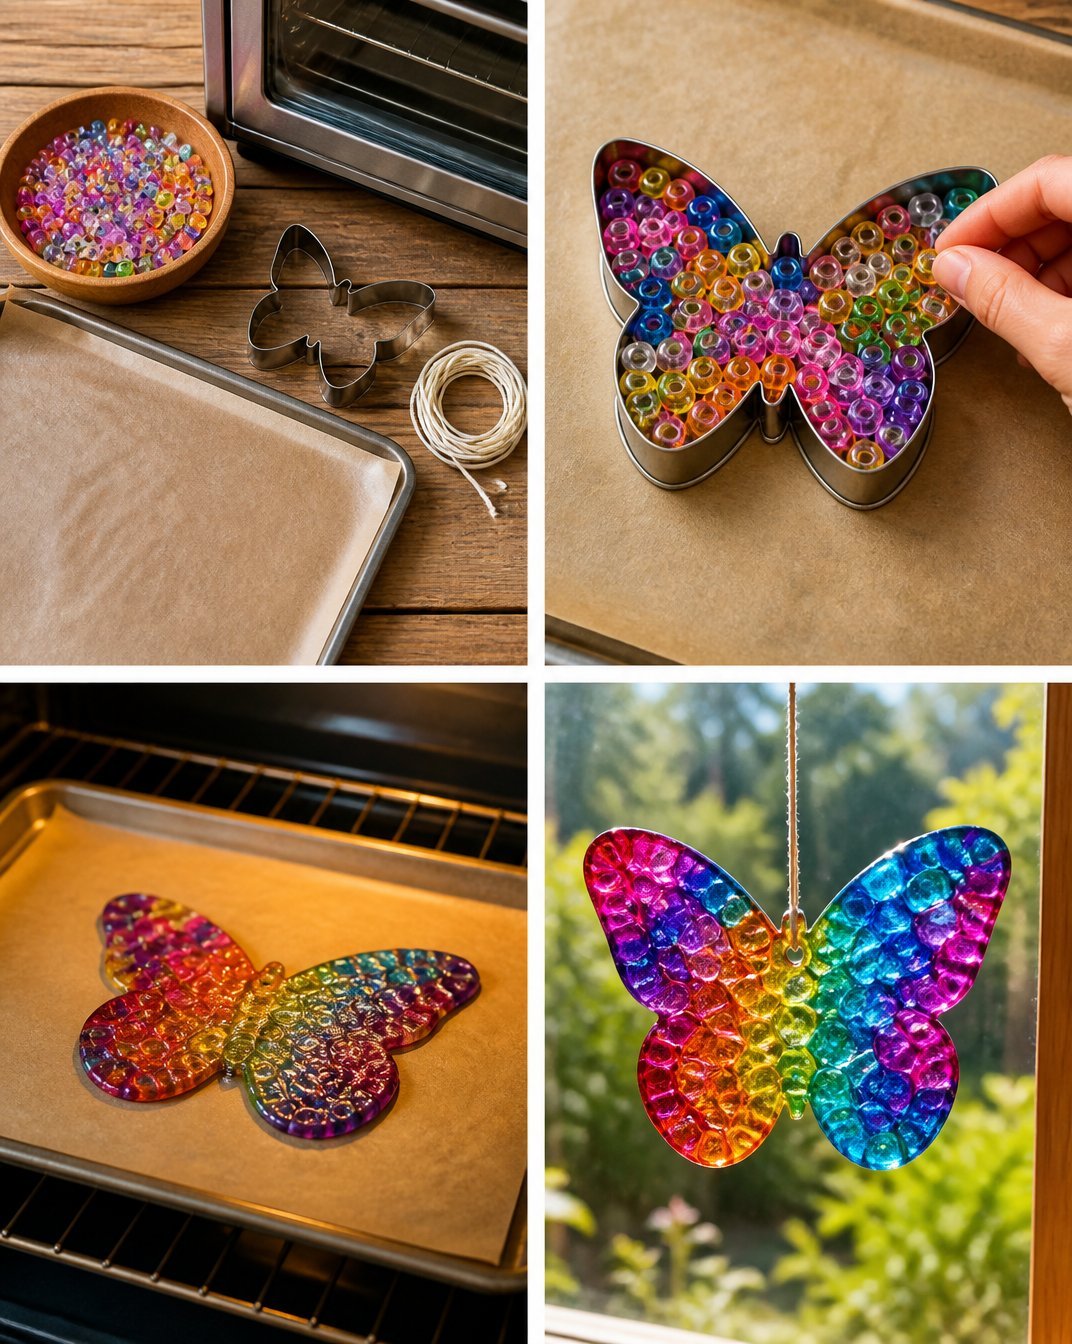
Melt the Beads: Preheat your oven according to the guidance on your bead packaging. Place the baking sheet in the oven and melt the beads. Keep a watchful eye on them to ensure they fuse without burning. This usually takes about 10-15 minutes, but check frequently.
Cool and Remove: Once the beads are melted and fused together, carefully remove the sheet from the oven. Allow it to cool completely until the beads harden again. Gently lift the butterfly shape out of the cookie cutter.
Make a Hanging Hole: After the suncatcher has completely cooled, you can create a small hole at the top for stringing. Use a craft knife or a sharp object with caution, and ensure this is done safely and away from children.
Add the String: Finally, thread string through the hole you’ve made for hanging. Choose a location where the suncatcher will catch the sunlight beautifully, enhancing its colorful appearance.
Creative Customizations
Once you’re comfortable with the basic technique, consider experimenting with different shapes and themes. For example, while you’re making butterfly suncatchers, you could also try creating various designs like flowers or hearts to complement your window displays. If you are looking for another fun butterfly craft, explore the first day rainbow pencil butterfly suncatcher tutorial.
Helpful Tips for Success
- Ventilation: Always work in a well-ventilated area, especially when melting plastic beads.
- Oven Safety: Use oven mitts to handle hot baking sheets, and ensure children are supervised during the melting process.
- Bead Choices: Not all beads melt the same way. Make sure to use pony beads specified for melting to achieve the best results.
Common Mistakes to Avoid
- Overcrowding Beads: Avoid placing too many beads in the cutter. If they overlap, they may not fuse correctly.
- Ignoring Oven Times: Every oven is different, so keep an eye on your beads while they melt to avoid burning them.
Frequently Asked Questions
How do I make the hole for hanging?
Using a small, sharp object, carefully poke through the top of your cooled suncatcher to create a hole for the string. Be sure to do this on a stable surface and handle the cutter carefully.
Can I make these with kids?
Yes! This project is suitable for kids with adult supervision, especially during the melting phase. They can help with arranging beads and hanging the finished product.
How do I display my suncatcher?
Hang your suncatcher in a spot where it will receive direct sunlight, such as near a window, to see the vibrant colors shine.
Conclusion
Creating a melted bead butterfly suncatcher can be a rewarding way to spend time with family while brightening your home decor. If you’re interested in exploring another captivating craft, consider making these melted bead suncatcher mobiles for a stunning addition to your creative projects! Enjoy crafting, and let your creativity shine!
Print
Melted Bead Butterfly Suncatcher
- Total Time: 25 minutes
- Makes: 1 suncatcher
Description
Create a vibrant melted bead butterfly suncatcher to add color to your windows while enjoying a fun crafting experience.
Materials
- Translucent pony beads
- Metal butterfly cookie cutter
- Parchment-lined baking sheet
- Oven
- String
Instructions
- Prepare your workspace by gathering materials and clearing a flat surface.
- Arrange the beads in a single layer inside the cookie cutter on the baking sheet.
- Melt the beads in the preheated oven for 10-15 minutes, watching closely.
- Cool the melted beads completely before removing the butterfly shape from the cutter.
- Create a small hole at the top of the suncatcher for stringing.
- Add string through the hole for hanging your suncatcher.
Notes
Always work in a well-ventilated area and supervise children during the melting phase. Use appropriate safety measures when handling hot items.