

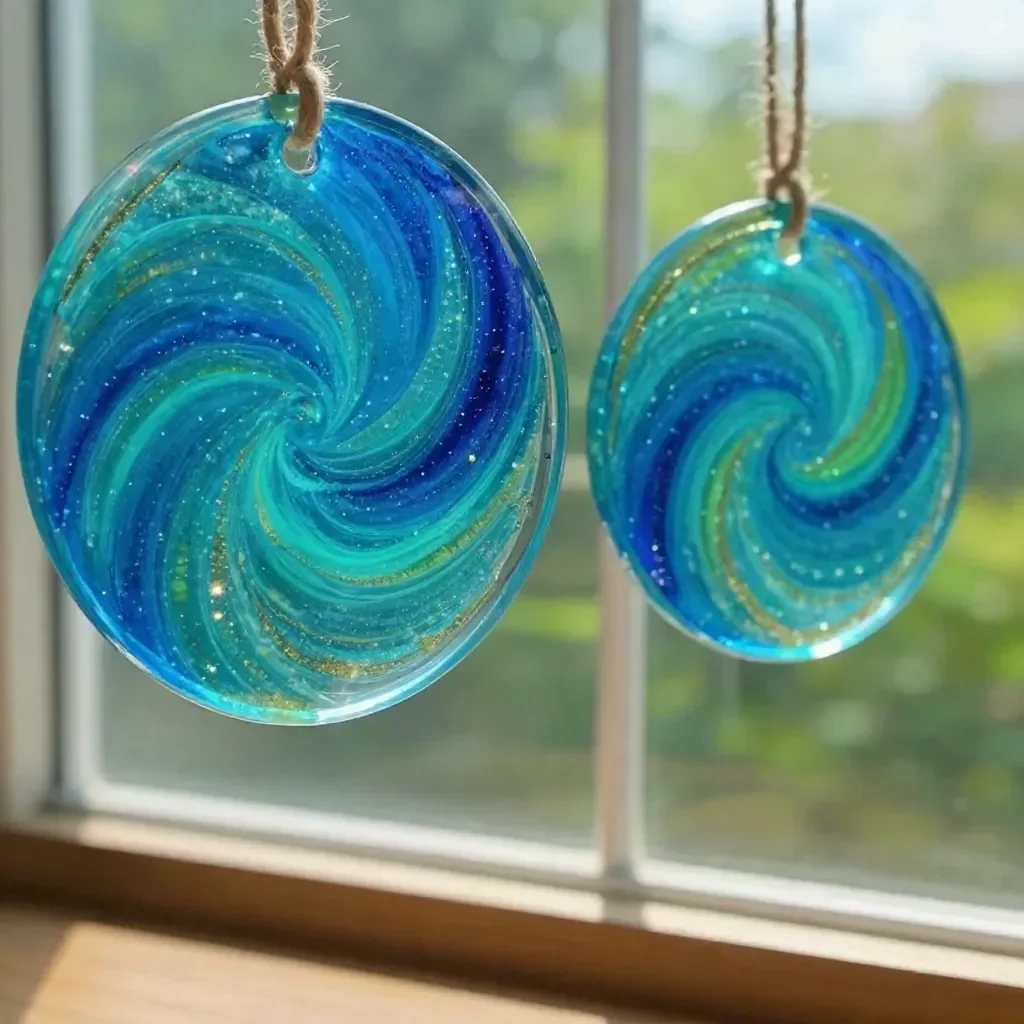
Ocean Swirl Glue Suncatchers
Imagine capturing the beauty of ocean waves in a colorful, shimmering suncatcher that dances in the light. With a few simple materials, making your very own Ocean Swirl Glue Suncatchers is not only easy but also incredibly satisfying. The mesmerizing swirls of blue, aqua, and green create a captivating piece that will brighten up any window display. You may also find Clear Pink Unicorn Apple Teacher Suncatcher useful.
The process allows for creative freedom, letting you experiment with different color combinations and glitter effects. This craft is particularly enjoyable for families, making it a perfect activity for children and adults alike. To inspire young crafters, check out our Rainbow Panda Fall Leaf Friends Craft for more fun crafting ideas with kids.
Materials You’ll Need
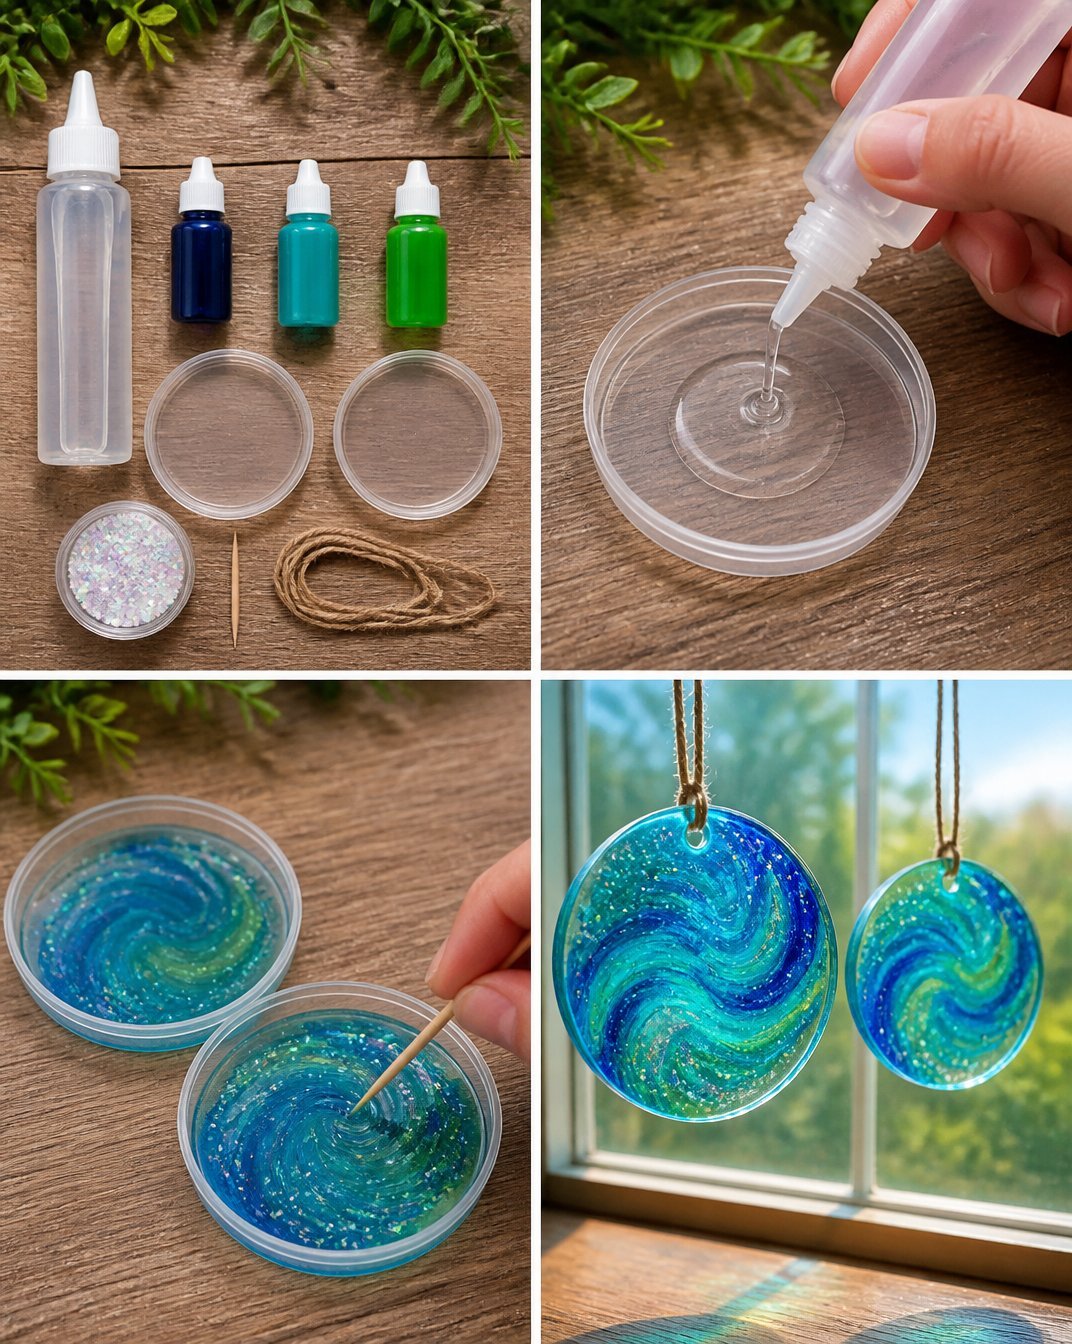
Before diving into this colorful project, gather the following materials: You may also find Rainbow Unicorn Haunted House Decor useful.
- Clear glue
- Blue liquid watercolor
- Aqua liquid watercolor
- Green liquid watercolor
- Plastic lids
- Iridescent glitter
- Toothpick
- String
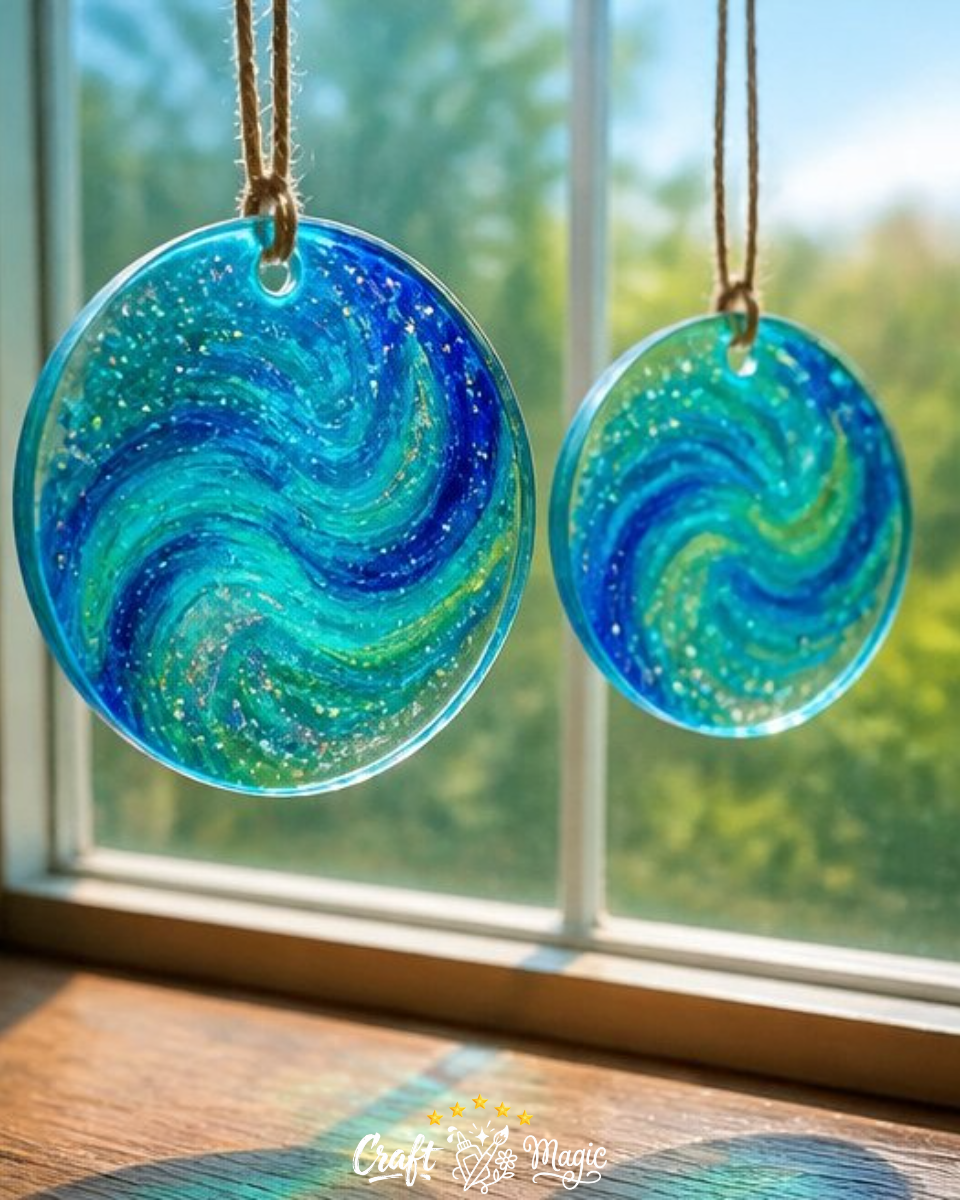
These materials are easy to find, and the process of creating the suncatchers is straightforward, making it perfect for any skill level.
How to Make Ocean Swirl Glue Suncatchers
Follow these step-by-step instructions to create your stunning suncatcher:
Create the Base: Begin by pouring clear glue into your plastic lids until they are about halfway filled. This will serve as the base for your vibrant colors.
Add Color: Carefully add a few drops of blue, aqua, and green liquid watercolor to the glue. Be creative with your color placement! Next, sprinkle a generous amount of iridescent glitter over the colors to add a touch of sparkle.
Swirl the Colors: Using a toothpick, gently swirl the colors in the glue. The goal is to mimic the flowing movement of ocean currents, so take your time and enjoy the creative process.
Drying: Allow your suncatchers to dry completely until they become clear. This usually takes several hours, so be patient. Once dry, you can carefully peel the suncatchers out of the lids.
Display Your Art: Finally, thread string through the top of the suncatcher and hang it in a sunny window. Watch as the light reflects through your beautiful creation!
Tips for Success
- To ensure vibrant colors, use a generous amount of liquid watercolor.
- Experiment with different glitter types; consider using holographic glitter for added shimmer.
- If the colors aren’t swirling as desired, try using the toothpick to gently stir without over-mixing.
Common Mistakes to Avoid
- Do not overfill the lids with glue, as this can prevent the suncatchers from drying properly.
- Be cautious with the amount of liquid watercolors added; too much can lead to muddy colors.
Ways to Customize It
One of the best parts about these suncatchers is their versatility. You can customize them in several ways:
- Color Combinations: Try using different shades to reflect different ocean themes, like a sunset or a coral reef.
- Shapes: Instead of round lids, use various shapes like hearts or stars for different effects.
- Seasonal Themes: Create seasonal designs, like using warm colors for autumn-themed suncatchers or cool colors for winter.
Display Ideas
Once your suncatchers are complete, display them prominently. Hang them in windows where sunlight can illuminate their vibrant colors, or give them as personalized gifts for friends and family, enhancing their home decor.
Crafting With Kids
This project is ideal for children, promoting not only creativity but also fine motor skills through the swirling and pouring processes. Always supervise young children, especially when using glitter and liquid colors, to ensure a fun, safe experience.
Frequently Asked Questions
How long do the suncatchers take to dry?
The drying time can vary, but it’s best to let them dry completely for at least 4-6 hours.
Can I use other types of glue?
While clear glue is recommended for its transparency, you can experiment with liquid school glue or other craft glues, but results may vary.
Will the colors fade over time?
If exposed to direct sunlight for extended periods, the colors may fade slightly. However, using high-quality liquid watercolors can help maintain vibrancy.Creating your own Ocean Swirl Glue Suncatchers is not just a fun family activity; it fosters creativity and problem-solving in children. These stunning pieces can easily transform your space, reflecting light and joy throughout your home.
Conclusion
Crafting suncatchers can be a delightful way to engage in creativity while adding a personal touch to your decor. If you’re interested in exploring more ideas for crafting with glue, you might find inspiration in this Elmer’s Glue Sun Catcher guide. Enjoy the process and let your imagination flow!
Print
Ocean Swirl Glue Suncatchers
- Total Time: 375 minutes
- Makes: 4 suncatchers
Description
Make colorful Ocean Swirl Glue Suncatchers to capture the beauty of ocean waves. A fun and easy craft for all ages!
Materials
- Clear glue
- Blue liquid watercolor
- Aqua liquid watercolor
- Green liquid watercolor
- Plastic lids
- Iridescent glitter
- Toothpick
- String
Instructions
- Create the base by pouring clear glue into your plastic lids until they are halfway filled.
- Add a few drops of blue, aqua, and green liquid watercolor to the glue.
- Sprinkle a generous amount of iridescent glitter over the colors.
- Swirl the colors using a toothpick to mimic ocean currents.
- Allow your suncatchers to dry completely until they become clear.
- Thread string through the top of the suncatcher and hang it in a sunny window.
Notes
Use a generous amount of liquid watercolor for vibrant colors. Supervise children during the process.