

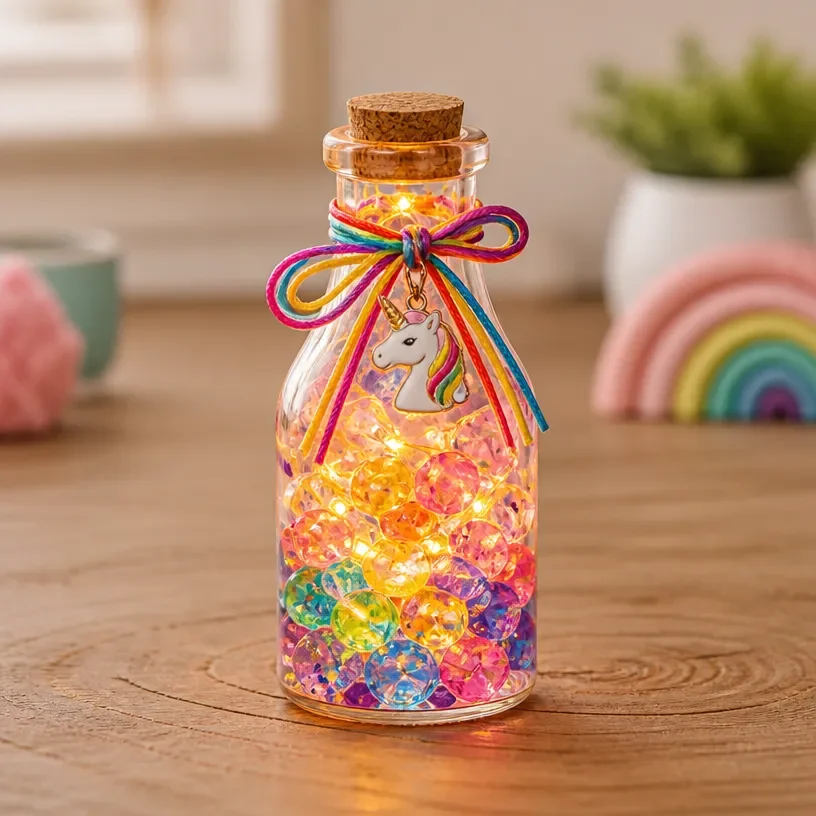
Rainbow Unicorn Potion Bottle Lantern
Transform a simple bottle into a dazzling Rainbow Unicorn Potion Bottle Lantern that glows with enchanted colors! This craft pairs ordinary materials like plastic bottles with vibrant, rainbow designs, creating an eye-catching display that’s perfect for any room or event. The combination of light and color makes this lantern not only visually captivating but also an approachable craft, ideal for creative beginners. Let’s dive into this colorful project! You may also find Rainbow Puppy Ghost Glow Lantern Diy Project useful.
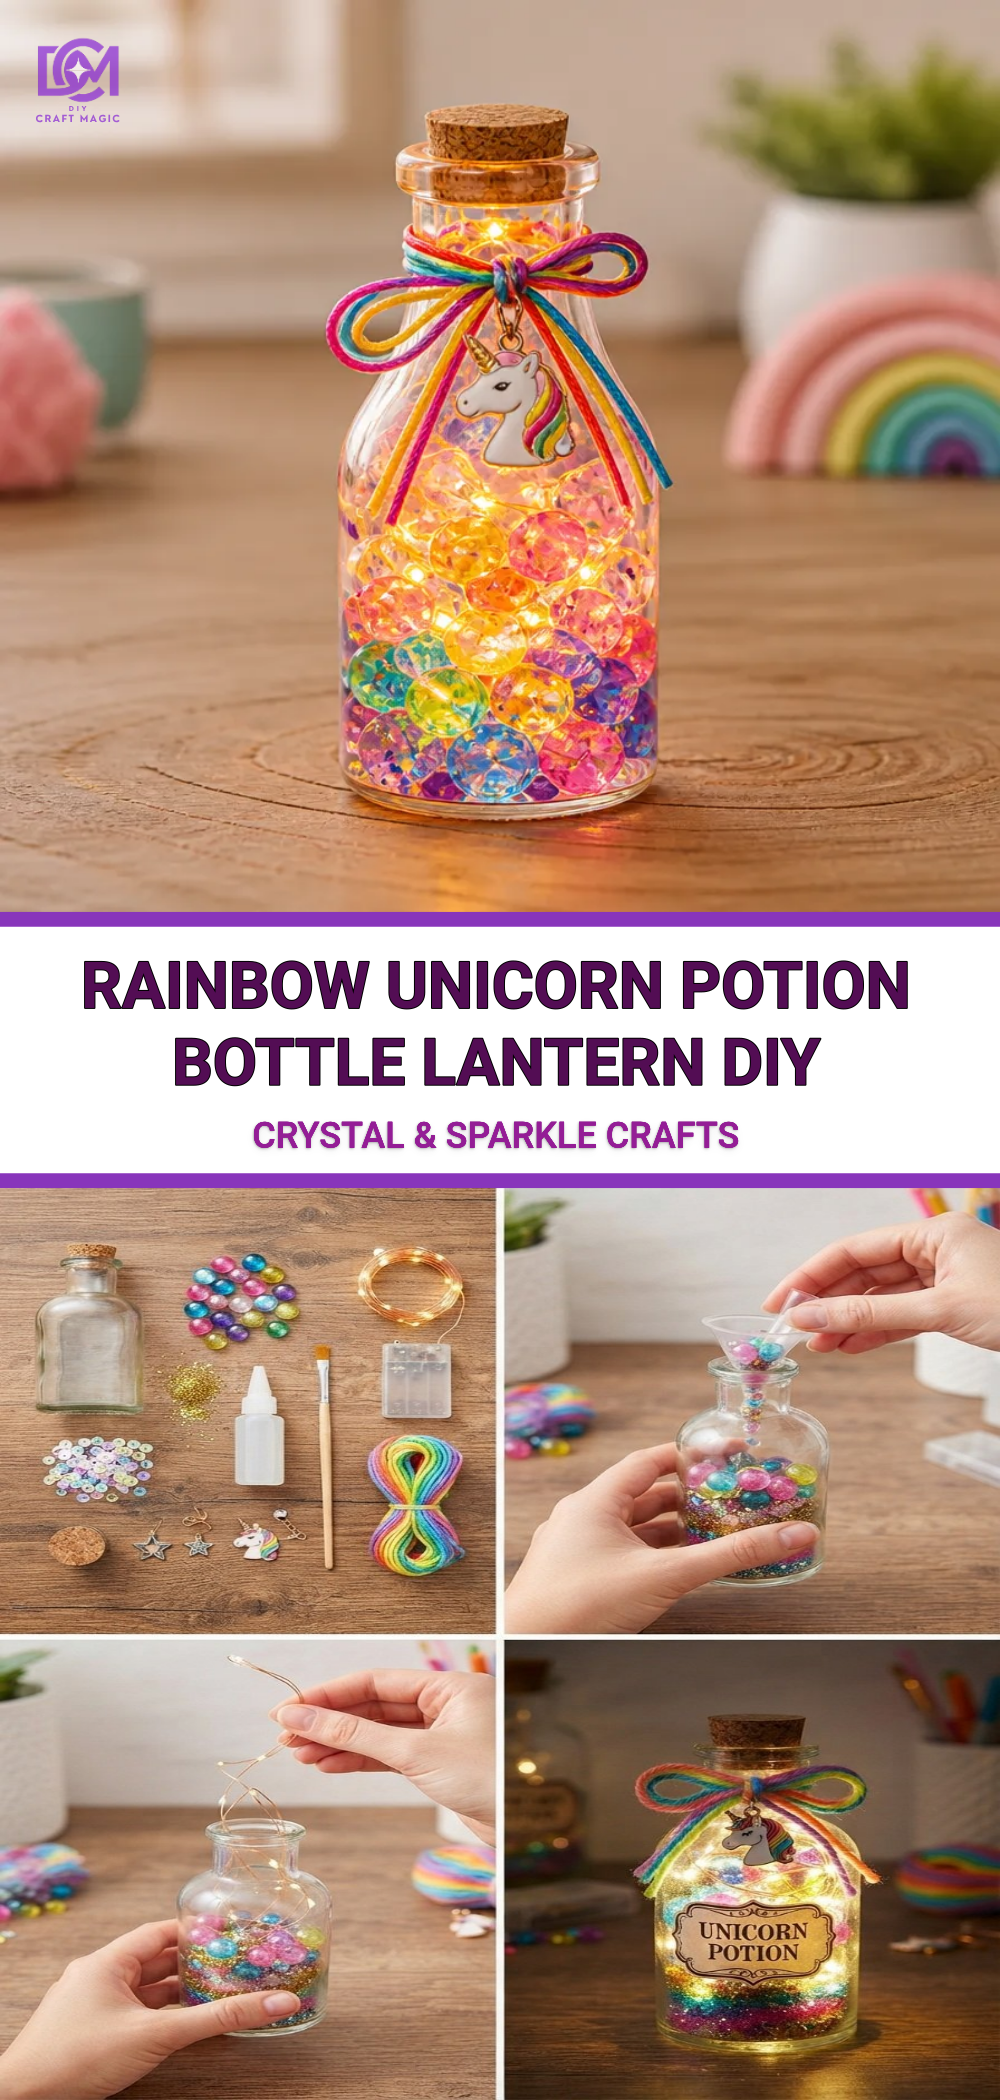
Materials You’ll Need
To create your Rainbow Unicorn Potion Bottle Lantern, gather the following materials:
- A clean, empty plastic bottle (water or soda bottle works great)
- Acrylic paints in rainbow colors
- Paintbrushes (varied sizes)
- A clear LED tea light or fairy lights
- Mod Podge or craft glue
- Glitter (optional)
- Scissors
- An X-Acto knife (adult supervision recommended if using)
- Tape
- Twine or ribbon for decoration (optional)
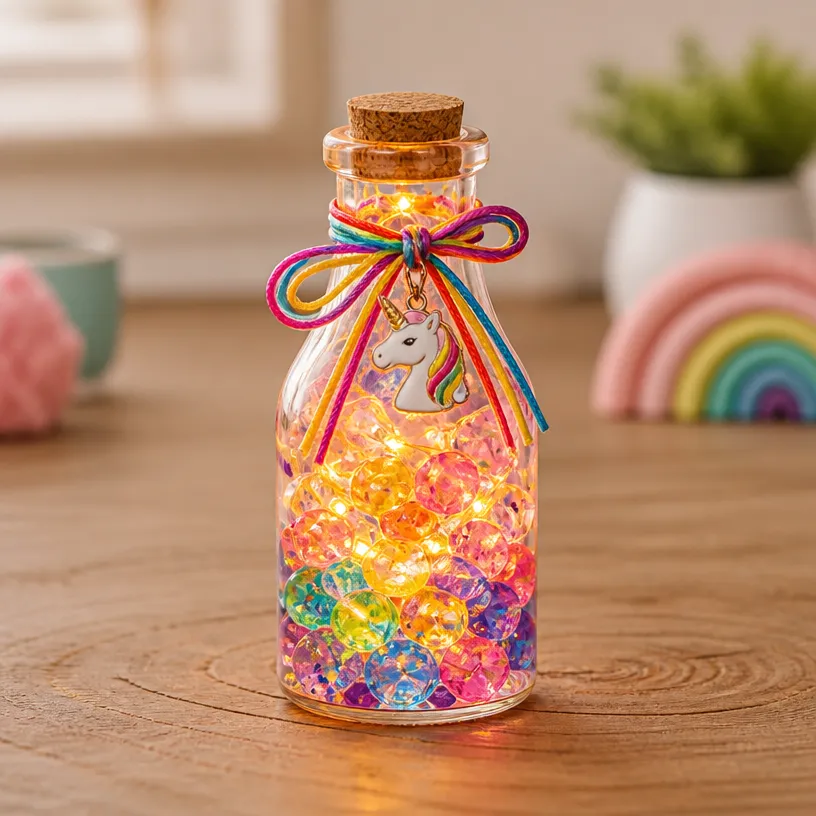
Getting Started
Once you have your materials ready, it’s time to customize your bottle. If you want additional inspiration for fun projects, consider checking out our Rainbow Butterfly Stakes tutorial for a colorful addition to your crafting repertoire.
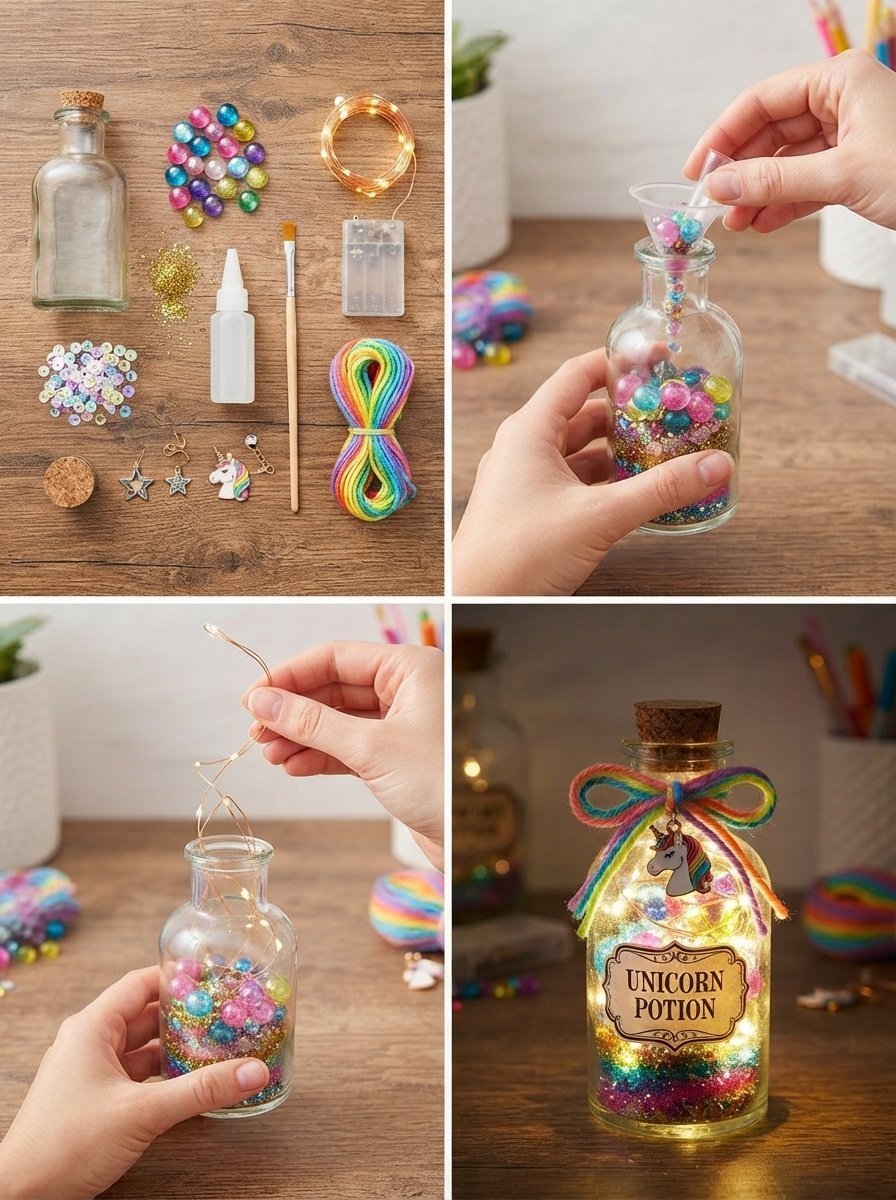
Preparing the Bottle: Start by removing the label from the bottle and cleaning it thoroughly. Make sure it’s completely dry before you begin adding your design to avoid paint washing away.
Painting the Inside: Begin by painting the inside of the bottle with the rainbow colors. Use bright hues like red, orange, yellow, green, blue, and purple. This will create a stunning effect when the light shines through. Allow each layer to dry before applying the next; this might take a few hours depending on the paint thickness.
Creating the Crystal Effect
To enhance the magical look of your potion bottle, consider using glitter or shiny paint. This step can help create a mesmerizing crystal effect that sparkles under light.
- Apply a thin layer of Mod Podge or craft glue inside the bottle after the paint has dried.
- Sprinkle glitter inside while the glue is still wet to allow for an even coating. Shake out any excess glitter, ensuring it adheres well.
By combining colors and finishes, you’ll ensure your lantern is a standout piece that captures the imagination. If you’re interested in projects that also incorporate recycled materials, check out our Rainbow Flower Garden Stakes for additional fun.
How to Assemble Your Lantern
Once your bottle is fully painted and glittered, it’s time to finish assembling your lantern.
Adding the Light Source: Take your clear LED tea light or fairy lights and place them inside the bottle. Ensure they are secure and won’t fall out when you move the bottle. If needed, tape them down to prevent shifting.
Sealing the Bottle: If you used an LED candle, you can leave the bottle open. If you used fairy lights, you might want to cut a hole in the cap using your X-Acto knife for the battery pack, ensuring easy access. This step requires adult supervision due to the sharp blade.
Decorative Touches: Add twine or ribbon around the neck of the bottle for added decoration. You can also affix more glitter or charms for a unique touch.
If you’re looking for another light-up craft project suitable for kids, check out our Rainbow Tissue Paper Flower Lantern for more fun options.
Helpful Tips
- Layering Colors: When painting, layering can create richer colors. Don’t be afraid to mix shades!
- Experiment: Give your bottle a test run with the light inside to see how the colors interact with one another. Adjust the design as needed.
- Safety First: Ensure children are supervised, especially when using scissors or X-Acto knives for cutting.
Common Mistakes to Avoid
- Insufficient Drying Time: Allow each paint and glue layer to dry thoroughly before proceeding. Rushing can lead to smudged or messy results.
- Skipping the Seal: If you do not seal the inside with a clear coat, the glitter or paints may chip away over time when the bottle is moved.
Ways to Customize It
Adding personal touches is what makes crafting so enjoyable. Consider these customization ideas:
- Use different themes (like mermaids or stars).
- Change the color scheme to fit a holiday season.
- Create matching lanterns for a party or event.
Display Ideas
Once completed, your potion bottle lantern will make a lovely decoration in any space. Consider displaying it on a shelf, bedside table, or as a centerpiece for parties. The light shining through the colored layers will create a delightful ambiance.
If you enjoy projects that make great gifts, you might also find inspiration in our Rainbow Panda Pencil Cup tutorial!
Frequently Asked Questions
How long does it take for the paint to dry?
Drying times vary depending on the thickness of the paint layers. Typically, acrylic paint can dry within 15-30 minutes with thin coats, but allowing an hour or two for best results is recommended.
Can I use other types of bottles?
Absolutely! While plastic bottles are ideal for this project, glass bottles can also work beautifully. Just be cautious if using glass, as breakage can occur.
How can I modify the design for different colors?
Experimenting with colors is part of the fun! You can use specific themes or customize the color palette based on the season or personal preferences. Just ensure the colors blend well together.
What size bottle should I use?
A standard 16-20 ounce bottle works perfectly. You can choose smaller or larger bottles depending on your desired size for the lantern.
Can I use the lantern outdoors?
If your materials are weatherproof, you can use the lantern outdoors. Just ensure you use a light source that won’t be adversely affected by wind or rain.
Conclusion
Creating your Rainbow Unicorn Potion Bottle Lantern is a delightful way to bring a bit of magic into your home. This unique decoration not only serves as a cheerful light source but also encourages creativity and inspiration. For those looking to expand their collection of enchanting decor, explore the Unicorn Bottle Lamp – Etsy for additional magical touches, or consider the Gems Squishy Unicorn Pat Pat Lamp for an interactive lighting experience. Happy crafting!
Print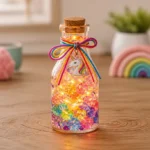
Rainbow Unicorn Potion Bottle Lantern
- Total Time: 30 minutes
- Makes: 1 lantern
Description
Transform a simple bottle into a dazzling Rainbow Unicorn Potion Bottle Lantern that glows with enchanted colors! This craft is perfect for creative beginners looking to create an eye-catching display.
Materials
- A clean, empty plastic bottle (water or soda bottle works great)
- Acrylic paints in rainbow colors
- Paintbrushes (varied sizes)
- A clear LED tea light or fairy lights
- Mod Podge or craft glue
- Glitter (optional)
- Scissors
- An X-Acto knife (adult supervision recommended if using)
- Tape
- Twine or ribbon for decoration (optional)
Instructions
- Prepare your bottle by removing the label and ensuring it’s clean and dry.
- Paint the inside of the bottle with rainbow colors, allowing each layer to dry before adding the next.
- Enhance the potion bottle by applying a layer of Mod Podge and adding glitter while it’s still wet.
- Add the LED tea light or fairy lights to the bottle, securing them inside.
- Seal the bottle as necessary, cutting a hole for the battery pack if using fairy lights.
- Decorate the neck of the bottle with twine or ribbon for an added touch.
Notes
Supervise children when using sharp tools like scissors or X-Acto knives.