

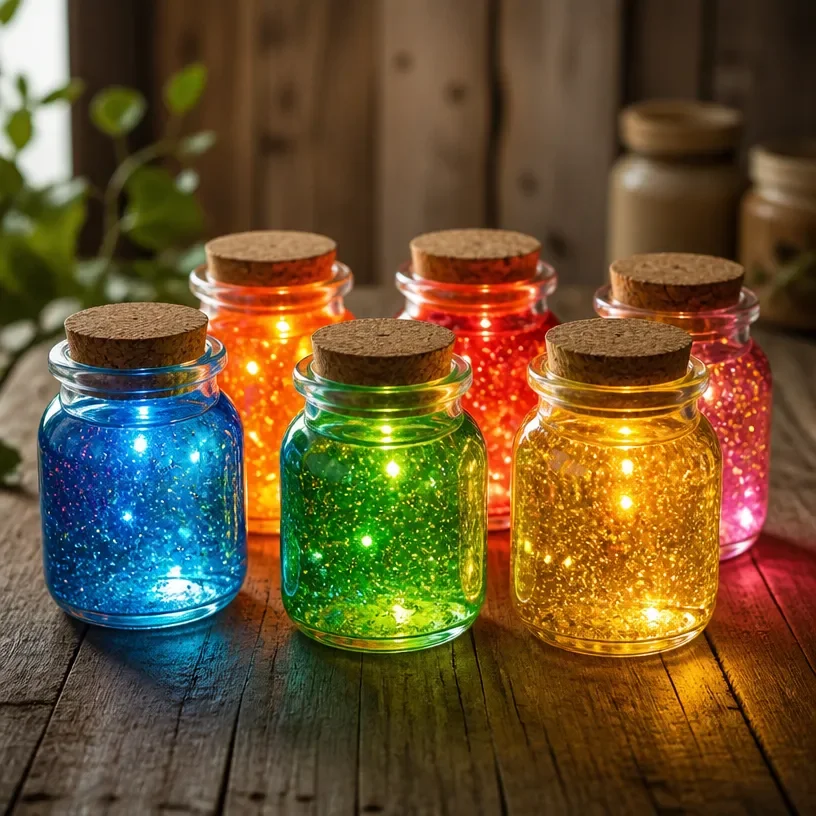
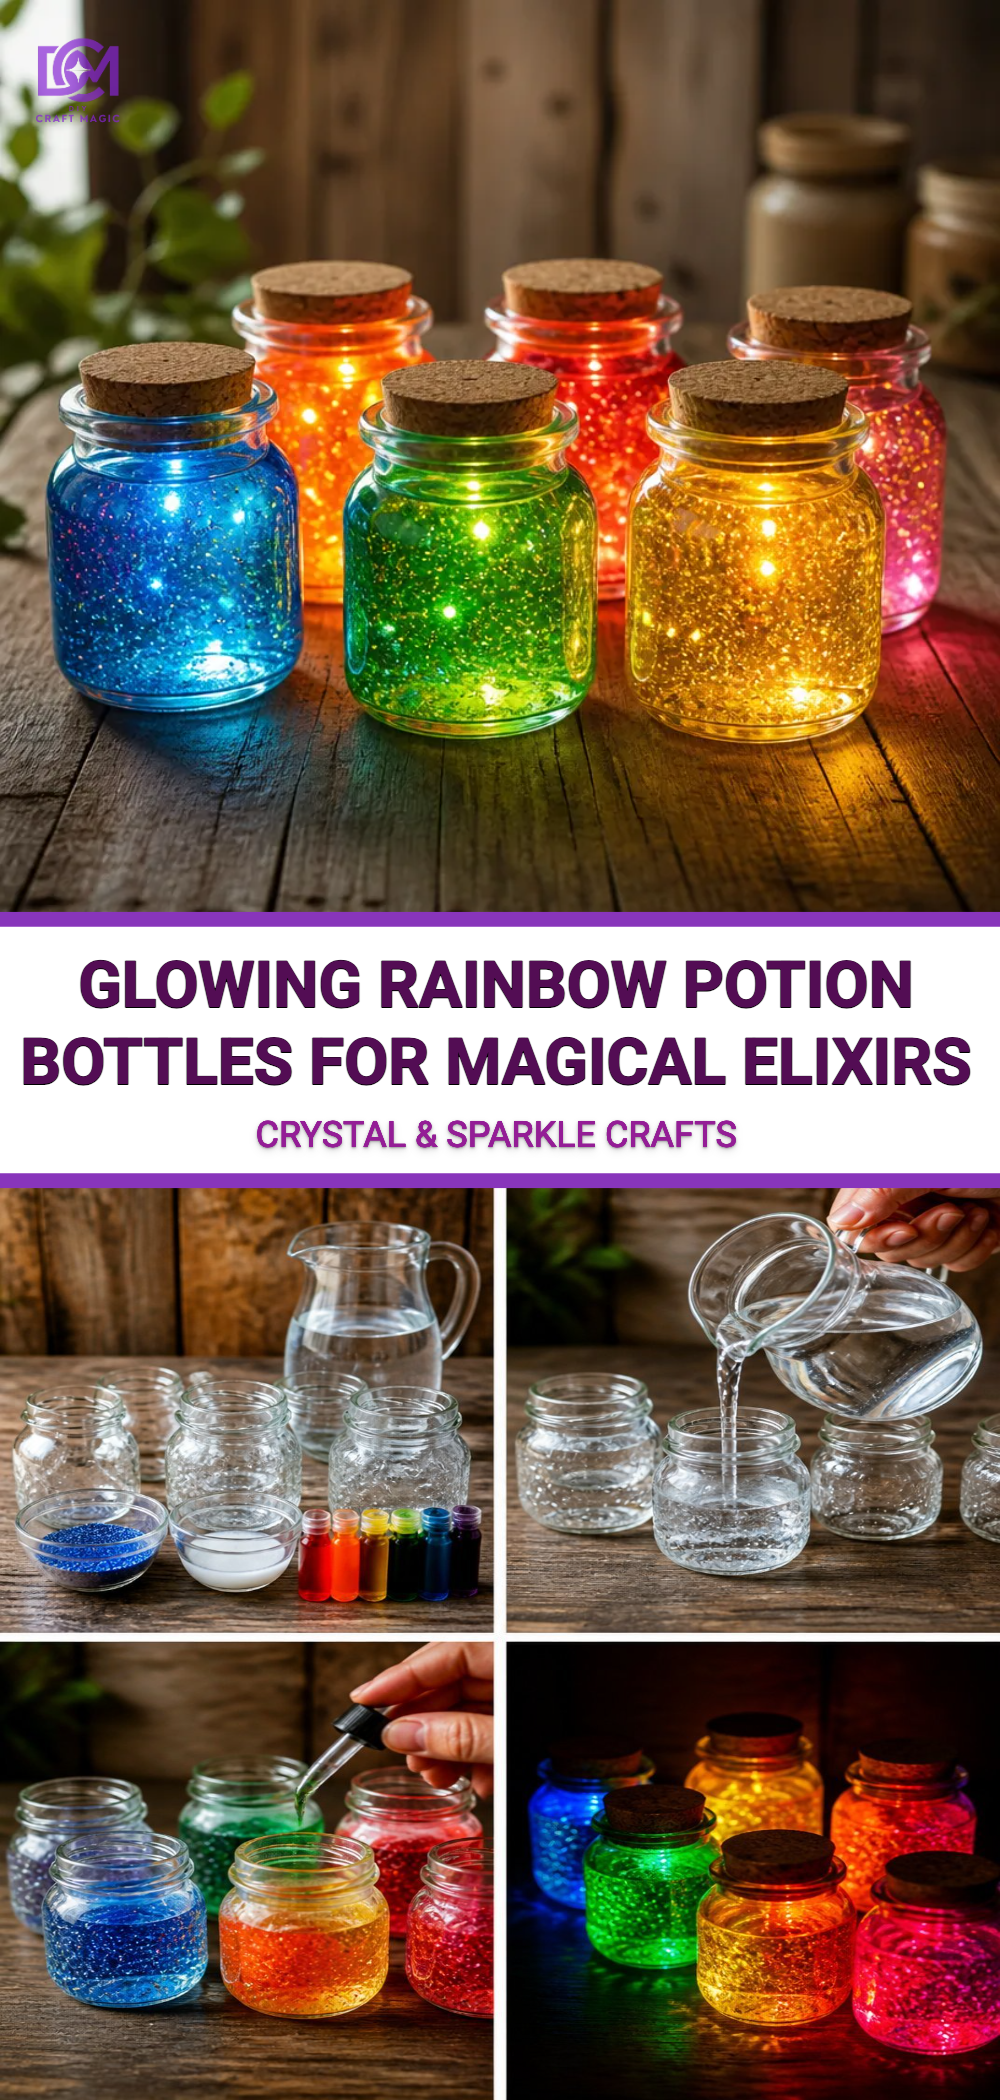
Glowing Rainbow Potion Bottles for Magical Elixirs
Get ready to create stunning glowing rainbow potion bottles that will captivate anyone who lays eyes on them. This craft project involves layering colorful liquids to create a visually striking effect, perfect for magical elixirs or decorative pieces at home. Imagine seeing vibrant colors shining through the glass, especially when illuminated at night. This project is not only visually interesting but also simple enough for beginners and kids to enjoy. You may also find Diy Rainbow Mandala Stones For Home Decor useful.
Why You’ll Love This Project
Crafting glowing potion bottles is a delightful blend of creativity and science. The process of mixing colors and observing how they interact as they create layers is both satisfying and educational. Plus, it’s a fantastic way to repurpose empty glass bottles you might have lying around the house. If you’re looking for some other exciting projects to inspire your crafting journey, consider checking out rainbow-themed crafts that can add even more color to your space.
Materials You’ll Need
Before you dive into making your glowing rainbow potion bottles, gather the following materials: You may also find Rainbow Butterfly Stakes Recycled Bottles useful.
- Clear glass bottles or jars with lids (like mason jars)
- Food coloring (red, orange, yellow, green, blue, indigo, violet)
- Water
- Glow-in-the-dark paint (optional but recommended for enhanced glow)
- Funnels (helpful for pouring)
- Plastic spoons
- Small decorative items (like glitter or sparkles)
Choosing Your Materials
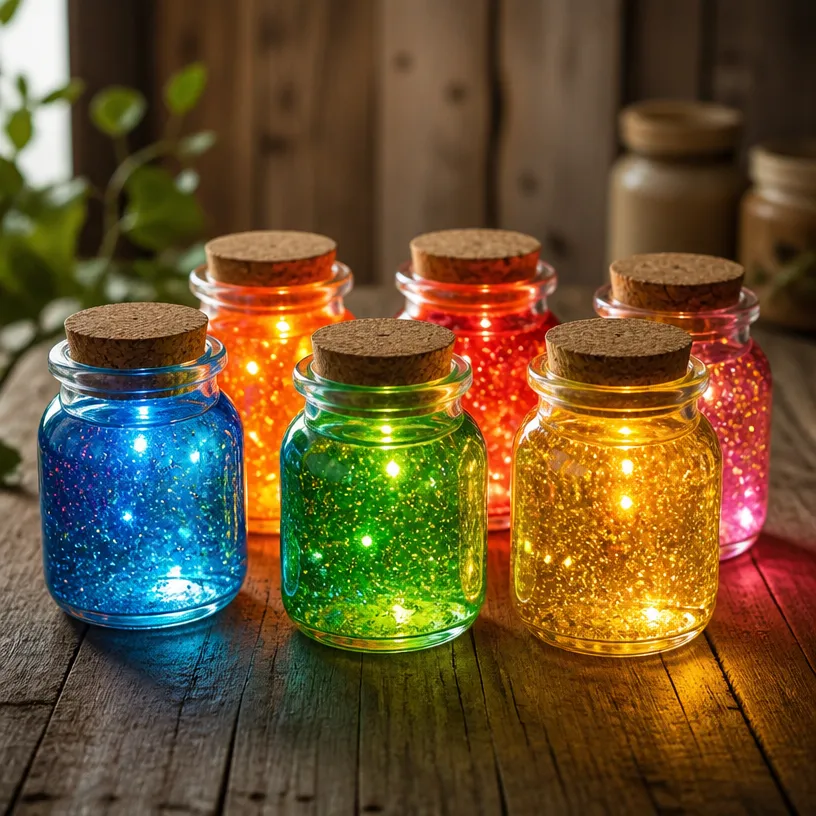
Selecting the right materials is crucial for achieving the best results. Clear glass bottles will allow the colors to shine through, and using food coloring ensures vibrant hues. If you want to create a more magical effect, glowing paint is an excellent addition. You can find inspiration for other colorful projects like melted crayon crafts to explore different creative avenues.
How to Make Glowing Rainbow Potion Bottles for Magical Elixirs
Step-by-Step Instructions
Prepare Your Bottles: Start by cleaning and drying your clear glass bottles. Remove any labels for a pristine look.
Mix Your Colors: In separate cups or bowls, mix water with a few drops of food coloring to create your desired shades. Aim for at least six colors to represent the rainbow.
Layer the Colors: Using a funnel, carefully pour the first color into the bottle, tilting the bottle slightly if necessary. It helps to pour gently down the side of the glass to create distinct layers. You can watch some techniques used in other crafts, such as suncatchers, to understand layering effectively.
Add Glowing Details: If you have glow-in-the-dark paint, lightly mix it into some of your colored water. This will enhance the glowing effect. Experiment with mixing colors as you go!
Repeat: Continue adding each colored layer, ensuring each layer is distinct. The trick is to let each layer settle slightly before adding the next one, which prevents mixing.
Finalize and Seal: Once all your layers are in place, you can seal the bottle with its lid. This not only prevents evaporation but also intensifies the glow.
Helpful Tips
- Patience is Key: Take your time layering your colors. Rushing may lead to mixtures that don’t look as aesthetically pleasing.
- Experiment with Decorations: To make your potion bottles even more magical, add sparkles or small decorative items between layers.
Crafting with Kids
This project is ideal for family crafting sessions. Children will delight in seeing the colors blend and glow. However, always supervise young crafters, especially when handling glass bottles and pouring liquids.
Common Mistakes to Avoid
One common issue is pouring too aggressively, which can cause the layers to mix rather than stay distinct. Use the funnel and pour slowly to keep the layers intact. If a layer does mix, don’t worry; it might look interesting as well!
Ways to Customize It
Tailor the glowing potion bottles to your taste! You could use different themes for your colors, like pastels for a softer look or darker colors for a more mysterious feel. You could also label them with fun names for each potion, adding a delightful storytelling element.
Conclusion
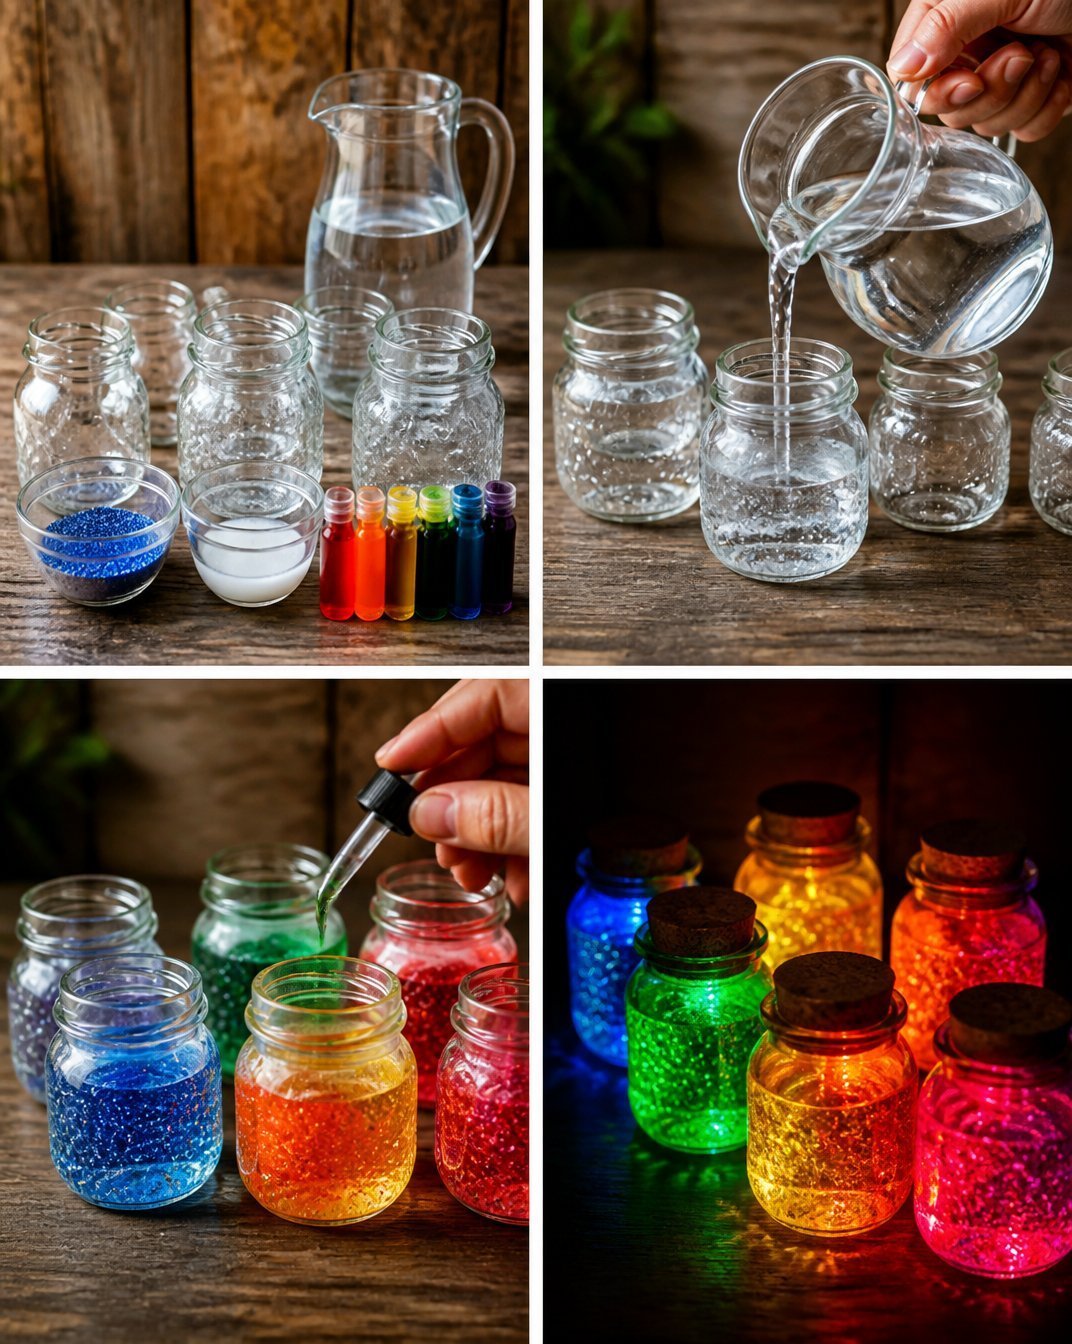
Creating glowing rainbow potion bottles is a fun and creative way to brighten up any space, making them perfect for parties or home decor. If you’re excited about the possibilities, explore more whimsical ideas, like downloading unique stock images or crafting a glowing vial necklace for a magical accessory. Enjoy crafting and let your imagination run wild!
Print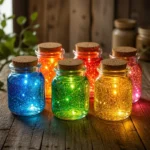
Glowing Rainbow Potion Bottles
- Total Time: 15 minutes
- Makes: 1 potion bottle
Description
Create stunning glowing rainbow potion bottles that captivate with vibrant colors, perfect for magical elixirs or decorative pieces.
Materials
- Clear glass bottles or jars with lids
- Food coloring (red, orange, yellow, green, blue, indigo, violet)
- Water
- Glow-in-the-dark paint (optional)
- Funnels
- Plastic spoons
- Small decorative items (glitter or sparkles)
Instructions
- Prepare your bottles: Start by cleaning and drying your clear glass bottles.
- Mix your colors: In separate cups, mix water with drops of food coloring to create shades.
- Layer the colors: Use a funnel to pour the first color into the bottle, tilting slightly.
- Add glowing details: Mix glow-in-the-dark paint into some colored water if desired.
- Repeat: Add each colored layer, letting each settle slightly before adding the next.
- Finalize and seal: Once all layers are in place, seal the bottle with its lid.
Notes
Take your time layering colors for best results. Supervise children during crafting.