

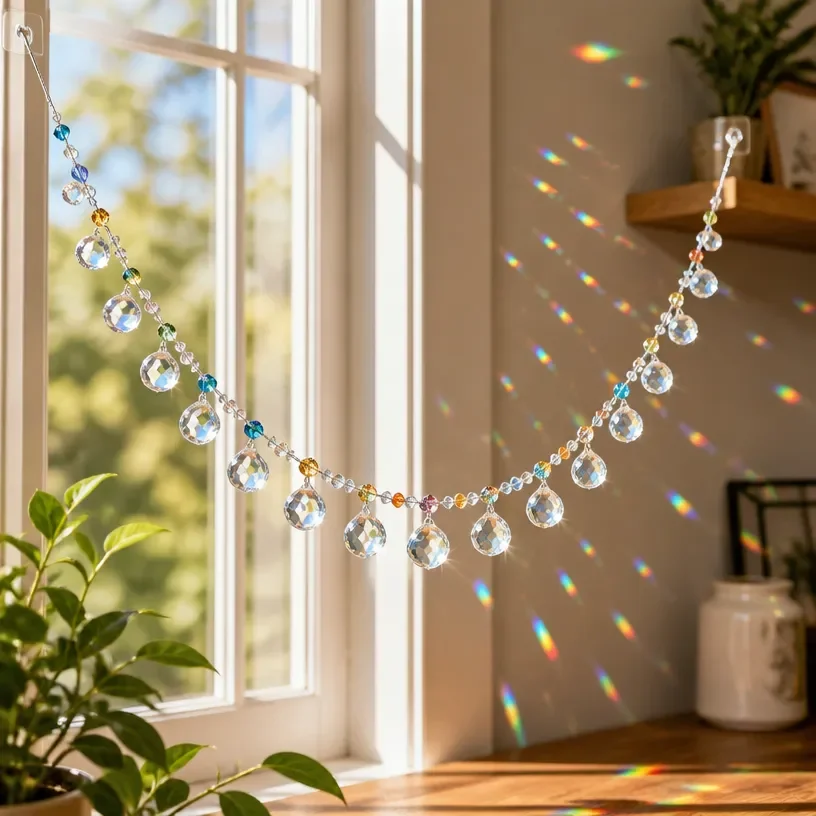
Rainbow Window Garland for Colorful Room Decor
Create a vibrant and cheerful atmosphere in your home by making a stunning Rainbow Window Garland. This craft project is visually engaging, allowing natural light to filter through colorful decorations that dance playfully in the sun. Not only is this garland easy to make using simple materials, but the process can be both fun and rewarding, making it perfect for both kids and adults. You may also find Neon Spiral Glue Suncatchers Rainbow Window Decor useful.
You may also find Melted Crayon Rainbow Heart Suncatcher For Kids useful.
Materials You’ll Need
To craft your Rainbow Window Garland, gather the following materials:
- Colored tissue paper or translucent plastic sheets in rainbow colors
- Scissors
- Clear string or fishing line
- Hole punch
- Glue stick or craft glue
- A ruler
- A pencil
- Optional: beads for added decoration
Choosing Your Materials
Choosing the right materials is essential for achieving the best visual effect. Using translucent materials like colored plastic sheets or tissue paper allows sunlight to shine through beautifully, creating a dazzling display of colors. If you want to explore other colorful projects, check out these DIY rainbow mandala stones for home decor to complement your garland.
How to Make Rainbow Window Garland for Colorful Room Decor
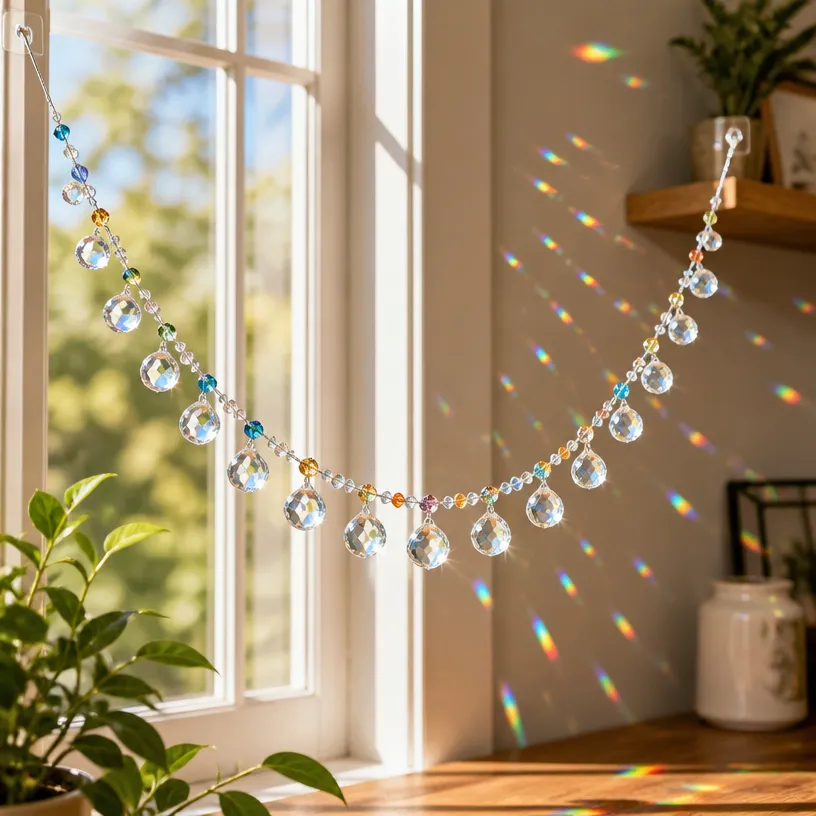
Follow these simple steps to create a lovely Rainbow Window Garland:
Prepare Your Materials: Start by cutting your colored tissue paper or plastic sheets into various shapes. You can choose traditional shapes like circles, hearts, or even whimsical designs like stars. Aim for a size that is manageable for hanging but still visible from a distance.
Punch Holes: Use your hole punch to create holes near the top of each shape. This will allow you to thread the string through later, so make sure the holes are big enough for easy stringing but not too close to the edges to prevent tearing.
Arrange Your Rainbow: Before you start stringing, lay out your shapes in a rainbow order. Traditional rainbow color order includes red, orange, yellow, green, blue, and purple. This arrangement will guide your assembly and ensure that your garland is visually cohesive.
String the Shapes: Cut a length of clear string long enough to accommodate your shapes and any desired spacing between them. Thread the string through the holes of each shape, securing them in place as needed. A small dot of glue on the back of each shape can help prevent sliding.
Add Beads (Optional): If you’d like to incorporate beads into your design, thread them onto the string in between the paper shapes. This added texture can enhance the overall aesthetic of your garland.
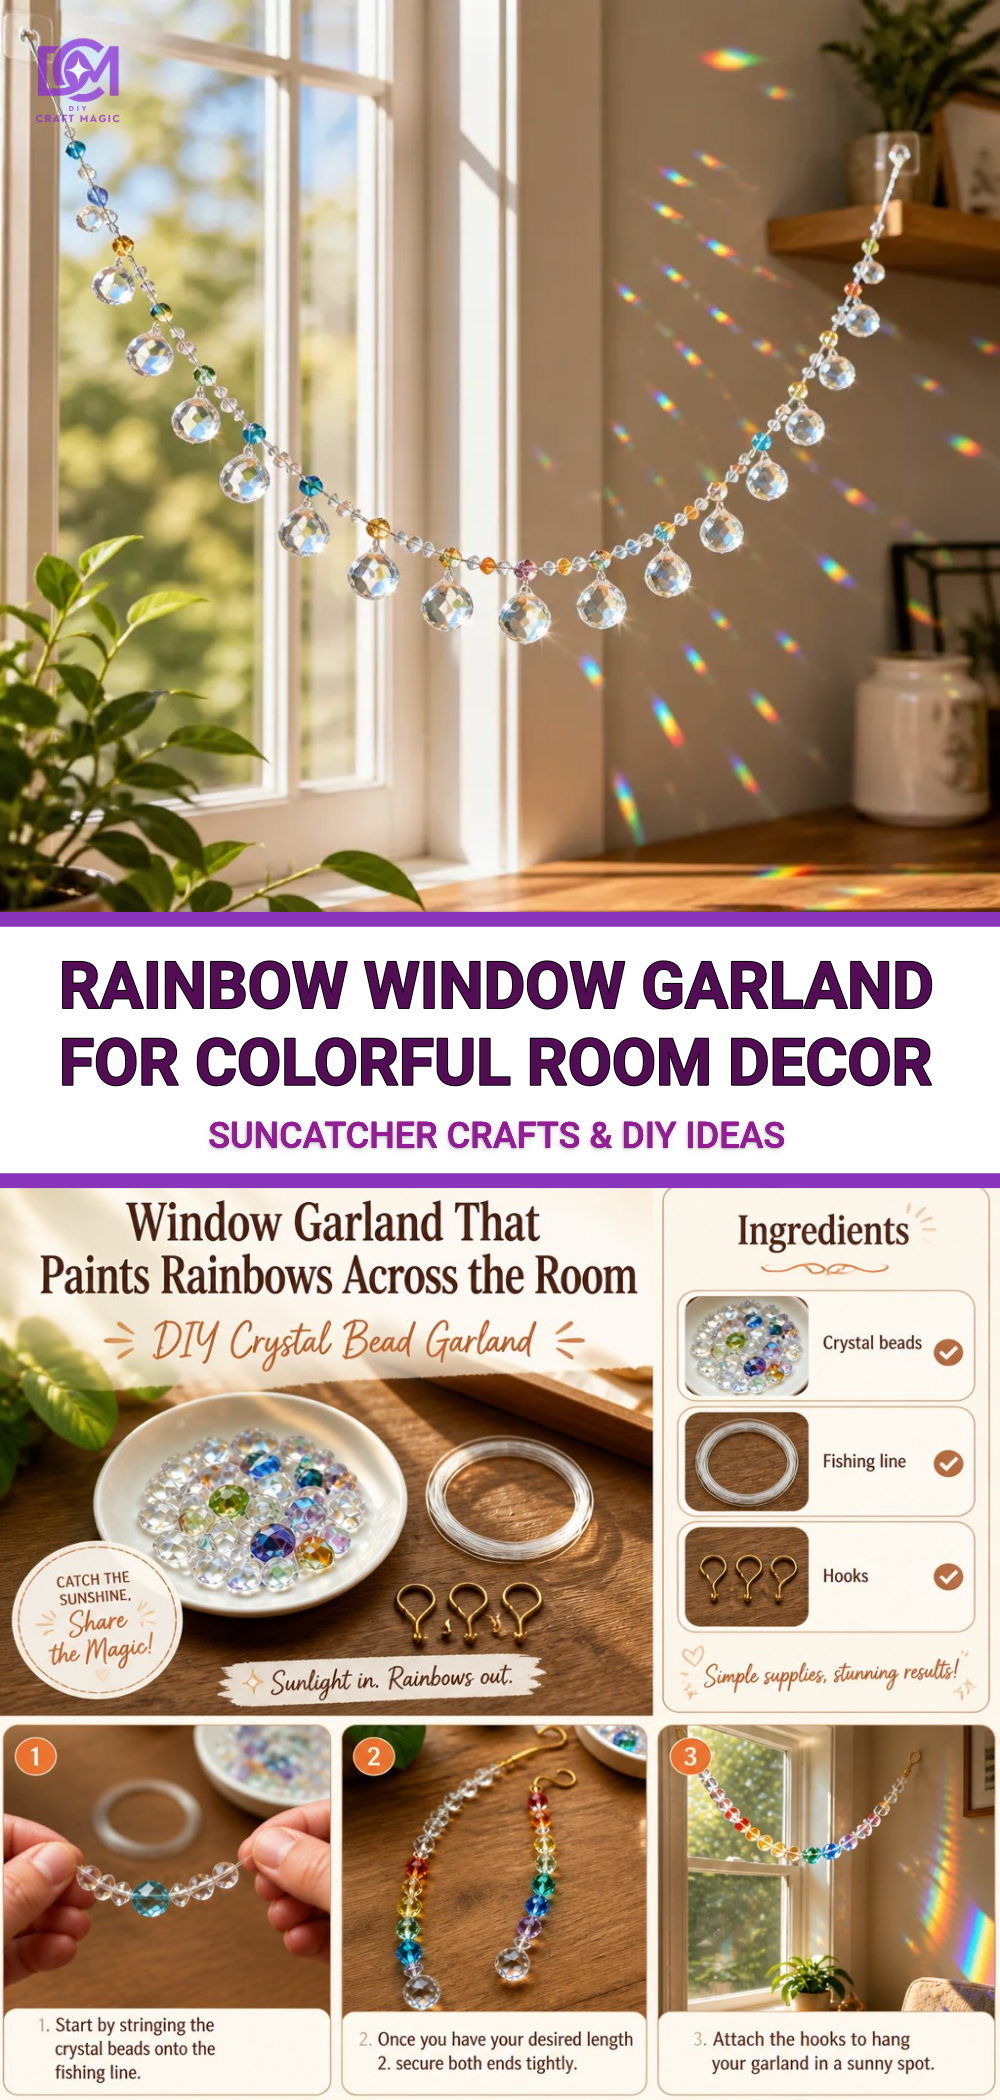
Display Your Garland: Once all your shapes are strung, find the perfect spot for your Rainbow Window Garland. Ideally, hang it in a sunny window where natural light will bring your colorful creation to life. For seasonal displays, consider using similar color themes as seen in Halloween garland ideas.
Helpful Tips
- Organize Your Workspace: Keep your materials organized during the crafting process to make it easier to find what you need and to stay focused.
- Seek Help from Kids: This project can be a wonderful collaborative effort with children. Allow them to choose their favorite colors and shapes, making it an engaging learning experience.
- Experiment with Designs: Don’t hesitate to branch out from a standard shape. Making unique designs such as butterflies or flowers can add a personal touch. If you enjoy projects involving melted crayons, try these rainbow butterfly suncatchers for kids for additional fun.
Frequently Asked Questions
How can I make my garland more durable?
To enhance its durability, consider laminating the paper shapes using clear adhesive sheets before cutting them out. This will protect your pieces from tearing and fading over time.
What if I want to change the colors?
If you choose to change the colors each season, simply replace the colored paper or sheets with new ones that complement your home decor for a fresh look.
How do I hang the garland in the window?
Using clear adhesive hooks, you can easily hang your garland in a window without damaging the glass. Place the hooks at regular intervals for a more structured appearance.
Conclusion
Incorporating a Rainbow Window Garland into your home decor not only adds color but also light and cheerfulness to any space. If you want to further explore colorful decorations, consider checking out these 2 Packs Rainbow Ribbon Tassel Garlands for additional inspiration. For more unique decor options, browse the offerings in the Colorful Home Decor section on Etsy. Happy crafting!
Print
Rainbow Window Garland for Colorful Room Decor
- Total Time: 30 minutes
- Makes: 1 garland
Description
Create a vibrant and cheerful atmosphere in your home with this stunning Rainbow Window Garland. A fun and easy craft project perfect for both kids and adults.
Materials
- Colored tissue paper or translucent plastic sheets in rainbow colors
- Scissors
- Clear string or fishing line
- Hole punch
- Glue stick or craft glue
- A ruler
- A pencil
- Optional: beads for added decoration
Instructions
- Prepare your materials by cutting tissue paper or plastic into various shapes.
- Punch holes near the top of each shape for easy stringing.
- Arrange your shapes in a traditional rainbow order: red, orange, yellow, green, blue, and purple.
- String the shapes using the clear string; secure them with glue if needed.
- Add beads between shapes for an enhanced aesthetic (optional).
- Display your garland in a sunny window to maximize the colorful effect.
Notes
Keep your workspace organized and involve kids in the crafting process for a fun learning experience.