

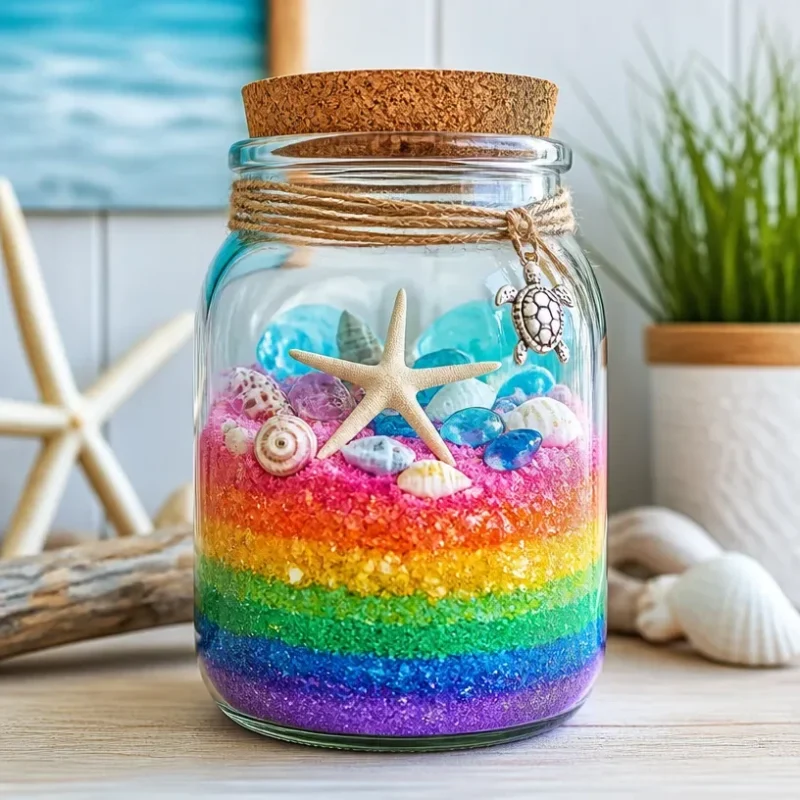
Colorful Ocean Jar Decor – Rainbow Glass Jar for Coastal Homes
Transforming simple materials into beautiful decor is one of the joys of crafting. In this project, you’ll be making a colorful Ocean Jar Decor that captures the essence of coastal charm. The final result is a stunning, layered glass jar filled with vibrant colors, reminiscent of the ocean waves meeting the shore. This craft is approachable and satisfying, making it an ideal project for families, craft enthusiasts, and anyone eager to add a splash of color to their home. You may also find Melted Crayon Rainbow Butterfly Suncatcher For Kids useful.
Materials You’ll Need
Before diving into the crafting process, gather the following materials: You may also find Melted Crayon Rainbow Heart Suncatcher For Kids useful.
You may also find Neon Spiral Glue Suncatchers Rainbow Window Decor useful.
- Clear glass jar with a lid
- Assorted colored sand or crushed glass (blue, green, and white)
- Small shells or sea glass pieces
- A small funnel (optional)
- Craft glue
- Decorative twine or ribbon for embellishment
Getting Started: Choosing Your Materials
Choosing the right materials is essential for creating a visually appealing Ocean Jar. When selecting colored sand or crushed glass, consider using a variety of shades to mimic the coastal landscape. Small shells or pieces of sea glass can add texture and interest to your design.
How to Make Colorful Ocean Jar Decor – Rainbow Glass Jar for Coastal Homes
Step-by-Step Instructions
Prepare Your Jar: Start by ensuring your glass jar is clean and dry. This step is crucial as any residue might affect the adhesion of your materials.
Create Layers of Color: Using a funnel if necessary, begin pouring the colored sand into the jar. Start with a layer of blue at the bottom, followed by green, and then a light layer of white to represent the foamy ocean waves. Each color should be about 1 inch thick. For a more stunning effect, consider alternating colors. You can even include small shells between the layers for added texture.
Add Decorative Elements: After you’ve created the desired strata of colors, embellish the top with a few larger shells or pieces of sea glass. This addition will give the jar a customizable and unique touch.
Seal It Up: To ensure the layers stay intact, add a thin layer of craft glue around the inside of the jar’s neck before sealing it with the lid. This will lock everything in place as well as prevent the sand from shifting.
Final Touches: Wrap decorative twine or ribbon around the neck of the jar for an extra coastal flair. This simple detail can make the jar feel more finished and festive.
Display Ideas
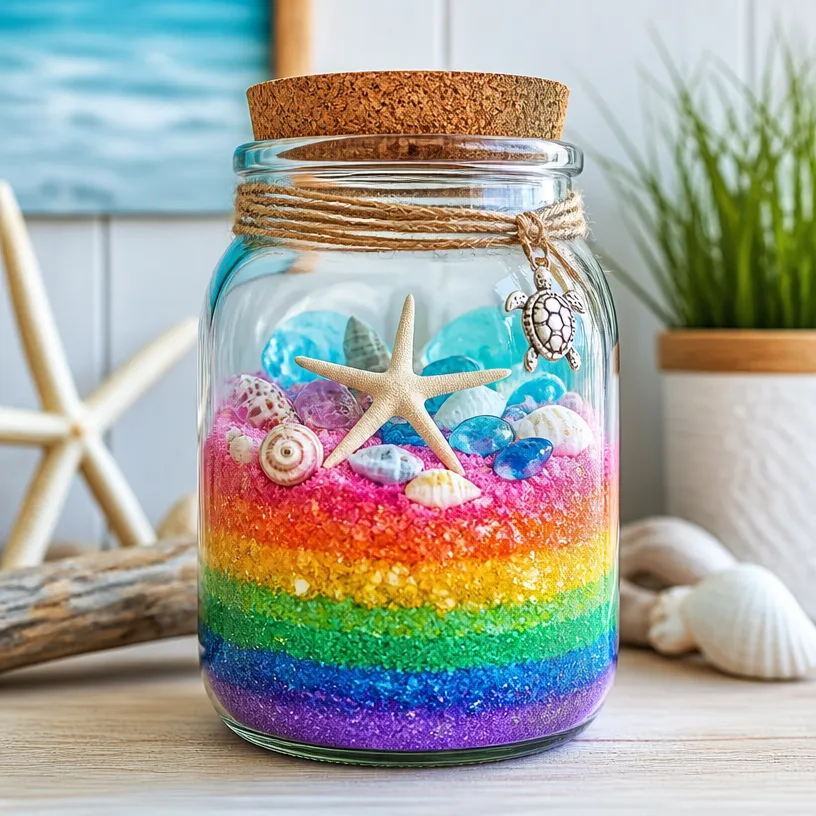
Once your Ocean Jar Decor is complete, you’ll want to showcase it beautifully. Consider placing it on a windowsill where sunlight can highlight the vibrant colors. Alternatively, it can serve as a centerpiece on a dining table, bringing a touch of the seaside indoors. You might also find that this decor pairs beautifully with other DIY projects, such as rainbow mandala stones, enhancing the coastal theme throughout your home.
Helpful Tips
- Make sure to let the glue dry completely before moving your jar to avoid disturbing the layers.
- If working with young children, supervise the use of small items like shells to ensure safety.
- For an additional creative twist, try using glow-in-the-dark elements in place of some sand layers for a whimsical effect when the lights go out.
Frequently Asked Questions
Can I use different materials for the jar?
Absolutely! While colored sand and crushed glass are recommended, you can experiment with different materials like faux pearls or beads for varied effects.
How do I ensure the colors don’t mix?
Pouring the sand slowly and keeping each layer about an inch thick can help maintain distinct layers. Using a funnel will also aid in keeping the pouring controlled.
Can I include other decorative items?
Yes! Feel free to get creative with your decor. Adding items like pieces of driftwood or starfish can enhance the coastal vibe of your Ocean Jar.
Conclusion
Creating a Colorful Ocean Jar Decor allows you to bring the beauty of the beach into your living space, and it’s a gratifying project for crafters of all skill levels. If you’re looking for more inspiration for your coastal decor, consider checking out these DIY glass bottle beach ornaments or explore this delightful piece of handmade wall art that features colorful rainbow birds for an added burst of creativity. Enjoy your crafting journey!
Print
Colorful Ocean Jar Decor
- Total Time: 10 minutes
- Makes: 1 jar
Description
Create a stunning layered glass jar filled with vibrant colors that resemble the ocean waves meeting the shore.
Materials
- Clear glass jar with a lid
- Assorted colored sand or crushed glass (blue, green, and white)
- Small shells or sea glass pieces
- A small funnel (optional)
- Craft glue
- Decorative twine or ribbon for embellishment
Instructions
- Prepare your jar: Start by ensuring your glass jar is clean and dry.
- Create layers of color: Using a funnel if necessary, begin pouring the colored sand into the jar, starting with a layer of blue, followed by green, and then white.
- Add decorative elements: After creating the desired layers of color, embellish the top with larger shells or sea glass.
- Seal it up: Add a thin layer of craft glue around the inside of the jar’s neck before sealing it with the lid.
- Final touches: Wrap decorative twine or ribbon around the neck of the jar for an extra coastal flair.
Notes
Let the glue dry completely before moving your jar to avoid disturbing the layers.