

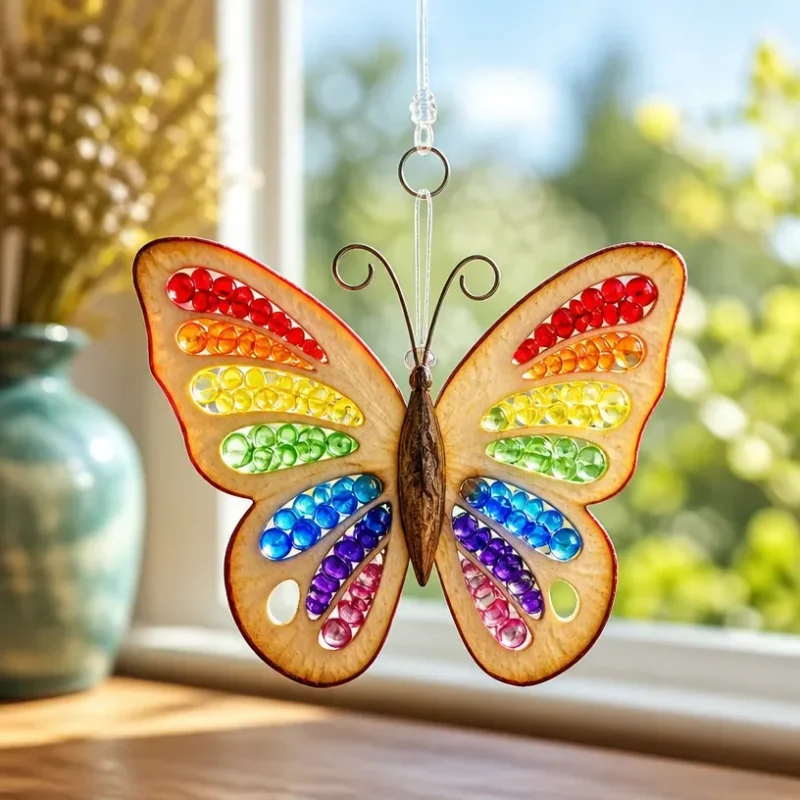
Create a Colorful Rainbow Butterfly Apple Suncatcher – Window Decor
Transform your windows into vibrant displays of color with this engaging Rainbow Butterfly Apple Suncatcher. This project is not only beautiful but also relatively simple to make. By combining everyday materials and a few fun techniques, you can create a piece that catches light and elevates your space. You may also find First Day Rainbow Pencil Butterfly Suncatcher useful.
You’ll love how the suncatcher reflects sunlight, resulting in a cascade of colors throughout your room. The combination of layers and colors not only provides a visual feast but also allows for a wonderful crafting experience, especially if you involve kids in the process. It’s a perfect craft to add a splash of creativity to your home decor! You may also find Rainbow Crystal Butterfly Suncatcher Craft useful.
Materials You’ll Need
Here’s everything required for your Rainbow Butterfly Apple Suncatcher: You may also find Clear Blue Rainbow Bat Suncatcher Wreath Diy useful.
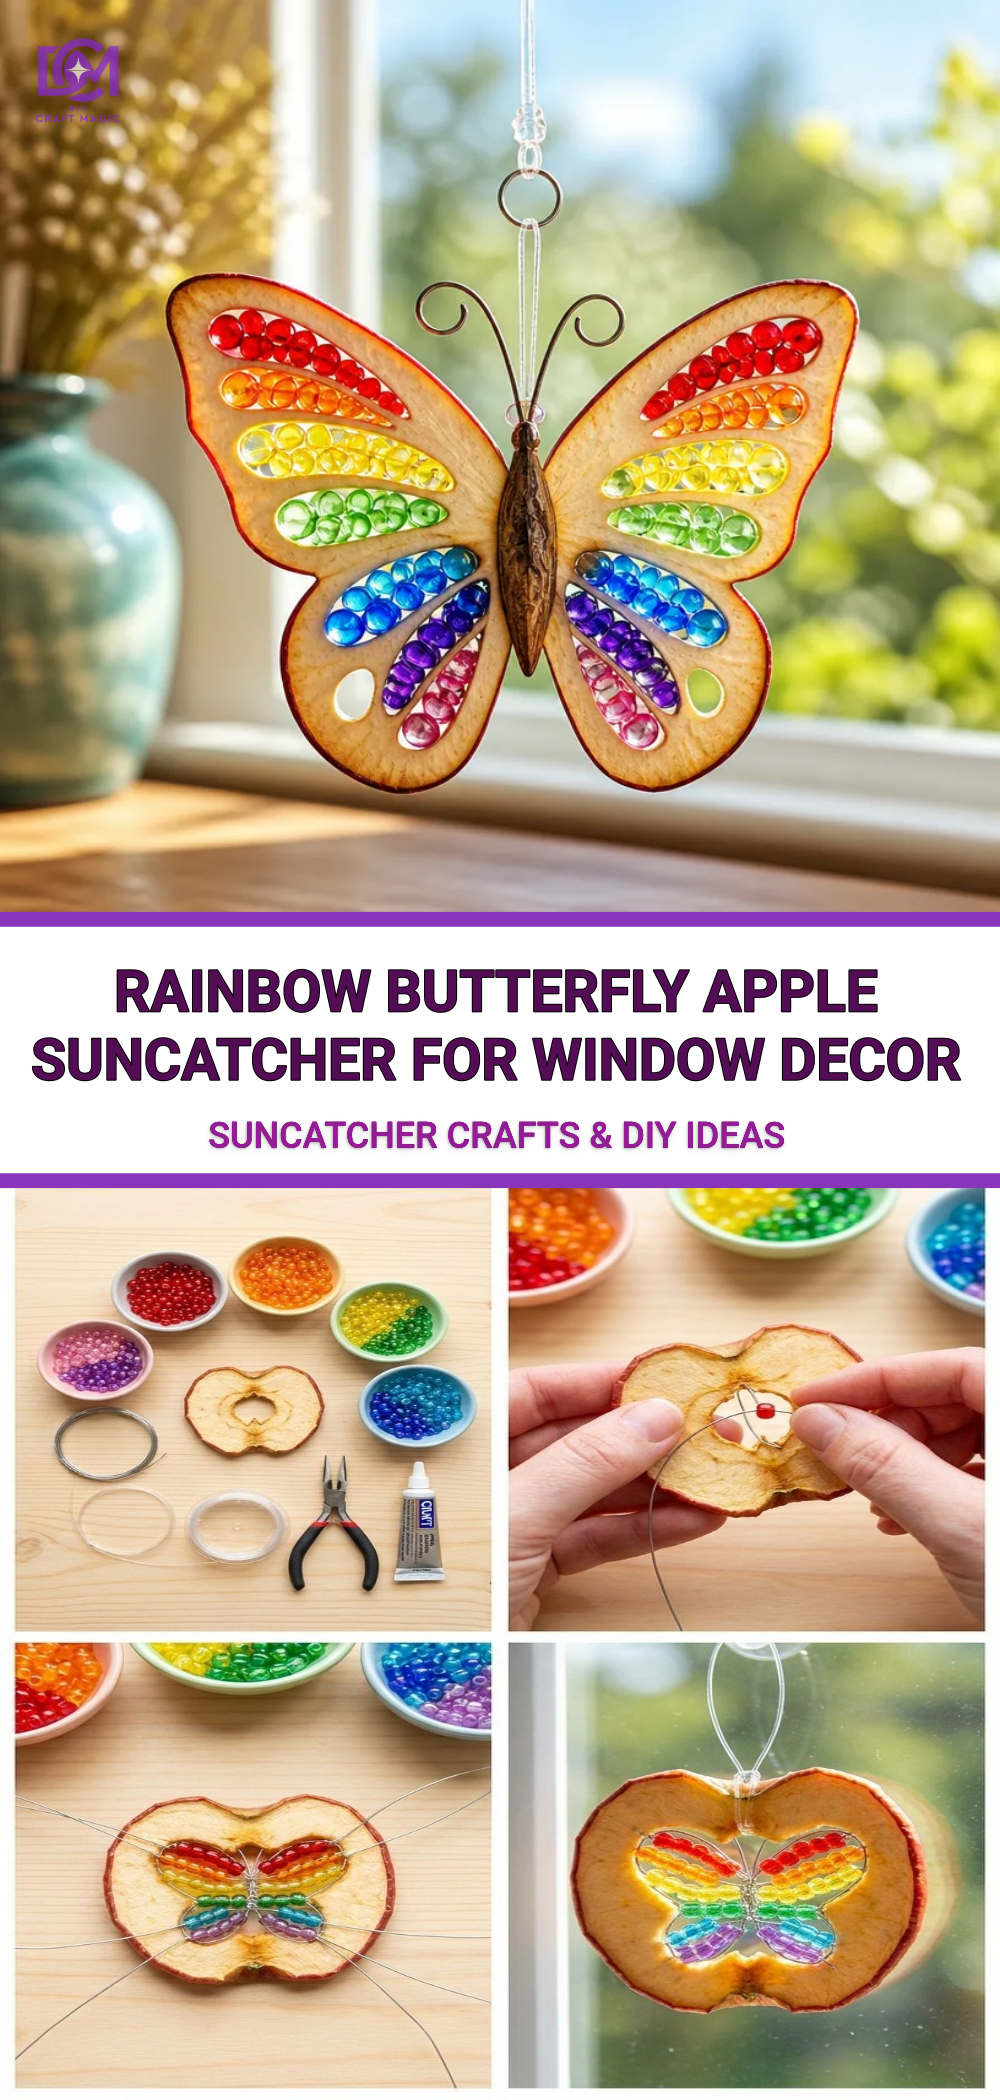
- Clear wax paper
- Transparent glue
- Liquid food coloring (various colors)
- Scissors
- A butterfly template (you can draw or print your own)
- A paintbrush or sponge (for spreading the glue)
- An apple template (optional, for decoration)
- String or fishing line (for hanging)
- An iron (for setting the project)
Before You Start
Before diving in, make sure you have all the materials ready. Having everything at hand will help streamline the crafting process. If you’re interested in similar projects, check out the delightful neon spiral glue suncatchers.
How to Make the Colorful Rainbow Butterfly Apple Suncatcher
Step-by-Step Instructions
Prepare Your Workspace
Start by choosing a clean, flat surface to work on. Cover the area with newspaper or a craft mat to protect it from spills.Create the Butterfly Base
Using your butterfly template, trace the butterfly shape onto the clear wax paper. Ensure the size is appropriate for your window.Add Color with Glue and Food Coloring
On another piece of wax paper, use the paintbrush or sponge to create colorful patterns with the transparent glue and liquid food coloring. Allow for some mixing of colors for a rainbow effect. For reference, you can also take inspiration from our melted crayon rainbow butterfly suncatcher project.Layer the Colors
After the first layer dries slightly, add more colors in other sections. Continue until you achieve a vibrant, colorful collage that reflects the butterfly’s wings.Set the Suncatcher
Place another piece of wax paper over the colored side and press gently. Then, use an iron on a low setting (without steam) to set the glue, making sure to place a thin cloth between the iron and the wax paper to avoid sticking.Cut Out the Shapes
Once everything has cooled and set properly, cut out your butterfly shape from the wax paper. If you chose to decorate with an apple shape, do the same!Hang Your Creation
Use string or fishing line to hang the suncatcher in a window where it will catch the sunlight beautifully.
Tips for Success
- Be Patient: Waiting for the glue to dry properly between layers is key to achieving a vivid color effect.
- Mixing Colors: Don’t hesitate to blend colors. You can create unique shades that will make your suncatcher stand out.
- Work with a Friend: Crafting can be more fun with others. Get friends or family involved and share ideas!
Common Mistakes to Avoid
- Over-saturating the Glue: While it’s tempting to add plenty of glue, too much can lead to a messy finish. A thin layer usually works best.
- Not Securing the Edges: Ensure your edges are well adhered before cutting; this will prevent them from peeling apart later.
- Using Non-Transparent Glue: Stick to transparent glue to maintain the clarity and vibrancy of colors.
Ways to Customize It
You can personalize your Rainbow Butterfly Suncatcher by:
- Experimenting with different shapes or designs.
- Using a variety of color palettes based on the season or holidays.
- Adding embellishments like glitter or sequins for extra sparkle.
Display Ideas
Hang your beautiful creation in areas where it will catch the most light. Windows in kitchens, playrooms, or children’s bedrooms are excellent choices. You could also consider making a series of them and decorating a whole window or door.
Crafting With Kids
This project is perfect for kids! It’s a fun way to teach them about colors and mixing, while also developing their dexterity with the paintbrush. Supervise younger children with the iron for safety, and enjoy the bonding experience during the craft.
Final Thoughts
Creating your own Colorful Rainbow Butterfly Apple Suncatcher is a delightful way to add beauty to your home while exploring your creativity. The end product is not only visually stunning but also a conversation starter. Plus, it can be enjoyed all year round!
Conclusion
By following this tutorial, you’re set for an enjoyable crafting session that will yield beautiful results. For more inspiration, consider checking out this lovely Butterfly Crystal Sun Catcher designed for windows, as well as the Outus 24 Pcs DIY Butterfly Suncatcher Craft Kit for a fantastic kit of materials to get started on more creative projects easily! Happy crafting!
Print
Colorful Rainbow Butterfly Apple Suncatcher
- Total Time: 15 minutes
- Makes: 1 suncatcher
Description
Create a vibrant and beautiful suncatcher from everyday materials that will transform your windows into displays of color.
Materials
- Clear wax paper
- Transparent glue
- Liquid food coloring (various colors)
- Scissors
- Butterfly template
- Paintbrush or sponge
- Apple template (optional)
- String or fishing line
- Iron
Instructions
- Prepare your workspace by covering it with newspaper or a craft mat.
- Create the butterfly base by tracing the shape onto clear wax paper.
- Add color using transparent glue and food coloring on another piece of wax paper.
- Layer the colors, adding more as needed until you have a colorful collage.
- Set the suncatcher by placing another wax paper over it and using an iron to set the glue.
- Cut out your butterfly shape from the wax paper once cooled.
- Hang your creation in a sunny window using string or fishing line.
Notes
Be patient while waiting for glue to dry, and work with a friend for added fun. Avoid over-saturating the glue for best results.