

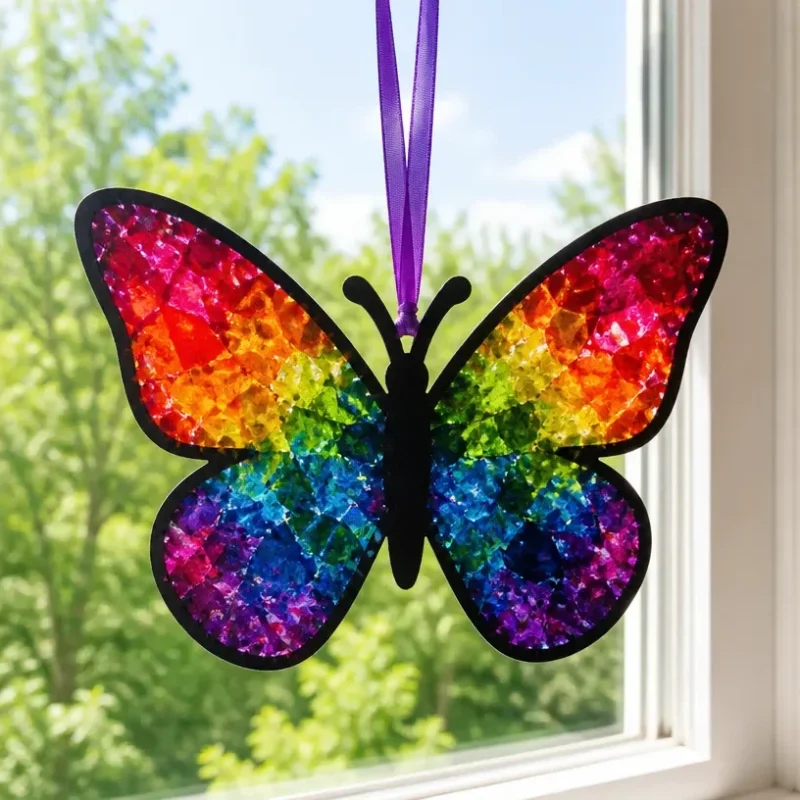
How to Make a Rainbow Melted Crayon Butterfly Suncatcher
Creating a rainbow melted crayon butterfly suncatcher is a colorful and engaging craft project that brings a touch of vibrant beauty to any window. This easy-to-follow tutorial will guide you through transforming simple materials into an eye-catching suncatcher that showcases bright hues and intricate designs. Whether you’re crafting with kids or indulging in a creative afternoon solo, this project promises a satisfying finish as the sunlight dances through the colorful wings of your butterfly. You may also find Rainbow Melted Crayon Pumpkin Suncatcher Diy Guide useful.
Materials You’ll Need
Before diving into the fun, gather your materials so you are ready to go. You’ll need:
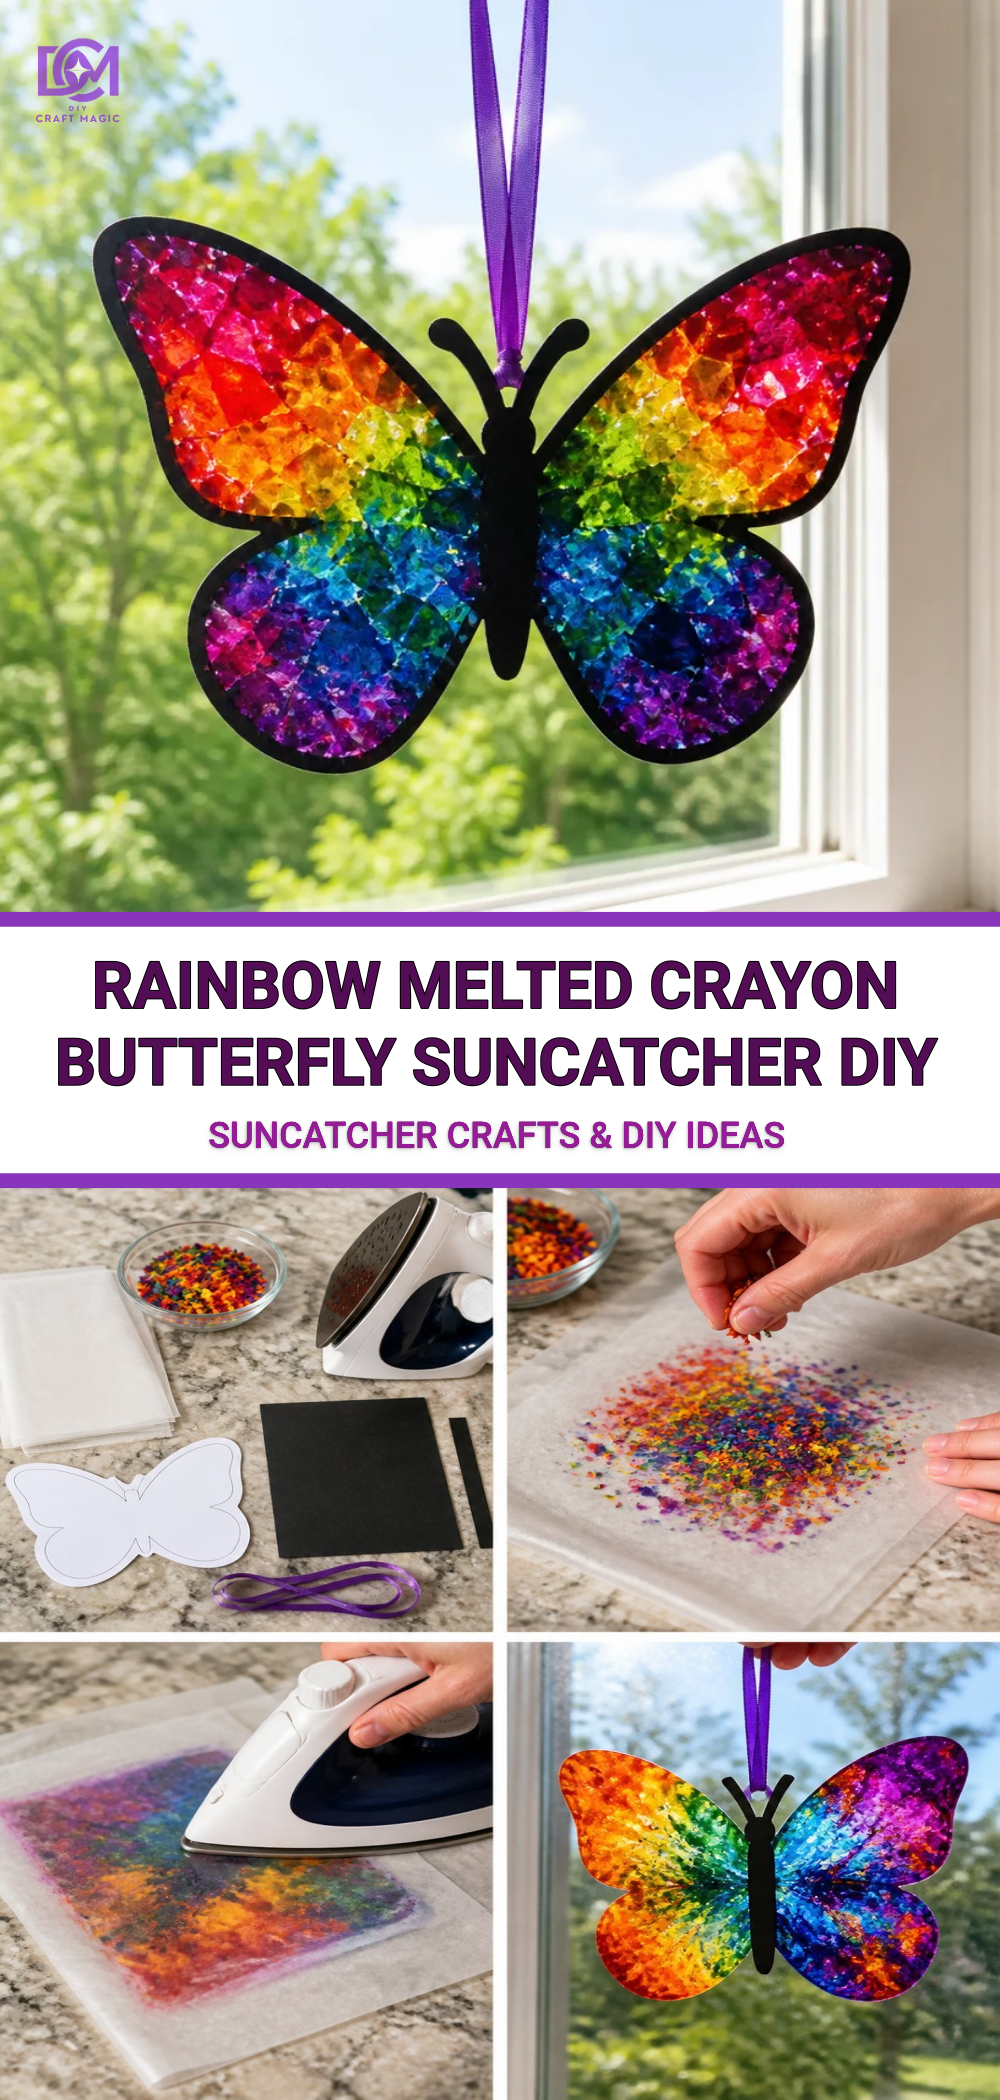
- White wax paper
- Crayons (preferably in various bright colors)
- A pencil
- Scissors
- An iron (with adult supervision)
- Butterflies template (you can print one or draw your own)
Choosing Your Materials
Using high-quality crayons will help ensure vibrant colors. Consider using leftover crayon bits, as they’re perfect for melting and will add a unique touch to your suncatcher. For your butterfly template, you can either find a printable outline or sketch your own to personalize the shape.
Step-by-Step Instructions
Prepare the Crayons: Start by removing the paper from your crayons. You can use a sharp pencil to poke through and peel off the paper. Once naked, break the crayons into small pieces for easier melting.
Create Your Template: Place your butterfly template underneath the wax paper. This will serve as your guide when arranging the crayon pieces.
Arrange the Crayons: Scatter the broken crayon pieces on top of the wax paper, arranging them by color. Feel free to create gradients or patterns to make your butterfly even more beautiful.
Melt the Crayons: With an adult’s help, preheat the iron on a low setting. Once ready, place a second layer of wax paper on top of the crayons. Gently press the iron over the top layer of wax paper for a few seconds until the crayons start to melt. Lift the iron and check; if the crayons aren’t fully melted yet, replace the iron for additional heat.
Let It Cool: Once melted, remove the wax paper from the heat and allow it to cool completely. You should have a colorful array of melted crayon wax shaped like your butterfly.
Cut Out the Butterfly Shape: Once cooled, carefully cut out your butterfly shape from the wax paper. This is where your template comes in handy; follow the outline for a crisp finish.
Display Your Suncatcher: To hang your suncatcher, use a small piece of string or fishing line, tape it to the top, and display it in your window. You’ll see the beautiful colors shine with the sunlight!
This project allows for individual creativity if you’re looking for more colorful designs, you could try making a rainbow heart suncatcher or even a pumpkin-themed suncatcher for the fall season.
Helpful Tips
- Use safety measures: If crafting with children, make sure an adult handles the iron at all times for safety.
- Experiment with Colors: Don’t hesitate to mix different colors to see how they blend together in the melting process.
- Customize Your Design: You can create other shapes using the same method; consider making a brightly colored butterfly suncatcher or a spooky suncatcher for Halloween with the haunted house design.
Common Mistakes to Avoid
- Overheating the Crayons: If you leave the iron on the crayons for too long, they may burn instead of melt smoothly. Keep the heat steady and just for a few seconds at a time.
- Using Non-Wax Paper: It’s essential to use wax paper for this project, as parchment paper won’t hold up to the melting process.
Display Ideas
To complement your handcrafted butterfly suncatcher, you can experiment with a variety of displays; try hanging several different suncatchers together or showcasing your butterfly alongside a pencil butterfly suncatcher for a colorful wall decoration.
Frequently Asked Questions
How long does the melted crayon take to dry completely?
Once you’ve melted the crayons, it usually takes about 5-10 minutes for them to cool and harden again.
Can I use other types of plastic?
Using a different kind of plastic, like plastic wrap, is not recommended as it may melt or warp when exposed to heat.
What age is this project suitable for?
This project is well-suited for older children, but younger kids will need help with the ironing step for safety.
Conclusion
Making a rainbow melted crayon butterfly suncatcher is not only a fun craft but also a great way to practice fine motor skills layering, melting, and cutting. As you create, you’ll discover all sorts of colorful transformations. For more craft inspiration, check out this collection of cool craft projects for kids. If you want to delve deeper into melting crayons, don’t miss this detailed guide on a melted crayon sun catcher project. Enjoy your crafting!
Print
Rainbow Melted Crayon Butterfly Suncatcher
- Total Time: 25 minutes
- Makes: 1 suncatcher
Description
Create a vibrant rainbow melted crayon butterfly suncatcher that brightens up any window.
Materials
- White wax paper
- Crayons (various bright colors)
- Pencil
- Scissors
- Iron (with adult supervision)
- Butterfly template
Instructions
- Prepare the crayons by removing their paper and breaking them into small pieces.
- Create your butterfly template beneath the wax paper.
- Arrange the crayon pieces on top of the wax paper by color.
- Melt the crayons using a low setting on the iron for a few seconds.
- Let it cool completely after melting.
- Cut out the butterfly shape from the wax paper.
- Display your suncatcher using string or fishing line.
Notes
Make sure to handle the iron carefully and consider adult supervision for younger children.