

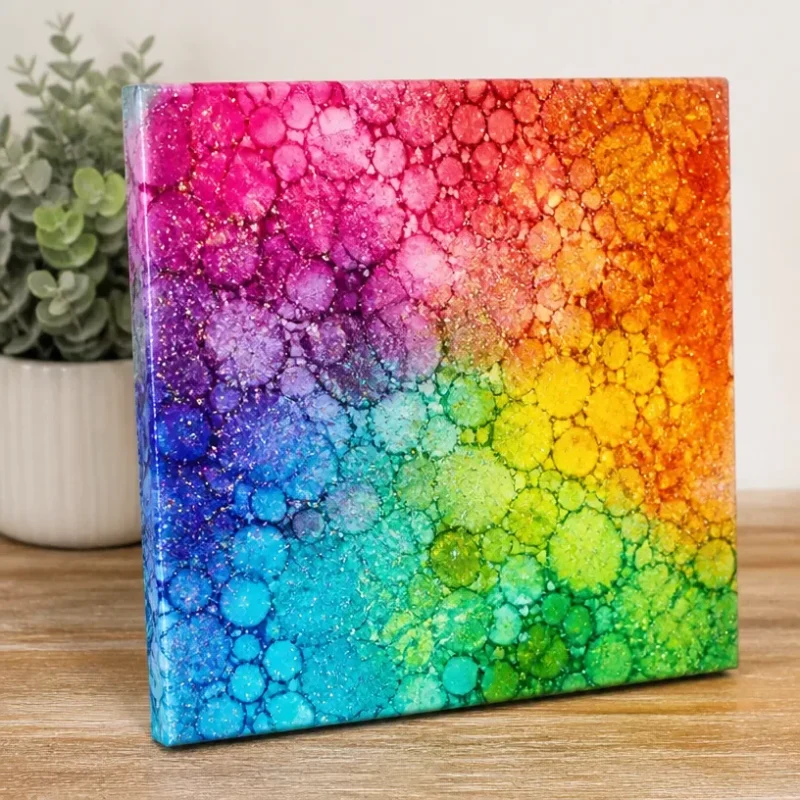
Rainbow Bubble Crystal Canvas Wall Art
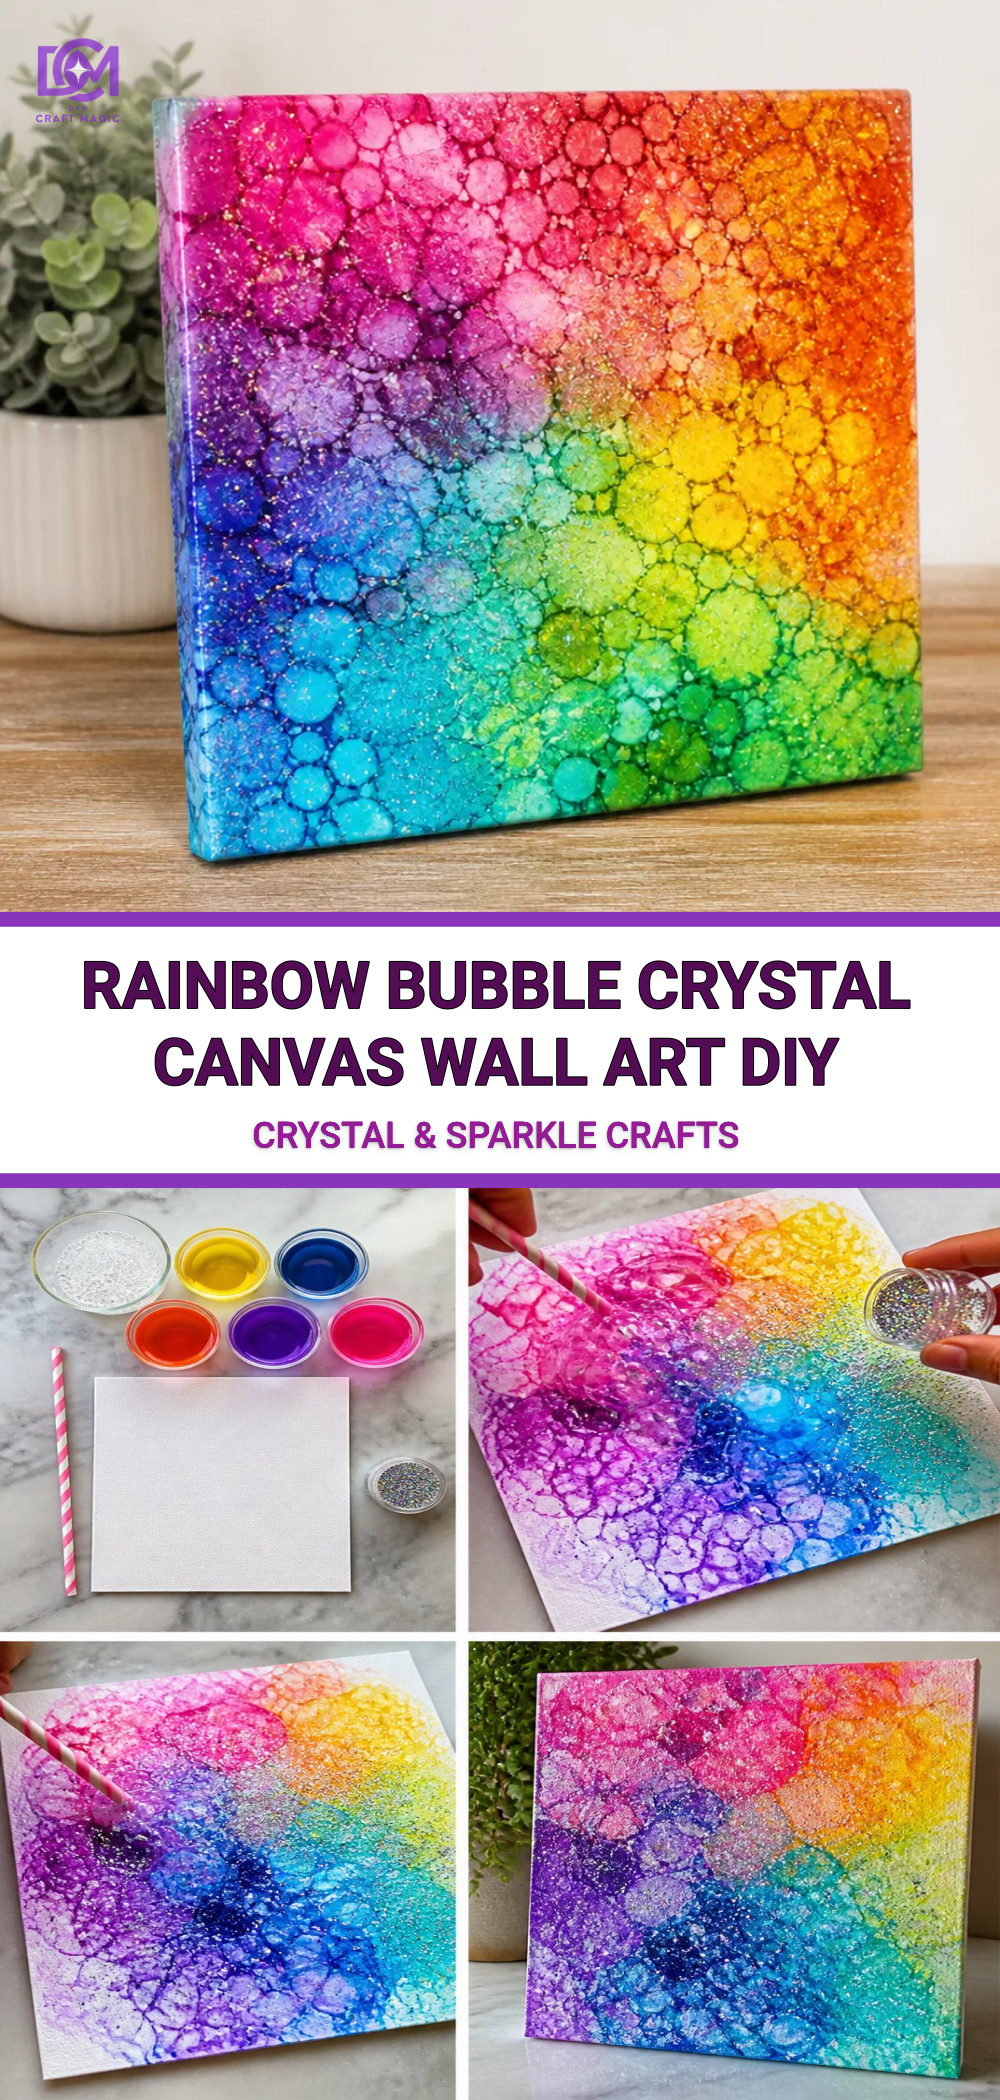
Creating vibrant and colorful wall art is a delightful way to brighten up any space, and with this Rainbow Bubble Crystal Canvas Wall Art project, you’ll transform simple materials into a kaleidoscope of color. This project uses a unique technique that results in a stunning layered effect, perfect for displays in children’s rooms or anywhere you want a pop of cheer. The glossy, bubble-like finish is not only visually captivating, but it is also an engaging craft to tackle whether you’re with kids or crafting solo. You may also find Kitchen Sponge Firework Prints Diy Wall Art useful.
Materials You’ll Need
To embark on this colorful adventure, gather the following materials: You may also find Rainbow Crystal Bat Clothespin Mobile For Kids useful.
- Canvas (any size)
- White school glue
- Colorful craft paint (preferably acrylic)
- Water
- Plastic squeeze bottles or pipettes
- Plastic wrap
- Paintbrushes
- Small bowl
- Paper cups (for mixing paint)
- Apron (to protect your clothing)
Getting Started with Your Rainbow Bubble Crystal Canvas Wall Art
Once you have everything ready, it’s time to create your masterpiece! Begin by mixing your paint colors to create a beautiful range of vibrant shades. You might want to consider hues that remind you of rainbows, such as reds, oranges, yellows, greens, blues, and violets. By mixing the paint with glue, you’ll achieve that glossy, bubble crystal finish.
One fun project that mimics this beautiful layering effect is the Galaxy Bubble Glue DIY Window Art, which uses similar techniques with colors and textures.
Step-by-Step Instructions
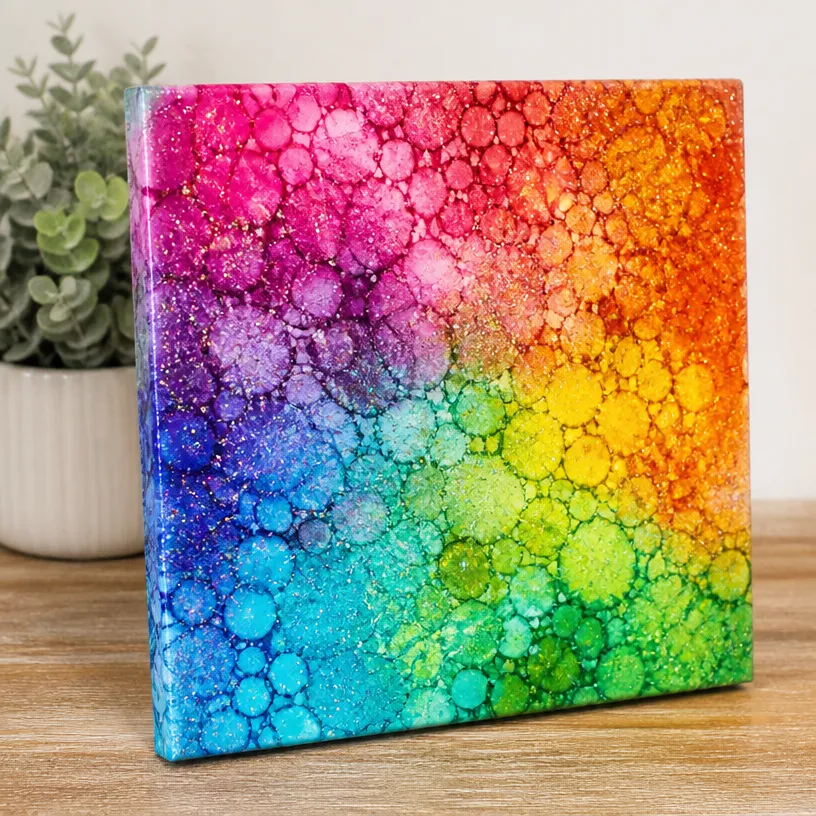
Prepare the Canvas: Start by laying your canvas flat on a protected work surface. Make sure you have plenty of space to work.
Mix Your Paints: In separate bowls, mix your colorful paints with school glue in a ratio of 1:1. Add a little water to achieve a pourable consistency. It’s okay to experiment with color blending at this stage.
Squeeze the Paint: Use your squeeze bottles or pipettes to drizzle the paint onto the canvas. Start from the center and work your way outward, layering different colors. This is where your creativity can run wild!
Use the Plastic Wrap: To create the bubble effect, lay a piece of plastic wrap over the wet paint. Gently crumple it, pressing down lightly to form bubbles while still allowing color to seep through.
Let It Dry: Allow your artwork to dry completely. Depending on humidity levels, this could take several hours to a day.
Getting the Colors Right
While applying the paint, you might notice that some colors blend together more nicely than others. Consider keeping a few test canvases on hand to see which color combinations yield the best effects before you commit to your final canvas.
If you enjoy experimenting with colors, you might find the Melted Crayon Rainbow Heart Suncatcher for Kids project helpful for inspiration on blending techniques and color saturation.
Creating the Crystal Effect
The glossy finish is what sets your Rainbow Bubble Crystal Canvas apart. To pronounce this look, carefully peel the plastic wrap off once the paint is dry. You might consider adding a final layer of gloss sealer to enhance the crystal-like shine, particularly if you plan to hang your artwork in a sunny spot.
Helpful Tips
- Safety First: If you’re crafting with children, supervise closely when using scissors and squeeze bottles.
- Experiment with Size: Feel free to adapt the size of the canvas or even create smaller versions to make a beautiful gallery wall.
If you’re looking for more creative ideas, you might also enjoy the Rainbow Crystal Butterfly Suncatcher Craft for a complementary project.
Display Ideas
Once your artwork is complete, consider framing it with a lovely, simple frame to add an elegant touch. Alternatively, you could hang it directly on the wall using clips or even place it on a shelf surrounded by other colorful decor items.
Frequently Asked Questions
Can I use other types of glue besides school glue?
While school glue is great for this project, you can experiment with different types of glue, but remember that the texture and finish might vary.
What should I do if my colors look dull after drying?
If you notice that the colors didn’t turn out as expected, you can always add another layer of paint or a glossy finish to enhance the vibrancy.
Conclusion
Crafting your own Rainbow Bubble Crystal Canvas Wall Art is a wonderfully rewarding experience that can add bursts of color and creativity to your surroundings. For more inspiration, check out the stunning Rose Quartz Crystal Canvas Print: Light Pink Gemstone Boho Wall Art or explore vibrant options like Rainbow Art Home Decor and Wall Prints – Walmart to inspire your creative journey. Happy crafting!
Print
Rainbow Bubble Crystal Canvas Wall Art
- Total Time: 60 minutes
- Makes: 1 canvas
Description
Create vibrant and colorful wall art using a unique technique for a stunning layered effect.
Materials
- Canvas (any size)
- White school glue
- Colorful craft paint (preferably acrylic)
- Water
- Plastic squeeze bottles or pipettes
- Plastic wrap
- Paintbrushes
- Small bowl
- Paper cups (for mixing paint)
- Apron (to protect your clothing)
Instructions
- Prepare the canvas by laying it flat on a protected work surface.
- Mix your colorful paints with school glue in a 1:1 ratio and add water for a pourable consistency.
- Squeeze the paint onto the canvas using squeeze bottles or pipettes, layering different colors.
- Use a piece of plastic wrap over the wet paint to create a bubble effect.
- Let your artwork dry completely, which could take several hours to a day.
Notes
Supervise closely when crafting with children and experiment with color combinations for the best effects.