

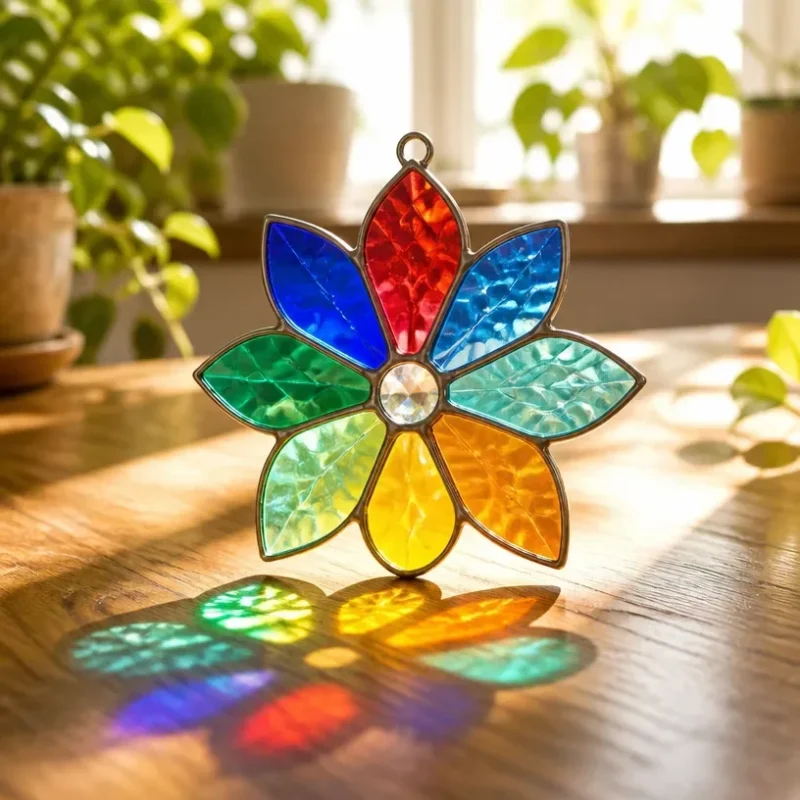
Colorful Rainbow Window Suncatcher for Bright Sunlight
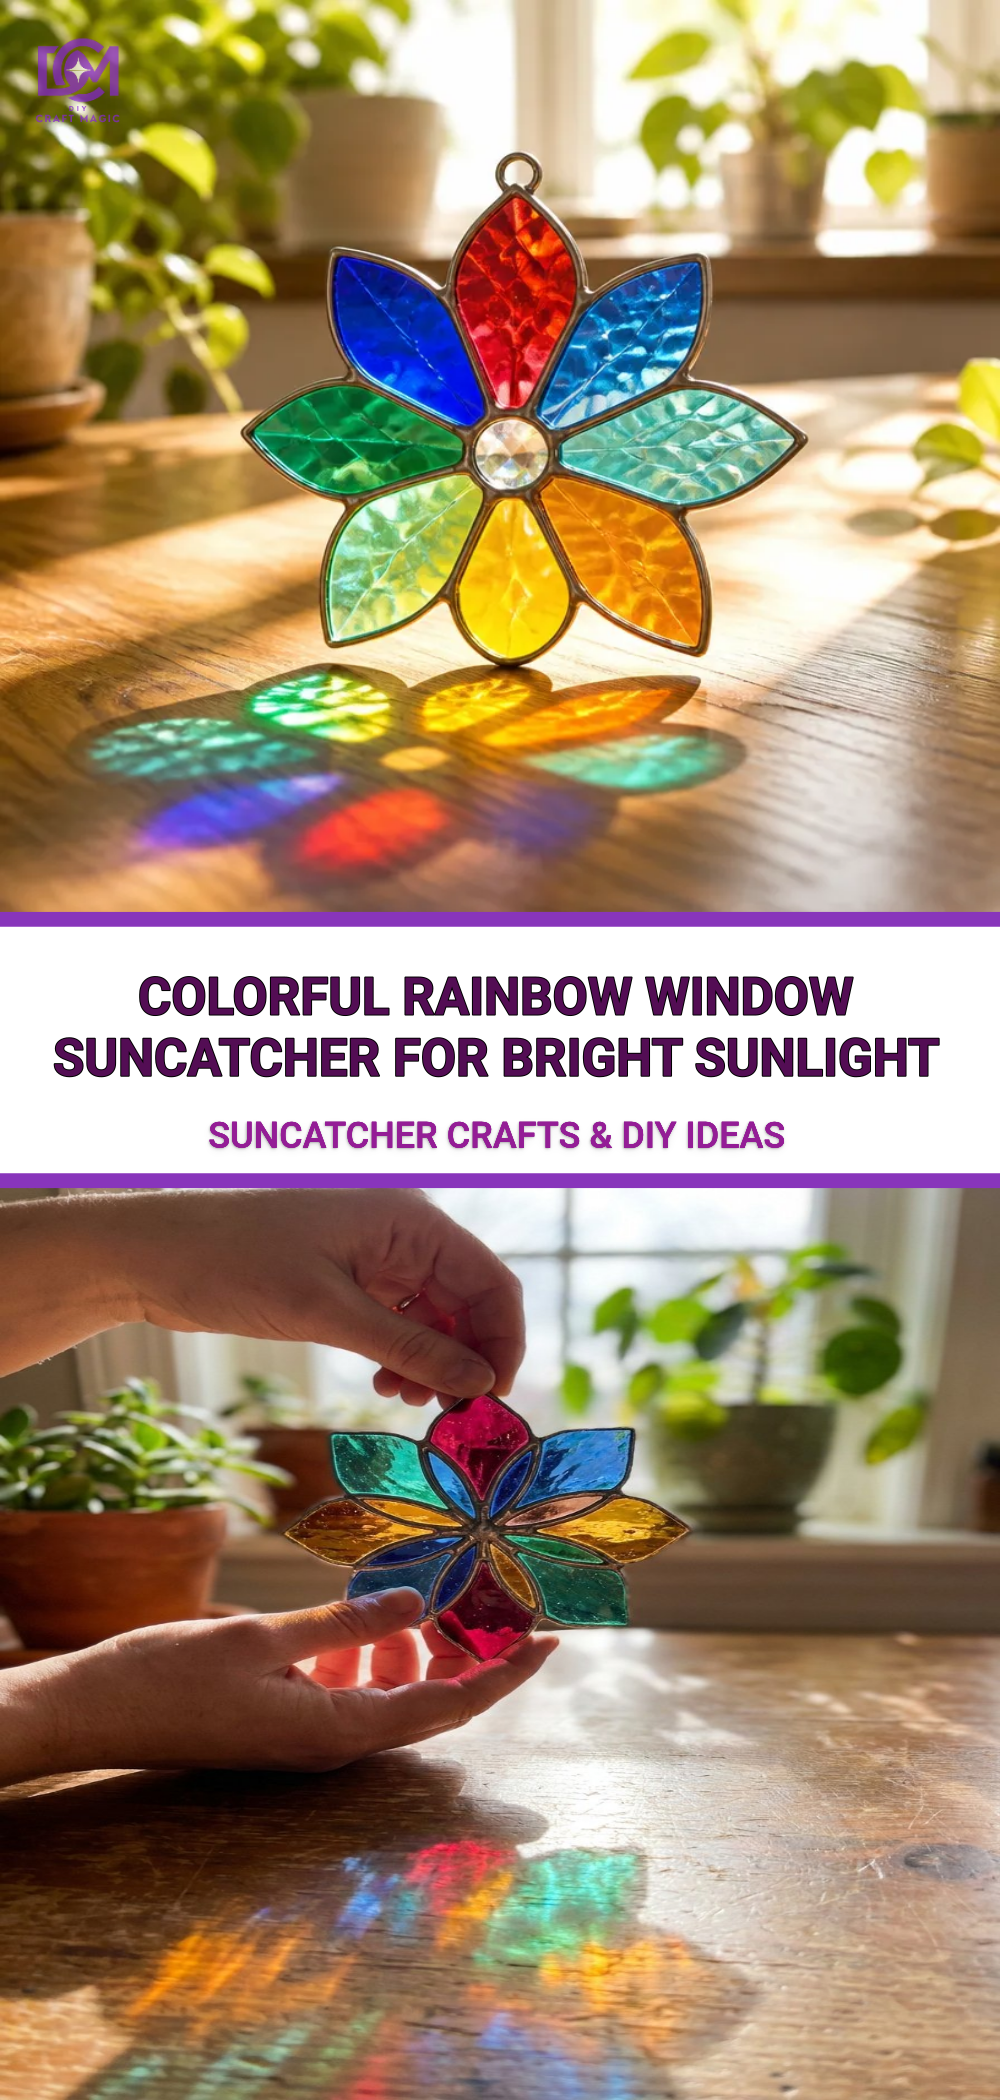
Creating a colorful rainbow window suncatcher is a delightful way to brighten up any space in your home. This project not only brings vibrant colors into your environment but also transforms simple materials into a stunning display of light. The finished suncatcher will radiate beautiful reflections, making your windows look alive with sparkle and color. Plus, this craft is approachable and satisfying for both adults and children, making it an excellent project for family bonding. You may also find Melted Crayon Rainbow Butterfly Suncatcher For Kids useful.
Materials You’ll Need
To get started with your rainbow window suncatcher, gather the following materials:
- Clear plastic sheets or wax paper
- Colored tissue paper in various vibrant shades
- Scissors
- Craft glue or liquid glue
- Optional: Frame or hoop for support
- Hole puncher (if adding a hanging string)
Choosing Your Materials
When selecting your colored tissue paper, consider using a mix of bold and pastel shades to create a dynamic look. For example, vibrant colors can be paired with softer tones to add depth to your suncatcher. If you’re looking for more ideas, you might enjoy making a pastel flower glue suncatcher that captures light in a beautiful way.
How to Make Colorful Rainbow Window Suncatcher for Bright Sunlight
Follow these simple steps to create your rainbow suncatcher:
Cut the Base: Start by cutting your clear plastic sheet or wax paper into the desired shape for your suncatcher. Popular options include circles or hearts.
Prepare the Tissue Paper: Cut the colored tissue paper into small squares or shapes. Disperse them randomly for a whimsical look or arrange them methodically for a striped effect.
Glue the Tissue Paper: Using craft glue, start adhering the tissue paper pieces onto the plastic sheet. Overlap them to create a layered effect, ensuring the colors blend beautifully. If you’re looking for another creative project involving glue and colors, try the neon spiral glue suncatcher.
Let It Dry: Allow the glue to dry completely. This step is essential to ensure the tissue paper holds well and doesn’t peel off when handled.
Cut and Frame: Once dried, trim any excess tissue paper around the edges. If desired, you can frame your creation or add a hoop for hanging.
Add a Hanging Loop: Use the hole puncher to create a hole at the top of the suncatcher. Thread a piece of string through to hang it securely in your window.
Creating the Crystal Effect
To enhance the crystal-like sparkle, you can consider adding a layer of clear glue over the top of your suncatcher. As it dries, this creates a glossy finish that catches the light beautifully. If you want to explore similar designs, the clear blue rainbow bat suncatcher wreath offers an excellent example of how light interacts with different surfaces.
Helpful Tips
- Work in Sequenced Layers: If you’re using multiple layers of tissue paper, do them one at a time and let each layer dry before adding the next.
- Color Combinations: Experiment with ombre effects by gradually changing colors from dark to light or vice versa.
- Safety Precautions: While working with scissors and glue, adult supervision might be necessary for younger children to ensure safety.
Ways to Customize It
This project is highly customizable. You might choose to create seasonal designs for holidays or other festivities. For example, pastel colors can be perfect for spring themes, while richer colors work well for autumn displays. Customizing your suncatcher can make it a unique addition to your home decor, akin to creating a melted crayon rainbow heart suncatcher.
Frequently Asked Questions
How can I ensure the colors don’t fade over time?
To help preserve the colors, place your suncatcher in a location that receives indirect sunlight.
Can I use other types of paper?
Yes! You can use different types of thin paper, like wrapping paper or even magazine pages, for unique textures and patterns.
What should I do if my suncatcher starts to curl?
If the edges start to curl, consider sealing the edges with a bit of extra glue or placing a heavy book on top to flatten them out while drying.
Conclusion
Making a colorful rainbow window suncatcher can be a wonderful family activity, allowing creativity to shine while filling your home with joyful colors. For additional crafting needs, check out this beautiful YU FENG 4.7 Inch Crystal Prism Suncatcher that adds even more sparkle to your projects. You might also like the vibrant designs found in the Rainbow Sun Catcher, which can enhance any window with its colorful flair. Enjoy your crafting journey!
Print
Colorful Rainbow Window Suncatcher
- Total Time: 15 minutes
- Makes: 1 suncatcher
Description
Brighten your space with a colorful rainbow window suncatcher, transforming simple materials into stunning displays of light.
Materials
- Clear plastic sheets or wax paper
- Colored tissue paper in various vibrant shades
- Scissors
- Craft glue or liquid glue
- Optional: Frame or hoop for support
- Hole puncher (if adding a hanging string)
Instructions
- Cut the clear plastic sheet or wax paper into the desired shape for your suncatcher.
- Prepare the colored tissue paper by cutting it into small squares or shapes.
- Glue the tissue paper pieces onto the plastic sheet, overlapping them for a layered effect.
- Let the glue dry completely.
- Cut any excess tissue paper around the edges once dried, and frame or add a hoop if desired.
- Add a hole at the top using a hole puncher, then thread a string through to hang it.
Notes
Work with sequenced layers for better adhesion and color experiments are encouraged. Always supervise younger children when using scissors and glue.