

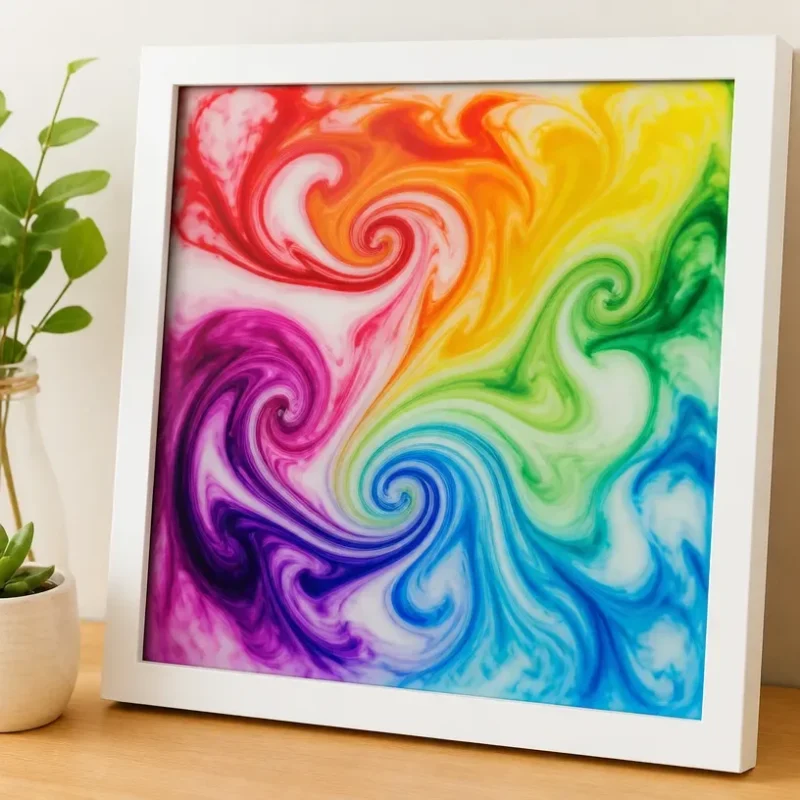
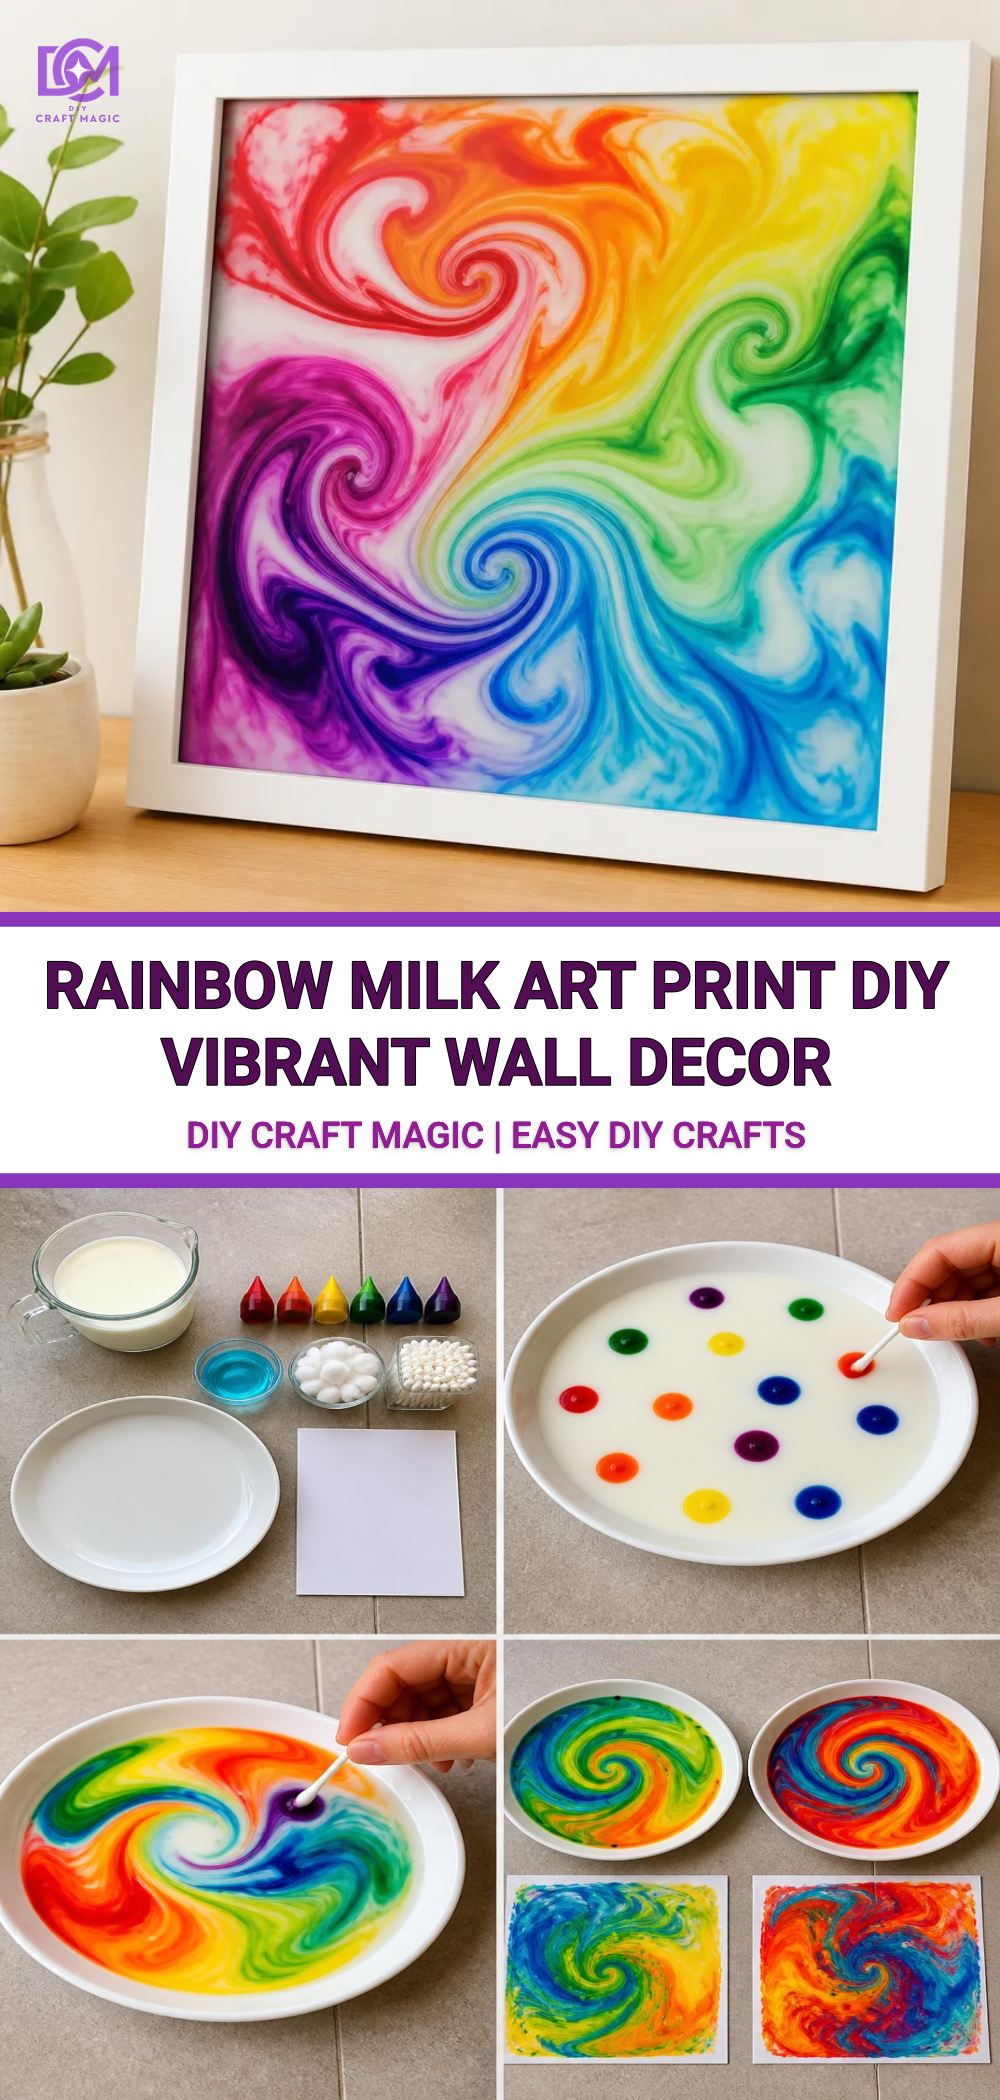
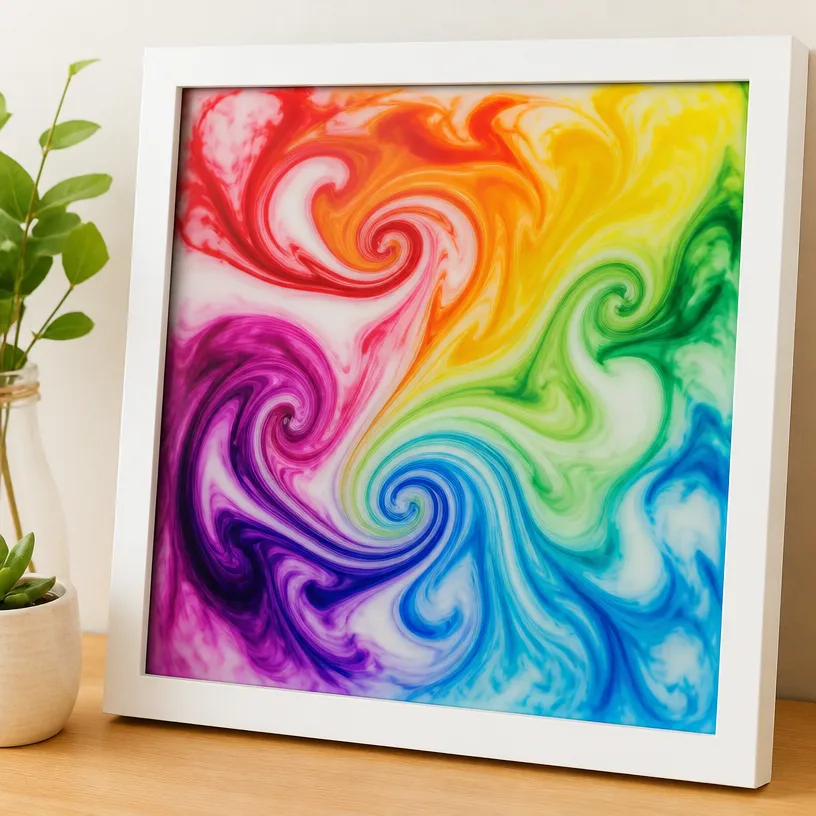
Rainbow Milk Art Print – Vibrant Colorful Wall Decor
Creating vibrant art for your home can be both engaging and enjoyable, especially when it involves something as fun and striking as a Rainbow Milk Art Print. This craft transforms typical household items into colorful decor that catches the eye and brightens any space. The process is satisfying and visually rewarding, making it ideal for crafters of all skill levels, including kids and families. You may also find Diy Rainbow Mandala Stones For Home Decor useful.
Why You’ll Love This Project
This project is a celebration of color and creativity. It invites you to blend milk with food coloring and dish soap, resulting in mesmerizing patterns that feel both organic and intentional. You’ll not only see the colors swirl and merge but also enjoy the hands-on experience of creating something unique. If you love colorful DIY projects, you might also enjoy making kitchen sponge firework prints for a playful addition to your home!
Materials You’ll Need
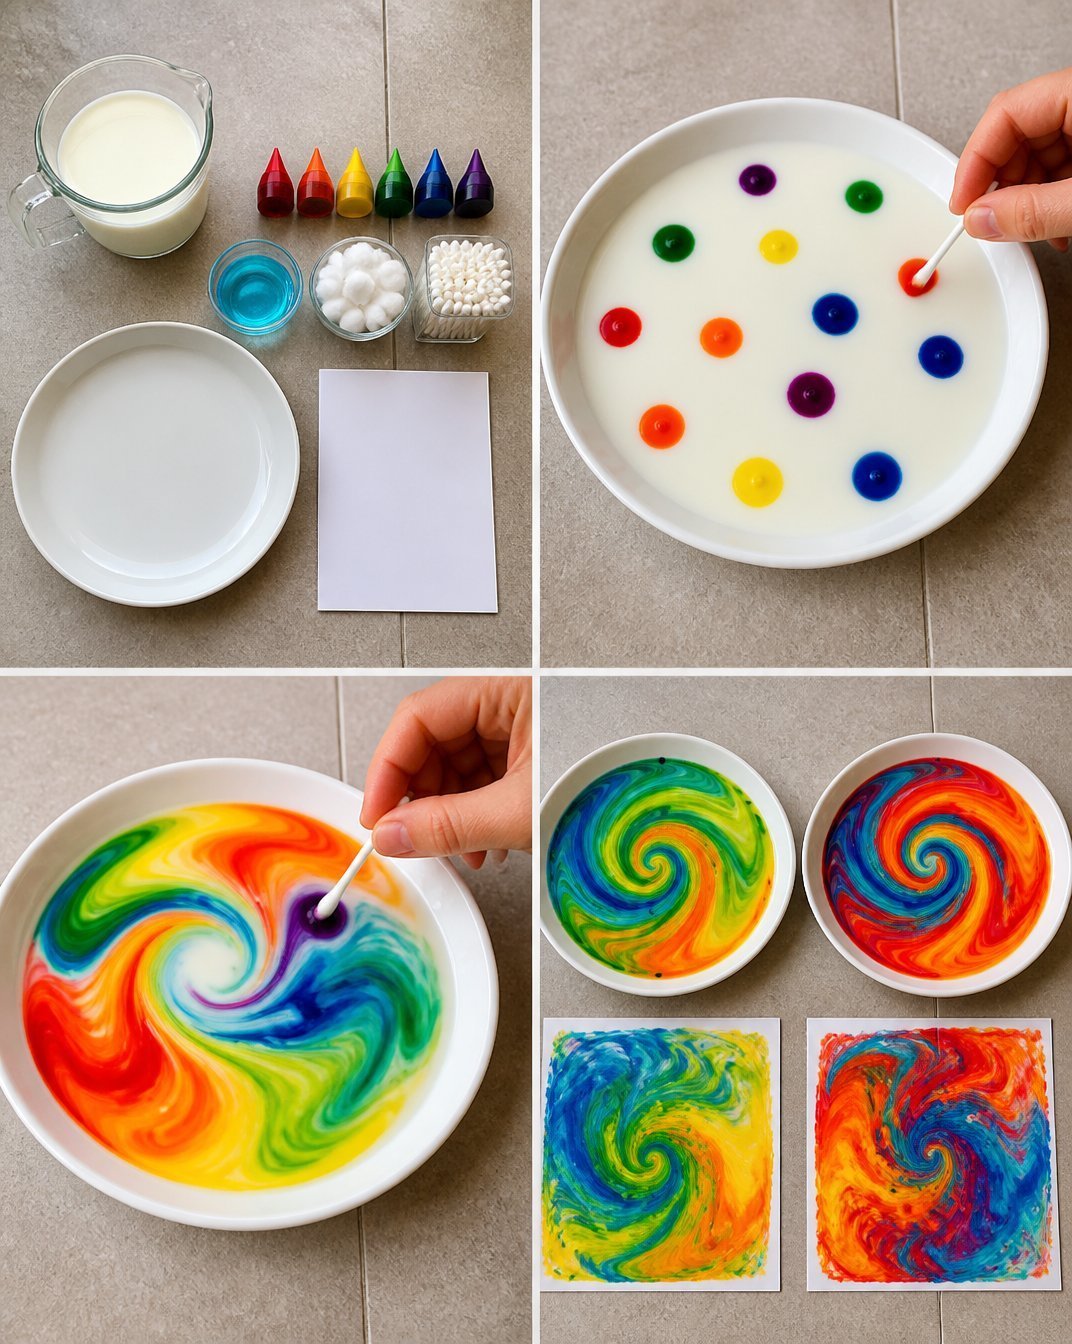
Before starting, gather these materials: You may also find Diy Sparkly Heart Ornaments Christmas Decor useful.
You may also find Diy Toilet Paper Roll Butterfly Wall Decor useful.
- Whole Milk: The fat content helps the colors spread.
- Food Coloring: Any colors you prefer will work.
- Dish Soap: This creates the magical reaction with the milk.
- Shallow Dish or Tray: Holds the milk and colors.
- Cotton Swabs or Toothpicks: For swirling colors.
- Paper: This will capture the art. Thick paper works best.
Step-by-Step Instructions
Pour the Milk: Start by pouring a layer of milk into your shallow dish, enough to cover the bottom. You may also find Melted Crayon Rainbow Heart Suncatcher For Kids useful.
Add Food Coloring: Drop different food coloring into the milk in various places. Observe how the colors sit on the surface.
Introduce Dish Soap: Dip a cotton swab into the dish soap and then touch it to the milk’s surface. Watch as the colors react and swirl away from the soap, creating stunning patterns.
Swirl and Capture: You can use the cotton swab to make swirling motions. Once satisfied, quickly press a piece of paper down onto the milk surface to absorb the colors.
** dry**: Remove the paper and let it dry completely this may take a few hours depending on the thickness of your paint.
Getting the Colors Right
Experiment with different colors and combinations! When choosing your food colors, remember that primary colors can be mixed to create secondary colors. If you’re aiming for a specific palette, consider planning out the colors by practicing on a separate piece of paper first.
Creating the Crystal Effect
For a more textured and visually appealing final product, try layering your designs. After your first print has dried, you can repeat the process with fresh milk and colors, ensuring you create a separate, new piece of art. This not only enhances the visual interest but gives you layers of depth to appreciate.
Helpful Tips
- Test First: If you’re new to this technique, consider making a few tests with small pieces of paper before committing to larger sheets.
- Be Quick: The reaction between the soap and the milk is quick, so be prepared to act fast when transferring to paper.
- Keep it Clean: Have paper towels ready to clean spills and keep your workspace tidy.
Common Mistakes to Avoid
- Using Low-Fat Milk: Low-fat alternatives might not create the same reaction, so stick with whole milk for the best results.
- Not Enough Soap: Ensure to use enough dish soap to prompt the color reaction.
- Letting it Sit Too Long: The longer you wait to press down the paper, the more the colors may mix and lose their vibrancy.
Ways to Customize It
Feel free to customize your prints by using various colors or experimenting with the amount of soap and milk. You can also frame the finished prints or use them as colorful cards to send to friends and family.
Display Ideas
Once your artwork is dry, think about how you want to display your masterpiece. You can hang your prints in the kitchen, living room, or even brighten up a child’s playroom. For an extra festive touch, create a series of prints in different colors for a cohesive gallery wall.
Crafting With Kids
This project is an excellent way to engage children in crafting! They will love seeing the colors mix and creating their own designs. Just supervise the use of food coloring as it can stain, and use aprons to keep clothes clean.
Make It for the Season
Tailor your color choices to fit holidays or seasons, such as reds and greens for Christmas or pastel hues for spring. This can make your art even more relevant for your home decor.
Frequently Asked Questions
1. How long does it take for the art to dry?
Typically, the art may take a few hours to dry completely, dependent on the thickness of the paper.
2. Can I use other types of milk?
While whole milk is preferred for its fat content, you can experiment with other types, but results may vary.
3. Is this project safe for young children?
Yes, this project is generally safe, but adult supervision is recommended, particularly when handling food coloring and utensils.
4. What type of paper works best?
Thicker paper works best to absorb the milk and colors, providing a more robust final product.
5. Can I store leftover milk?
It’s best to use the milk immediately for fresh prints, but any leftover can be discarded safely because it’s just milk.Crafting is a delightful way to express yourself, and with this Rainbow Milk Art Print project, the results are simply stunning!
Conclusion
The Rainbow Milk Art Print project is an engaging opportunity to create stunning crafts loved by both kids and adults. To find some unique art that could enhance your home decor options, check out these colourful South American rainbow llamas or explore other beautiful wall art collections at The New York Times Store for inspiration!
Print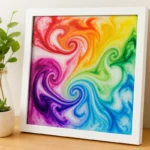
Rainbow Milk Art Print
- Total Time: 3 hours
- Makes: 1 art print
Description
Create vibrant and colorful art prints using simple household items like milk and food coloring. This engaging project is perfect for crafters of all skill levels, making it ideal for families and kids.
Materials
- Whole Milk
- Food Coloring
- Dish Soap
- Shallow Dish or Tray
- Cotton Swabs or Toothpicks
- Thick Paper
Instructions
- Pour the milk into a shallow dish, covering the bottom.
- Add drops of food coloring into the milk in various places.
- Introduce dish soap using a cotton swab and watch the colors react.
- Swirl the colors and quickly press a piece of thick paper onto the milk.
- Remove the paper and let it dry completely.
Notes
Experiment with different colors and combinations for unique designs. Use enough soap for a vibrant reaction.