

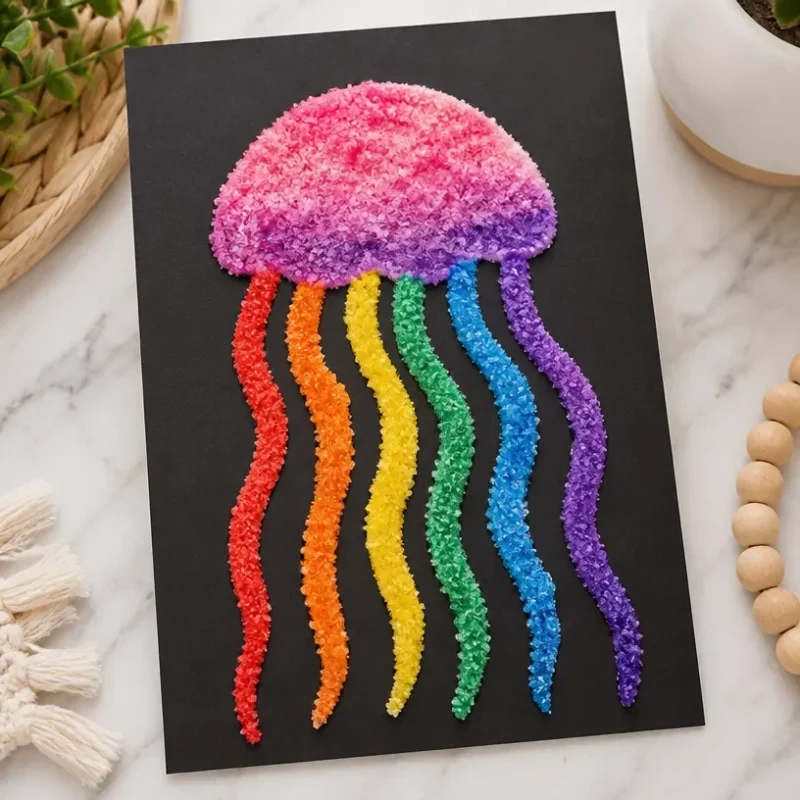
Rainbow Salt Painting Jellyfish DIY for Home Decor
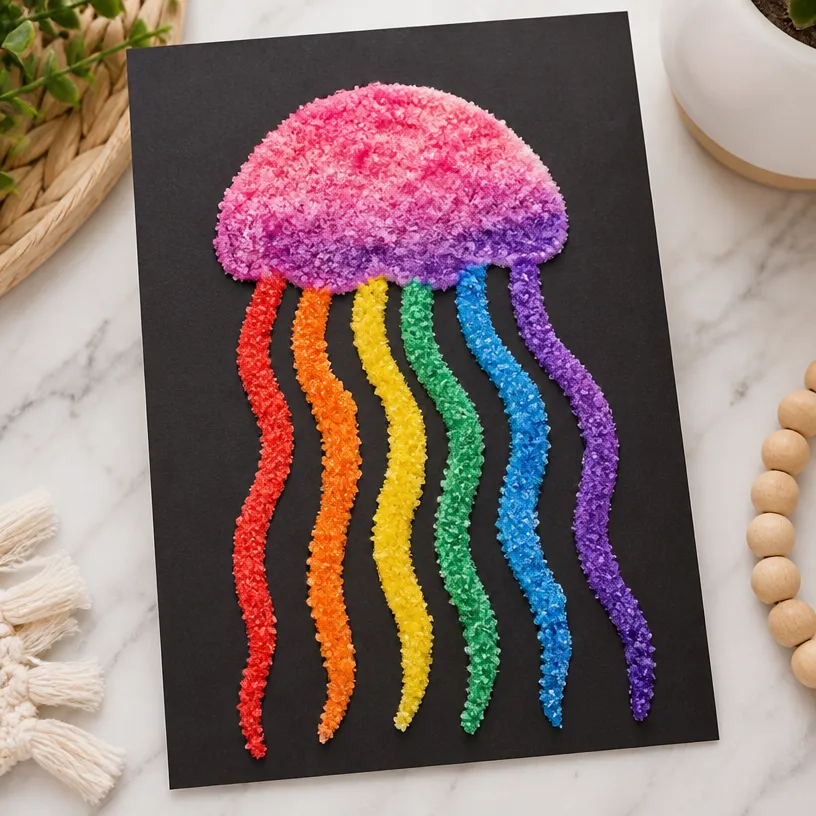
Creating a vibrant rainbow salt painting jellyfish is a fantastic way to brighten up your home decor while enjoying a hands-on crafting experience. This project offers a visually appealing result that showcases colorful layers and a unique texture that mimics the beauty of underwater life. It’s an approachable endeavor perfect for both beginners and those looking to share a fun afternoon crafting session with kids. You may also find Diy Rainbow Mandala Stones For Home Decor useful.
You may also find Colorful Ocean Jar Decor Rainbow Glass Jar Coastal Homes useful.
Materials You’ll Need
To get started, gather the following materials:
- Salt (coarse is best for texture)
- Watercolors (in various colors for a rainbow effect)
- Liquid glue (white school glue works well)
- Heavyweight paper or canvas (to support the painting)
- Paintbrushes (various sizes)
- Containers (for the watercolors)
- Spray bottle (for water)
- Newspaper or plastic sheet (to protect your workspace)
How to Make Rainbow Salt Painting Jellyfish DIY for Home Decor
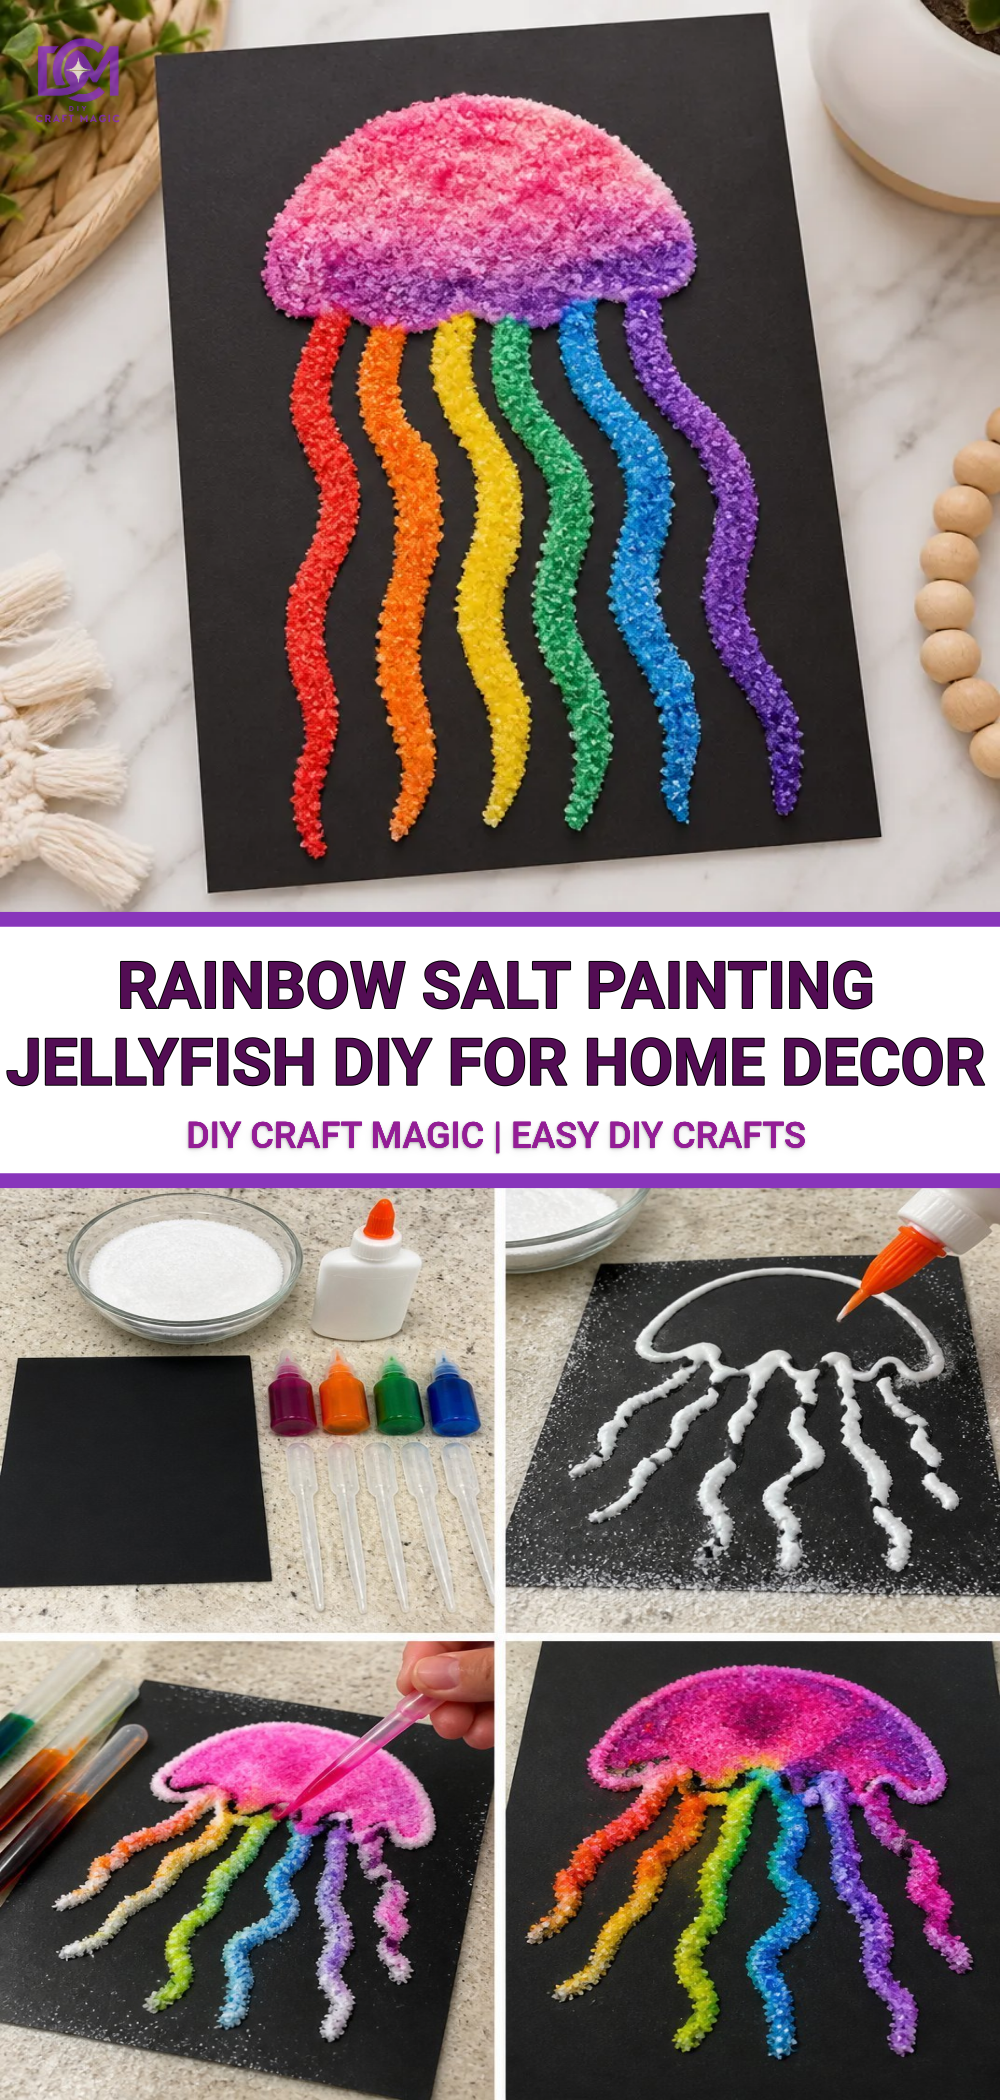
This project involves layering colors in an artistic way that forms the jellyfish shape while incorporating a stunning rainbow effect. Follow these steps to create your masterpiece:
Step-by-Step Instructions
Prepare Your Workspace: Lay down newspaper or a plastic sheet to protect your area from paint spills. This will also make cleanup easier.
Sketch the Jellyfish: Lightly draw a large jellyfish shape on your heavyweight paper or canvas. Include a round top for the head and wavy lines for the tentacles. If you’re not sure how to draw it, you can look for inspiration or learn the basics from a similar project.
Apply Glue: Use your paintbrush to apply a generous amount of liquid glue within the lines of your jellyfish sketch. It’s important to cover all areas that are to be painted.
Sprinkle Salt: Immediately sprinkle salt over the glued areas, covering them completely. The salt will absorb the watercolor and create beautiful textures.
Mix Watercolors: Prepare your watercolor by mixing with water in containers. Ensure you have a rainbow palette to work with think reds, yellows, greens, blues, and purples.
Drip Watercolor: Using your paintbrush, drizzle the mixed watercolors onto the salt. The colors will spread and blend into one another, creating a stunning rainbow effect. If the colors don’t blend as you want, lightly spray with water from your spray bottle.
Let it Dry: Allow your painting to dry completely, which might take a few hours or overnight, depending on the amount of water used.
Finish Your Artwork: Once dry, you can gently shake off the excess salt, revealing your vibrant jellyfish. To enhance its beauty, consider adding embellishments or pairing it with other ocean-themed decorations, such as crystal starfish geodes.
Helpful Tips
Color Selection: When choosing colors, think about how they redefine the jellyfish’s appearance. Bright colors maintain visual harmony while still offering contrast.
Experiment with Texture: The thickness of salt you apply will alter the texture of your artwork. For a more pronounced effect, apply a thicker layer.
Try Different Shapes: Once comfortable, feel free to explore creating different sea creatures or underwater designs. This can include creating patterns or experimenting with other crafts like rainbow mandala decorations.
Crafting With Kids
This project is an excellent way to engage children in a fun, educational activity. Not only will they enjoy the vivid colors, but they’ll also improve their fine motor skills and creativity. Ensure to supervise young kids with glue and scissors for safety.
Troubleshooting
Occasionally, salt may not adhere well, or colors might not blend as expected. If this happens, a light misting with water can sometimes rejuvenate dried paint and help it mix. Always keep an eye on how the mixture interacts with salt for the best results.
Frequently Asked Questions
Can I use other types of glue?
While liquid school glue is best for this project, alternatives like craft glue can also work, but avoid adhesive that dries too hard or brittle.
How do I store leftover materials?
Make sure to seal your watercolors and clean your brushes after use. If you have extra salt, store it in an airtight container for future projects.
What if I want to hang my artwork?
Once your jellyfish painting is completely dry, simply frame it or adhere it to a sturdy piece of cardboard for added backing before hanging.
Conclusion
Creating your own rainbow salt painting jellyfish is a rewarding experience that combines art and play. The final result is not only beautiful but also a wonderful educational project for kids. If you’re looking for more craft inspiration, check out the Salt Painting Jellyfish craft activity guide for additional ideas. For further artistic projects, consider browsing the Scratch Art Adult DIY Paint by Scratch Rainbow available on Amazon. Happy crafting!
Print
Rainbow Salt Painting Jellyfish DIY
- Total Time: 135 minutes
- Makes: 1 artwork
Description
Create a vibrant rainbow salt painting jellyfish to brighten up your home decor while enjoying a hands-on crafting experience.
Materials
- Salt
- Watercolors (various colors)
- Liquid glue (white school glue)
- Heavyweight paper or canvas
- Paintbrushes (various sizes)
- Containers (for watercolors)
- Spray bottle (for water)
- Newspaper or plastic sheet (for workspace protection)
Instructions
- Prepare your workspace: Lay down newspaper or a plastic sheet to protect your area from paint spills.
- Sketch the jellyfish: Lightly draw a large jellyfish shape on your heavyweight paper or canvas.
- Apply glue: Use your paintbrush to apply a generous amount of liquid glue within the lines of your jellyfish sketch.
- Sprinkle salt: Immediately sprinkle salt over the glued areas, covering them completely.
- Mix watercolors: Prepare your watercolor by mixing with water in containers.
- Drip watercolor: Using your paintbrush, drizzle the mixed watercolors onto the salt.
- Let it dry: Allow your painting to dry completely, which might take a few hours.
- Finish your artwork: Once dry, gently shake off the excess salt to reveal your vibrant jellyfish.
Notes
This project is a great way to engage children in a fun, educational activity while improving their fine motor skills.