

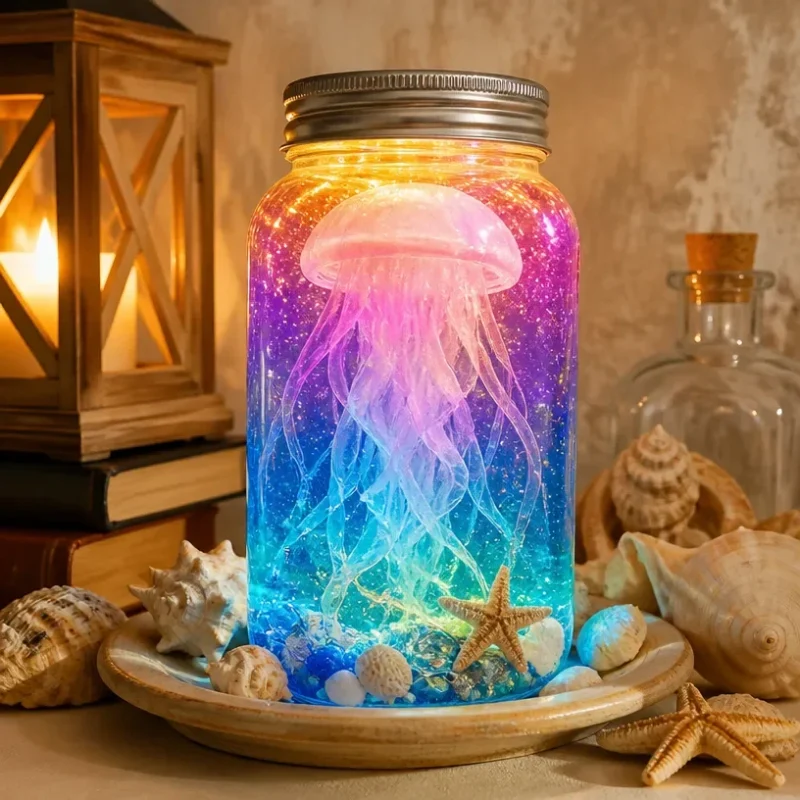
Glowing Rainbow Ocean Jellyfish Jar Light
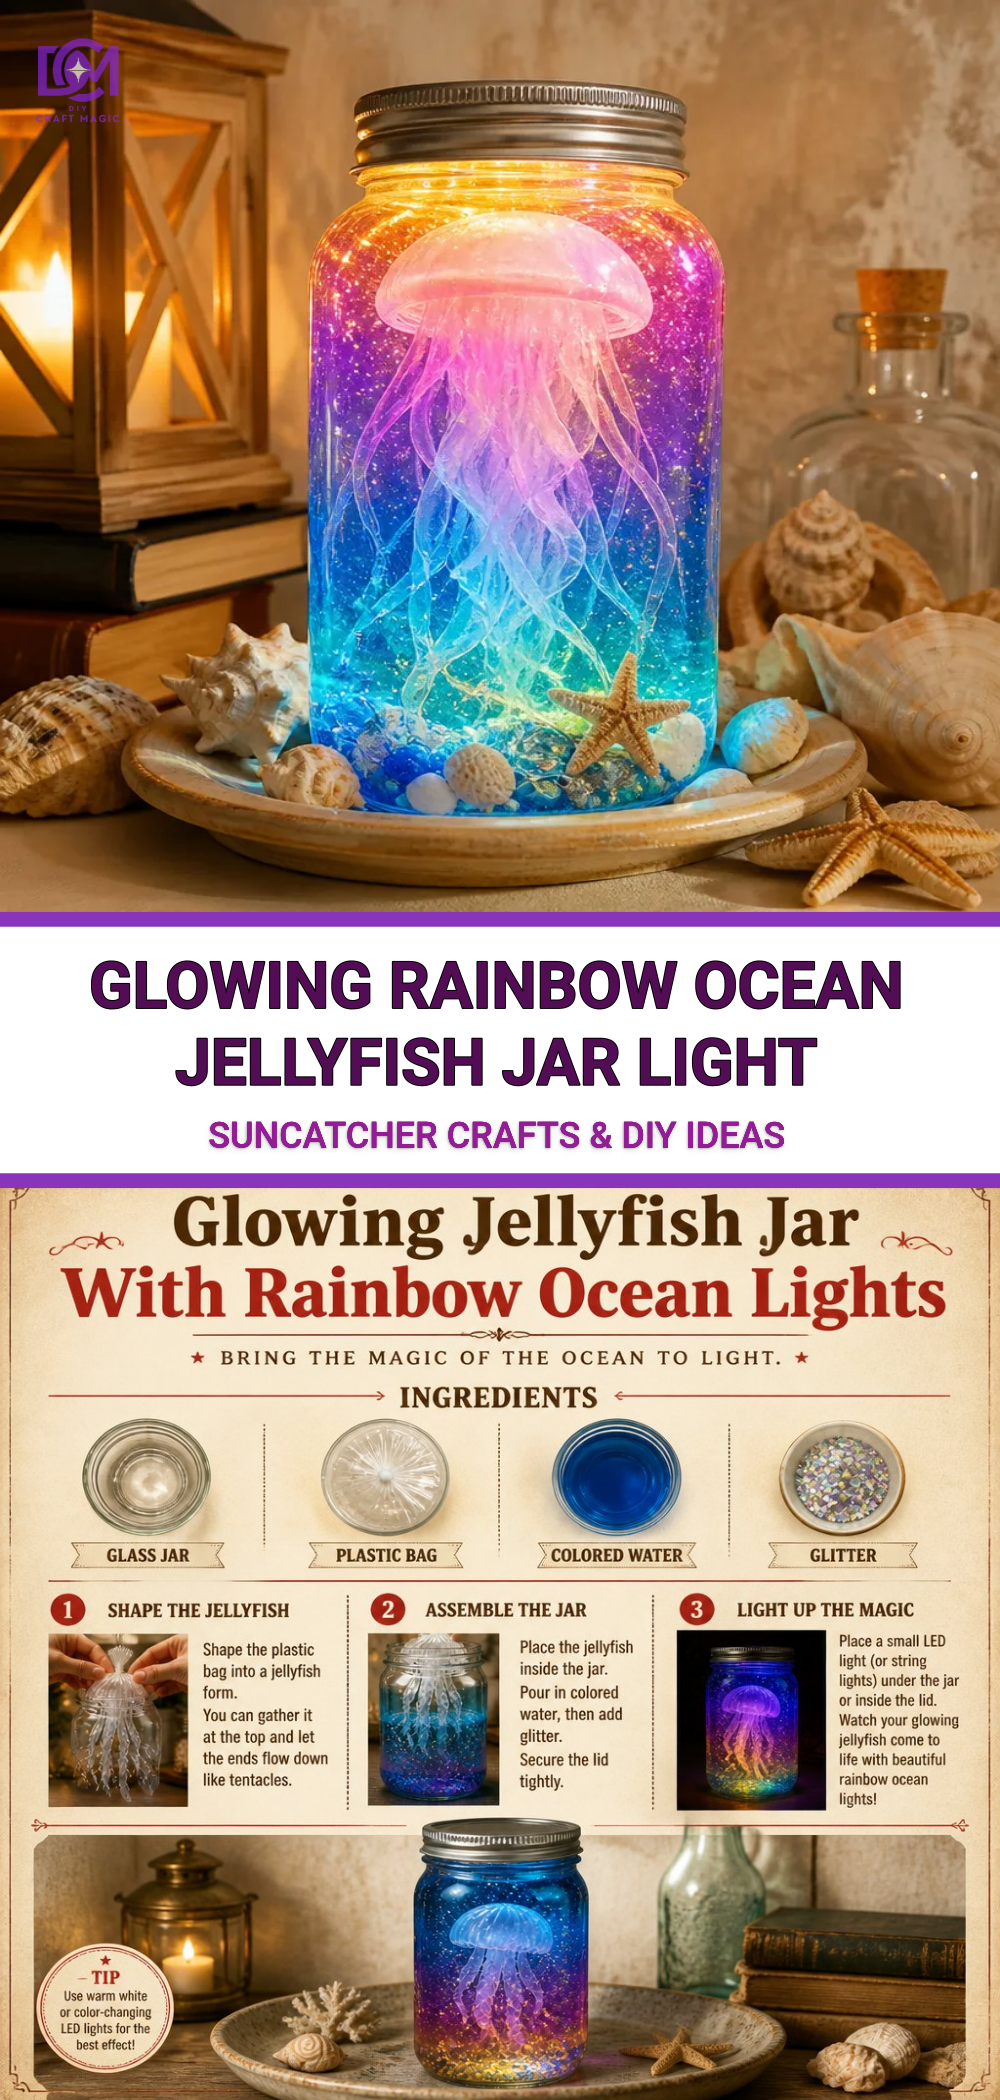
Creating a Glowing Rainbow Ocean Jellyfish Jar Light is a delightful way to bring a splash of color and a cozy glow into your home. This enchanting craft transforms ordinary materials into a vibrant piece of ocean-themed décor, perfect for brightening up any room. The finished product reflects dazzling colors and glows softly, capturing the beauty of a bioluminescent underwater world. You may also find Colorful Ocean Jar Decor Rainbow Glass Jar Coastal Homes useful.
Why You’ll Love This Project
This project is not only visually captivating but also incredibly rewarding to make. By combining textured materials and vivid colors, you’ll create a mesmerizing light that mimics the magical glow of jellyfish floating in the ocean. Plus, it’s a straightforward craft that families can enjoy together, inspiring creativity while also serving as a unique nightlight or centerpiece. You may also find Glowing Rainbow Potion Bottles Magical Elixirs useful.
Before You Start
Make sure you have a clean workspace and gather all your materials. This project is suitable for crafters of all ages, but adult supervision is recommended when using scissors or hot glue. You may also find Holographic Jellyfish Crystal Light Ornament useful.
Materials You’ll Need
- Clear glass jar with a lid
- LED tealight candle
- Acrylic paints (blue, purple, pink, and white)
- Fishing line or clear thread
- Plastic bags or light mesh fabric (for the jellyfish)
- Scissors
- Hot glue gun
- Glitter (optional)
How to Make the Glowing Rainbow Ocean Jellyfish Jar Light
Follow these detailed steps to create your own glowing jellyfish light.
Prepare the Jellyfish
Start by cutting strips of plastic bags or fabric. Each strip should be about 1 inch wide and can be around 10-12 inches long, depending on how long you want the jellyfish tentacles to be. If you’re feeling artistic, you can also add glitter to these strips for extra sparkle.Creating the Body
In a separate area, paint the inside of the glass jar with layers of blue, purple, and pink acrylic paint using a wide brush. This will give the jar a beautiful, ocean-like effect. Don’t forget to allow the paint to dry fully between layers.Assembling the Jellyfish
Take a piece of the fishing line and tie it to the center of your jellyfish body made from plastic. Gather the tentacles and tie them below the body of the jellyfish. This gives it a nice, flowing shape.Attach the Jellyfish to the Lid
Using the hot glue gun, carefully attach the jellyfish to the inside of the jar lid so it hangs down when the jar is closed. Make sure it’s securely glued to avoid any accidents.Adding the Light
Place the LED tealight candle at the bottom of the jar. Once you have your jellyfish suspended, close the jar lid gently, checking that nothing obstructs it. The LED light will shine through, illuminating the colors of the paint and making the jellyfish glow.Final Touches
If desired, you can sprinkle some extra glitter inside the jar to mimic shimmering water.
Getting the Colors Right
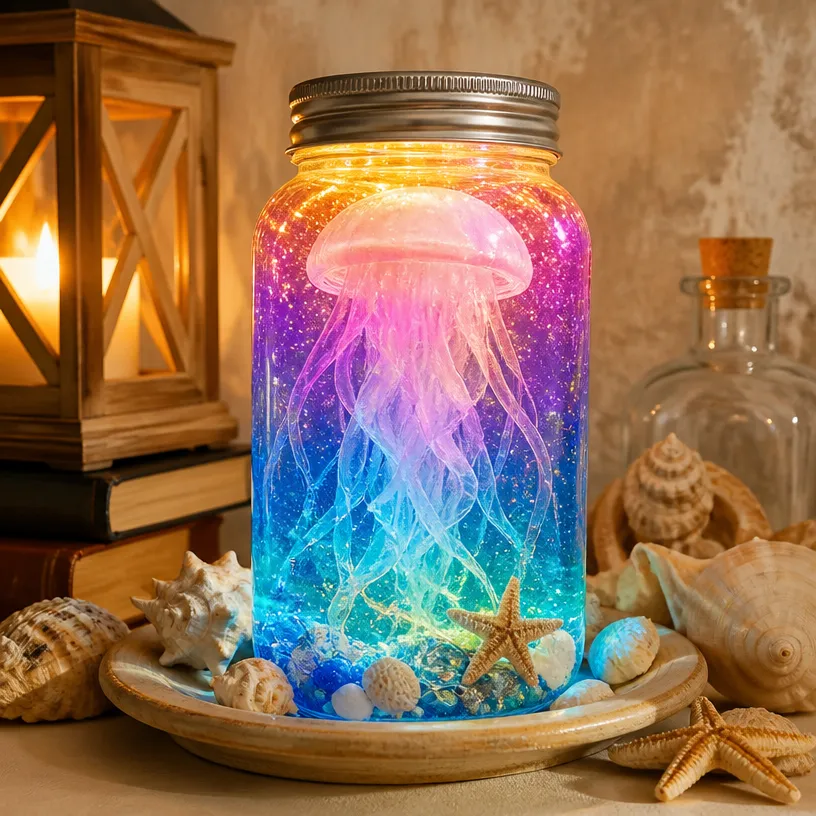
To achieve a glowing effect reminiscent of deep ocean waters, consider using transparent acrylic paints. These allow the light from the LED candle to permeate and create a soft glow. Experiment with blending colors for a more dynamic appearance.
Creating the Crystal Effect
For an added depth, you might want to try adding clear glue or resin to the inside of the jar. This adds a glossy finish that enhances the oceanic appearance and makes the paint colors pop.
Helpful Tips
- Choose the Right Jar: A larger jar will allow more light to shine through, giving a better glowing effect.
- Tentacle Variations: You can customize your jellyfish by varying the lengths and colors of the tentacles.
- Safety First: Always be careful when handling glass materials. Ensure that any sharp edges are smoothed out before crafting begins.
Common Mistakes to Avoid
Avoid using real candles inside the jar as this poses a fire hazard. Stick with LED lights to ensure safety.
Ways to Customize It
You can personalize your jellyfish jar by adding seashells or small ocean figurines inside the jar. This can enhance the ocean theme and make it even more charming. Alternatively, experiment with different colors of paints to match your home décor.
Color Ideas
For a more vibrant look, consider adding colors like turquoise, green, or orange. This could give the glowing ocean jellyfish a unique twist that stands out in your space.
Display Ideas
Place the finished jellyfish jar on a nightstand, shelf, or even in a window to showcase its colorful display. The light will reflect beautifully through the glass, creating a serene atmosphere.
Crafting With Kids
This project is perfect for family crafting sessions! Engage children in the painting process and allow them to create their own unique designs for their jellyfish.
Frequently Asked Questions
How long does it take for the paint to dry?
Allow paint to dry for at least 30 minutes between layers and a couple of hours after the final layer to avoid smudging.
Can I use a different type of candle?
It’s best to stick with LED candles for safety; real candles can pose a fire risk inside the jar.
What if I can’t find plastic bags?
Light mesh fabric works well and can give a more elegant look to your jellyfish.
Conclusion
In creating your Glowing Rainbow Ocean Jellyfish Jar Light, you’ve crafted more than just a decorative piece; you’ve woven together creativity, color, and a touch of magic. This project not only brightens your space but also offers a wonderful opportunity to engage with friends and family. To explore more sensational glowing crafts visit this colorful suncatcher project or discover an enchanting glow with galaxy bottles.
Print
Glowing Rainbow Ocean Jellyfish Jar Light
- Total Time: 60 minutes
- Makes: 1 glowing jellyfish jar light
Description
Create a stunning glowing jellyfish jar light that brings the enchanting beauty of the ocean into your home.
Materials
- Clear glass jar with a lid
- LED tealight candle
- Acrylic paints (blue, purple, pink, and white)
- Fishing line or clear thread
- Plastic bags or light mesh fabric (for the jellyfish)
- Scissors
- Hot glue gun
- Glitter (optional)
Instructions
- Prepare the jellyfish by cutting strips of plastic bags or fabric into 1-inch wide and 10-12 inches long rolls.
- Create the body by painting the inside of the glass jar with layers of blue, purple, and pink acrylic paint.
- Assemble the jellyfish by tying the tentacles with fishing line to the jellyfish body.
- Attach the jellyfish to the inside of the jar lid using the hot glue gun.
- Add the LED tealight candle at the bottom of the jar before sealing.
- Final touches can include sprinkling extra glitter inside the jar for a shimmering effect.
Notes
For a deeper ocean look, mix transparent acrylic paints for better light penetration. Always use LED lights for safety.