

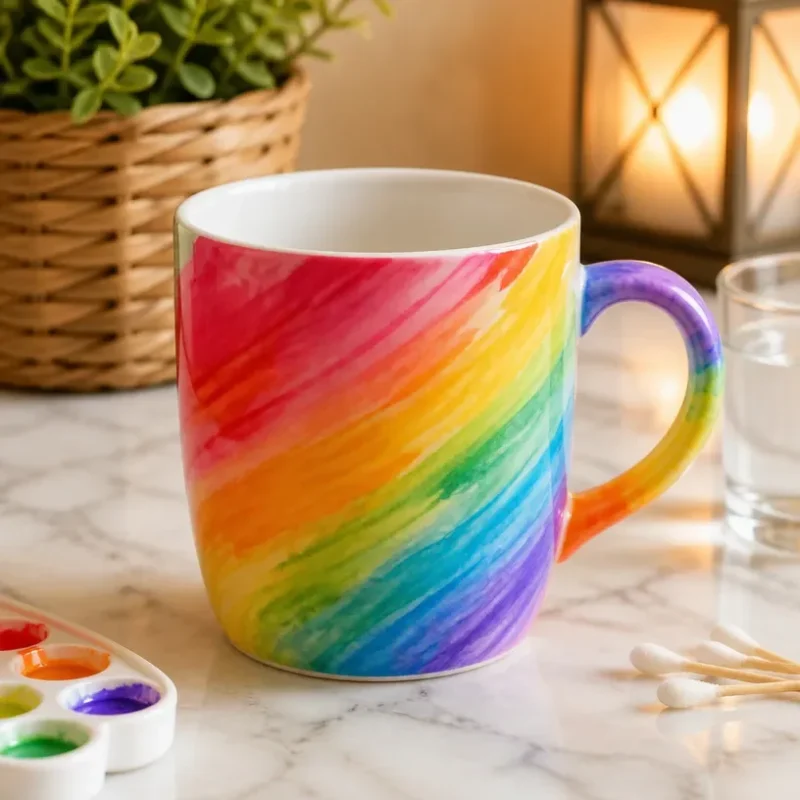
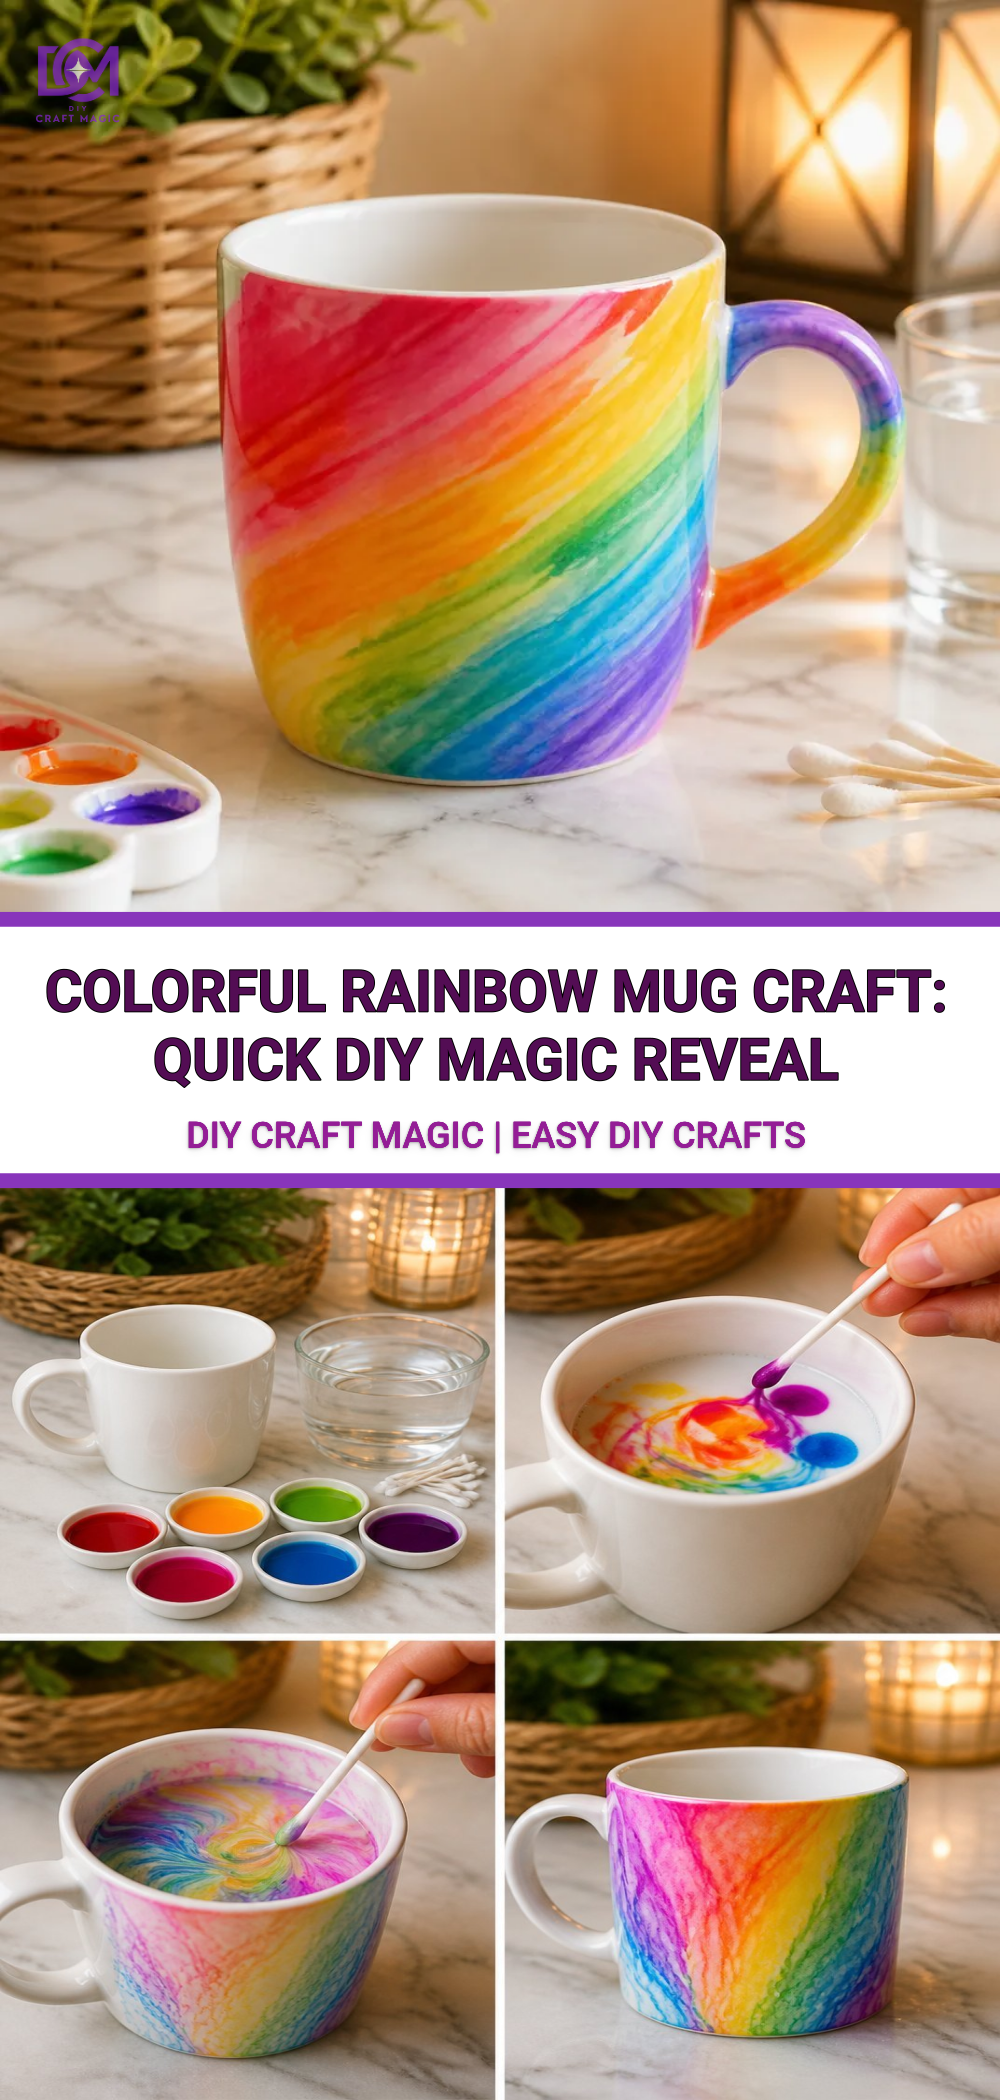
Colorful Rainbow Mug Craft: Quick DIY Magic Reveal
Create a beautiful, vibrant rainbow mug that not only brightens your day but also serves as a wonderful gift for friends and family. This exciting project transforms a plain white mug into a stunning piece of art using simple materials and a magical reveal effect that’s sure to enchant kids and adults alike. You may also find Rainbow Ice Gem Excavation Diy Colorful Ice Gems useful.
You may also find Clear Blue Rainbow Bat Suncatcher Wreath Diy useful.
Materials You’ll Need
Before diving into the colorful world of rainbow mugs, gather these materials for your creative endeavor:
- White ceramic mug
- Acrylic paints in various colors (red, orange, yellow, green, blue, indigo, violet)
- Paintbrushes (a range of sizes)
- Painter’s tape
- Clear acrylic sealer
- A bowl of water (for rinsing brushes)
Why You’ll Love This Project
The Colorful Rainbow Mug craft is an ideal creation for both beginners and seasoned crafters. Not only does it allow for personal expression through colors, but the reveal of the vibrant designs offers a joyous surprise at the end. Additionally, this project allows for customization, as you can add details or change color schemes to suit your style.
As you paint, the combination of bright acrylics will bring the mug to life, turning an ordinary object into a delightful and functional piece of art. If you love creating colorful decor, consider exploring more designs like the Colorful Ocean Jar Decor for your home.
Step-by-Step Instructions
Step 1: Prepare Your Mug
Start by cleaning the surface of your ceramic mug thoroughly to ensure the paint adheres properly. Once clean, dry it completely.
Step 2: Tape the Handle (Optional)
If you want to protect the mug handle while painting, use painter’s tape to cover it. This will help keep your colors crisp and clean.
Step 3: Base Color Layer
Decide on the base color you want for your mug. Using a medium-sized paintbrush, apply a coat of acrylic paint to the mug and let it dry completely. For a more vivid finish, applying two or more layers might be necessary.
Step 4: Create the Rainbow Effect
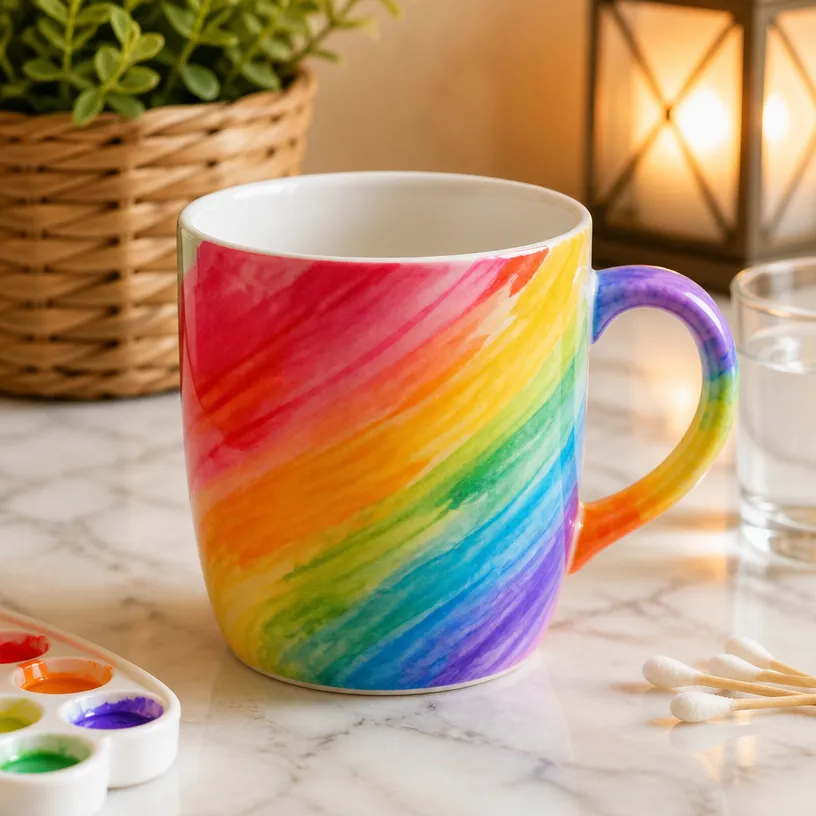
Once your base layer is dry, it’s time to add the rainbow! Start by applying a stripe of red paint at the top of the mug. Follow with orange, yellow, green, blue, indigo, and violet, creating a smooth gradient. Use a smaller brush for precision and to ensure the colors blend nicely together.
As you apply these colors, you might appreciate how colors interact, much like in projects like the DIY Colorful Rainbow Mandala which showcases vibrant patterns.
Step 5: Add Designs
If you’re feeling creative, you can add details such as stars, clouds, or even fun quotes on your mug. Let your imagination guide you, but remember to keep the designs simple for the best visual impact.
Step 6: Seal Your Mug
Allow your paint to dry completely, usually a few hours. Once dry, spray a clear acrylic sealer over your mug to protect the design. This step is crucial for ensuring that your mug remains colorful and vibrant through many uses.
Helpful Tips
- Drying Time: Always allow sufficient drying time between steps, particularly when applying additional layers of paint or sealing.
- Perfecting the Reveal: The magic reveal comes from carefully applying different colors in sequences and allowing them to dry properly. Be mindful of how much paint you mix, as achieving that smooth gradient is key.
- Cleaning Up: Use water and soap to clean your brushes immediately after painting to preserve them for your next project.
Common Mistakes to Avoid
- Rushing the Process: Moving too quickly through the drying process may lead to smudging your design. Patience is essential!
- Using Too Much Paint: Applying a thick layer can cause drips and an uneven finish. Aim for thinner, more manageable layers.
Variations on the Project
You can customize your mug further by experimenting with different paint techniques, such as splattering or sponge painting. Creating a marbled effect could be interesting as well simply swirl colors together before applying them to the mug.
Additionally, try varying the motifs you paint like floral patterns or whimsical shapes which can be seen in projects like the Coffee Filter Rainbow Roses.
Frequently Asked Questions
How durable is the paint?
Acrylic paint can be durable, but it’s essential to treat the mug gently, especially in the dishwasher. Hand washing is recommended to maintain the integrity of your design.
Can I use non-ceramic mugs?
Yes! While ceramic is recommended for its compatibility with the paint, you can experiment with other materials by ensuring adhesion and sealing properly.
What if I make a mistake?
Have no fear! If you make a mistake, let the paint dry, and you can sand it down lightly or cover it with a new layer of paint.
Conclusion
Creating your Colorful Rainbow Mug is a fulfilling and engaging craft that results in a beautiful, personalized item for any occasion. For additional fun, consider checking out products like the JULMELON Rainbow Scratch Art Party or learn how to make a fun DIY Colorful Rainbow Bowl from Ribbon. Enjoy your crafting experience!