

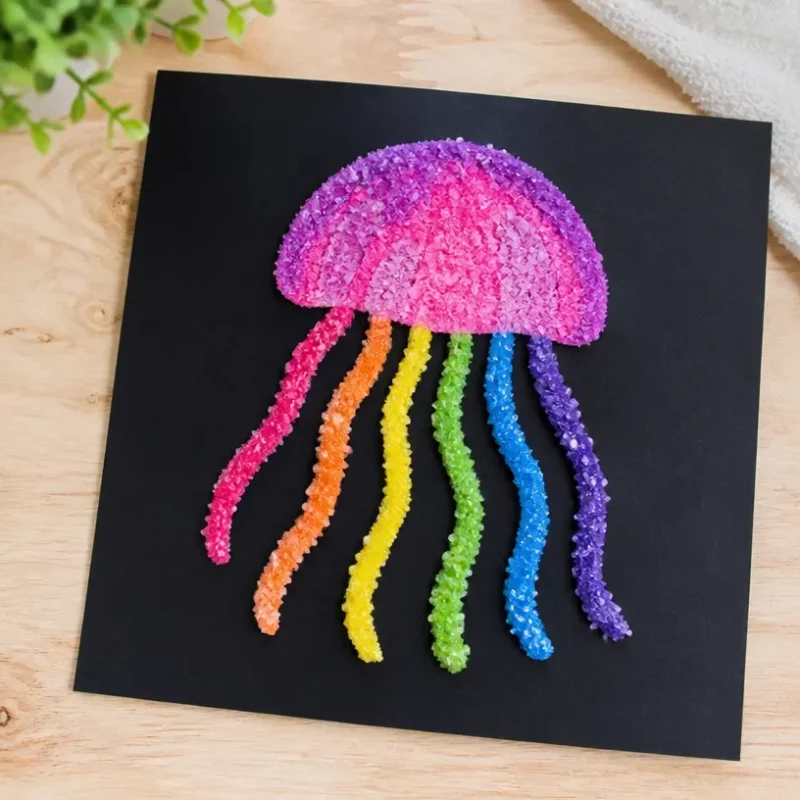
How to Create Jellyfish with Rainbow Salt Art
Creating jellyfish with rainbow salt art is a delightful and colorful craft perfect for both kids and adults. This project transforms simple materials into mesmerizing ocean-themed decorations that catch the eye with their vibrant colors and layered textures. By utilizing salt and food coloring, you’ll create an artistic piece that not only looks stunning but also allows for creative expression. You may also find Rainbow Salt Painting Jellyfish Diy Home Decor useful.
Why You’ll Love This Project
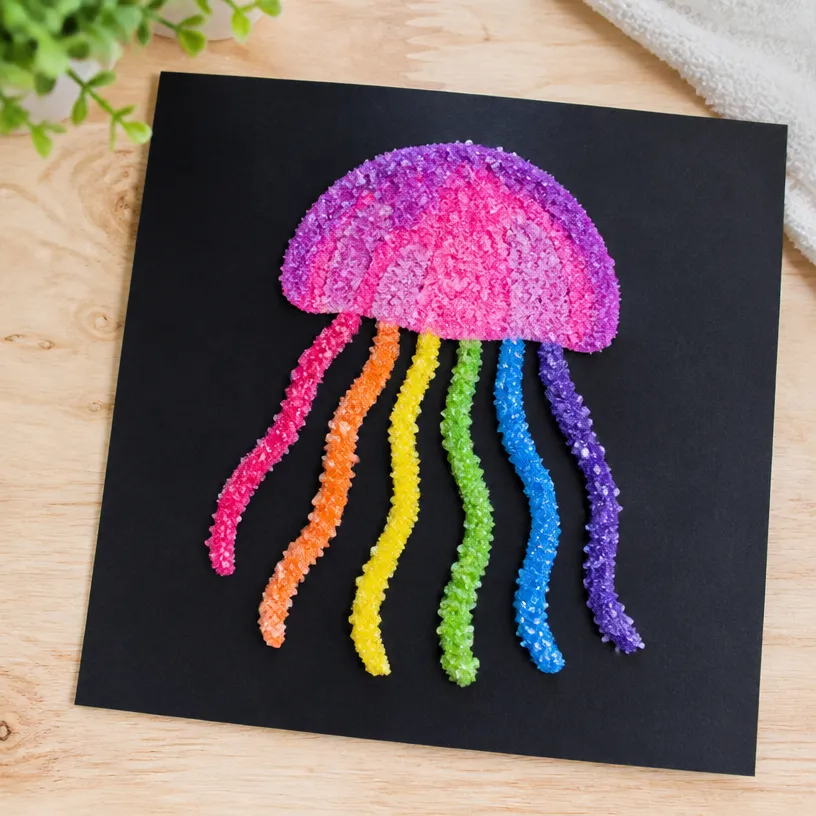
This DIY craft is straightforward and visually rewarding. Working with salt creates a beautiful crystalline texture, mimicking the appearance of jellyfish, while the rainbow colors add brightness and charm to any space. If you’re looking for a fun way to engage children in art, crafting jellyfish can be a fantastic way to spend an afternoon, making it a memorable experience. You may also find Coffee Filter Rainbow Roses Diy Tutorial useful.
Materials You’ll Need
To get started on your jellyfish salt art project, gather the following materials: You may also find Diy Rainbow Mandala Stones For Home Decor useful.
You may also find Glowing Rainbow Ocean Jellyfish Jar Light useful.
- Thick paper or cardboard (to serve as a base)
- Liquid glue
- Salt
- Food coloring (various colors)
- Paintbrushes or cotton swabs
- Watercolor paints (optional)
- Scissors
- String or thread (for hanging)
Step-by-Step Instructions
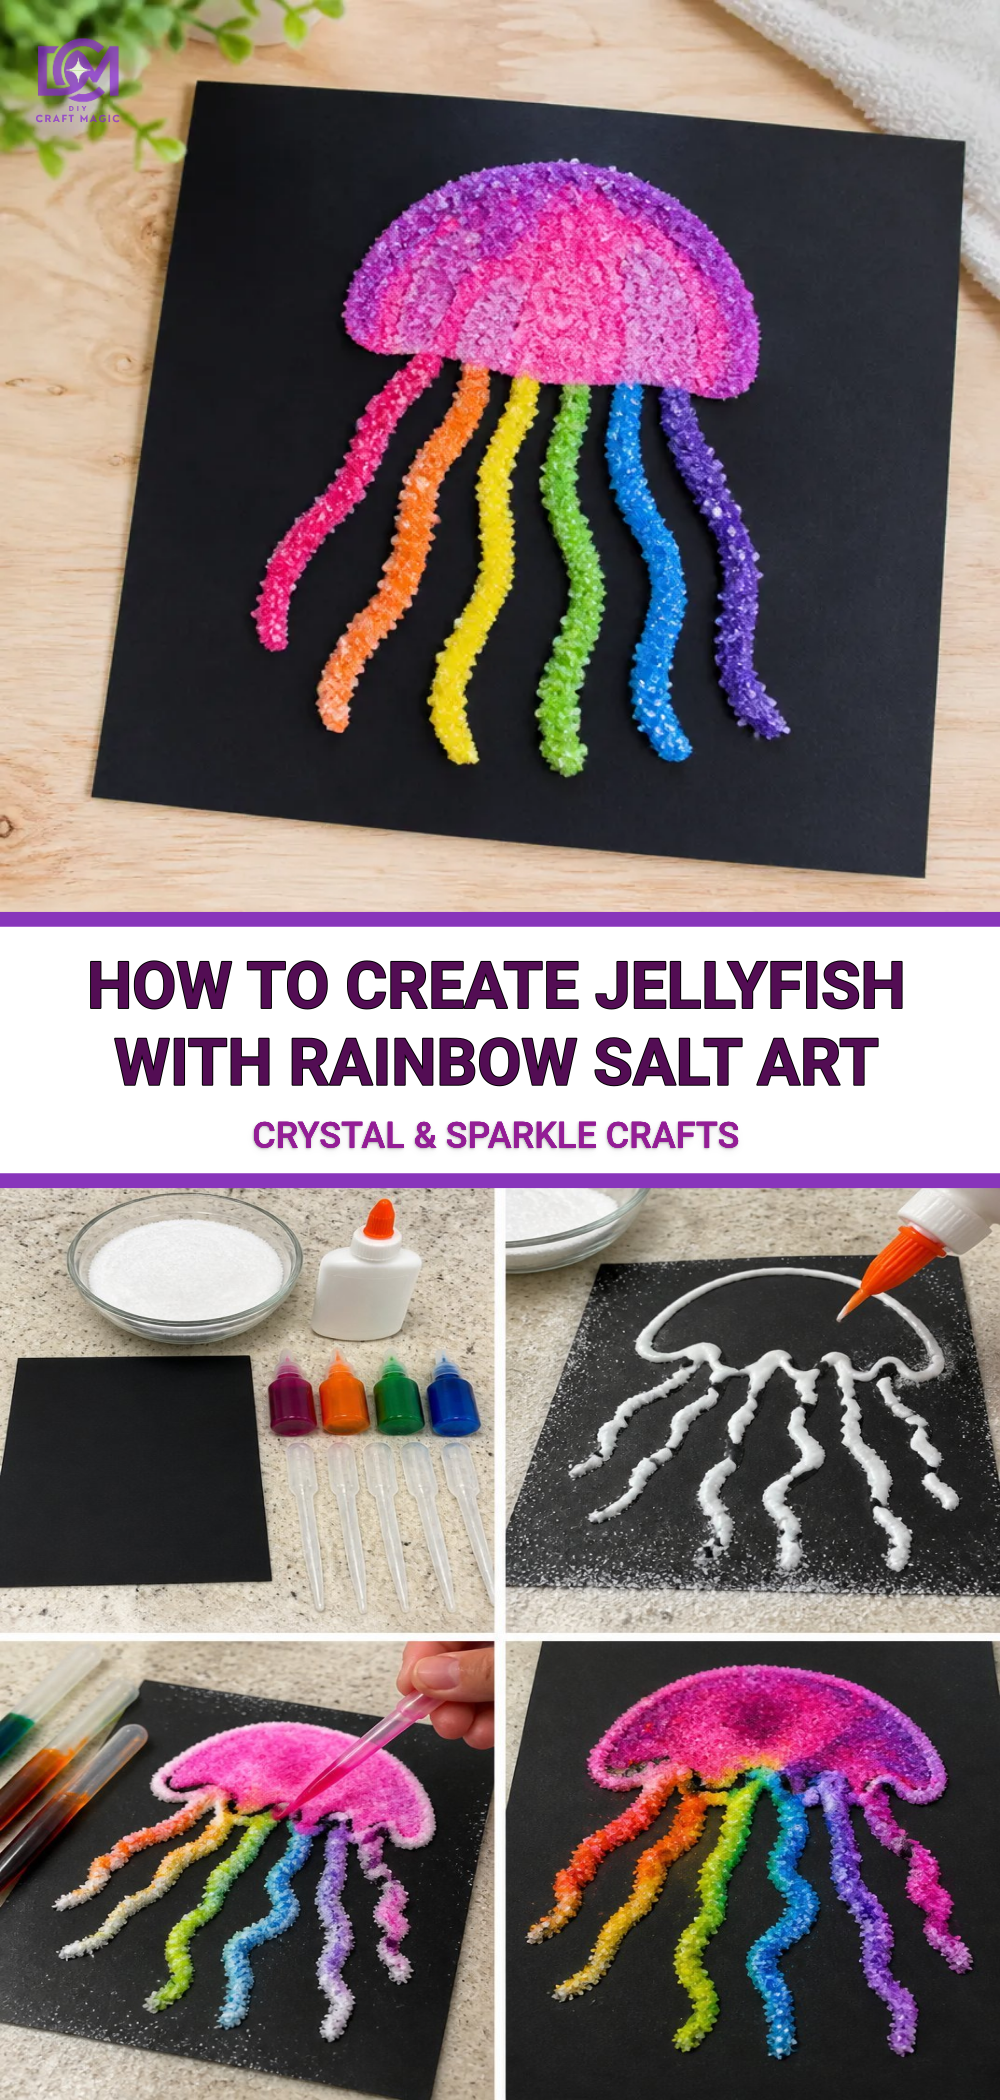
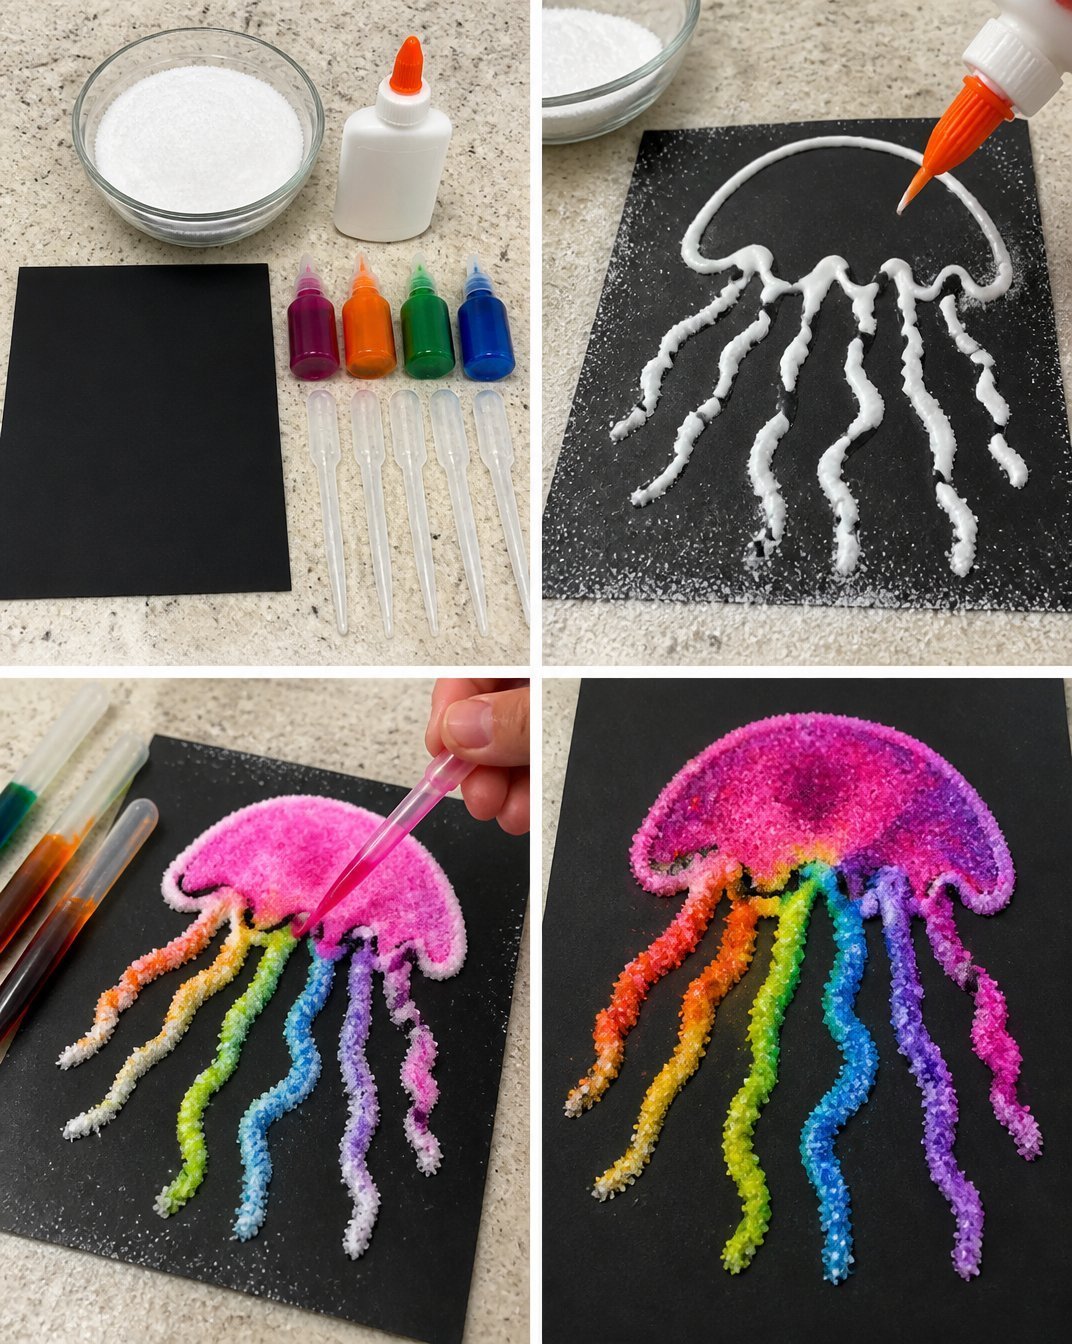
Prepare Your Base: Begin by cutting your thick paper or cardboard into the shape of a jellyfish body. Typically, this might be a rounded shape with a frill along the bottom.
Glue and Salt: Apply a generous amount of glue to the top half of your jellyfish shape and sprinkle salt all over it, ensuring that it’s well-coated. This will give the jellyfish a textured appearance. Once you’ve applied the salt, let it dry completely.
Coloring the Salt: After the glue on the jellyfish body has dried, use your food coloring to create a rainbow effect on the salt. To do this, you can either lightly mist the salt with water and then sprinkle food coloring over it or use a brush dipped in diluted food coloring. Experiment with different color combinations to achieve a unique look.
Create Tentacles: For the jellyfish tentacles, cut long strips from the bottom of your jellyfish shape. You can either leave these plain or also coat them with glue and salt for added texture. If you’re feeling creative, you can also use string or colorful yarn as tentacles for a more three-dimensional look.
Final Touches: Allow everything to dry completely. If you wish, you can enhance the appearance with watercolor paints for added depth and gloss.
Display Your Artwork: Once your jellyfish is fully dry and colorful, you can hang it up using string or simply prop it against a window or on a shelf to catch the light. For more colorful window decorations, consider creating feather-inspired designs that complement your jellyfish.
Helpful Tips
- Glitter Addition: For an extra sparkle, feel free to sprinkle some fine glitter over the salt before it dries.
- Using Alternative Colors: Don’t hesitate to try out unconventional colors; after all, jellyfish can come in various hues!
- Group Crafting: This project is ideal for group settings each participant can create their own version, resulting in a beautiful collage of jellyfish to showcase together.
Common Mistakes to Avoid
When creating jellyfish with rainbow salt art, it’s important to make sure that the glue you use is strong enough to hold the salt well. Otherwise, you may find that the salt falls off once dry. Additionally, avoid over-saturating the salt with food coloring, as this can lead to bleeding colors. Instead, use a light hand and build up layers slowly.
Ways to Customize It
This project can easily be customized to fit your style. You might choose to create larger jellyfish with more elaborate designs, including unique patterns with your food coloring or layering different colored salts. Consider adding shiny beads or sequins to the tentacles for a festive touch. For a seasonal twist, you could even create these jellyfish to celebrate summer or ocean-themed parties.
Frequently Asked Questions
How long does it take for the salt to dry?
Typically, the salt should dry within a few hours, but best results come from allowing it to sit overnight.
Can I use other types of glue?
While white school glue works well, hot glue is another option for a stronger hold, especially if you’re adding heavier decorations.
What should I do if my colors bleed?
If colors bleed into one another too much, you can try using less water when applying the food coloring, or let each layer dry completely before applying the next.
Is this project safe for young children?
Yes, but adult supervision is recommended, especially with scissors or when using small parts.
Conclusion
Creating jellyfish with rainbow salt art is not just about making beautiful decorations; it’s a wonderful way to engage creativity and have fun together. For more inspiration on crafting projects, check out this jellyfish salt painting guide or explore the complete craft activity guide at Baker Ross. Happy crafting!
Print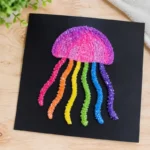
Jellyfish with Rainbow Salt Art
- Total Time: 30 minutes
- Makes: 1 jellyfish decoration
Description
A colorful and delightful DIY craft project that transforms simple materials into mesmerizing jellyfish decorations.
Materials
- Thick paper or cardboard
- Liquid glue
- Salt
- Food coloring (various colors)
- Paintbrushes or cotton swabs
- Watercolor paints (optional)
- Scissors
- String or thread (for hanging)
Instructions
- Prepare your base by cutting the thick paper or cardboard into the shape of a jellyfish body.
- Apply a generous amount of glue to the top half of your jellyfish shape and sprinkle salt over it.
- Color the salt with food coloring after the glue has dried.
- Create tentacles by cutting long strips from the bottom of your jellyfish shape.
- Allow everything to dry completely before displaying your artwork.
Notes
Consider adding glitter for extra sparkle and customizing designs with unique patterns or decorations.