

Why You’ll Love This Project
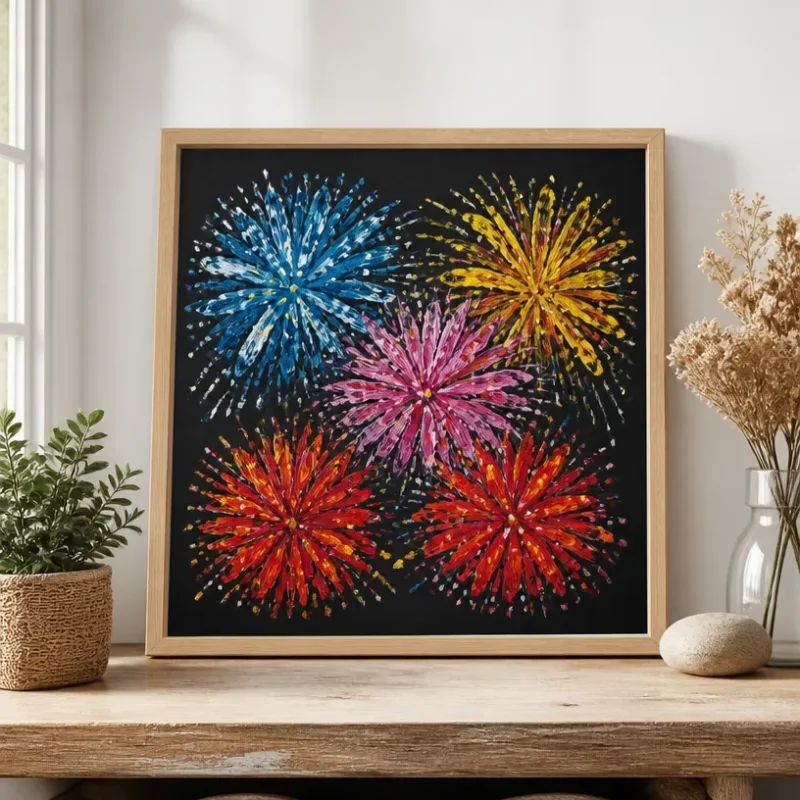
Creating dazzling firework prints for modern wall art is a fun and expressive craft that anyone can enjoy. With vibrant colors and unique patterns, these prints will add a lively touch to any room. This project combines creativity with simple techniques that even beginners can master. Whether you’re looking to add a splash of color to your home decor or create something special for a child’s room, these firework prints offer the perfect opportunity to unleash your inner artist. You may also find Fly Swatter Firework Prints useful.
Before diving in, be sure to check out kitchen sponge firework prints for additional inspiration on this theme.
Materials You’ll Need
To make your own firework prints, gather the following materials: You may also find Rainbow Milk Art Print Diy Vibrant Wall Decor useful.
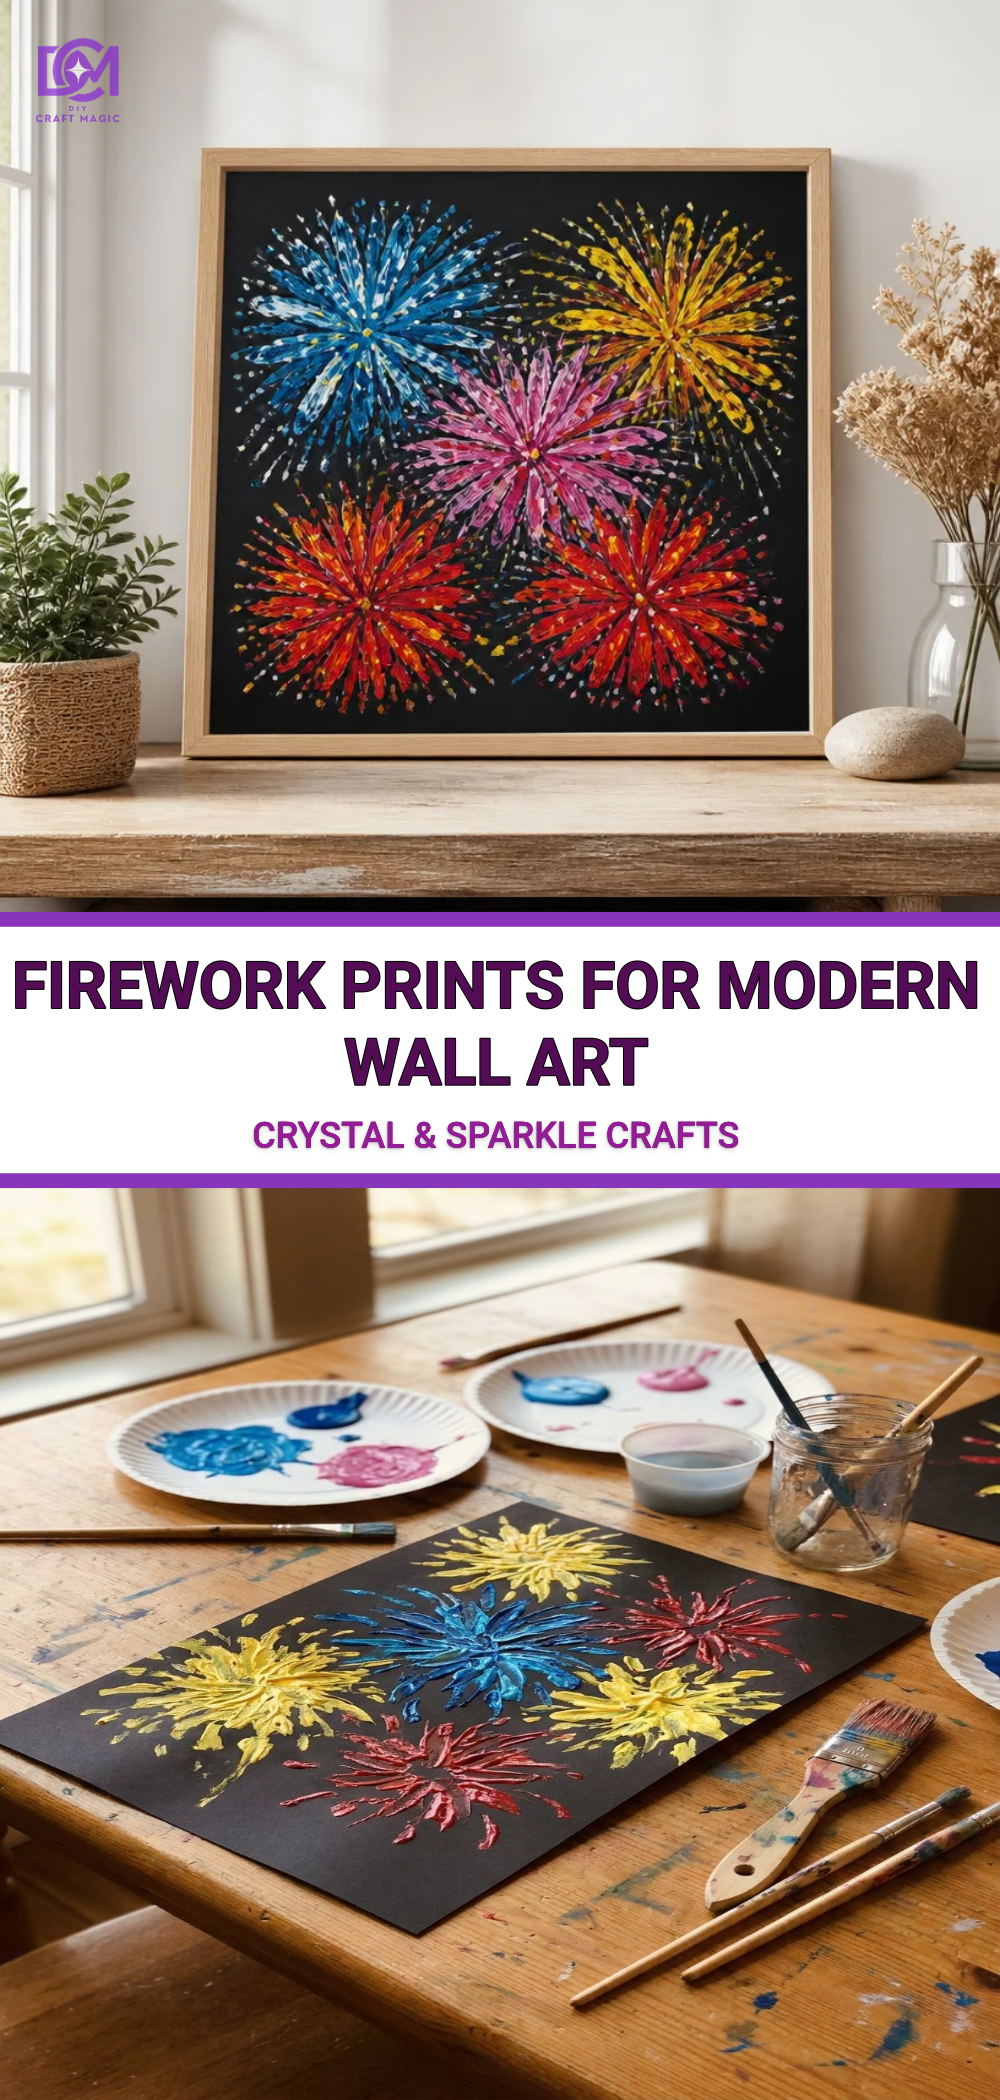
- Canvas or thick paper: This will serve as your base.
- Acrylic paints: Select vibrant colors that emulate fireworks.
- Cotton swabs or sponges: This will be your tools for applying paint.
- Water container: For rinsing your materials as you work.
- Palette: For mixing your acrylic paints.
- Scissors: If you need to trim your canvas or paper.
Step-by-Step Instructions
Creating your firework prints is an enjoyable process that involves basic painting techniques. Follow these steps to bring your artwork to life:
Prepare Your Workspace: Set up a clean and comfortable area where you can work happily. Make sure to have all your materials within reach.
Choose Your Colors: Decide which colors you want to use to represent the different fireworks. Bright colors like red, blue, green, and yellow typically work best.
Prepare Your Base: Take your canvas or thick paper and position it horizontally. If you prefer a different angle for your display, feel free to adjust it.
Start Applying Paint: Dip your cotton swab or sponge into your chosen color and begin creating bursts on the canvas. Explore different techniques with each tool to achieve various effects.
Layer and Mix Colors: As you build up your design, experiment by layering different colors to create a more dynamic look. Blend them gently for soft transitions or let them remain distinct for bold explosions.
Create the Crystal Effect: To get that exciting crystal-like effect, lightly dash some white paint over the colored prints. This will mimic the sparkle you often see in fireworks.
Allow to Dry: Once you’ve completed your design, set your artwork aside to dry. This usually takes a couple of hours, but it’s best to check based on your paint type.
Creating these beautiful rainbow bubble crystal canvases can help you explore yet another lovely technique.
Helpful Tips
- Use Different Tools: Experiment with various tools beyond cotton swabs and sponges, such as brushes or even your fingers for unique textures.
- Blend Strategically: While layering, pay attention to how the colors interact. Some blend beautifully, while others create interesting transitions.
- Practice First: If you’re new to painting, practice a few designs on scrap paper before starting on your final piece.
Common Mistakes to Avoid
- Overloading the Tool: Be cautious not to put too much paint on your sponge or swab, as it can lead to messy prints.
- Neglecting Drying Time: Rushing to add layers before the previous ones are dry can lead to muddy colors, so allow sufficient time for drying.
- Forgetting the Base Coat: If you’re using a dark background, consider adding a white base sooner to ensure that your colors stay vibrant and visible.
As you continue with this art form, you might want to consider creating a melted crayon rainbow heart suncatcher for a lovely complementary piece!
Frequently Asked Questions
How long will the paint take to dry?
Drying times can vary, but generally, acrylic paint dries within 1-2 hours.
Can I use watercolor instead of acrylic?
While watercolors can be used, they may not create the same vibrant results as acrylic paints.
How can I hang my artwork?
Once dried, you can use adhesive strips, frames, or tack to display your firework prints beautifully.
What if I don’t have sponges or swabs?
You can use old toothbrushes, brushes, or even crumpled paper for surprising effects.
Conclusion
Crafting your own firework prints is not just an engaging project; it can leave you with delightful decor to display in your home. If you’re looking for more inspiration, consider exploring canvas prints and wall art dedicated to fireworks. You can also check out beautiful fireworks wall art canvas for additional ideas to enhance your craft journey. Enjoy creating!
Print
Firework Prints
- Total Time: 135 minutes
- Makes: 1 artwork
Description
Create vibrant firework prints for modern wall art using simple techniques and materials.
Materials
- Canvas or thick paper
- Acrylic paints (vibrant colors)
- Cotton swabs or sponges
- Water container
- Palette
- Scissors
Instructions
- Prepare your workspace: Set up a clean area with all your materials within reach.
- Choose your colors: Select bright colors like red, blue, green, and yellow.
- Prepare your base: Position your canvas or thick paper horizontally.
- Start applying paint: Use a cotton swab or sponge to create bursts on the canvas.
- Layer and mix colors: Experiment by layering different colors for a dynamic look.
- Create the crystal effect: Lightly dash some white paint over the colored prints.
- Allow to dry: Set your artwork aside for a couple of hours, depending on the paint type.
Notes
Experiment with different tools like brushes or fingers for unique textures. Always allow sufficient drying time between layers.