

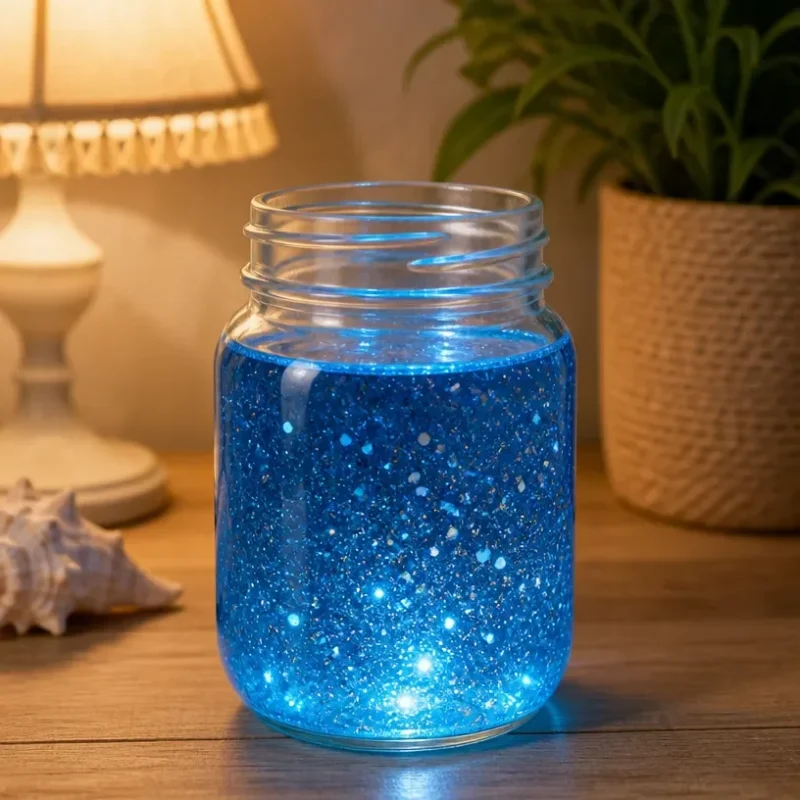
DIY Glowing Ocean Jar Tutorial for Home Decor
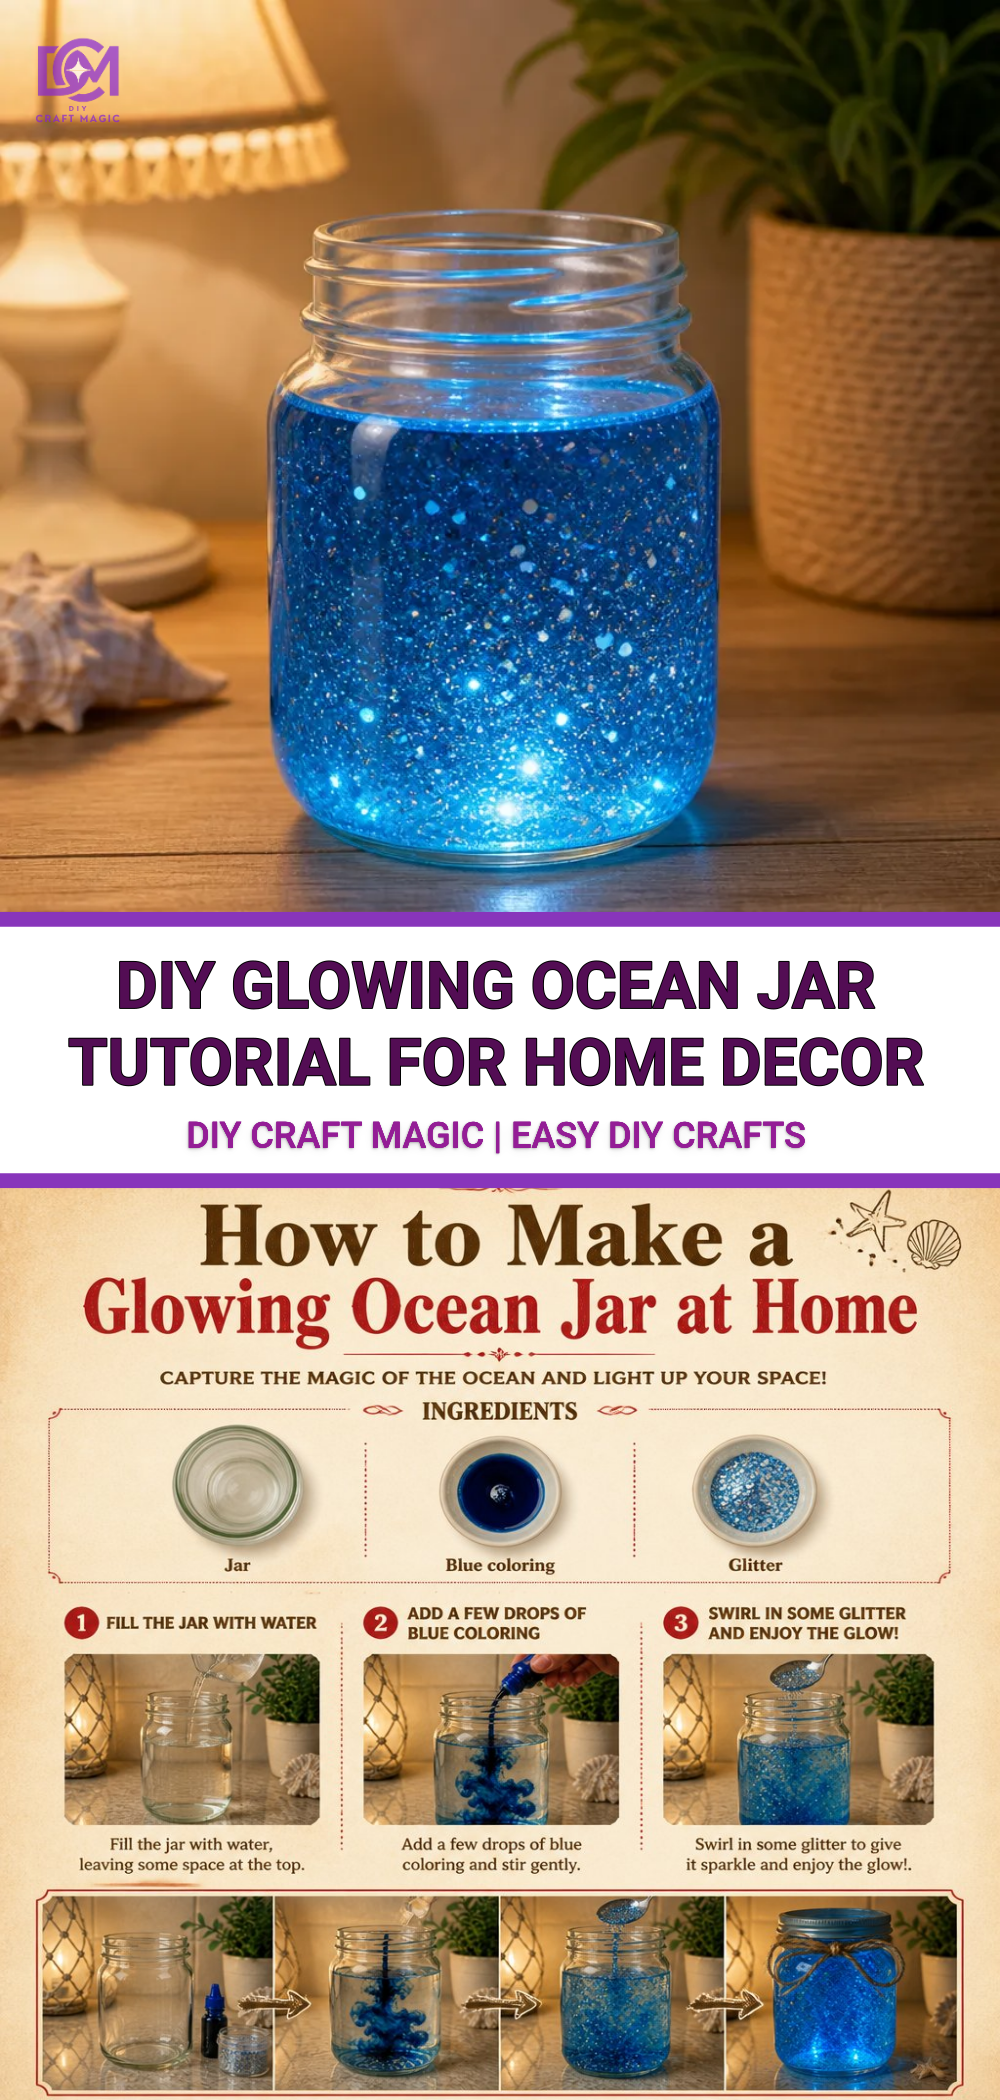
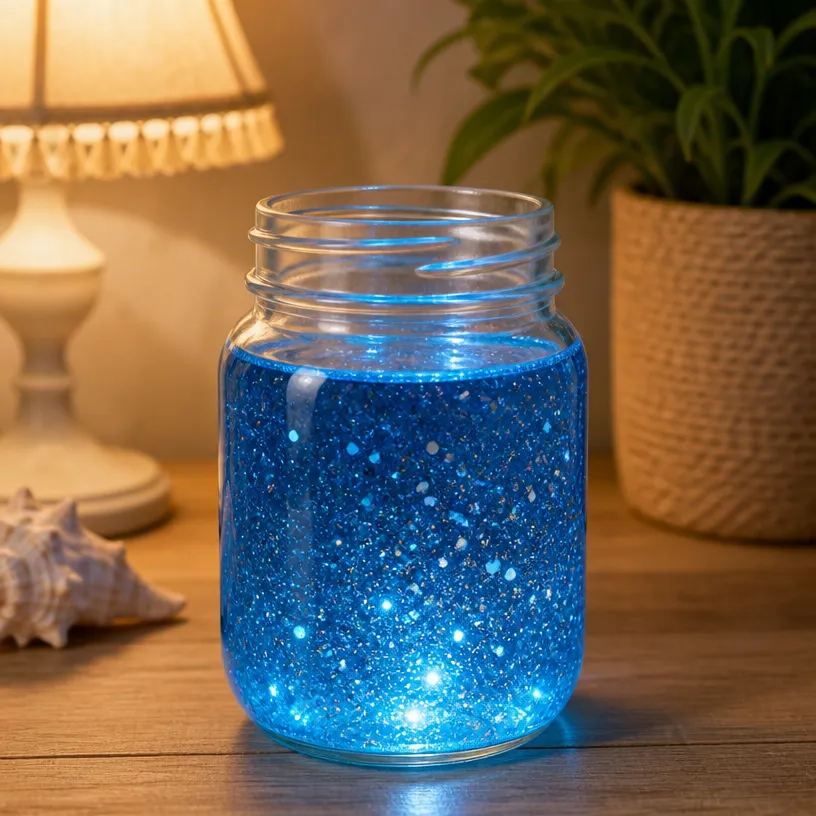
Creating a DIY glowing ocean jar is an enjoyable and engaging project that brings a piece of seaside charm into your home. The enchanting effect of glowing layers mimics the ocean’s depths, making it a visual delight that captures both light and imagination. This project is perfect for families looking for a fun craft to do together, and it’s approachable enough for beginners. You may also find Diy Crystal Starfish Geodes Seaside Home Decor useful.
Materials You’ll Need
To make your glowing ocean jar, you’ll need the following materials: You may also find Glow In The Dark Mermaid Jar Diy Craft For Kids useful.
- A clean glass jar with a lid (any size of your choice)
- Blue and teal colored sand
- Glow in the dark paint or powder
- Small decorative shells and pebbles
- Glitter (optional)
- A small bowl for mixing
- A spoon for layering
- Hot glue or craft glue (for securing the lid and decorating)
Choosing Your Materials
When it comes to the sand, you want vibrant colors that resemble ocean hues. You can purchase colored sand at craft stores, or even dye your own using food coloring. Adding small shells and pebbles can enhance the beachy vibe, making your jar feel like a mini ocean. If you’re interested in a fun, colorful twist, you might want to check out these DIY rainbow mandala stones for extra inspiration!
Step-by-Step Instructions
Prepare Your Jar: Start by ensuring your glass jar is clean and dry. This is where your ocean-inspired creation will reside.
Mix the Glow Effect: In a small bowl, combine your glow in the dark paint or powder with some water, following the instructions on the packaging. Stir well to ensure everything is mixed evenly.
Layering the Sand: Begin by adding a layer of blue sand into the bottom of the jar, followed by a layer of teal sand. Use your spoon to create even layers, pressing gently to compact the sand.
Create Texture: Sprinkle in some glitter or small decorative shells between the sand layers for added texture. The reflective surfaces will enhance the light when it glows!
Add the Glow Mix: Pour your glow mixture over the sand layers, ensuring it seeps through the sand. Add another layer of sand and shells to maintain the layers.
Seal the Jar: Once you’re happy with the layers, secure the lid onto the jar with hot glue to prevent any spillage. This step is especially important if children are involved; it will keep the contents safe and sound.
Helpful Tips
- Use Vivid Colors: The more vibrant your sand and decorations, the more striking your finished ocean jar will be.
- Experiment with Layers: There’s no right or wrong way to layer your materials. Mix up the order or thickness until you achieve a look you love.
- Display Ideas: Consider placing your jar near a light source to ensure it gathers enough glow before turning off the lights for the full effect. For more creative decors, check out these colorful ocean jar decor ideas!
Common Mistakes to Avoid
One common pitfall is not allowing the glow paint to fully dry before sealing the jar. Make sure to follow the drying instructions on your paint to achieve the best results. Also, ensure that your jar is clean; dirt or fingerprints can dull the glowing effect.
Frequently Asked Questions
How long will the glow last?
The duration of the glow depends on the quality of the glow paint you use. Some paints can glow for a few hours, while others may last even longer with sufficient exposure to light.
Can I use other colors besides blue and teal?
Absolutely! Feel free to mix in whatever colors you want. Just keep in mind the ocean theme to maintain a coherent appearance.
Is this project safe for kids?
While this project is generally safe, supervision is recommended due to the use of glue and small items.
Ways to Customize It
Feel free to customize your ocean jar based on your personal style or seasonal themes. Add festive elements for holidays or personalize it with names or initials of family members. If you’re looking for more ideas, consider making bunny flower pot covers as a lovely companion craft!
Conclusion
Crafting a glowing ocean jar is a fantastic way to connect with creativity. Not only do you end up with a beautiful decor piece, but you also get the opportunity to bond with your crafting companions. For alternative designs, you might enjoy exploring Eerie Glowing Jars or check out ideas for Halloween Apothecary Jars to keep the crafting spirit alive all year round!
Print
DIY Glowing Ocean Jar
- Total Time: 15 minutes
- Makes: 1 jar
Description
Create a beautiful glowing ocean jar that brings seaside charm into your home, perfect for families and beginners.
Materials
- A clean glass jar with a lid
- Blue and teal colored sand
- Glow in the dark paint or powder
- Small decorative shells and pebbles
- Glitter (optional)
- A small bowl for mixing
- A spoon for layering
- Hot glue or craft glue
Instructions
- Prepare your jar: Start by ensuring your glass jar is clean and dry.
- Mix the glow effect: In a bowl, combine your glow paint or powder with some water, stirring well.
- Layering the sand: Add a layer of blue sand in the bottom of the jar, followed by teal sand.
- Create texture: Sprinkle glitter or decorative shells between the sand layers.
- Add the glow mix: Pour your glow mixture over the sand layers.
- Seal the jar: Secure the lid with hot glue to prevent any spillage.
Notes
Use vibrant colors for the best effect. Experiment with layering materials to get a look you love.