

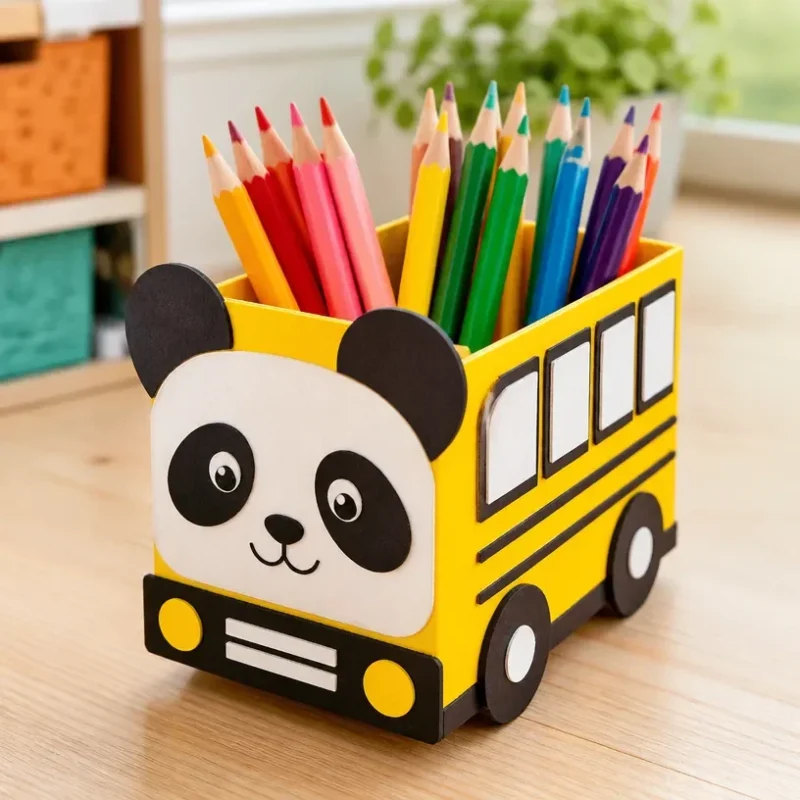
Panda School Bus Pencil Caddy Turns Into Art
Transforming everyday materials into vibrant and functional art can be incredibly satisfying, and that’s exactly what we’re going to do with this fun and easy project. The Panda School Bus Pencil Caddy is not only a sturdy storage solution for pencils and pens, but its playful design makes it a delightful addition to any classroom or workspace. Imagine the joy on a child’s face when they see their desk adorned with this cute craft, ready to hold all their favorite writing tools! You may also find Popsicle Stick Organizer Rainbow Puppy School Bus Craft useful.
To achieve this colorful creation, you’ll need some basic supplies and a few simple steps. Let’s dive into the details of this engaging craft that combines utility with creativity. If you’re looking for more pencil organizer ideas, you can explore the Rainbow Panda Pencil Cup Classroom Organizer for inspiration.
Materials You’ll Need
Before you get started, gather all the materials you will need for this project. Here’s what you should prepare: You may also find Rainbow Panda Pencil Cup Recycled Bottle useful.
- Cardboard box (like a shoe box)
- Yellow and black acrylic paint
- Paintbrushes
- Scissors
- Craft knife
- Glue
- Black marker
- Colorful paper or stickers for decoration
- Optional: googly eyes, felt for ears, and other embellishments
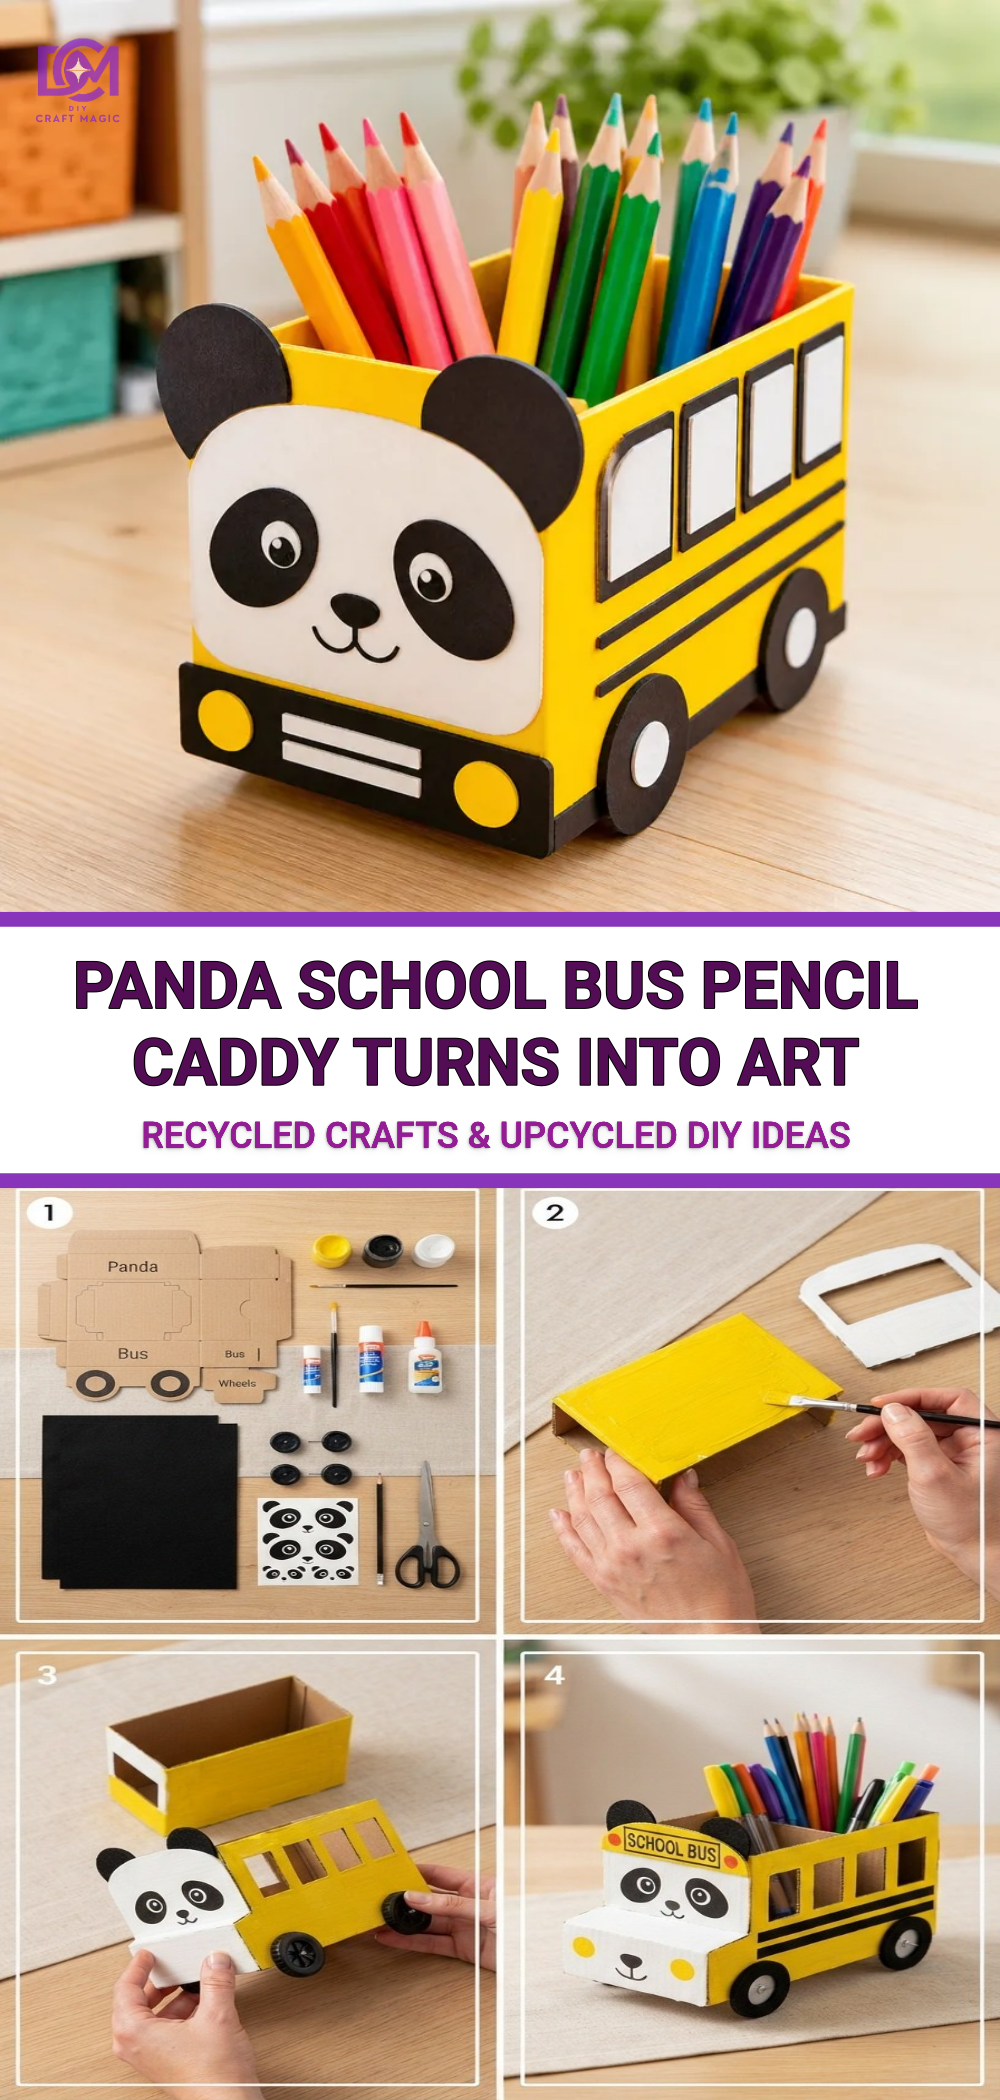
Step-by-Step Instructions
Now that you have your materials ready, let’s go through the process step by step.
Prepare the Cardboard Box
Start by cutting your cardboard box to the desired shape of the school bus. Cut away one side of the box to allow for easy access for your pencils. Ensure the remaining sides are still sturdy enough to hold the weight of the supplies you will store.Painting the Bus
Using the yellow acrylic paint, cover the exterior of your box. Make sure you apply at least two coats for a vibrant finish. Once the yellow paint is dry, use the black acrylic paint to create windows and wheels. Don’t forget to leave some space for crafting the panda’s features!Create the Panda Details
With your black marker, draw the panda’s face on the front of the bus. Draw large circular eyes and a tiny nose right beneath them. If you want to add extra flair, you can glue on googly eyes or felt for a textured effect.Decorating the Caddy
This is where your creativity can really shine! You can use colorful paper or stickers to add fun touches to the bus, making it lively and cheerful. Consider adding some patterns or textures that represent the rainbow theme seen in many of our DIY crafts such as the Back to School Rainbow Pencil Bouquet.Final Assembly
After everything is painted and decorated, assemble any final pieces, ensuring everything is securely glued and won’t come apart during use.
Helpful Tips
Choose Non-toxic Paint: If children are involved in this project, opt for non-toxic paint for safety.
Customization: Each child can customize their bus with their favorite colors or designs. This helps personalize their caddy, making it special to them.
Functional Use: This caddy is not only decorative but also functional. Encourage kids to store their pencils and see which designs work best for them.
Ways to Customize It
Consider exploring various themes beyond pandas, such as other animals or even vehicles! For example, you might create a rainbow school bus by following the guidelines from the Rainbow Pencil Flower Bouquet Craft for color ideas.
FAQs
Can I use any type of cardboard box?
Yes, any sturdy cardboard box can work for this project, but a shoe box size is ideal for holding supplies well.
How can I ensure the paint dries properly?
Make sure to allow enough drying time between coats, and ideally, let it sit overnight to allow the paint to fully set.
What if I don’t have acrylic paint?
You can substitute with other types of paint, such as tempera, but keep in mind that may not provide as vibrant a finish.
Conclusion
Creating a Panda School Bus Pencil Caddy is a fantastic way to engage in a creative project while also fostering organizational skills. This craft not only adds color and personality to a workspace but also encourages children to participate in organizing their materials. For those who love unique school supplies, you can also check out a cute pencil sharpener that complements the panda theme! Additionally, if you’re looking for educational resources that cater to the arts, consider visiting Forsyth County School District’s arts page for further exploration into creative learning. Happy crafting!
Print
Panda School Bus Pencil Caddy
- Total Time: 45 minutes
- Makes: 1 pencil caddy
Description
Create a whimsical Panda School Bus Pencil Caddy that is both fun and functional for organizing pencils and pens.
Materials
- Cardboard box (like a shoe box)
- Yellow acrylic paint
- Black acrylic paint
- Paintbrushes
- Scissors
- Craft knife
- Glue
- Black marker
- Colorful paper or stickers for decoration
- Optional: googly eyes, felt for ears, and other embellishments
Instructions
- Prepare the cardboard box by cutting it to the desired shape of the school bus.
- Start painting the exterior with yellow acrylic paint, applying at least two coats.
- Use black acrylic paint to create windows and wheels on the bus.
- Create the panda details using a black marker for the face.
- Decorate the caddy with colorful paper or stickers to personalize it.
- After everything is painted and decorated, assemble any final pieces securely.
Notes
Choose non-toxic paint for children’s safety, and allow enough drying time between paint coats.