


Growing Crystals on Seashells: A Quick DIY Guide
Creating your own crystals on seashells is a delightful way to bring a touch of the ocean into your home. This craft not only results in visually stunning pieces but also offers a satisfying hands-on experience that can captivate both kids and adults alike. Imagine colorful, sparkling crystals enhancing the natural beauty of seashells, creating a unique decorative display that can be enjoyed any time of year. You may also find Rainbow Melted Crayon Pumpkin Suncatcher Diy Guide useful.
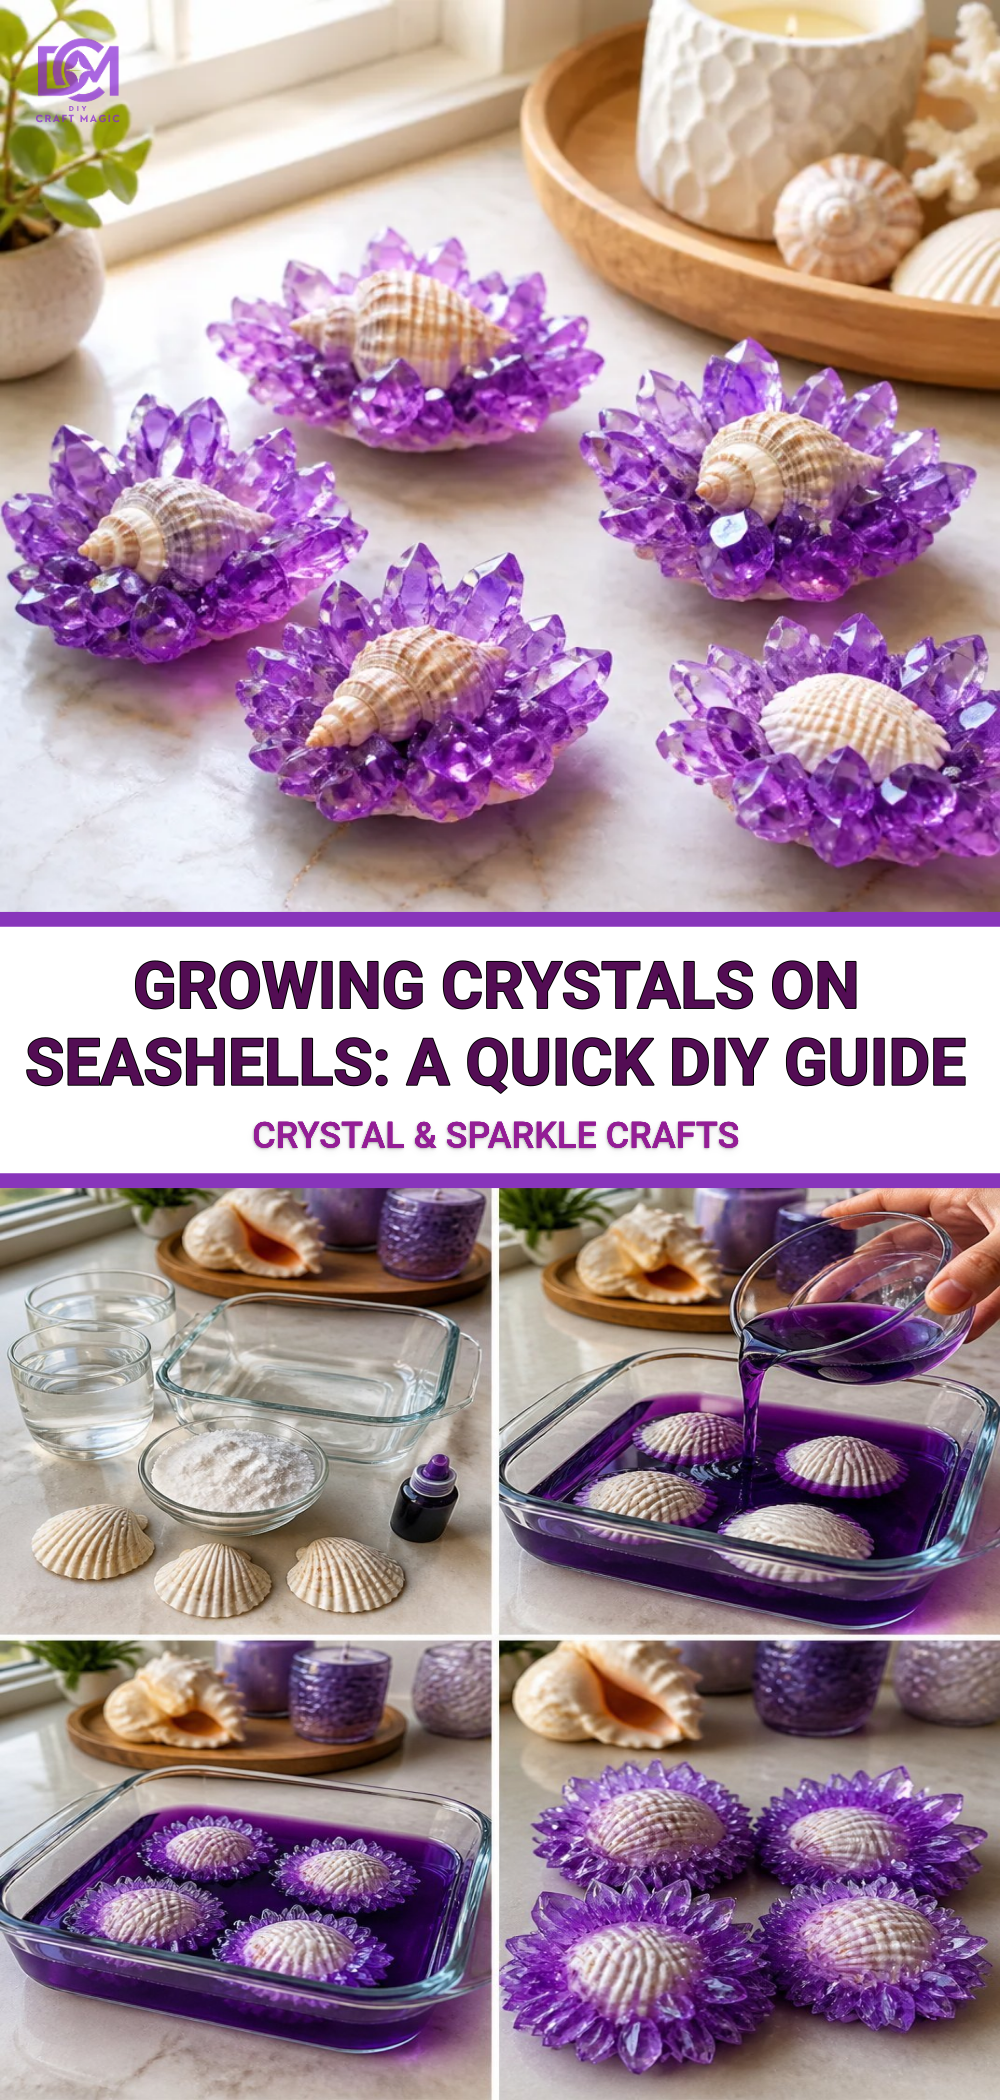
You may also find Colorful Rainbow Mug Craft Quick Diy Magic Reveal useful.
Materials You’ll Need
To embark on your crystal-growing journey, gather the following materials: You may also find Kitchen Sponge Firework Prints Diy Wall Art useful.
- Seashells (clean and dry)
- Borax (found in the laundry aisle)
- Water
- Saucepan
- Stirring stick
- Baking sheet
- Wax paper
Choosing Your Materials
Selecting the right seashells is crucial for this project. Look for shells that are clean and free of any debris. The smoother the shell, the better the crystals will adhere, making them appear more beautifully embedded. If you’re looking for other creative ideas, check out this DIY rainbow mandala stones project for more colorful inspiration.
How to Make Growing Crystals on Seashells: A Quick DIY Guide
Step-by-Step Instructions
Prepare Your Workspace: Spread out the wax paper on your baking sheet to create a clean area for your shell and crystals to dry.
Mix the Borax Solution:
- In your saucepan, boil about 2 cups of water.
- Gradually add 1 cup of borax to the boiling water, stirring continuously until it completely dissolves. You can use a stick or spoon for this.
Place the Seashells: Once the borax solution is ready, carefully submerge the seashells in the liquid. Ensure they are fully covered.
Cool Down the Solution: Remove the saucepan from heat and let it cool down. As it cools, the borax will start to crystallize inside and on the surface of the shells.
Remove the Shells: After a few hours, or when the solution has cooled completely, carefully take the shells out of the solution.
Rinse and Dry: Rinse the shells lightly with water to remove any excess borax, then lay them on the wax paper to dry completely.
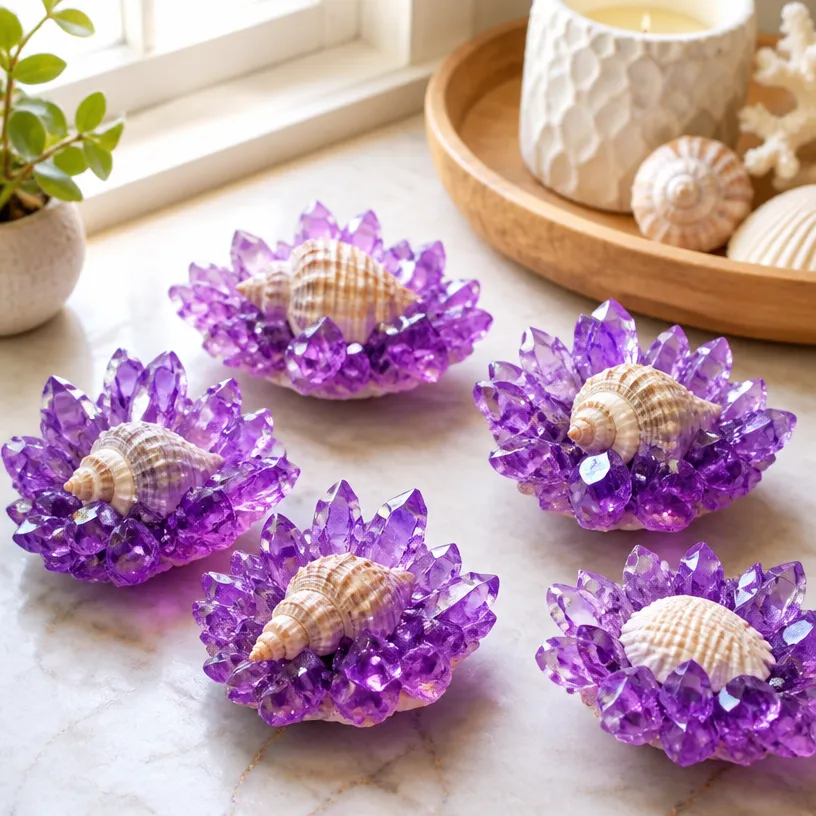
Getting the Colors Right
If you’d like to add some color to your crystals, consider incorporating food coloring into the borax solution. Simply add a few drops of your desired color while the solution is hot and stir well. The result will be beautifully tinted crystals that stand out against the natural color of the seashells.
Creating the Crystal Effect
For the best crystal formation, ensure that the solution remains undisturbed as it cools. This allows thicker crystals to grow on the surface of the shells, creating a more pronounced layered effect.
How to Get the Best Result
- Room Temperature: Allow the solution to cool at room temperature without interference for optimal crystal growth.
- Patience is Key: The longer you let the shells sit in the borax solution, the larger and more intricate the crystals will become.
Helpful Tips
- If you notice that crystals aren’t forming well, it may help to reheat the solution and add more borax, stirring until dissolved before trying again.
- Always work in a well-ventilated area to ensure comfort while working with borax.
Common Mistakes to Avoid
- Skipping the Cleaning: Ensure that the seashells are clean before using them, as dirt can impact how well the crystals adhere.
- Overcrowding the Shells: When placing multiple shells in one solution, avoid overcrowding since this can result in crystals merging together instead of forming distinct shapes.
Ways to Customize It
Try experimenting with different types of shells to see how the crystals form on varying textures and shapes. You can also sprinkle glitter or small beads on the shells before the crystals set for added sparkle and dimension. If you’re up for more crafting challenges, this pool noodle butterfly nectar station might inspire more unique ideas.
Crafting With Kids
This project is a wonderful opportunity to engage with children. Guide them through the process and let them choose the colors and shells they want to use. Just make sure to supervise them while handling hot water and borax. It’s both an educational and fun way to introduce kids to basic chemistry as they see how the crystals form.
Display Ideas
Once your crystals have dried, display them on a windowsill, or create a fantastic centerpiece for your table. You could even incorporate them into a larger art project or decor scheme, such as paired with candles or other natural elements.

Frequently Asked Questions
How long will it take for the crystals to form?
Typically, you will see some crystal formation within a few hours, but it’s best to let them sit in the solution overnight for larger, more defined crystals.
Can I reuse the borax solution?
You can reuse the borax solution, but you may need to add more borax to ensure effective crystal growth for your next batch.
What should I do if I want to change the colors later?
If you want to change the colors of your crystals, you’ll need to rinse them well to remove the old color and then reapply with a new borax solution mixed with different food coloring.
How durable are the crystals?
The crystals can be fragile, so handle them with care. If you want a more durable finish, consider sealing them with a clear craft sealant after they have dried completely.
Can this project be done with other materials?
Yes, while seashells are a beautiful choice, you can also try growing crystals on rocks, glass, or even certain types of plastic to see how the crystals form differently.
What I Would Do Differently
If I were to do this project again, I might add more intricate designs by layering different colors of borax solutions on successive days to create a multi-toned effect.ConclusionEmbarking on the journey of growing crystals on seashells is as educational as it is enjoyable. It’s a perfect activity for family gatherings and educational science projects. For additional inspiration, you may enjoy exploring this guide on creating crystal seashells or delve into this step-by-step tutorial on growing borax crystals. Happy crafting!