


DIY Rainbow Melted-Crayon Pumpkin Suncatcher
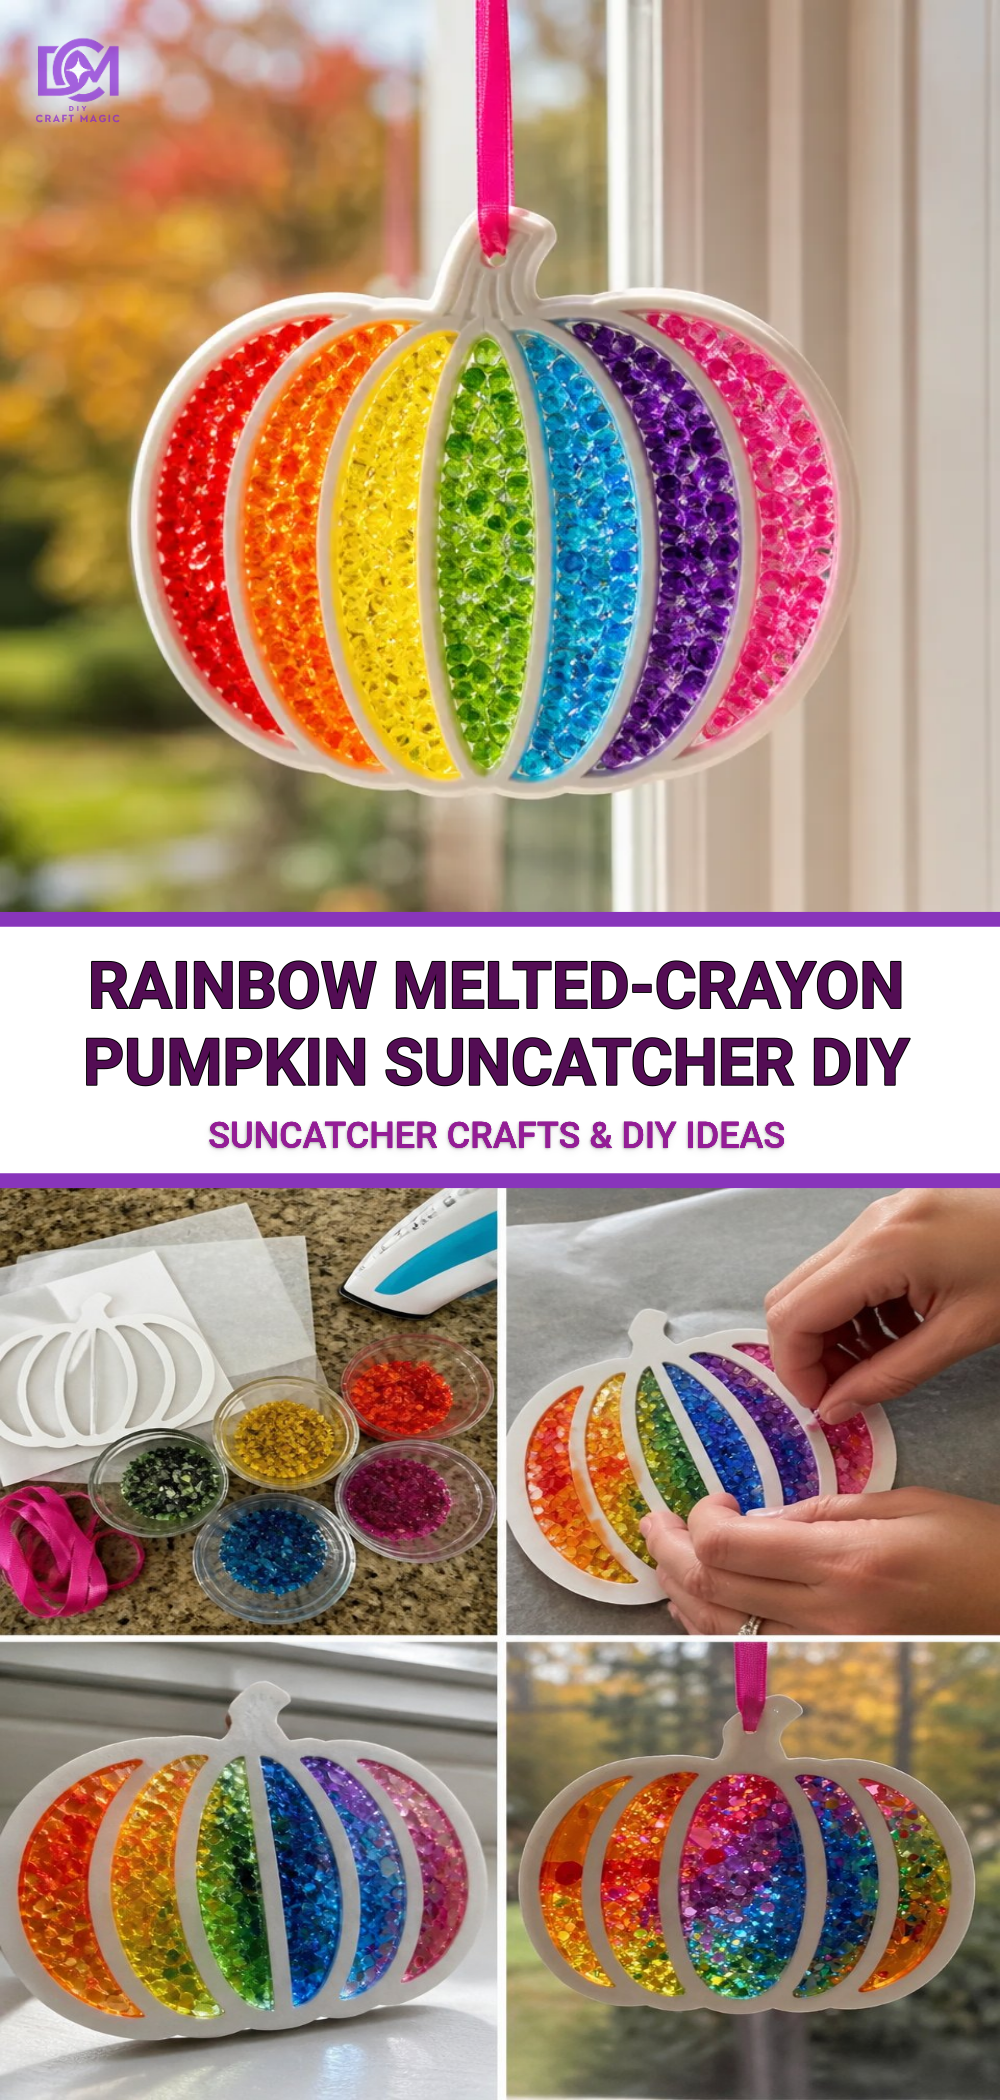
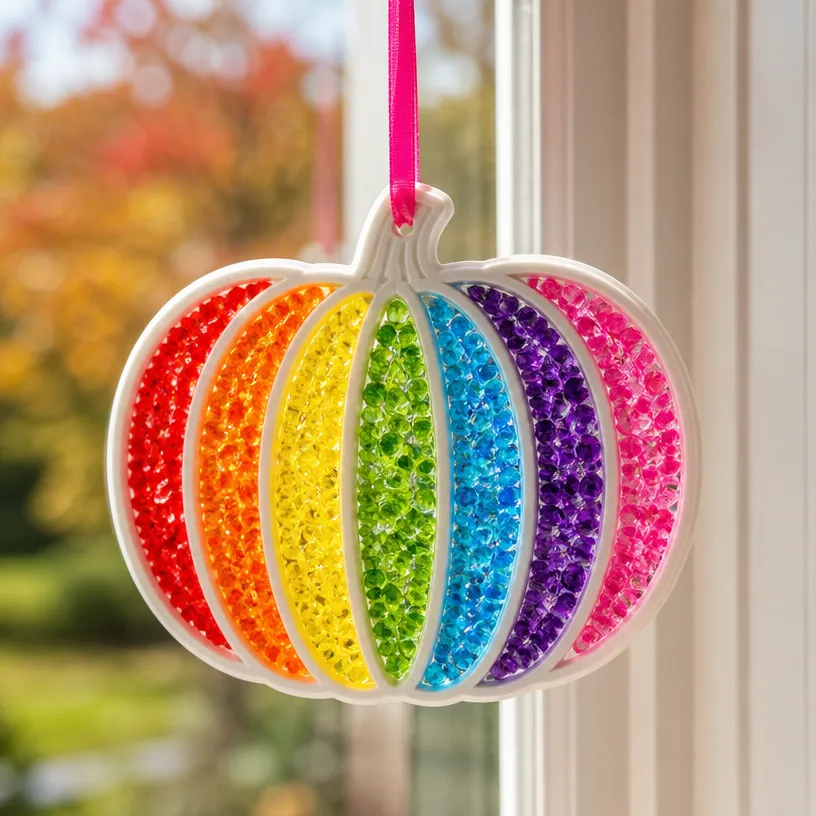
Transform ordinary crayons into a vibrant, eye-catching Rainbow Melted-Crayon Pumpkin Suncatcher that is perfect for adding a splash of color to your autumn decor. This simple yet satisfying project uses melting crayons to create a stunning stained-glass effect that dances with light. The result is not only beautiful but also an engaging activity you can enjoy with your kids. You may also find Rainbow Melted Crayon Pumpkin Suncatcher Diy Guide useful.
Why You’ll Love This Project
This craft is approachable for all skill levels, making it an ideal project for families. You will enjoy watching the crayons melt and swirl together to form a beautiful mosaic. Plus, this suncatcher will provide a warm and colorful glow in your window when the sun hits it just right. For more creative ideas, don’t miss out on our Rainbow Melted-Crayon Butterfly Suncatcher.
Materials You’ll Need
Before you start, gather the following materials: You may also find Clear Blue Rainbow Bat Suncatcher Wreath Diy useful.
You may also find Melted Crayon Rainbow Haunted House Suncatcher Craft useful.
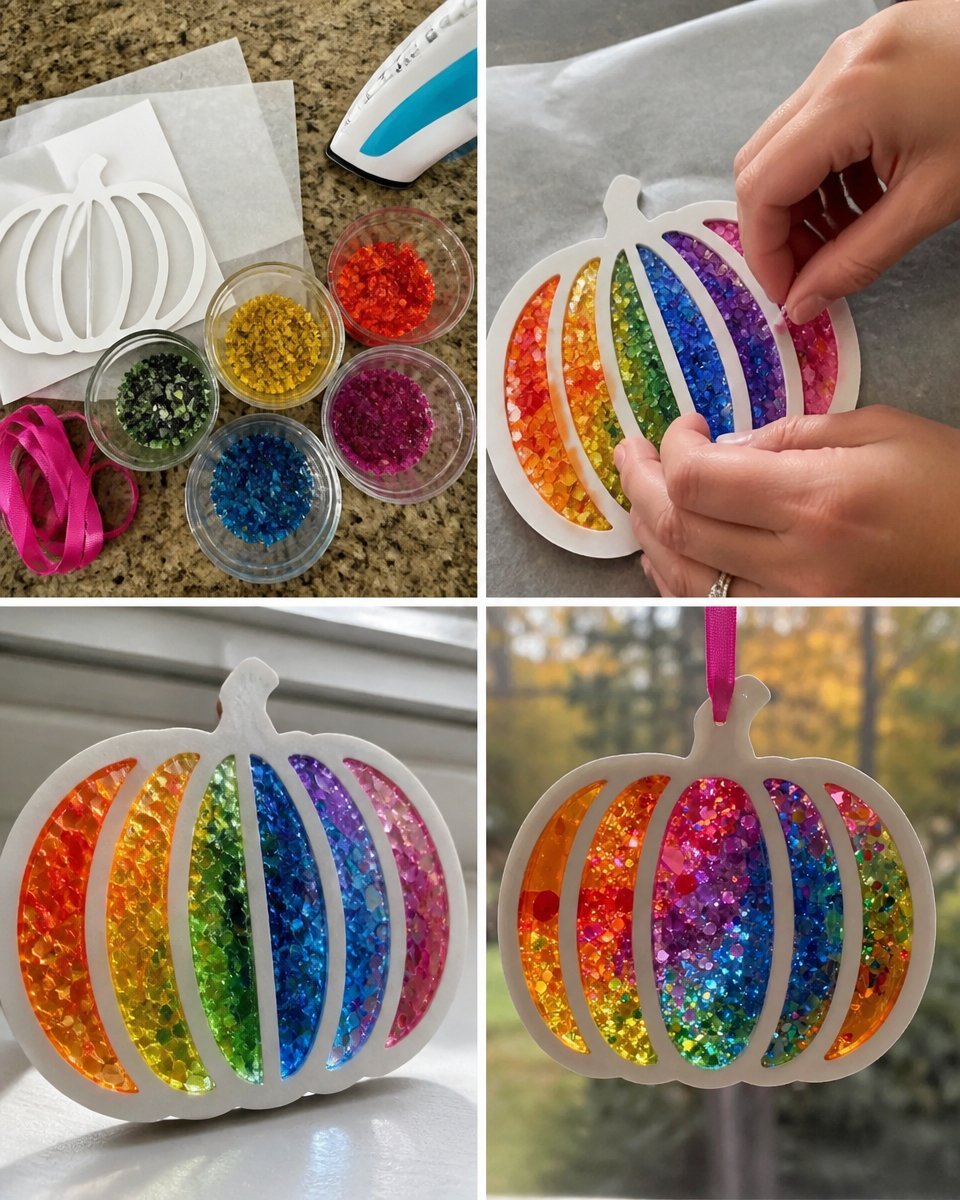
- Wax Crayons: You’ll need a variety of colors to create a rainbow effect.
- Wax Paper: This will serve as the base for your suncatcher.
- Parchment Paper: To protect surfaces and help with melting crayons.
- Iron: For melting the crayons.
- Scissors: To cut the wax paper and parchment to size.
- A Pumpkin Template: Free printouts are available online or you can draw your own.
How to Make DIY Rainbow Melted-Crayon Pumpkin Suncatcher
Step-by-Step Instructions
- Prepare the Crayons: Peel the wax paper off the crayons. Break them into small pieces; these will melt more easily.
- Create a Layering Effect: On a piece of wax paper, arrange your crayon pieces in a pumpkin shape following your template. Be sure to leave some space between bits for the melting process.
- Covering Up: Place another piece of parchment paper over the arranged crayons. This prevents any sticking and helps manage the melting process.
- Melting Process: Set the iron to a low setting and gently press it over the parchment paper for a few seconds. Keep an eye on the melting; too much heat can cause bubbling.
- Cooling and Cutting: Once melted, let your creation cool for a minute. Carefully remove the top parchment layer and cut out the pumpkin shape.
- Finishing Touches: If desired, you can use a back layer of clear wax paper to make your suncatcher more durable. Use a glue stick to adhere it.
Helpful Tips for Best Results
- Use a variety of colors to create a more dynamic design.
- Don’t be afraid to experiment with different shapes and sizes there are no wrong designs!
- For a more structured shape, consider using a tin cookie cutter as a guide while arranging your crayons.
Common Mistakes to Avoid
- Applying too much heat can cause the crayon to bubble or burn. Always start with low heat and increase slowly if needed.
- Ensure your workspace is covered as melted crayon wax can be messy. Lay down newspaper or an old cloth to protect surfaces.
Ways to Customize It
Feel free to adapt colors for different seasons or themes. For instance, use fall colors like orange, red, and yellow for autumn or pastel shades for spring.
Crafting With Kids
This DIY project is a great way to involve kids in crafting. They can enjoy choosing colors, arranging the crayons, and engaging with the melting process (with supervision, of course). If you’re looking for more fun activities to do together, check out the Melted Crayon Rainbow Butterfly Suncatcher.
Make It for the Season
This pumpkin suncatcher isn’t just for Halloween. It can be displayed throughout the fall season or even used as a vibrant decoration year-round. Try hanging it in a sunny spot to see the colors come alive.
Frequently Asked Questions
How long does it take for the melted crayon to cool down?
The melted crayon usually cools within 5-10 minutes after you remove it from the iron. Make sure it’s completely solid before handling it.
Can I use a different surface other than wax paper?
While wax paper works best, you could potentially use parchment paper for a different texture; however, you might need to adjust how you apply the heat.
What if my colors mix too much?
If you find your colors are blending unintentionally, next time try placing the crayon pieces further apart to minimize the mingling during the melting process.
How can I display my suncatcher?
Consider hanging it in a window with suction cups or attaching it with clear tape. It also looks lovely mounted on a board or in a decorative frame.
Can this craft be made using other materials?
Experimentation is encouraged! You could try using colored tissue paper or even old party balloons for similar effects.ConclusionCreating a Rainbow Melted-Crayon Pumpkin Suncatcher is not just a fun craft; it results in a beautiful decoration to brighten up your home. For more exciting ways to enjoy melted crayon crafts, check out this Melted Crayon Pumpkin project or explore a wonderful Rainbow Melted-Crayon Pumpkin Suncatcher recipe for even more inspiration. Happy crafting!