

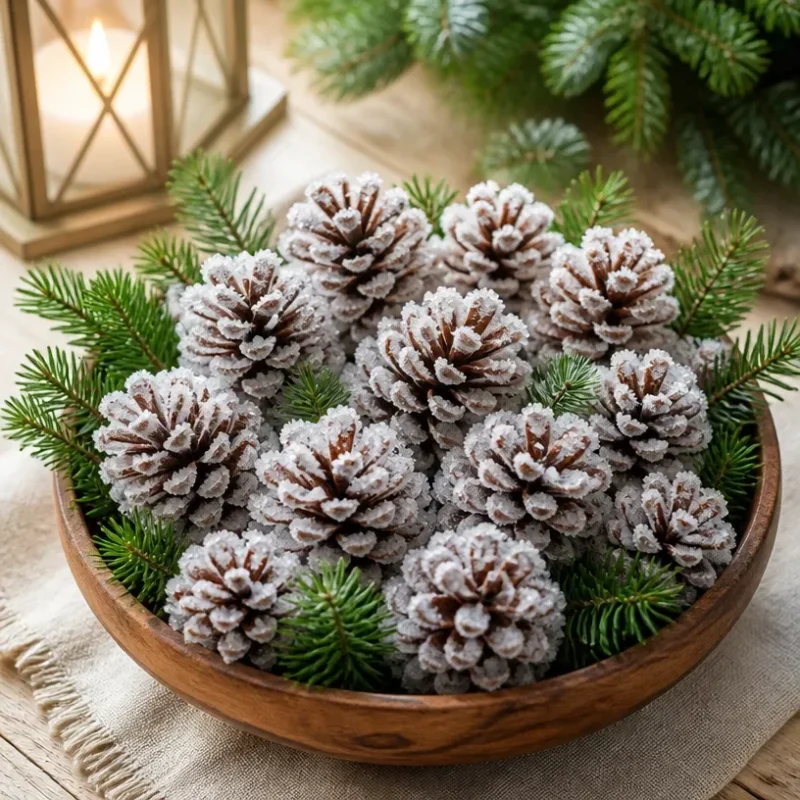
Crystal Pinecones: Fresh Winter Wood Decor Ideas
Creating crystal pinecones offers a stunning way to bring the beauty of winter into your home. These unique decorations catch the light beautifully and can be used in various settings, whether adorning your winter table or enhancing your holiday decor. The best part? The process is not only enjoyable but also allows for endless creativity with your color choices and finishing touches. You may also find Prism Butterfly Crystal Baby Mobile Nursery Decor useful.

You may also find Prismatic Butterfly Crystal Mobile Nursery Decor useful.
Materials You’ll Need
To create your crystal pinecones, gather the following materials:
- Natural pinecones
- Epsom salt (for creating the crystalline effect)
- Water
- Small pot for boiling water
- Bowl for mixing
- Food coloring (optional)
- Brushes for painting (optional)
- Adhesive (like hot glue)
- Glitter (for added sparkle)
Choosing Your Materials
Start by selecting fresh pinecones. Look for those that are open and have a sturdy shape, as they will hold the crystals better. It’s also important to ensure they are clean and free of dirt. If you’d like to add a splash of color to your project, consider using food coloring. You can mix different colors to achieve a unique effect. For inspiration on other creative projects, you might check out this crystal butterfly tree decor.
How to Make Crystal Pinecones
Step-by-Step Instructions
Prepare the Solution: In a pot, heat about two cups of water until it’s boiling. Gradually add 1 cup of Epsom salt while stirring until it fully dissolves. For a colorful twist, add a few drops of food coloring to the mix.
Soaking the Pinecones: Place your clean pinecones into a bowl and pour the hot Epsom salt solution over them. Ensure they are fully submerged and let them soak for a few hours, or until they have absorbed the solution and become slightly glossy.
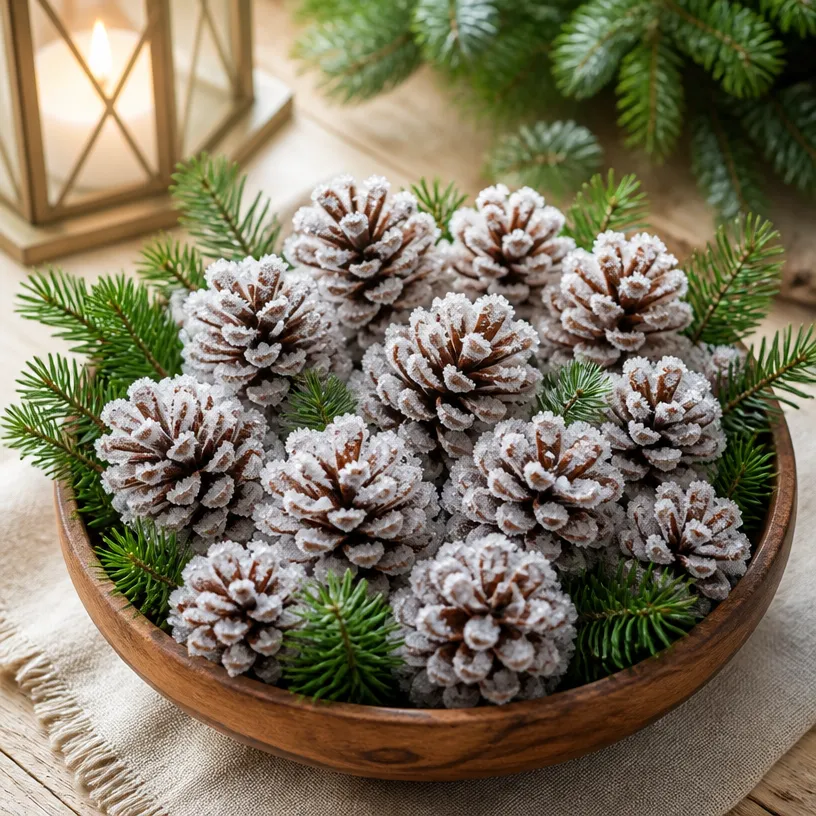
Drying the Pinecones: After soaking, remove the pinecones and place them on a drying rack. Allow them to dry completely, which may take several hours or overnight, depending on the humidity.
Adding Glitter (Optional): Once dried, you can paint them with adhesive and sprinkle glitter on top for a sparkling effect. This step adds a wonderful shimmer, especially under the winter sun!
Display Your Creations: Arrange your crystal pinecones around your home in bowls, trays, or as part of a more extensive winter-themed centerpiece. For instance, you can incorporate them into your holiday decorations or use them as a table centerpiece for winter gatherings.
Getting the Colors Right
Experimenting with different food colors can lead to beautiful, pastel crystal pinecones or vibrant jewel tones, depending on your preference. Mixing colors can create a marbled effect that is especially captivating. If you want more colorful ideas for similar decorative crafts, check out this rainbow crystal bloom project.
Helpful Tips
- If you have children helping, supervise them during the boiling process to ensure safety.
- Make sure to have plenty of Epsom salt, as creating multiple pinecones will require a generous amount.
- Experiment with different glitter sizes and types to find the ideal sparkle for your decor style.
Common Mistakes to Avoid
One common mistake is not letting the pinecones dry completely before displaying them. Moisture left in the pinecones can lead to a less effective crystallization process and even mildew over time.
Ways to Customize It
Consider personalizing your crystal pinecones by adding ribbons or hand-painted designs inspired by nature. You could also create themed displays, such as pairing them with other crystal crafts, like the crystal starfish geodes for a beach-inspired decor approach.
Display Ideas
Crystal pinecones can be showcased in various arrangements. Place them in a decorative bowl on your dining table or use them as unique ornaments on your holiday tree. You could even create a charming seasonal garland by stringing several pinecones together.

Frequently Asked Questions
How long do the crystals last?
As long as they are kept dry, the crystals can last for months, making them a long-lasting decorative piece.
Can I make these with my kids?
Absolutely! Just ensure adult supervision is present while handling hot water and glue.
What should I do if my pinecones don’t look crystallized enough?
If the crystals appear too sparse, consider soaking them for a longer period or adding more Epsom salt to the solution.
Conclusion
Creating crystal pinecones can transform your winter wood decor into something dazzling and unique. For additional embellishment ideas, explore this decorative bowl filler ideas that will further enhance your home’s winter charm. If you’re planning a winter wedding, consider incorporating these designs into your centerpieces or arrangements. You can find some great inspirations for faux flowers and vases at Target to complement your crafted pieces.
Print
Crystal Pinecones
- Total Time: 180 minutes
- Makes: 10 pinecones
Description
Learn how to create stunning crystal pinecones as winter decorations using Epsom salt and natural pinecones.
Materials
- Natural pinecones
- 1 cup Epsom salt
- 2 cups water
- Food coloring (optional)
- Adhesive (like hot glue)
- Glitter (for added sparkle)
Instructions
- Prepare the solution: In a pot, heat about two cups of water until it’s boiling. Gradually add 1 cup of Epsom salt while stirring until it fully dissolves. For a colorful twist, add a few drops of food coloring to the mix.
- Soaking the pinecones: Place your clean pinecones into a bowl and pour the hot Epsom salt solution over them. Ensure they are fully submerged and let them soak for a few hours, or until they have absorbed the solution and become slightly glossy.
- Drying the pinecones: After soaking, remove the pinecones and place them on a drying rack. Allow them to dry completely, which may take several hours or overnight, depending on the humidity.
- Adding glitter (optional): Once dried, you can paint them with adhesive and sprinkle glitter on top for a sparkling effect.
- Display your creations: Arrange your crystal pinecones around your home in bowls, trays, or as part of a more extensive winter-themed centerpiece.
Notes
Make sure to supervise children while boiling water for safety. Experiment with food colors and glitter for personal touches.