


Dazzling Rainbow Pumpkin Decor Ideas
Creating eye-catching rainbow pumpkins can add a vibrant touch to your home decor, especially during the fall season. This project blends creativity with simplicity, making it perfect for families and craft enthusiasts alike. With their glossy, colorful finishes and playful designs, these pumpkins don’t just celebrate autumn; they also bring a joyful atmosphere to your space. Plus, the crafting process is equally rewarding, allowing you to engage your family in an imaginative activity. You may also find Colorful Rainbow Feather Window Decor Artwork useful.
Before You Start
Gathering your materials is crucial for a smooth crafting experience. Here are the components you’ll need to create your dazzling rainbow pumpkins: You may also find Crystal Accented Rainbow Butterfly Tree Decor useful.
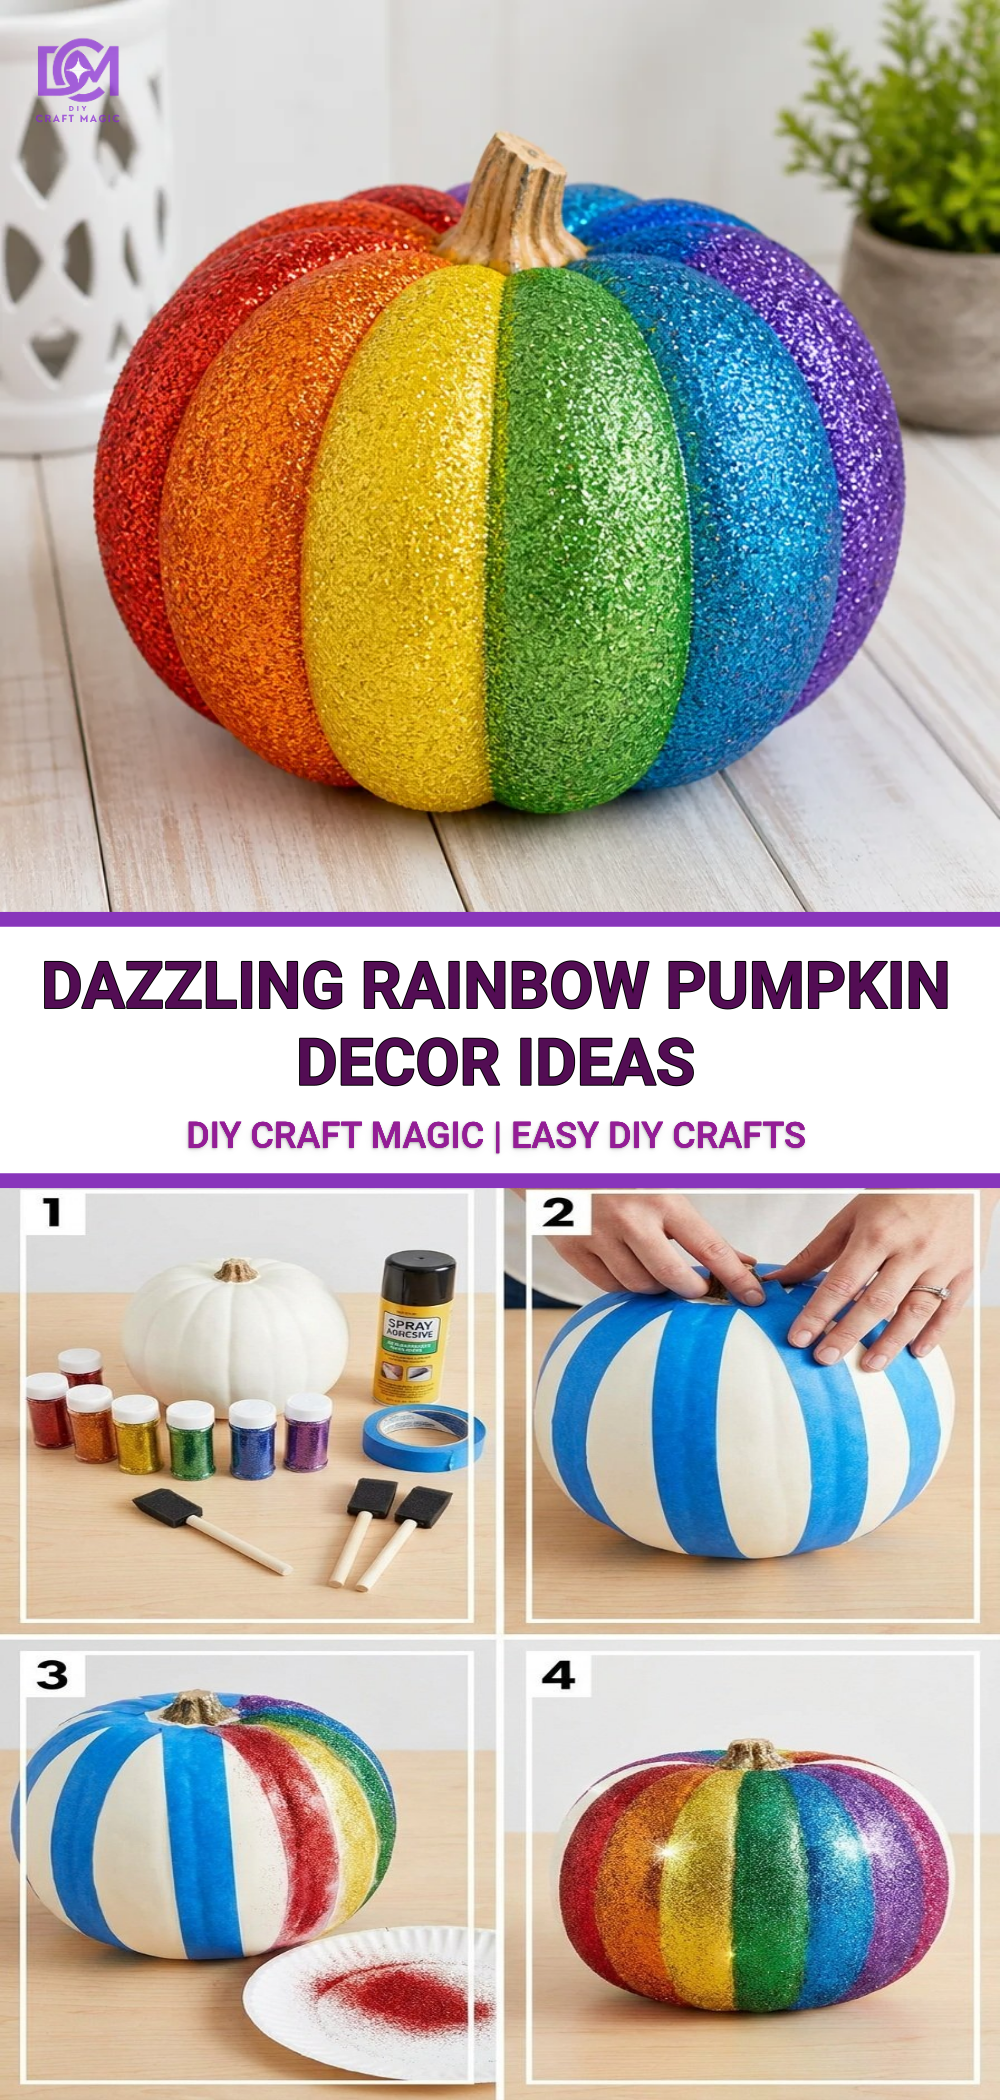
Materials You’ll Need
- Pumpkins (real or faux)
- Acrylic paints in various vibrant colors (red, orange, yellow, green, blue, indigo, violet)
- Paintbrushes
- Mod Podge or glue
- Fine glitter (optional, for extra sparkle)
- Clear sealant spray
- Newspaper or plastic covering for your work area
Having these materials on hand will set you up for a fun craft session.
How to Make Dazzling Rainbow Pumpkin Decor Ideas
The process of transforming plain pumpkins into colorful treasures is straightforward and enjoyable! Here’s how to get started:
Prepare Your Work Area: Lay down newspaper or a plastic covering to protect surfaces from paint spills.
Base Coat (optional): If you’re using fake pumpkins, consider applying a white base coat to help your rainbow colors pop. Allow it to dry thoroughly.
Paint the Pumpkins: Using your acrylic paints, start applying the rainbow colors. You can choose to color each pumpkin in a gradient of colors or create stripes. For a twist, use a borax rainbow crystal technique to give them a unique contrast.
Add Sparkle (optional): For added flair, once the paint dries, you can apply a thin layer of Mod Podge to certain areas and sprinkle fine glitter on top. This step will make your pumpkins truly shine.
Sealing the Paint: Once everything is dry, spray your pumpkins with a clear sealant to protect the paint and glitter from fading.
Display Your Creations: Arrange your rainbow pumpkins on a table or front porch to spread the festive cheer. You can even incorporate other colorful decor from your collection, like some ocean jar decorations to enhance the vibrant aesthetic.
Helpful Tips
- Blend Colors: If you’re feeling adventurous, try blending two adjacent colors for a smoother transition.
- Family Crafting: This is a fun project for kids! Let them choose their favorite colors and design patterns, ensuring to supervise any use of paints and sprays.
- Customize Shapes: Beyond round pumpkins, you can experiment with different shapes for a whimsical display.
Common Mistakes to Avoid
- Clumping Paint: Ensure even brush strokes to prevent clumps in your paint that can detract from the smooth finish.
- Insufficient Drying Time: Allow adequate drying time for each layer of paint or Mod Podge before applying the next. This helps avoid smudging.
- Skipping Sealant: Don’t skip the sealant; it preserves the beauty of your craft and prevents wear and tear over time.
Ways to Customize It
For a truly unique touch, consider personalizing your rainbow pumpkins by adding decorative elements! You can use twine to wrap around the stems, incorporate leaves or other accents, or even add fabric for texture, similar to a colorful mandala design.
Display Ideas
Making your rainbow pumpkins a part of your home decor can be so much fun! Arrange them on a dining table, use them as a centerpiece for fall gatherings, or even scatter them throughout your living room for a pop of seasonal color.
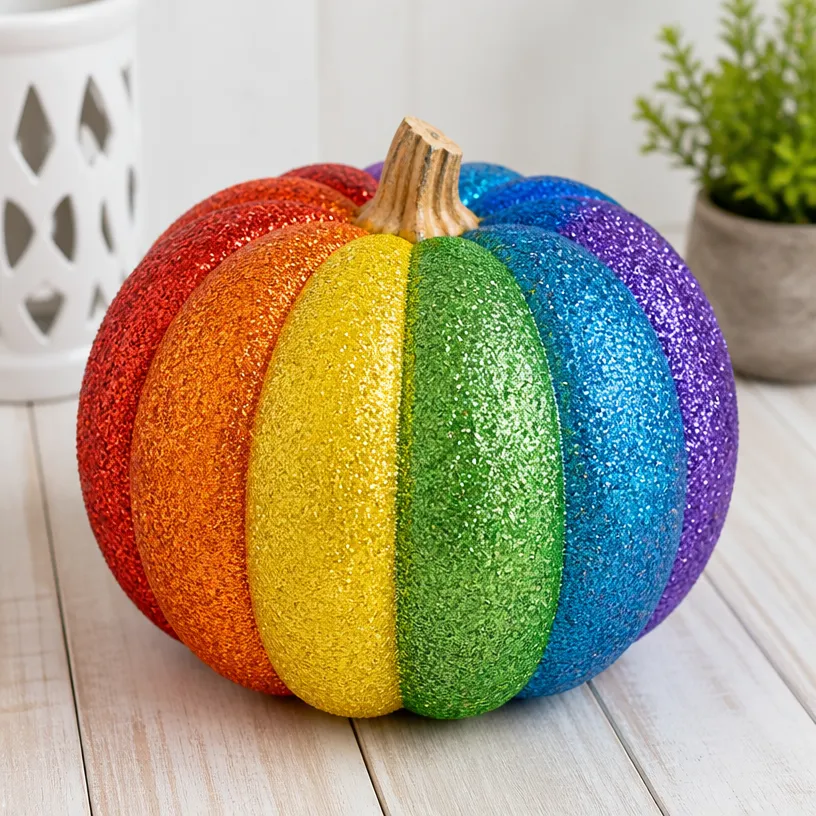
Crafting With Kids
This project is exceptionally child-friendly, making it a perfect choice for family crafting days. You can set up a station where kids can freely express their creativity with paint and glitter, fostering a love for art and crafts as they create their personalized rainbow pumpkins.
Frequently Asked Questions
Can I use real pumpkins for this project?
Yes, real pumpkins can be used! Just be aware they may rot faster, so display them in a well-ventilated area.
How can I preserve my painted pumpkins?
Using a sealant spray will help preserve both the paint and the pumpkin itself, extending its life.
What if I mess up the paint job?
Don’t worry! You can always paint over it once it has dried. Mistakes often lead to unique outcomes.
Conclusion
Crafting dazzling rainbow pumpkins is not only an enjoyable activity but also a fantastic way to brighten up your home for the fall season. If you’re looking for more inspiration, check out these ideas for DIY rainbow pumpkins on The House That Lars Built and learn how to create no-sew fabric pumpkins in just five minutes through Dreams Factory. Embrace your creativity this season!
Print
Dazzling Rainbow Pumpkin Decor Ideas
- Total Time: 15 minutes
- Makes: 1 set of rainbow pumpkins
Description
Create vibrant and colorful rainbow pumpkins to enhance your fall decor with this fun and easy crafting project.
Materials
- Real or faux pumpkins
- Acrylic paints in vibrant colors (red, orange, yellow, green, blue, indigo, violet)
- Paintbrushes
- Mod Podge or glue
- Fine glitter (optional)
- Clear sealant spray
- Newspaper or plastic covering for workspace
Instructions
- Prepare your work area by laying down newspaper or plastic covering.
- Base coat the pumpkins white (optional) to help rainbow colors pop, allowing it to dry.
- Paint the pumpkins with your chosen rainbow colors, using gradients or stripes.
- Add sparkle by applying Mod Podge on dry paint areas and sprinkling on fine glitter (optional).
- Seal the paint with clear sealant once everything is dry.
- Display the rainbow pumpkins on a table or porch to spread festive cheer.
Notes
Customize pumpkin shapes and colors; ensure kids are supervised while using paints and sprays.