

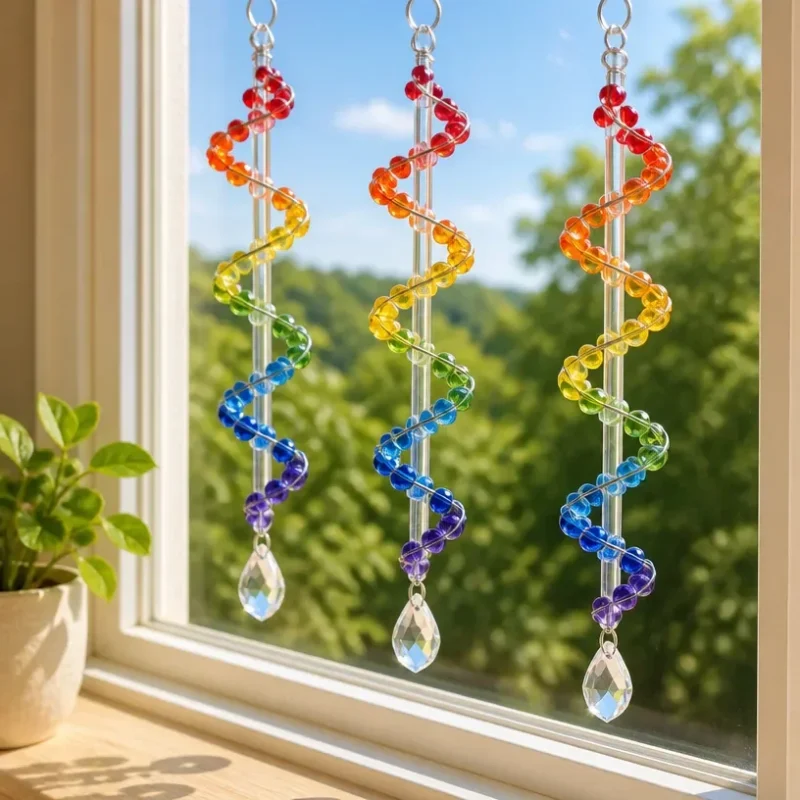
DIY Rainbow Bead Spiral Suncatcher
Creating a DIY Rainbow Bead Spiral Suncatcher is a delightful project that transforms simple materials into eye-catching window decor. This colorful craft will not only brighten up your space but also allow the light to dance in your home, creating a sparkling effect. Whether you’re a beginner or an experienced crafter, you’ll find this project satisfying and approachable. You may also find Clear Blue Rainbow Bat Suncatcher Wreath Diy useful.

You may also find Melted Bead Butterfly Suncatcher Diy Tutorial useful.
Materials You’ll Need
For this project, gather the following materials: You may also find Melted Beads Suncatchers Diy Craft Tutorial useful.
- Clear plastic disks (available at craft stores)
- Rainbow-colored beads (choose a variety of shapes and sizes)
- Wire or string (to hang your suncatcher)
- Hot glue gun and glue sticks
- Scissors
You can also explore similar projects like the beaded heart suncatcher for more inspiration.
Choosing Your Materials
When selecting your beads, opt for translucent or clear varieties. These will allow more light to pass through, enhancing the sparkle of your suncatcher. Consider mixing different shapes such as rounds, stars, or flowers for added visual interest.
How to Make a DIY Rainbow Bead Spiral Suncatcher
Step-by-Step Instructions
Follow these steps to create your suncatcher:
Prepare Your Workspace: Set up a clean, flat surface. Have your materials organized for easy access.
Design the Spiral: Lay out your beads in a spiral pattern on your plastic disk. This will be your guide for how they will be arranged.
Glue the Beads: Begin attaching the beads to the disk using your hot glue gun. Start from the center and work your way outwards, maintaining the spiral design.
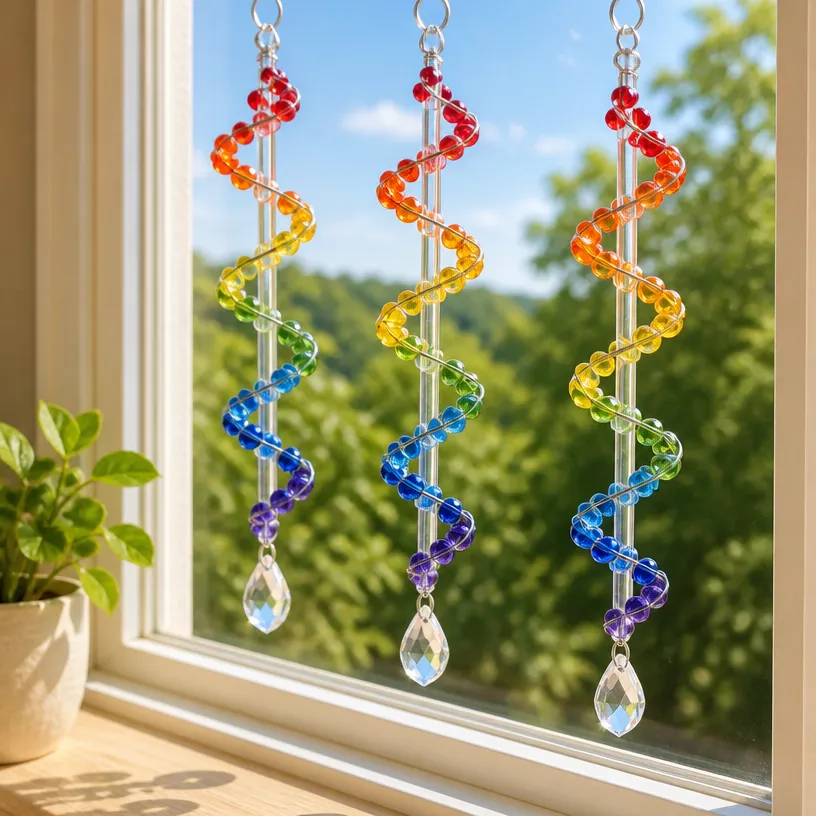
Let It Dry: Allow the glue to fully dry before handling the suncatcher. This may take about 15-20 minutes.
Attach the Wire or String: Once dry, carefully poke a hole at the top of the suncatcher and thread your wire or string through it. Make sure it is secure for hanging.
Getting the Colors Right
Using a variety of colors will enhance the visual appeal of your suncatcher. Consider predominant shades of red, yellow, green, blue, and purple to create a vibrant rainbow effect. For those looking to explore more ideas, check out the neon spiral glue suncatchers for a fun twist!
Creating the Crystal Effect
To achieve a more radiant outcome, use larger beads that catch and reflect light better. This adds dimension to your spiral and creates an enchanting display when sunlight hits it.
Helpful Tips
- Be Generous with Glue: Ensure your beads are securely attached. A good amount of glue can help prevent them from falling off when hung.
- Experiment with Shapes: Don’t hesitate to mix different shapes; this can turn your suncatcher into a unique piece of art.
- Safety First: If children are involved, supervise their use of the hot glue gun, as it can cause burns.
Common Mistakes to Avoid
- Too Sparse Bead Placement: Make sure your beads are close enough together to prevent gaps in the spiral.
- Ignoring Drying Time: Patience is key; rushing may result in pieces detaching from the main suncatcher.
Color Ideas
Consider using pastel shades for a soft look or bright, bold hues for a vibrant display. You can even adapt your color palette for different seasons or themes.
Display Ideas
Hang your suncatcher in a window with direct sunlight for maximum effect. You can also make several and arrange them in a cluster for an impactful visual effect.
Crafting With Kids
This project is perfect for involving children. Let them select their favorite colors and shapes, and guide them through the steps. It’s a wonderful way to foster creativity while spending quality time together!
Make It for the Season
Adapt your suncatcher for seasonal decor by using colors associated with different times of the year, such as warm tones for autumn or cool blues for winter.

Frequently Asked Questions
How long does it take for the glue to dry?
It usually takes about 15-20 minutes for the hot glue to set, but it’s best to let it sit for an hour before hanging.
Can I use regular beads instead of plastic ones?
Yes, but keep in mind that glass beads may add weight to your suncatcher, which may affect how you hang it.
What if my beads don’t stick?
If beads are not adhering properly, try applying more glue and give it additional time to dry.
How do I clean my suncatcher?
Use a soft cloth to wipe it down; avoid harsh chemicals that could damage the beads or plastic.
Can I make larger suncatchers?
Absolutely! Just scale up your materials and adjust the bead layout accordingly.
Conclusion
Crafting a DIY Rainbow Bead Spiral Suncatcher is a delightful way to add some color and sparkle to your home. For those interested in enhancing their crafting experience, check out a variety of related suncatchers on Amazon for inspiration, or explore unique designs available on Etsy. Enjoy the process, and let your creativity shine!
Print
DIY Rainbow Bead Spiral Suncatcher
- Total Time: 30 minutes
- Makes: 1 suncatcher
Description
Create a colorful and eye-catching Rainbow Bead Spiral Suncatcher that brightens your home and enhances any window with its sparkling effect.
Materials
- Clear plastic disks
- Rainbow-colored beads
- Wire or string
- Hot glue gun and glue sticks
- Scissors
Instructions
- Prepare your workspace by setting up a clean, flat surface with organized materials.
- Design the spiral by laying out beads on the plastic disk.
- Glue the beads to the disk using a hot glue gun, starting from the center.
- Let the glue dry for about 15-20 minutes.
- Attach the wire or string by poking a hole at the top and threading it through.
Notes
Be generous with glue and experiment with different bead shapes for a unique design. Supervise children when using hot glue to avoid burns.