

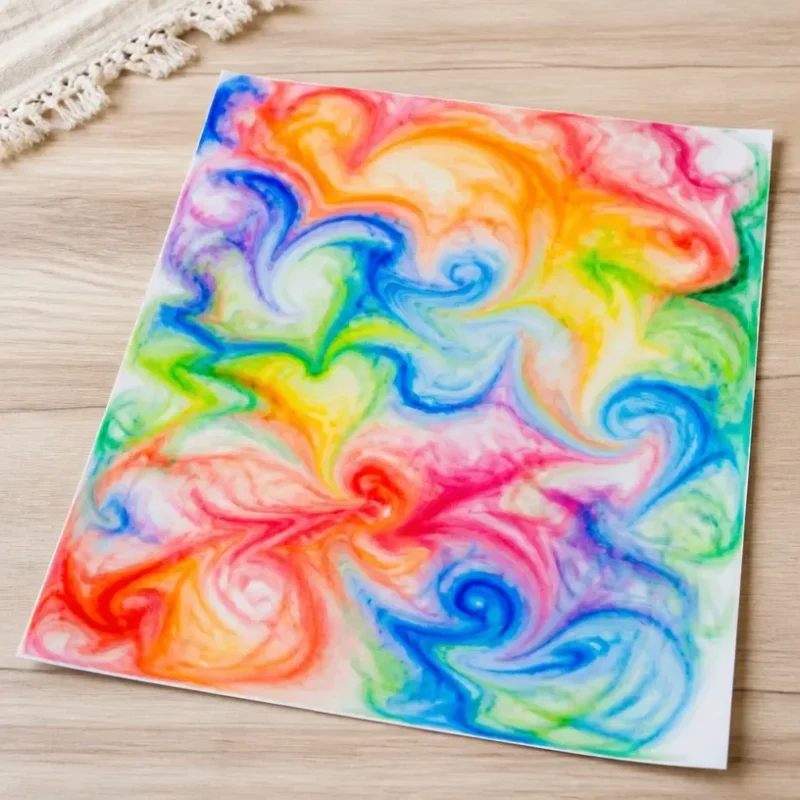
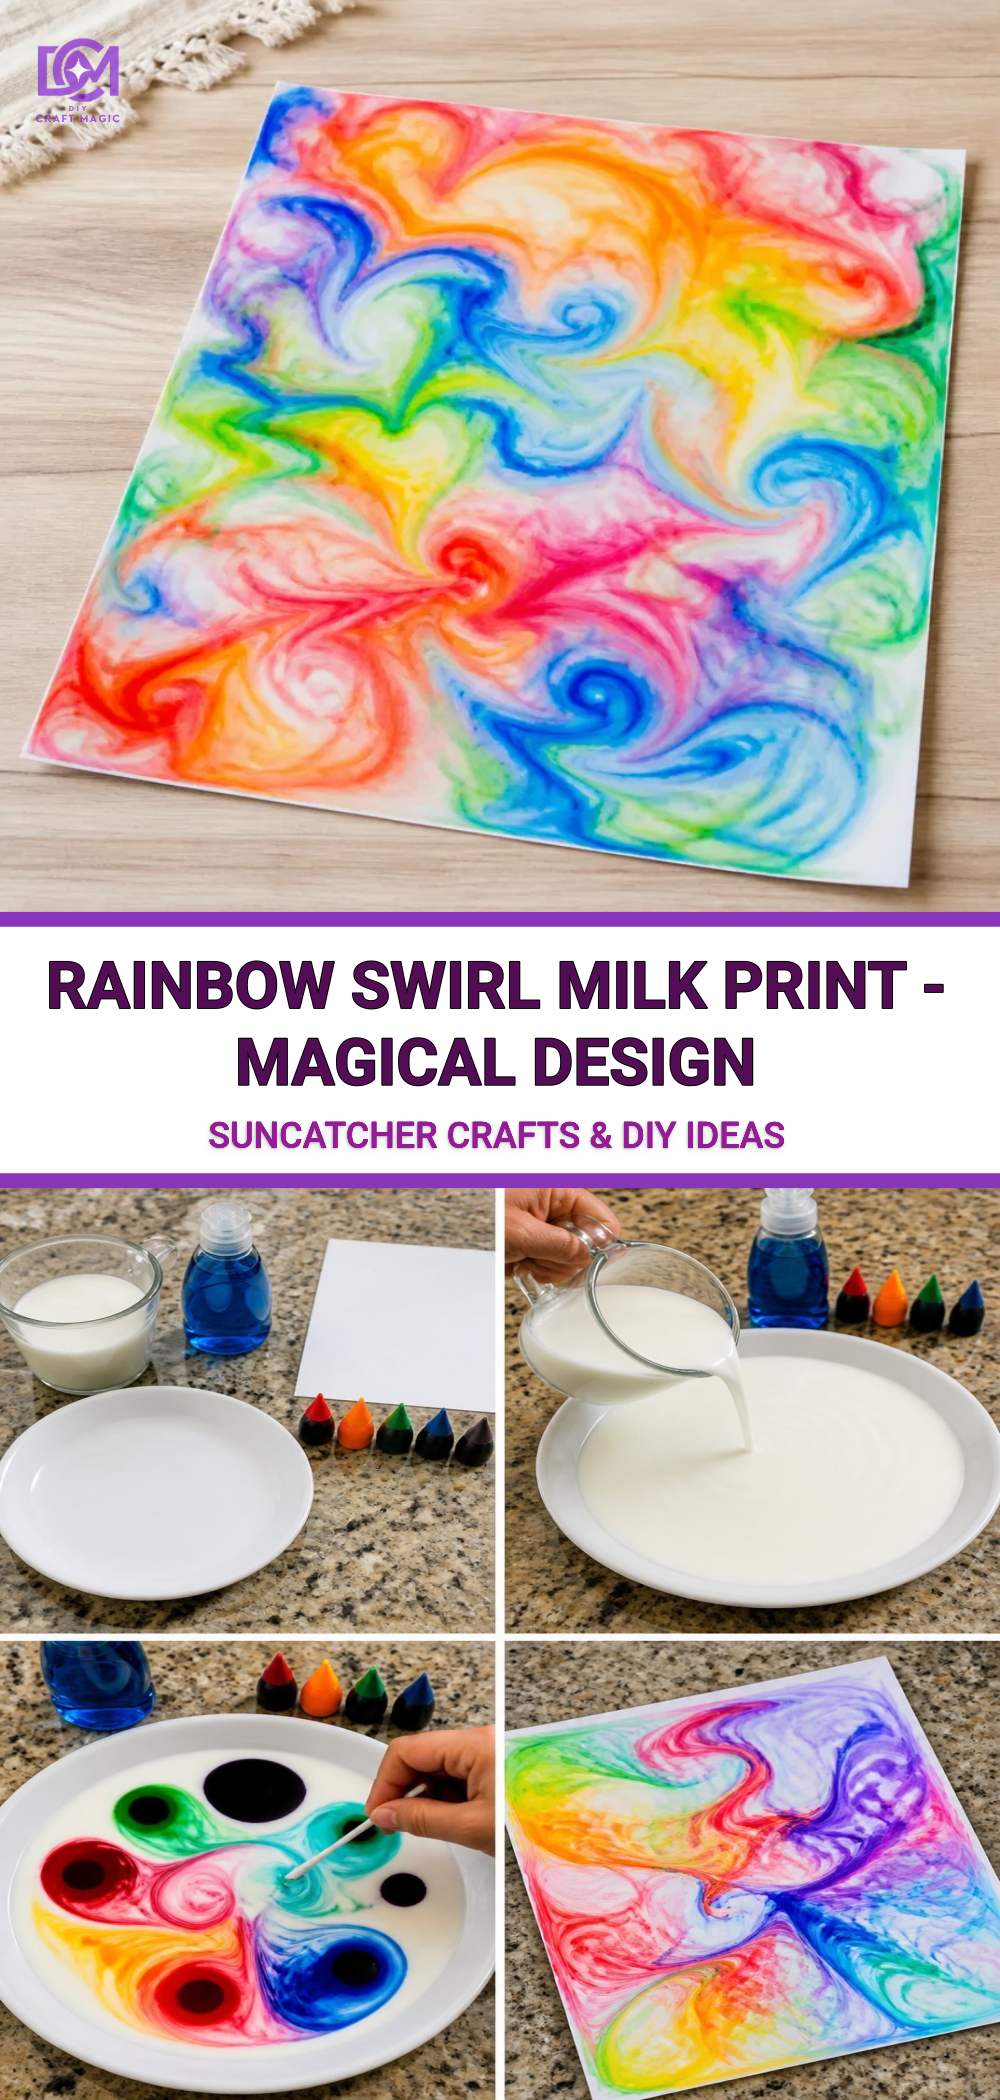
Rainbow Swirl Milk Print – Magical Design
Creating vibrant art pieces at home can be incredibly satisfying, especially when using simple materials to achieve breathtaking results. In this tutorial, you’ll learn how to make a Rainbow Swirl Milk Print a visually stunning project that brings together colors in a swirling, mesmerizing design. The technique is both approachable and engaging for creators of all ages, making it a perfect family craft or classroom activity. You may also find Glowing Rainbow Potion Bottles Magical Elixirs useful.
Why You’ll Love This Project
This craft is not only fun but also serves as a fantastic way to explore colors and art. The result is a beautiful piece that can be hung up as a decoration or given as a gift. The vibrant swirls of color will remind you of magical potions and enchanted rainbows, truly transforming ordinary milk into a colorful masterpiece! If you’re interested in exploring more vibrant DIY projects, check out this rainbow milk art print for additional inspiration.
Materials You’ll Need
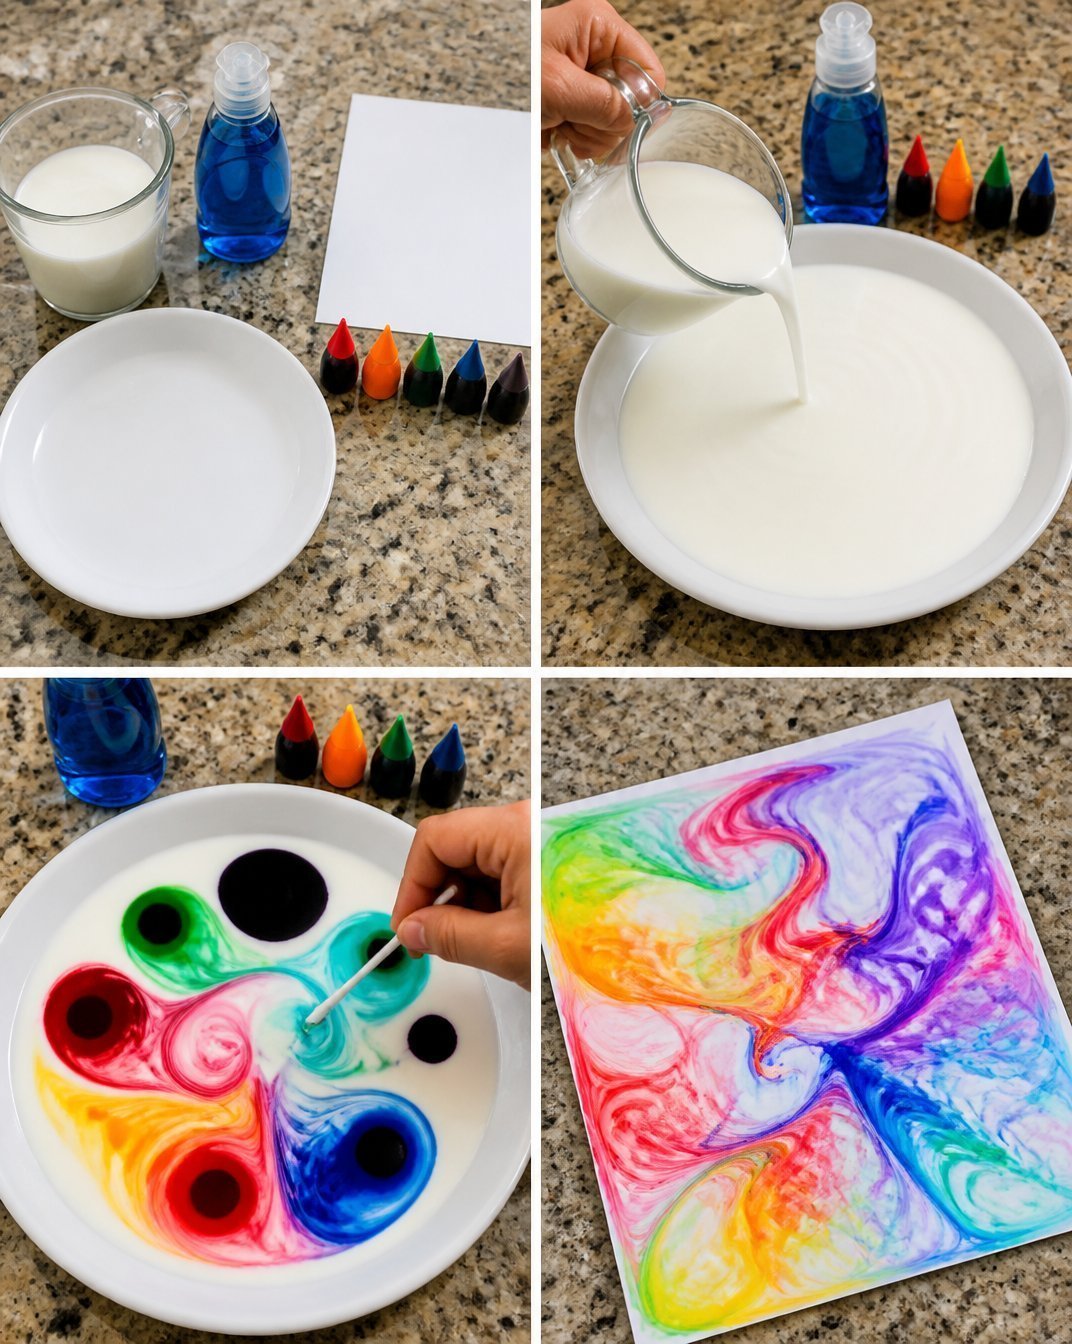
Before diving into this project, gather the following materials: You may also find Rainbow Swirl Stones useful.
You may also find Borax Rainbow Crystal Bloom Tree Garden Decor useful.
- Whole milk
- Food coloring (assorted colors)
- Dish soap
- Cotton swabs
- A shallow dish or plate
- An absorbent paper (preferably watercolor or card stock)
- Toothpicks (optional, for swirling)
How to Make Rainbow Swirl Milk Print – Magical Design
Step-by-Step Instructions
Prepare the Milk: Pour whole milk into a shallow dish until it covers the bottom. The milk acts as a canvas for your colors.
Add Food Coloring: Carefully add drops of food coloring to the milk. You can use assorted colors or stick to a specific palette you’ll get a different effect with each choice!
Create the Swirls: Dip a cotton swab in dish soap and gently touch it to the surface of the milk. Watch in awe as the colors begin to swirl and dance. If you want more intricate designs, gently use a toothpick to create additional swirls.
Transfer the Design: Once you’re satisfied with the swirling colors, take your absorbent paper and gently place it over the milk. Let it sit for a few seconds to soak up the vibrant colors.
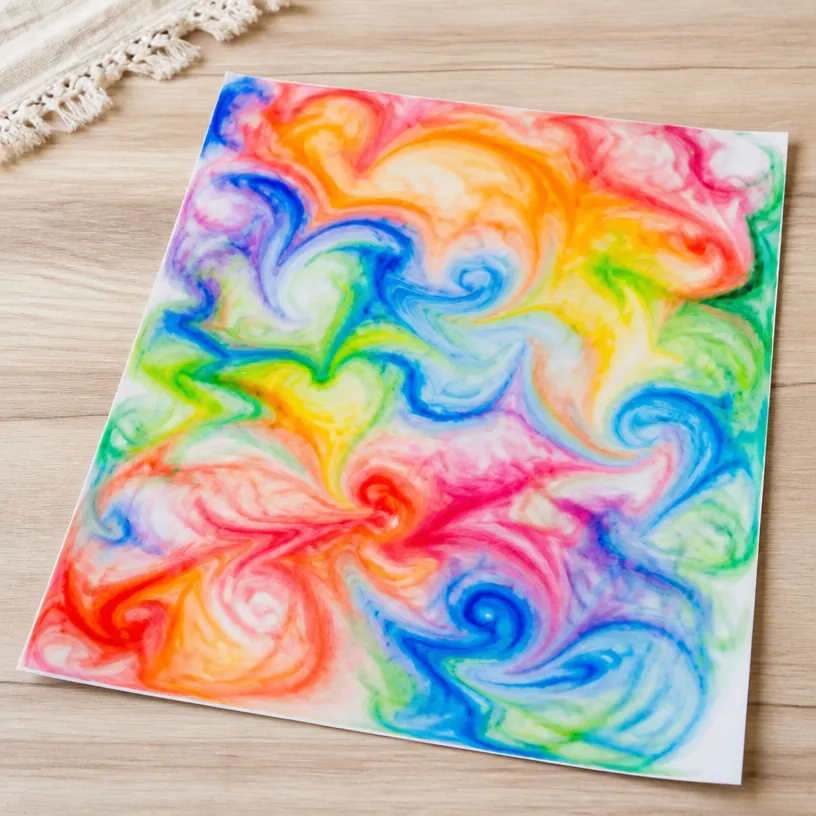
Reveal Your Print: Carefully lift the paper to see your colorful creation! You can let it dry flat or hang it up to dry, creating a stunning piece of art for your home.
Tips for Getting the Best Result
- Experiment with Colors: Don’t hesitate to mix different shades. Layering colors will provide deeper, richer swirls in your final print.
- Use Different Papers: Try various types of paper to see how they affect the final design. Some may absorb color better than others.
- Repeat the Process: Don’t let your creative energy fade do this multiple times with new color combinations.
You may also want to try out different projects with colors, like making rainbow potion jars that incorporate a glitter effect!
Common Mistakes to Avoid
- Overloading on Color: Too much food coloring can muddy your design. Start with a few drops and add more as needed.
- Not Enough Soap: The dish soap is critical to the swirling effect. Ensure it’s present to facilitate the reaction with the milk.
Variations to Try
Feel free to customize this project in unique ways! Consider using themed colors for different seasons or events. For a fun twist, incorporate glitter to give your prints some sparkle or embellish it with cut-out shapes.
Questions to Consider
- Can I use different types of milk? While whole milk gives the best results due to its fat content, you can experiment with alternatives like almond or coconut milk, but expect varied results.
- How do I display my prints? Frame your prints or simply pin them on a display board. You could also use them in greeting cards!
Conclusion
The Rainbow Swirl Milk Print is a delightful project that opens the door to creativity and fun. This engaging process not only results in beautiful artwork but also provides a great way to educate about colors and reactions in a playful manner. For more exciting ideas, the Magic Milk Art Project offers another engaging approach, while Science & Art for Kids: Marbled Milk Paper illustrates how science and art can coexist beautifully. Embrace the colors and let your creativity flow!
Print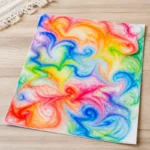
Rainbow Swirl Milk Print
- Total Time: 10 minutes
- Makes: 1 print
Description
Create mesmerizing designs using whole milk and food coloring in this fun and engaging craft project.
Materials
- Whole milk
- Food coloring (assorted colors)
- Dish soap
- Cotton swabs
- A shallow dish or plate
- An absorbent paper (preferably watercolor or card stock)
- Toothpicks (optional, for swirling)
Instructions
- Prepare the milk: Pour whole milk into a shallow dish until it covers the bottom.
- Add food coloring: Carefully add drops of food coloring to the milk.
- Create the swirls: Dip a cotton swab in dish soap and touch it to the surface of the milk.
- Transfer the design: Place absorbent paper over the milk.
- Reveal your print: Lift the paper to see your colorful creation!
Notes
Experiment with different colors and types of paper for unique designs. Avoid overloading on color to prevent muddiness.