

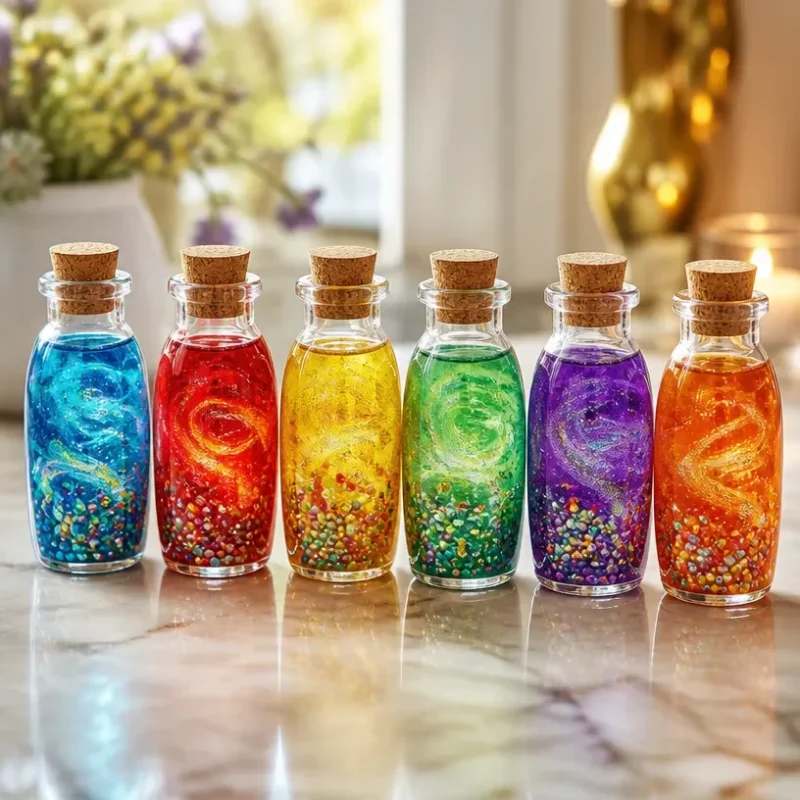
DIY Rainbow Potion Jars with Glitter Swirl Decor
Creating DIY Rainbow Potion Jars with Glitter Swirl Decor is a delightful activity that combines color, creativity, and sensory play. These enchanting jars not only look mesmerizing on display but also provide a hands-on crafting experience that is both satisfying and visually captivating. As you swirl colorful glitters and liquids into glass containers, you’ll witness a beautiful transformation, making this project approachable and enjoyable for all ages. You may also find Bunny Flower Pot Covers Diy Tutorial Spring Decor useful.
Materials You’ll Need
Before diving into the crafting process, gather the following materials: You may also find Clear Blue Rainbow Bat Suncatcher Wreath Diy useful.
You may also find Diy Crystal Starfish Geodes Seaside Home Decor useful.
- Clear glass jars with lids (preferably small)
- Two types of clear liquid (water and a clear gel)
- Food coloring (various colors)
- Glitter (fine and chunky)
- A small funnel
- Small measuring cups
- A stir stick or spoon
- Optional: A decorative label for your jars
Why You’ll Love This Project
One of the best parts of making rainbow potion jars is how customizable they are. You can mix and match colors to evoke different feelings or themes. Whether you’re creating a calming effect with shades of blue or an energetic vibe with vibrant reds and yellows, the possibilities are endless. Additionally, this project pairs beautifully with other colorful crafts, such as DIY Rainbow Mandala Stones.
Step-by-Step Instructions
Creating your potion jars is a simple yet rewarding process. Follow these steps for the best results: You may also find Diy Rainbow Popsicle Stick Flower Wheel Craft useful.
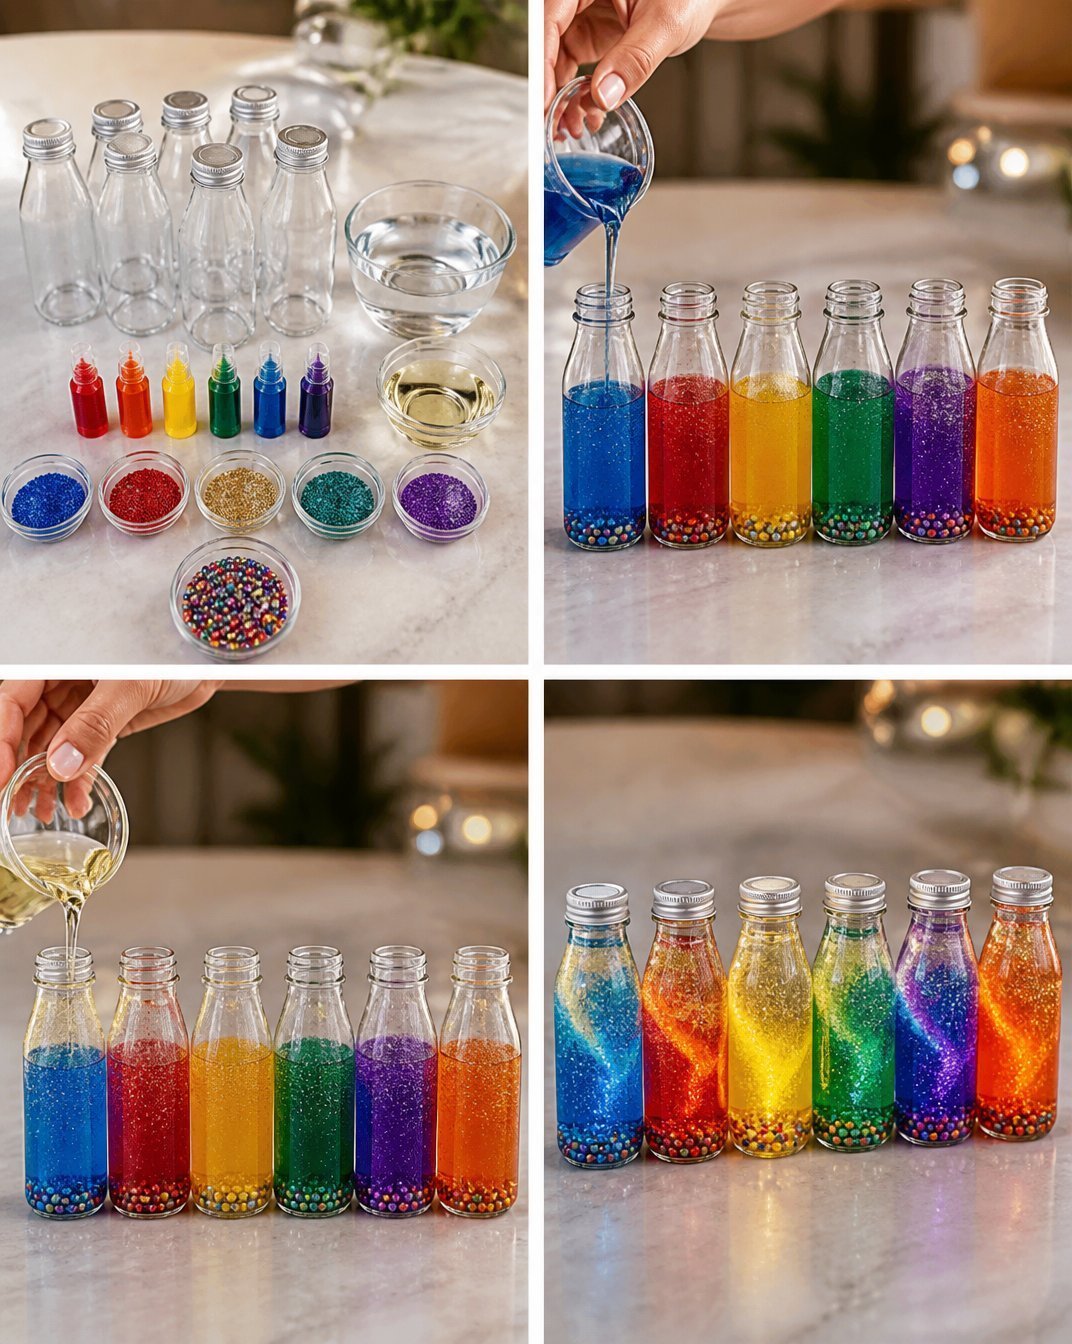
Prepare Your Workspace: Clear a crafting area and lay down newspaper or a plastic cloth to catch any spills.
Mix the Liquids: Start by measuring out equal parts of your clear liquid. You can use water for a more traditional look or a clear gel for added texture.
Add Food Coloring: Choose your first color and add a few drops to one of your measuring cups containing the liquid. Stir until the color is well distributed.
Layer the Colors: Using a funnel, carefully pour the colored liquid into the jar, filling it about a third of the way. Repeat this process with different colors, allowing each layer to settle slightly before adding the next. This creates a beautiful gradient effect.
Incorporate Glitter: After layering the liquids, sprinkle in your glitter for a sparkly finish. You can use a mix of fine and chunky glitter for added dimension.
Seal and Decorate: Once filled, place the jar lid on securely. If desired, label your jars with names like “Magical Blue Potion” or “Energizing Red Elixir” for added charm.
Helpful Tips
Creating the Crystal Effect: For an amplified aesthetic, consider using a clear gel between layers to give your potion jars a more textured appearance. The gel can create a stunning crystal-like effect that enhances the overall visual appeal.
Customization Ideas: Experiment with different color combinations and glitter types. If you want to make it seasonal, try using winter colors like blue and silver for a festive feel.
Crafting with Kids: This project is great for kids. They can choose their colors and glitters, making it a fun way to unleash creativity while developing fine motor skills.
Common Mistakes to Avoid
Pouring Too Fast: When layering the liquids, pour slowly to avoid mixing. This way, you’ll keep those lovely layers distinct.
Skipping Settling Time: Allow a little time between layers for the colors to settle; rushing this may cause muddled hues.
Overloading with Glitter: While glitter adds a beautiful touch, too much can make your potion appear cloudy rather than vibrant. Balance is key!
Display Ideas
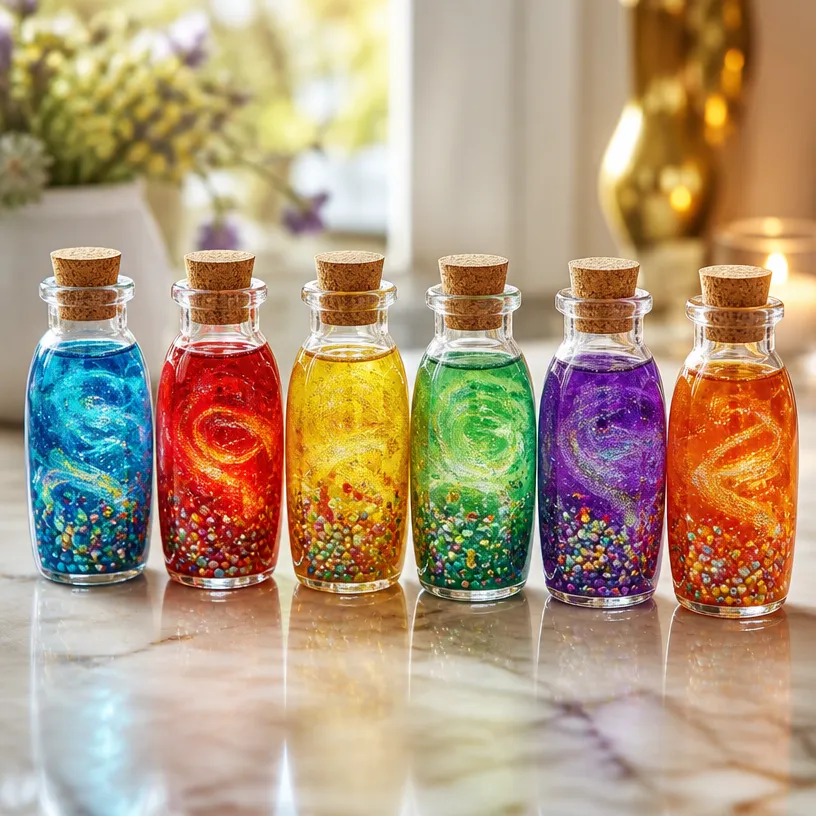
These potion jars look stunning displayed in various settings. Consider arranging them on a windowsill where sunlight can catch the glitter, or use them as part of your table centerpiece during gatherings. They can also serve as whimsical decor for themed parties maybe a magical evening with friends or a birthday celebration for a young artist.
Frequently Asked Questions
How do I make the colors more vibrant?
If you desire more intense colors, add more drops of food coloring until you achieve the desired vibrancy. Remember, darker shades may impact the overall appearance of the glitter too.
Can I use plastic jars instead of glass?
While glass provides a more elegant look and showcases the colors better, plastic jars can be a safer alternative, especially for younger crafters. Just make sure they are clear for maximum visual impact.
How can I store these jars?
These potion jars can be stored indoors away from direct sunlight to maintain their color integrity. If well-sealed, they can be kept for a long time, making them suitable for seasonal decorations.ConclusionCreating DIY Rainbow Potion Jars with Glitter Swirl Decor is an engaging and creative project that families can enjoy together. It not only brightens your home but also sparks a joyous crafting spirit. For more ideas on fun sensory activities, check out Kindness Potions Sensory Bottles, or try How to Make DIY Sensory Bottles for even more colorful experimentation!