

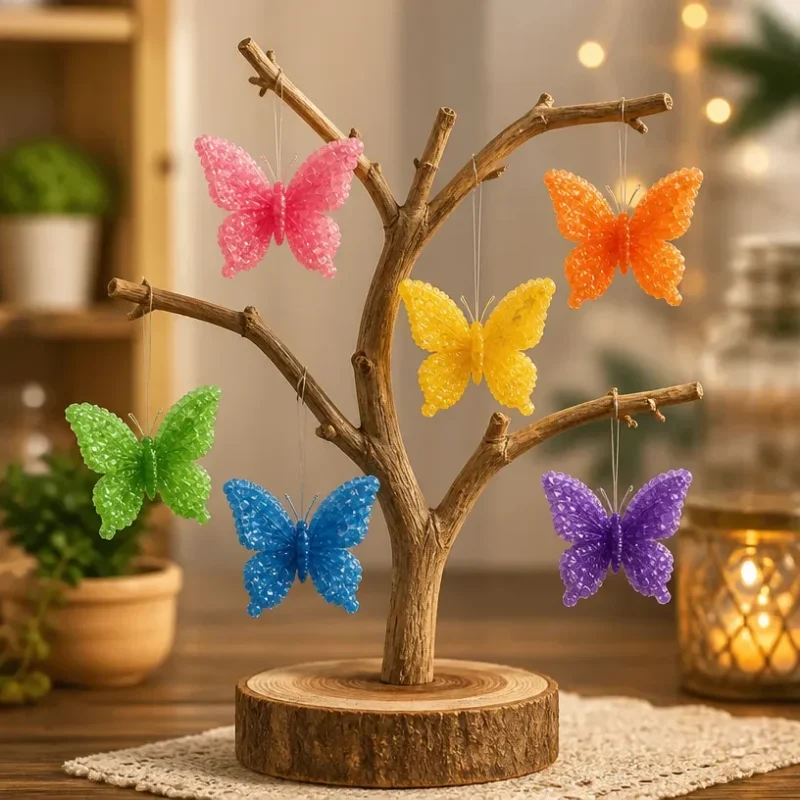
Why You’ll Love This Project
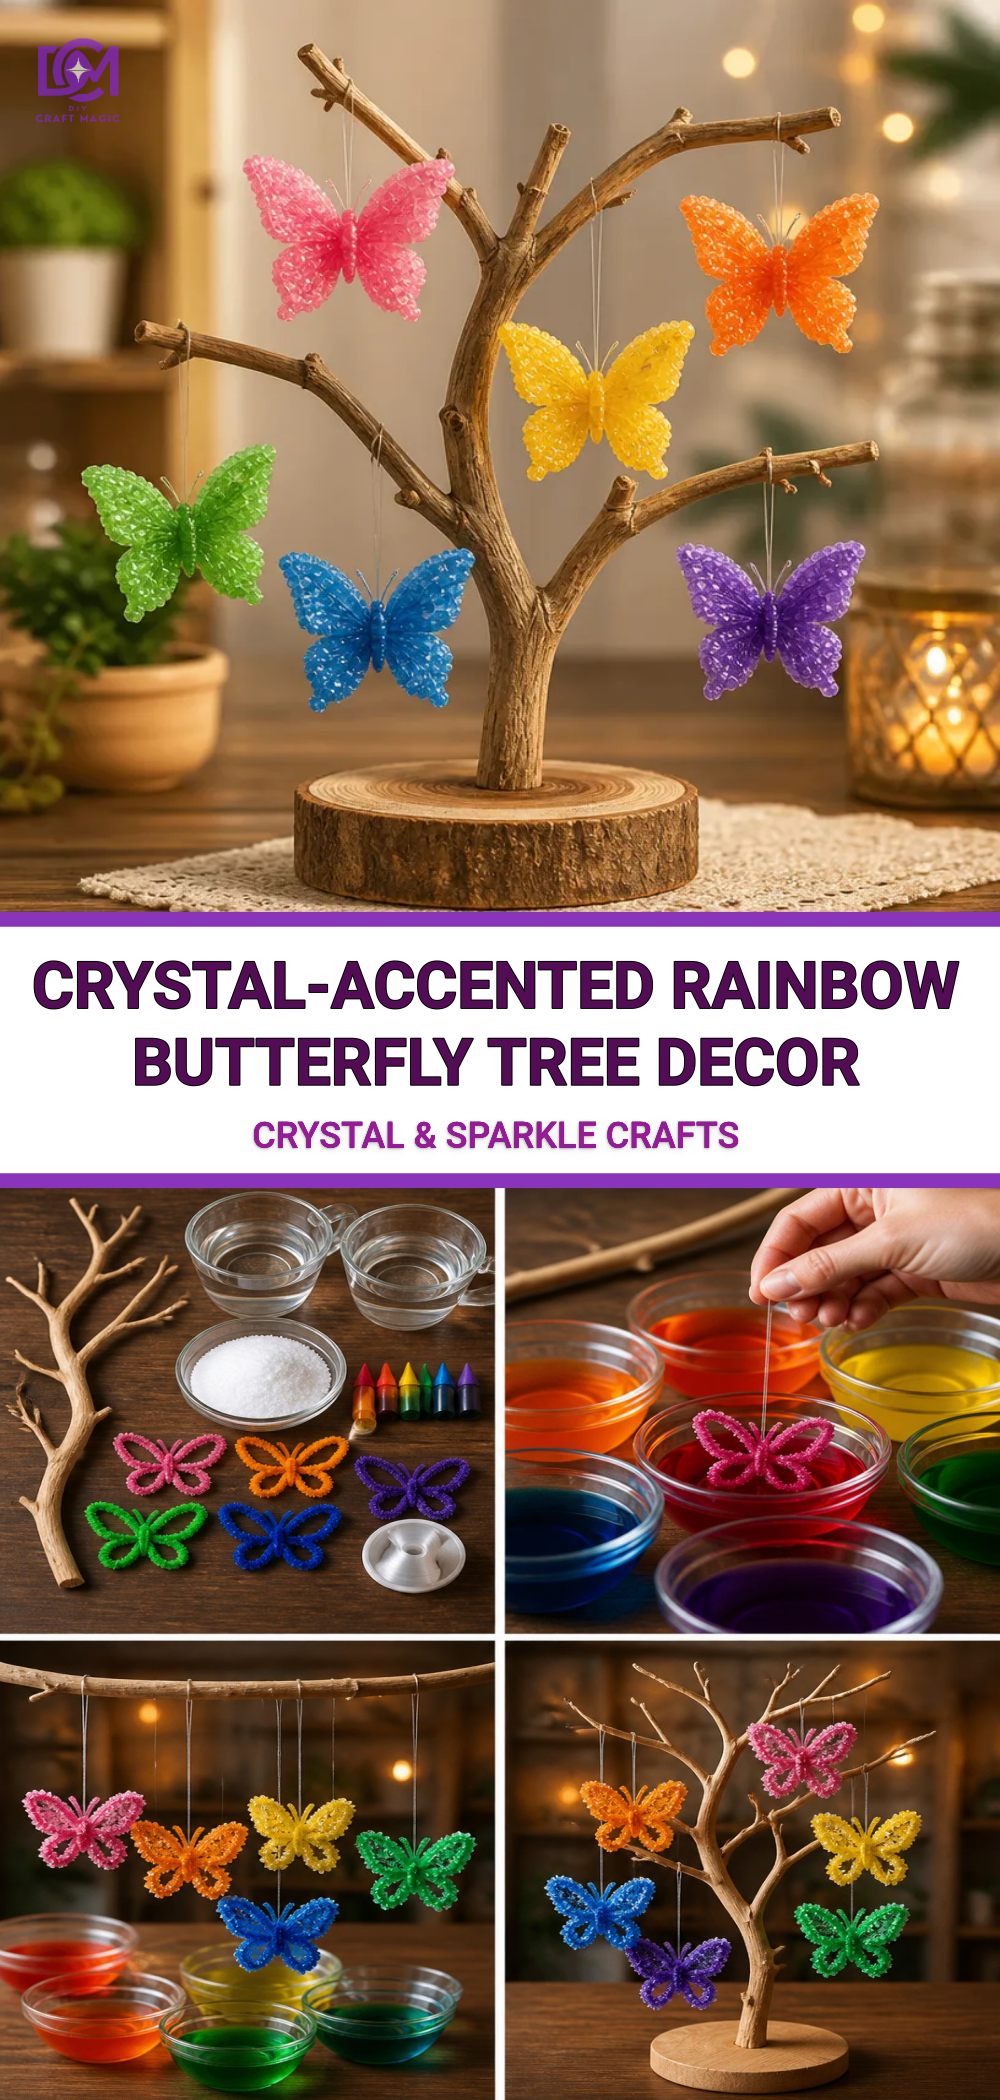
Get ready to create a stunning Crystal-Accented Rainbow Butterfly Tree Decor that infuses your space with color and whimsy! This artistic project combines the beauty of rainbow hues with sparkly crystal accents, resulting in a visually captivating piece. Not only is the final decoration a feast for the eyes, but the hands-on process of making it is incredibly satisfying for crafters of all skill levels. Plus, it’s a fantastic way to engage kids and family in a creative activity that enhances their artistic flair. You may also find Prismatic Crystal Tree Diy Rainbow Decor useful.
Materials You’ll Need
Before you dive into crafting, make sure you have the following materials handy to create your rainbow butterfly tree decor. You may also find Colorful Crystal Butterfly Rainbow Wings useful.
- Craft Wire: For shaping the tree structure.
- Colorful Paints: To bring the butterflies to life.
- A Hot Glue Gun: Essential for attaching your crystals and other elements.
- Assorted Crystals: These will add a twinkling effect to your decor.
- Butterfly Templates: For easy tracing and cutting.
- Small Flower Pots: To hold the base of your butterfly tree.
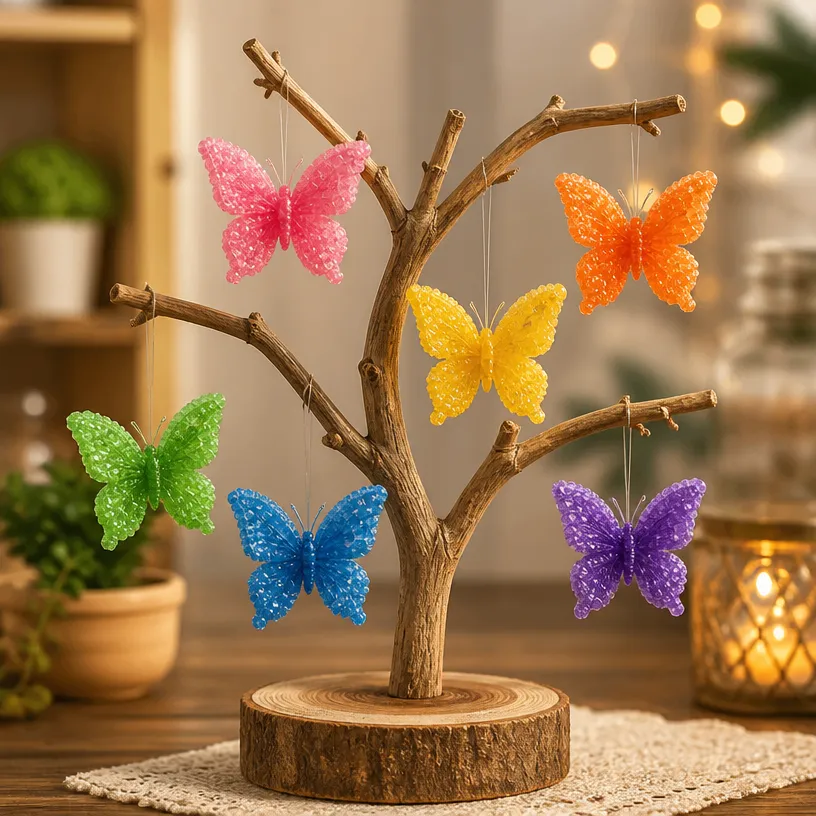
How to Make Crystal-Accented Rainbow Butterfly Tree Decor
Step-by-Step Instructions
Shape the Tree: Use craft wire to create the trunk and branches of your butterfly tree. Bend and twist the wire to achieve the desired shape. Make sure the base is sturdy enough to hold the weight of additional materials.
Paint the Tree: Once you’re happy with your shape, it’s time to add color. Use vibrant paints to coat the branches and trunk of the tree. Consider colors that reflect a rainbow palette for a striking effect.
Prepare the Butterflies: Trace out butterfly shapes using your templates on colorful paper. Cut them out carefully. To give them extra flair, consider using techniques similar to those in the colorful butterfly garden cupcake liners for added layers and dimensions.
Add Crystals: As the paint dries, hot glue the assorted crystals onto the branches of your tree. Try to alternate colors and sizes to create a dynamic look. The crystals should reflect light beautifully, creating a sparkling effect reminiscent of the borax rainbow crystal bloom tree.
Secure the Base: Place your crafted tree in a small flower pot to give it stability. You can use additional soil, pebbles, or decorative stones to hold the tree upright.
Helpful Tips
- Allow ample drying time for paint and glue to avoid any mess.
- Organize your work area so that you have all materials within reach.
- Get creative with butterfly designs; don’t hesitate to experiment with various colors and patterns!
Common Mistakes to Avoid
One frequent misstep is not securing the tree trunk well enough in the base. Ensure that it is tightly positioned to prevent it from tipping over. Also, be cautious with the amount of glue you use when attaching crystals; too much can create an undesirable look.
Ways to Customize It
Make your Crystal-Accented Rainbow Butterfly Tree Decor truly your own! Consider adding fairy lights around the branches for a magical glow at night. You could also incorporate seasonal decorations, such as autumn leaves or holiday ornaments, by adapting the tree throughout the year.
Alternatively, if you’re looking for another fun project, explore creating a beautiful rainbow butterfly suncatcher to complement your tree!
Frequently Asked Questions
How long does it take for the paint to dry?
For best results, allow your paint to dry for at least two hours before proceeding to glue or assemble other components.
Can I use different materials for the tree?
Absolutely! Feel free to experiment with materials like wood or cardboard if you prefer a different texture or sturdiness.
What if I don’t have a hot glue gun?
If you don’t have a hot glue gun, you can use strong craft glue but be aware that it may take longer to dry and bond.
Conclusion
Your completed Crystal-Accented Rainbow Butterfly Tree Decor will surely be an eye-catching addition to your home! As you enjoy your delightful creation, consider exploring other enchanting options like the Rainbow Crystal Cat Sun Catcher for a playful touch, or check out the latest releases in dream catchers for more crafting inspiration. Happy crafting!
Print
Crystal-Accented Rainbow Butterfly Tree Decor
- Total Time: 150 minutes
- Makes: 1 rainbow butterfly tree decor
Description
Create a stunning rainbow butterfly tree decor with colorful paints and crystal accents, perfect for adding whimsy to any space.
Materials
- Craft Wire
- Colorful Paints
- A Hot Glue Gun
- Assorted Crystals
- Butterfly Templates
- Small Flower Pots
Instructions
- Shape the tree by creating the trunk and branches with craft wire.
- Paint the tree using vibrant colors that reflect a rainbow palette.
- Prepare butterfly shapes using templates and colorful paper.
- Add assorted crystals to the branches using hot glue.
- Secure the tree in a small flower pot for stability.
Notes
Allow ample drying time for paint and glue to avoid any mess. Organize your workspace for easy access to all materials.