

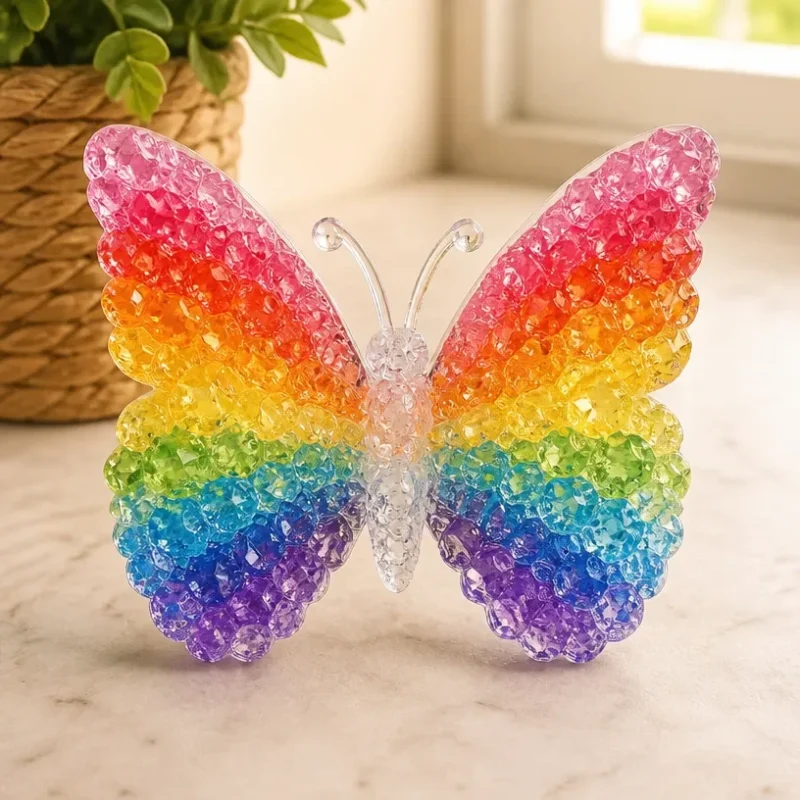
Colorful Crystal Butterfly: Rainbow Wings
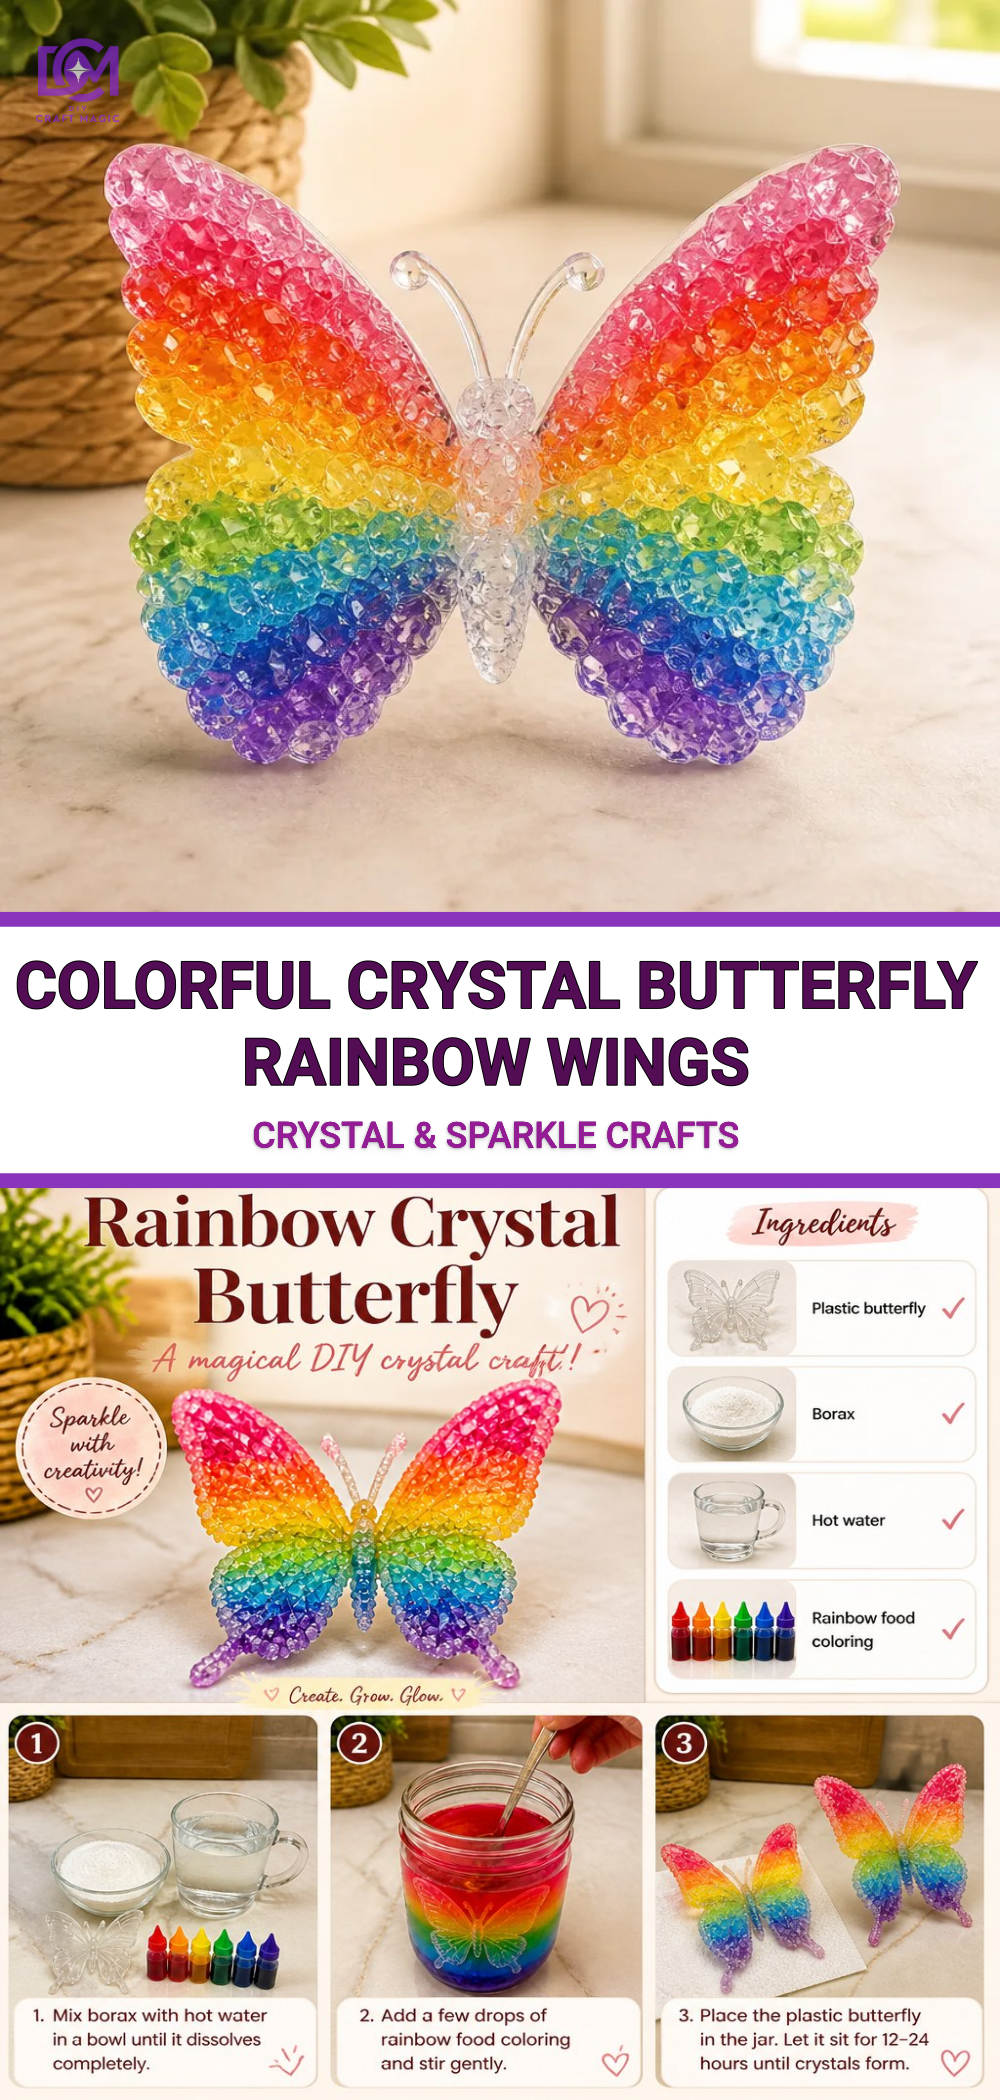
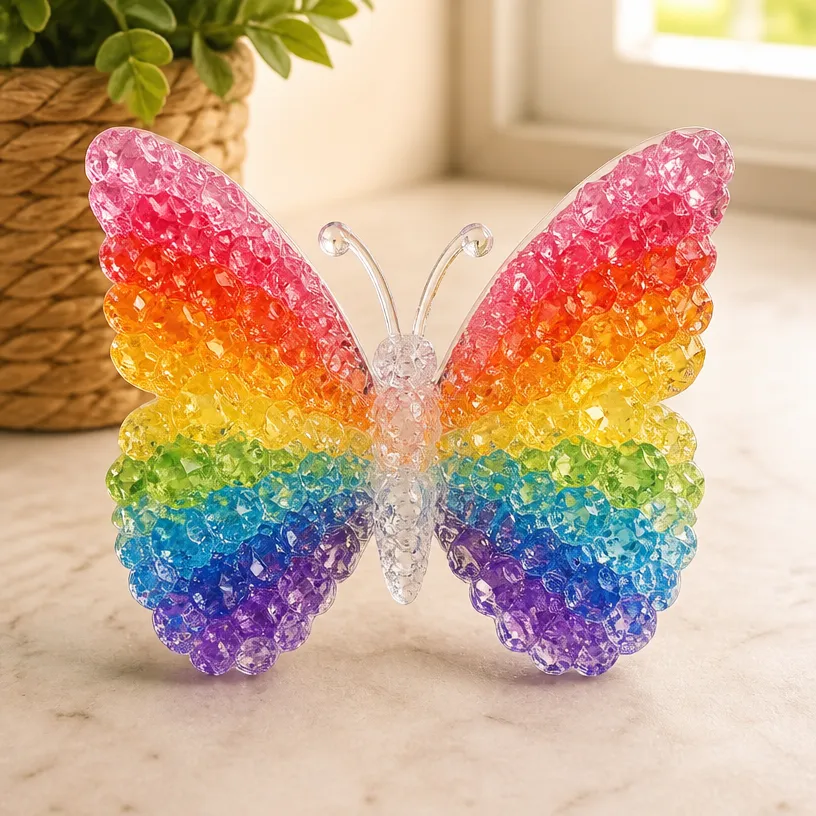
Creating a Colorful Crystal Butterfly is not just a rewarding craft but also a delightful way to bring vibrant colors into your home. This project uses simple materials to create an eye-catching piece that mimics the beauty of stained glass but with a sparkling twist. With its glossy finish and alluring layers of color, this butterfly will become a charming decoration. You may also find Borax Rainbow Crystal Bloom Tree Garden Decor useful.
You may also find Bubble Print Butterfly Wings Colorful Wing Art useful.
Materials You’ll Need
To make your Colorful Crystal Butterfly, gather the following supplies: You may also find Colorful Rainbow Mug Craft Quick Diy Magic Reveal useful.
- Clear plastic sheets or acrylic sheets
- Colored tissue paper or transparent colored films
- Mod Podge or clear-drying craft glue
- Scissors
- Paintbrush
- Wax paper
- String or fishing line for hanging
- An adhesive hook or paper clips for display
Why This Craft Works So Well
This craft combines visual appeal with an approachable technique. By layering colored materials, you’ll create a beautiful effect that changes in different light settings, bringing countless variations to your finished butterfly. Additionally, it’s a great project for both kids and adults, allowing for creativity while developing crafting skills. If you’re interested in more colorful projects, consider making a colorful ocean jar to complement your butterfly design.
How to Make Colorful Crystal Butterfly: Rainbow Wings
Step-by-Step Instructions
Prepare Your Wings: Begin by sketching the butterfly shape on a piece of wax paper. This will serve as your template. Use a pencil to outline your design, making sure to include the size and shape of the wings.
Cut the Wing Shapes: Once your outlines are finalized, cut out the shapes from the clear plastic or acrylic sheets. You will need two identical wing pieces for each butterfly you wish to create.
Create Color Layers: Tear or cut the colored tissue paper into small pieces. You’ll mix and overlap these pieces on one side of each plastic wing. This layering will give your wings a rich, colorful depth.
Adhere the Color: Using your paintbrush, apply a layer of Mod Podge on the plastic sheet and arrange the colored tissue pieces on top. Ensure you cover the plastic entirely, smoothing out any wrinkles. Once done, cover the tissue with another thin layer of Mod Podge and let it dry for about 30 minutes.
Seal the Design: After the initial layers dry, add another coat of Mod Podge over the top of the colored pieces and allow it to dry completely. This will give your wings a glossy crystal-like appearance.
Assemble the Butterfly: Once both wings are dry, you can connect them by using a piece of string or fishing line in between. This will allow for movement and a more dynamic display.
Display Your Butterfly: Use a hook or paper clips to secure your butterfly in an area with good lighting, such as a window. The colors will shimmer beautifully in the sunlight, enhancing the visual effect.
Helpful Tips
Experiment with Colors: Play around with different color combinations or even gradients to achieve your desired look. You might also try variations, such as creating colorful rainbow feather designs for a different artistic effect.
Customization Ideas: Consider adding embellishments like glitter or sequins to enhance the sparkle of your butterfly further. You could also shape the wings differently for unique designs.
Protecting Your Workspace: When working with Mod Podge, cover your workspace with newspaper or plastic to prevent any adhesive mess.
Common Mistakes to Avoid
Using Too Much Glue: Applying too thick of a layer of Mod Podge can result in wrinkled tissue paper. Be sure to use a thin layer to avoid this issue.
Not Letting Each Layer Dry: Patience is key! Allowing each layer to dry completely will give you the best results.
Frequently Asked Questions
Can I use other types of paper for the wings?
Yes! In addition to tissue paper, you can use colored films or other translucent papers to enhance the visual appearance of your butterfly.
How long will the finished craft last?
With proper care and storage away from direct moisture and extreme temperatures, your colorful crystal butterfly can last for many years.
How can I hang the butterfly outdoors?
If you wish to display your butterfly outdoors, make sure to use waterproof adhesive and consider a sheltered area to prevent weather damage.
Conclusion
Crafting a Colorful Crystal Butterfly can be a fun and vibrant addition to your decor. This project not only brightens up your space but also provides a wonderful opportunity for creativity and relaxation. If you’re looking for inspiration for more butterfly-themed projects, check out this faux stained glass butterfly mobile. Alternatively, explore unique designs on platforms like Etsy for more tips and tricks to brighten up your crafting journey!
Print
Colorful Crystal Butterfly: Rainbow Wings
- Total Time: 45 minutes
- Makes: 1 butterfly
Description
Create a vibrant crystal butterfly using simple materials that mimics the beauty of stained glass.
Materials
- Clear plastic sheets or acrylic sheets
- Colored tissue paper or transparent colored films
- Mod Podge or clear-drying craft glue
- Scissors
- Paintbrush
- Wax paper
- String or fishing line for hanging
- An adhesive hook or paper clips for display
Instructions
- Prepare your wings by sketching the butterfly shape on wax paper.
- Cut out the shapes from the clear plastic or acrylic sheets.
- Create color layers by tearing or cutting colored tissue paper into small pieces.
- Adhere the color by applying Mod Podge and arranging the tissue pieces on one side of each wing.
- Seal the design with another coat of Mod Podge once dry.
- Assemble the butterfly using string or fishing line between the wings.
- Display your butterfly in a well-lit area for the best visual effect.
Notes
Experiment with different colors and embellishments for unique designs.