

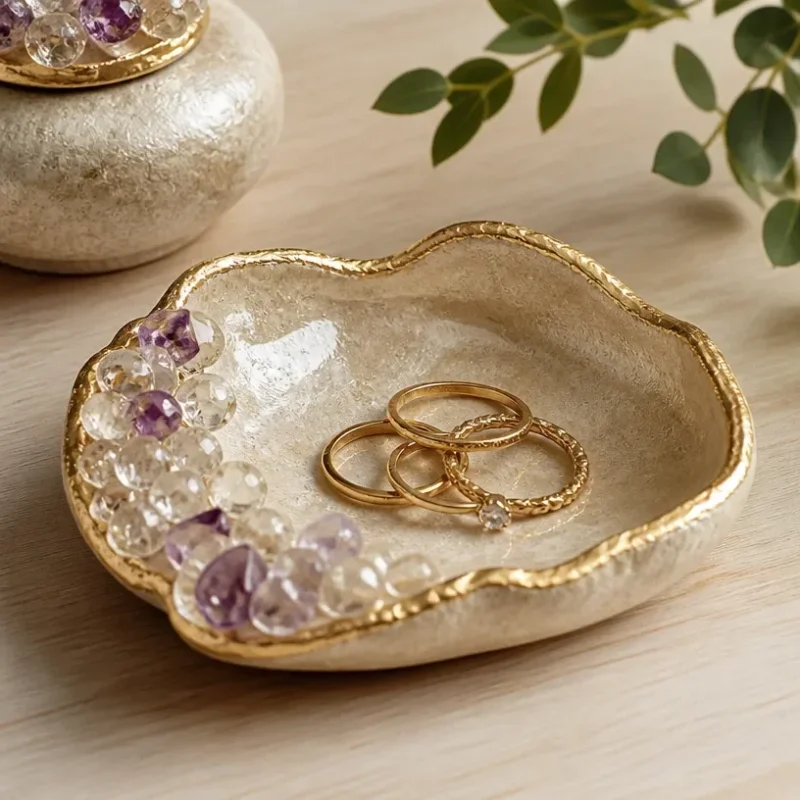
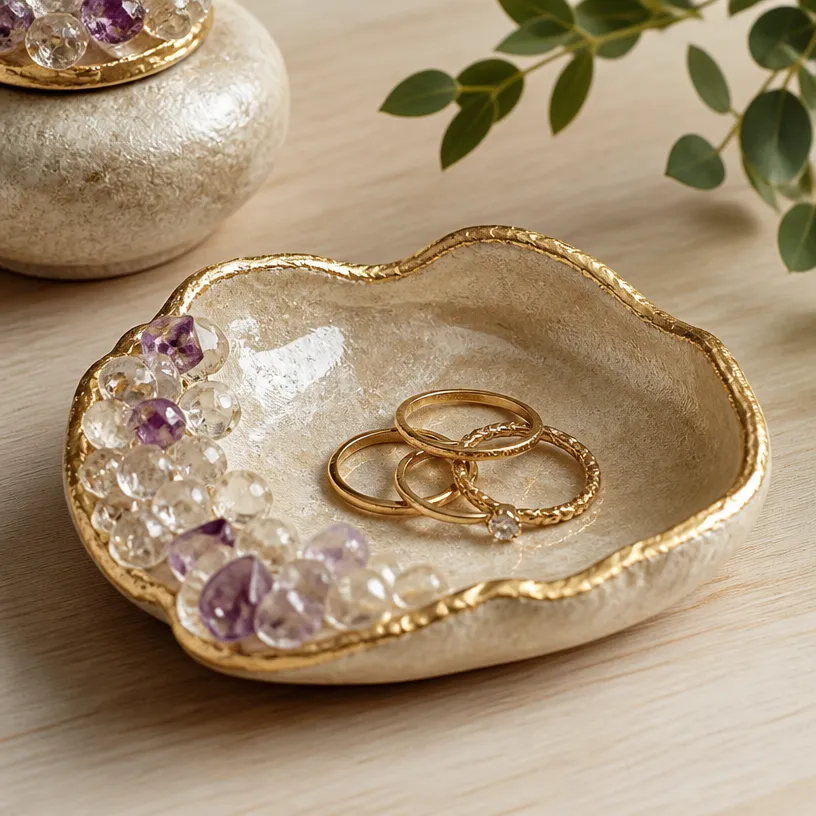
Crafting Your Elegant Crystal Ring Holder
Creating a beautiful and functional crystal ring holder at home is a delightful project that combines creativity and practicality. This elegant jewelry organizer not only enhances your decor but also provides a charming home for your rings and small jewelry items. The shimmering finish and intricate details make this project an eye-catching addition to any space and it’s surprisingly easy to do. You may also find Borax Rainbow Crystal Bloom Tree Garden Decor useful.
To get started on your crystal ring holder, here’s what you’ll need: You may also find Bunny Flower Pot Covers Diy Tutorial Spring Decor useful.
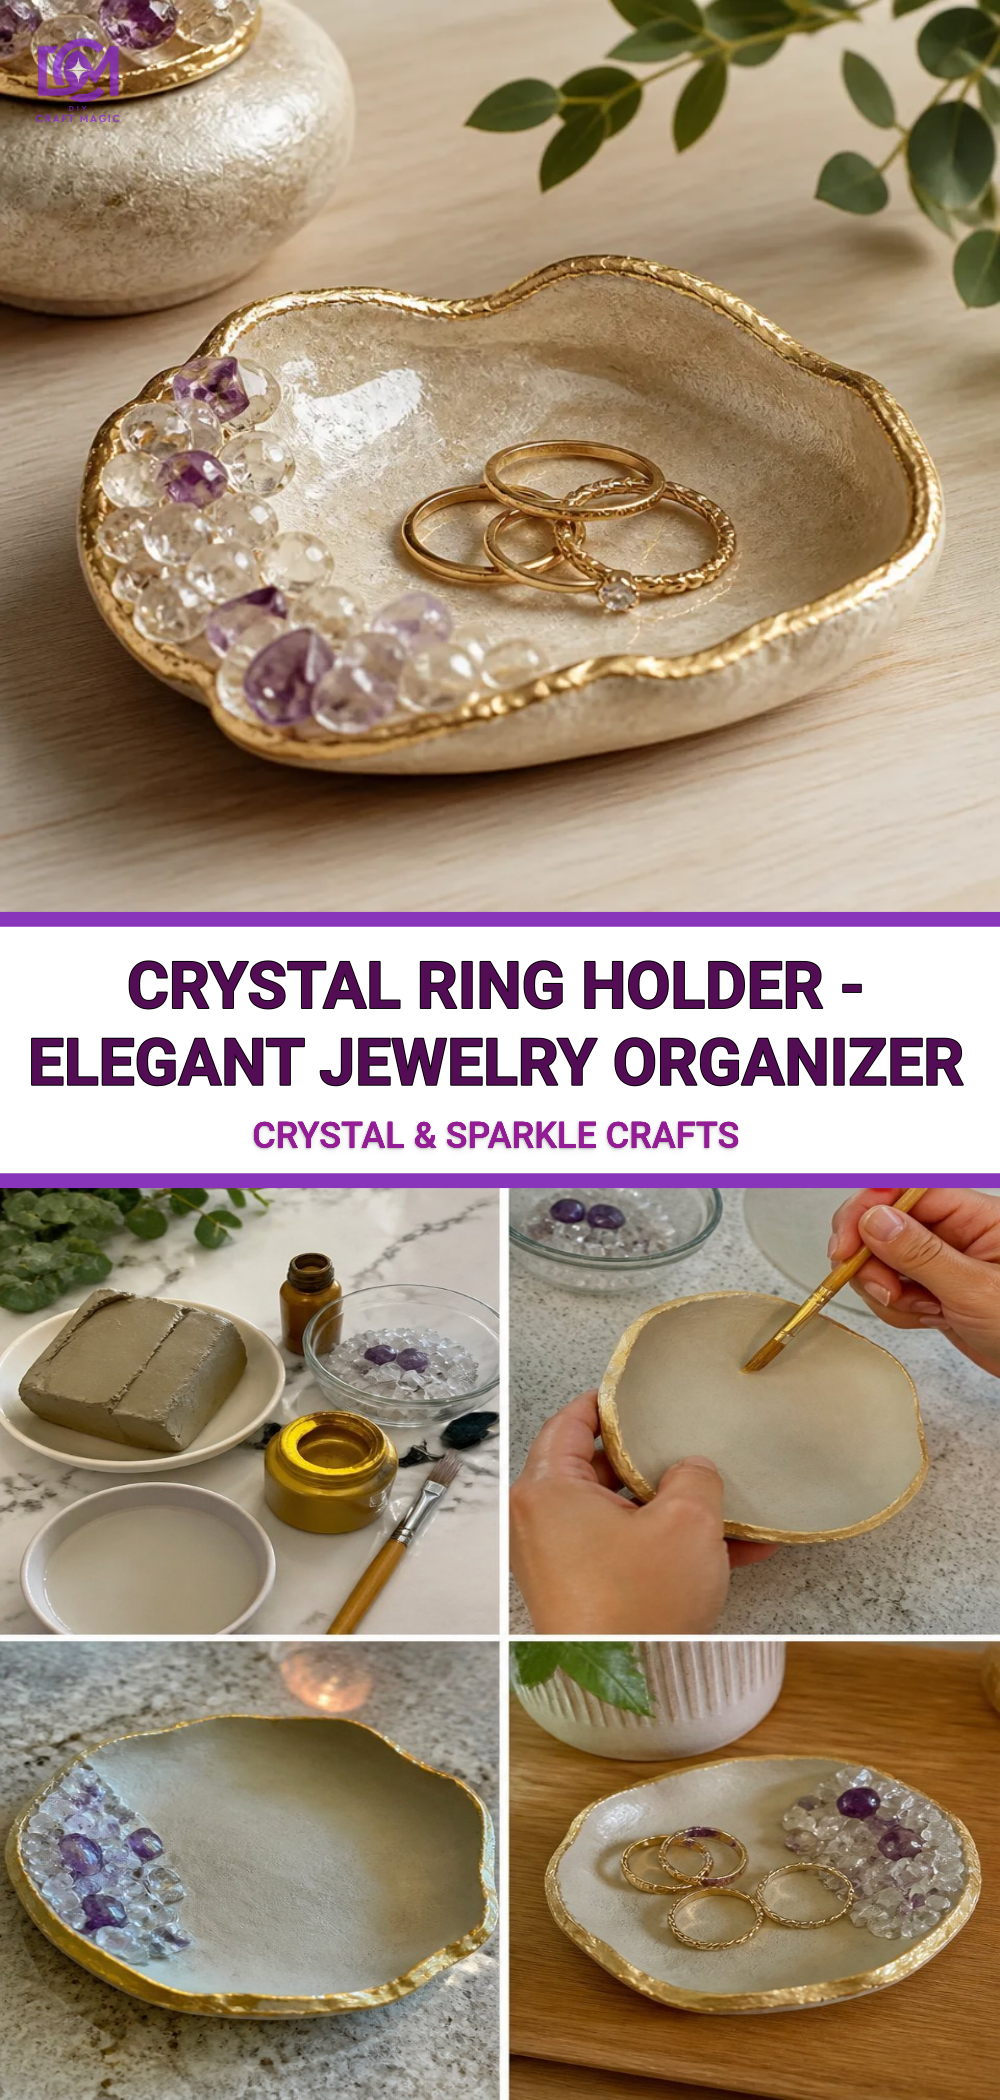
Materials You’ll Need
- Epoxy resin
- Crystal molds (you can find unique shapes)
- Glitter or colorants (optional)
- Mixing cups and sticks
- Gloves for protection
- Sandpaper (for finishing)
- Spray or acrylic sealant
With these materials on hand, you’re ready to dive into the fun crafting process! To see inspiration for colorful designs, check out the colorful crystal butterfly project, which perfectly showcases how vibrant colors can shine through with resin.
Step-by-Step Instructions
Prepare Your Workspace: Make sure your working area is clean and well-ventilated. Lay out all your materials and wear your gloves.
Mix the Epoxy Resin: Follow the manufacturer’s instructions for mixing the epoxy resin. Stir thoroughly to ensure there are no bubbles, which can detract from the clarity of your finished product.
Add Color: If you wish to add color or glitter to your resin, this is the phase where you’d mix in your chosen elements. Just a little can go a long way, so start with small amounts.
Pour into Molds: Carefully pour the mixed resin into your crystal molds. Keep in mind the shape you desire for your ring holder. For a playful twist, think about making some colorful crystal sea urchin molds.
Curing: Allow the resin to cure as per the instructions, usually around 24 hours. This stage is crucial; ensure that your molds are left undisturbed.
Finishing Touches: Once cured, carefully remove the holders from the molds. Use sandpaper to smooth any rough edges for a beautiful, polished finish.
Seal and Protect: Spray or brush a sealant over your finished piece to add extra protection and shine. This final touch will enhance the appearance of your holder.
Placement: Now, it’s time to display your elegant crystal ring holder. Consider placing it on your dresser or bathroom counter to keep your jewelry organized and accessible.
Tips for Customization
- Color Options: Experiment with different color combinations, including ombre effects, or even transparent layers for an ethereal look.
- Shape Variation: Use various mold shapes to create a unique collection. Each piece can complement the others, adding charm and character.
Common Mistakes to Avoid
- Not Mixing Thoroughly: Inadequate mixing can result in cloudy or improperly cured resin.
- Overfilling Molds: Be careful not to overfill as resin can spill over and create messes.
Display Ideas
Your finished crystal ring holder not only serves a functional purpose but can also elevate your home decor. Consider accentuating it with fairy lights around it for added sparkle, or displaying it alongside other homemade crafts, such as crystal-accented decor pieces for a cohesive look.
Crafting With Kids
If you’re crafting with children, involve them in rigorous safety discussions regarding the use of resin. Allow them to assist in decorating steps for their personal touch.
Troubleshooting
If your finished piece doesn’t meet your expectations, consider remelting the resin if it’s still tacky. You can add additional layers of clear resin to enhance the look further.
Frequently Asked Questions
How can I ensure my resin cures properly?
Make certain to follow the manufacturer’s instructions precisely for best results. Temperature and humidity levels can affect curing times as well.
Can I customize the shapes of my ring holder?
Absolutely! You can find an array of molds to suit different designs online or even create your own from silicone.
How should I store my ring holder?
Keep it in a secure place where it won’t be exposed to extreme temperatures. Avoid direct sunlight for extended periods to maintain its clarity.
Conclusion
Crafting your own elegant crystal ring holder is not just a satisfying project; it also results in a stylish way to organize your jewelry. For those looking for inspiration or unique designs, be sure to explore options like the 4 Inch Crystal Butterfly Ring Holder Dish, which can enhance your jewelry collection. Additionally, you can check out an artistic selection via this Etsy link for more ideas. Embrace your creativity, and enjoy the process of making something truly beautiful!
Print
Elegant Crystal Ring Holder
- Total Time: 1455 minutes
- Makes: 1 elegant crystal ring holder
Description
Create a beautiful and functional crystal ring holder that enhances your decor and provides a charming home for your jewelry.
Materials
- Epoxy resin
- Crystal molds
- Glitter or colorants (optional)
- Mixing cups and sticks
- Gloves for protection
- Sandpaper
- Spray or acrylic sealant
Instructions
- Prepare your workspace: Make sure your area is clean and well-ventilated. Lay out all your materials and wear your gloves.
- Mix the epoxy resin: Follow the manufacturer’s instructions for mixing the epoxy resin. Stir thoroughly to eliminate bubbles.
- Add color: Mix in your chosen glitter or colorants during this phase.
- Pour into molds: Carefully fill your crystal molds with the mixed resin.
- Curing: Allow the resin to cure for around 24 hours, keeping the molds undisturbed.
- Finishing touches: Remove the holders from molds and smooth edges with sandpaper.
- Seal and protect: Apply a sealant to enhance protection and shine.
- Placement: Display your crystal ring holder on a dresser or bathroom counter.
Notes
Experiment with different colors and shapes for a unique collection. Ensure thorough mixing to avoid cloudy resin.