

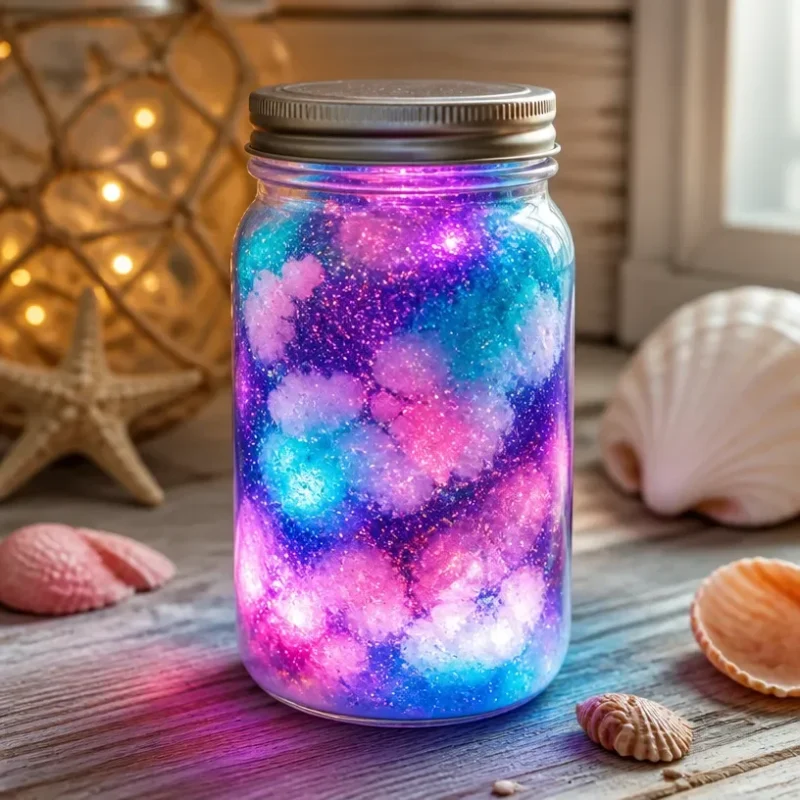
Magic Summer Galaxy Jar With Rainbow Glitter Swirls
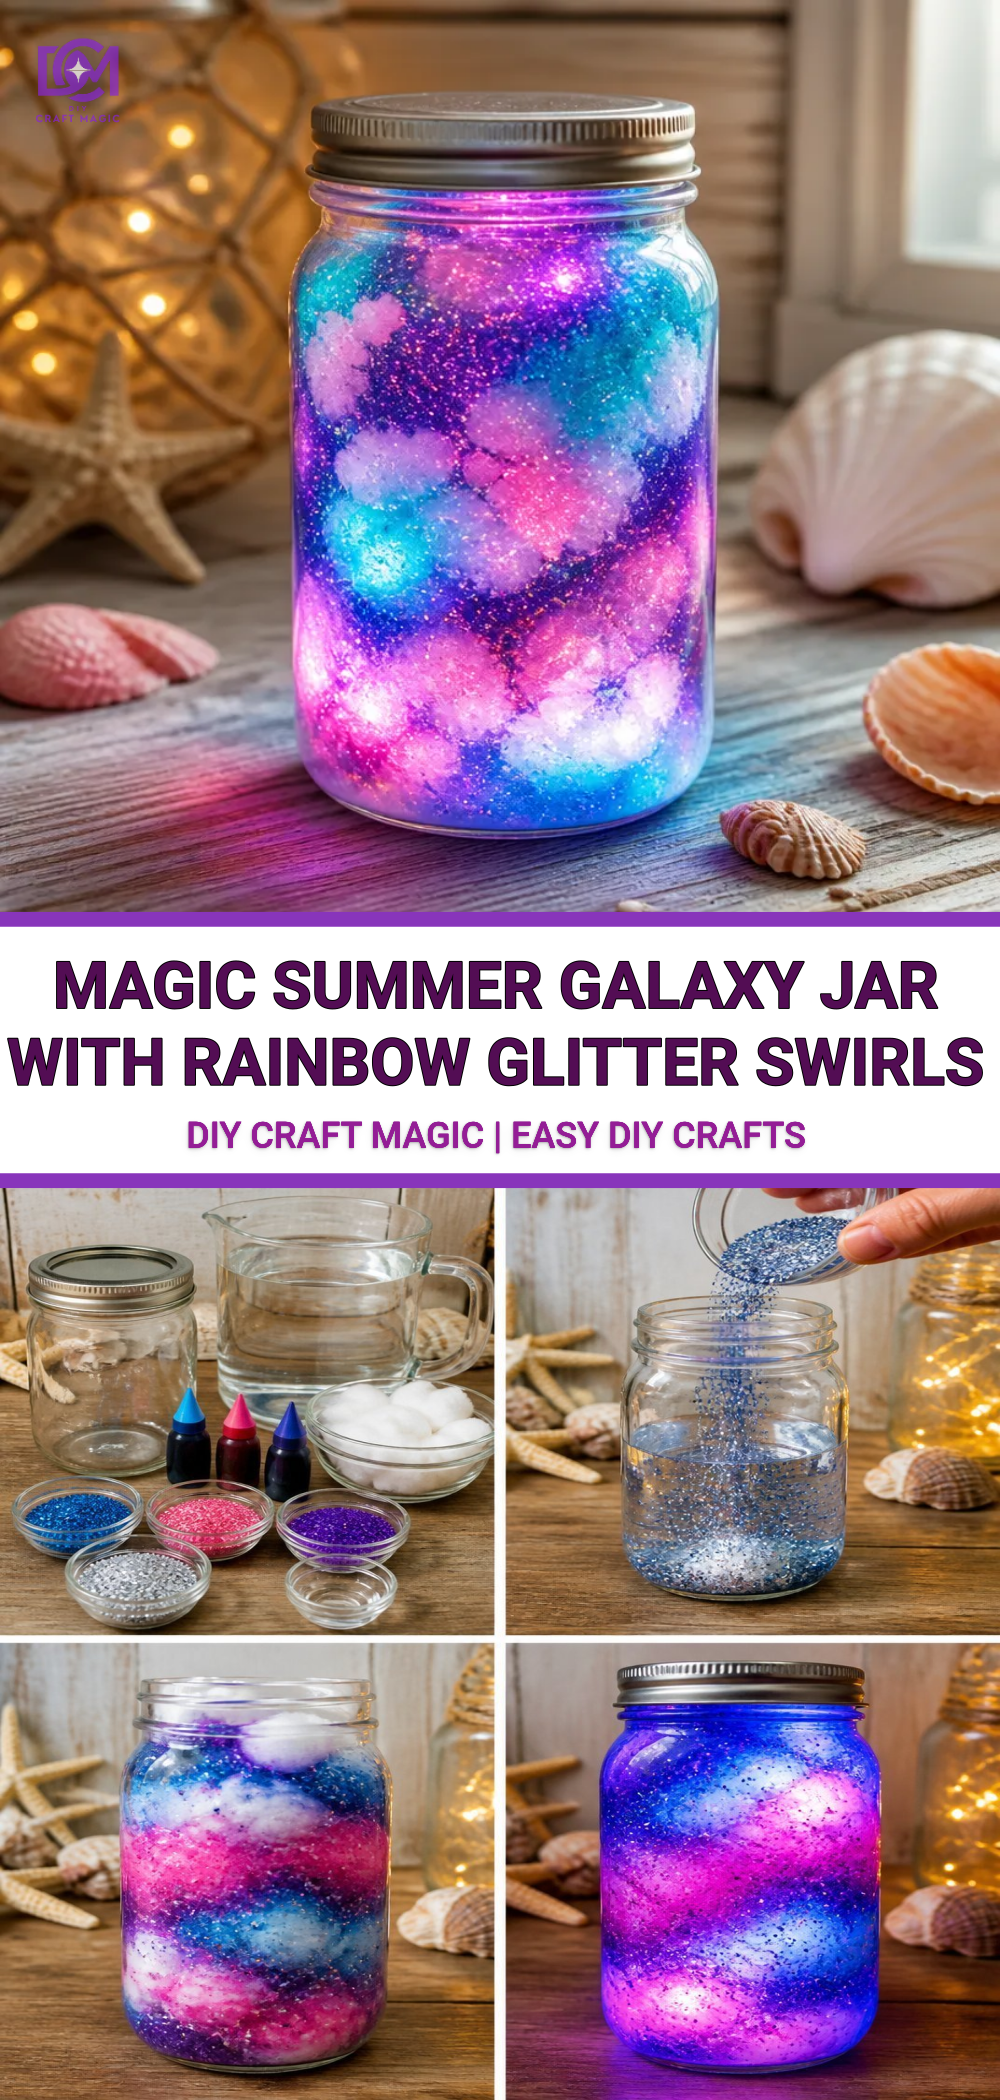
Create a vibrant and stunning Magic Summer Galaxy Jar with rainbow glitter swirls that will add a splash of joy to your home decor. This craft project seamlessly combines creativity and satisfaction, rewarding you with a beautiful jar that sparkles with personality. The translucent layers of colorful glitter simulate a mesmerizing galaxy effect, making the process both engaging and visually appealing for both kids and adults. You may also find Rainbow Potion Jars With Glitter Swirl Decor useful.
Materials You’ll Need
To get started, gather the following materials for your Magic Summer Galaxy Jar: You may also find Colorful Rainbow Mug Craft Quick Diy Magic Reveal useful.
You may also find Glowing Rainbow Ocean Jellyfish Jar Light useful.
- Clear glass jar with a lid
- Assorted colors of fine glitter
- Clear craft glue or water-based adhesive
- Warm water
- Popsicle sticks or a similar tool for mixing
- Food coloring (optional)
- Small funnel or spoon for pouring
- A plastic tablecloth or newspaper to protect your workspace
Choosing Your Materials
Selecting the right materials is crucial for achieving the best results. Consider using high-quality glitter to ensure a sparkling effect. You can blend different glitter colors to create unique patterns or layers. If you want a more vibrant look, add a few drops of food coloring to your water mixture. This project allows for creativity, so feel free to experiment! You may also find Glowing Rainbow Potion Bottles Magical Elixirs useful.
How to Make Magic Summer Galaxy Jar With Rainbow Glitter Swirls
Follow these instructions to create your dazzling jar.
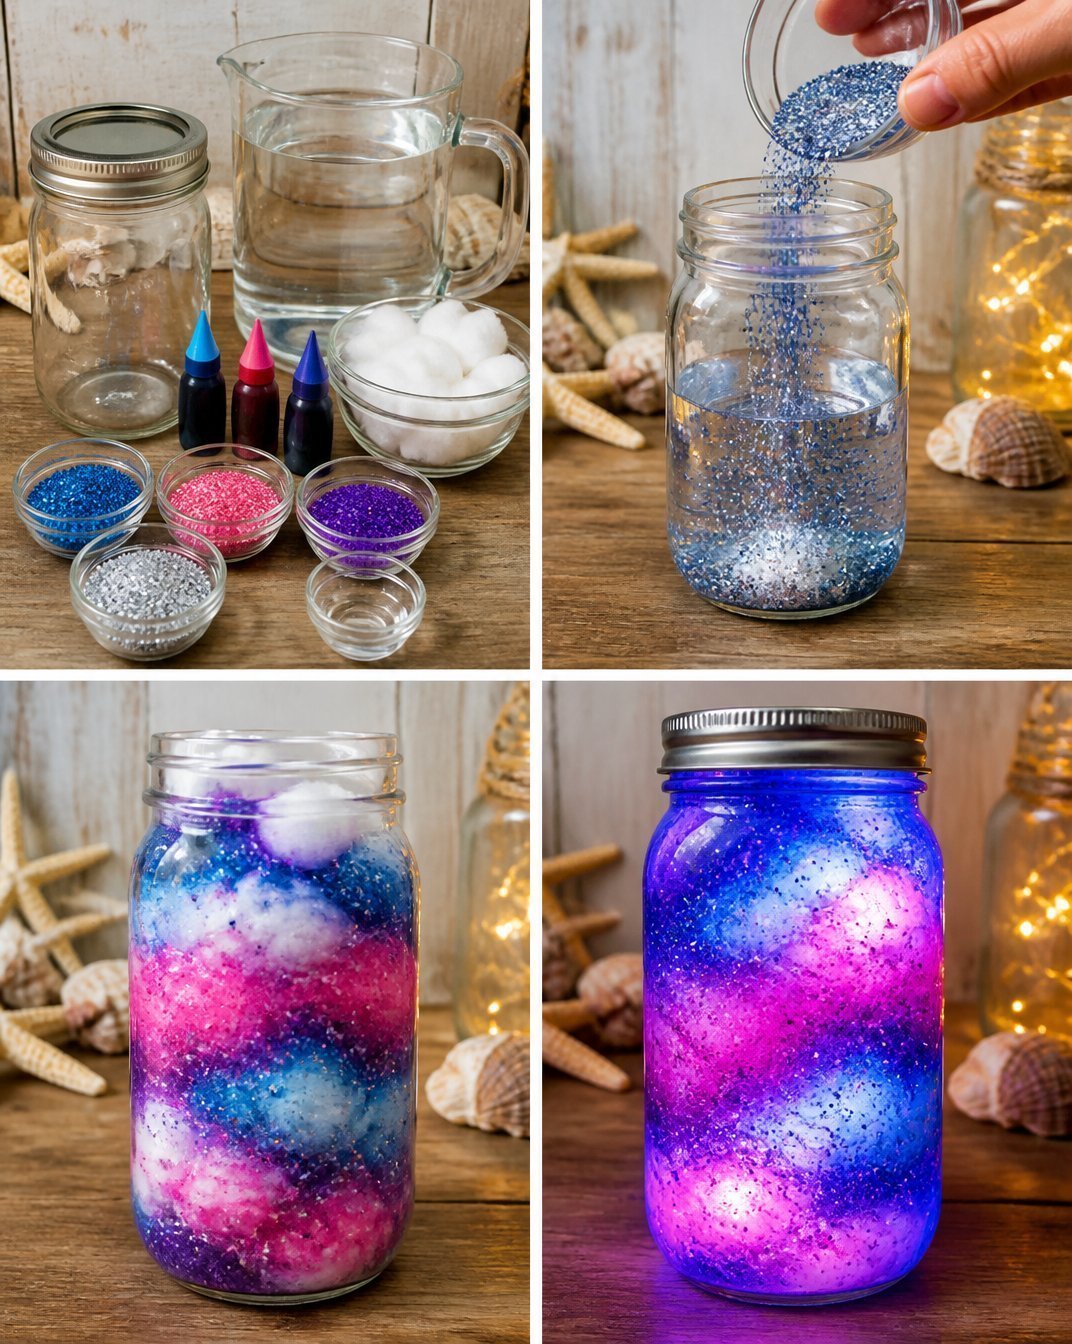
Prepare Your Jar: Start by cleaning and drying your glass jar thoroughly. Any residue can affect how the glitter mixes later.
Mix the Glitter: In a separate bowl, take your assorted glitters and combine them. You can create specific ratios or simply mix them randomly for a more organic look.
Prepare the Glue Mixture: In a bowl, mix equal parts of clear craft glue and warm water. This will create a less viscous solution that allows for easier layering of glitter.
Layering Process: Begin layering your jar by adding a few spoonfuls of the glitter mix first. Next, pour in a layer of your glue mixture. Use a funnel if necessary to avoid spills.
Repeat Layers: Continue alternating layers of glitter and the glue mixture until you fill the jar to your desired level. Each layer can be a different color or blend, so take your time to make it visually interesting.
Finishing Touches: Once layered, if you choose, you can finish with a final layer of plain glue to seal in the glitter. This helps prevent it from settling at the bottom.
Let it Dry: Secure the lid on your jar and allow it to sit upright for at least 24 hours to let the glue settle and the glue harden.
By following these steps, you’ll create a stunning piece that can be enjoyed for many summers to come.
Helpful Tips
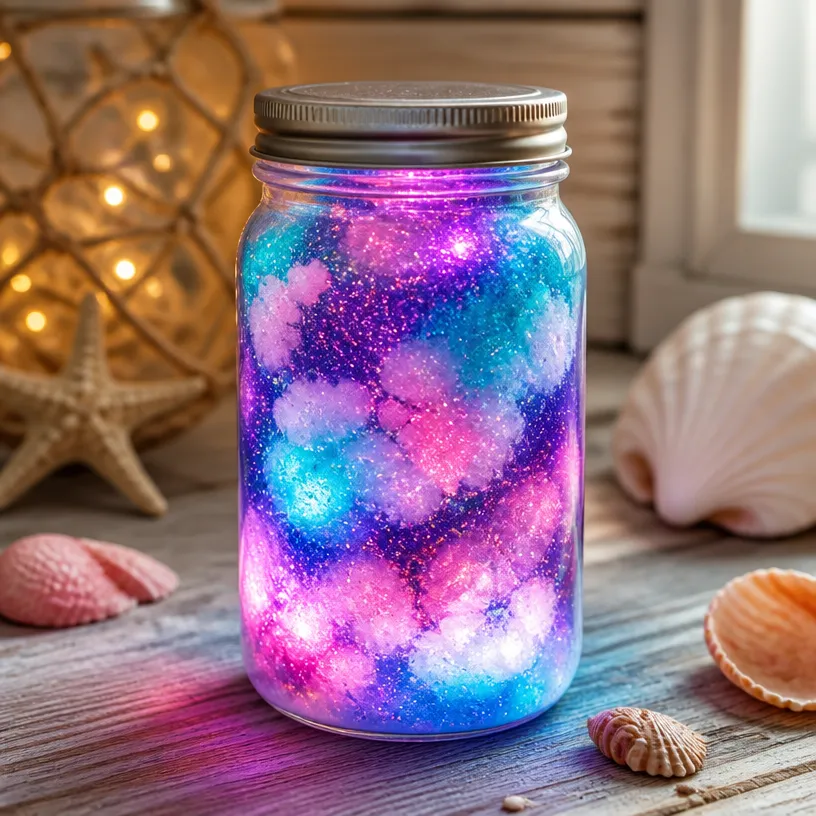
- Experiment with Color: Don’t hesitate to try different combinations of glitter colors. For a summer vibe, select hues like bright pinks, blues, and yellows.
- Hold the Jar Up to Light: Once your jar is complete, hold it up to bright light to see how the glitter interacts with the light. This will highlight the beauty of your work!
- Consider Additional Decor: If you’re feeling extra creative, try adding small shells or beads in between the layers for added texture and interest.
Common Mistakes to Avoid
- Overfilling: It’s tempting to pack in a lot of glitter, but overfilling your jar may cause the mixture to overflow. Keep in mind that you want a balance between glitter and glue for an aesthetically pleasing result.
- Skipping Drying Time: Allowing your jar to dry completely is essential. If you rush this step, it can lead to a messy finish or glitter clumping together.
- Not Securing the Lid: Make sure your lid is fitted well after drying. This will help protect against dust and moisture, maintaining the jar’s sparkling appeal.
Crafting With Kids
This craft is perfect for a summer project with kids! Just ensure to supervise younger children with materials like glue and scissors. Present the project as a fun way to explore creativity and discuss colors, allowing them to express their artistic flair.
Display Ideas
Once completed, your Magic Summer Galaxy Jar can serve as a wonderful decorative piece. Display it on your windowsill where it can catch the light, or use it as part of a summer table centerpiece. You can also create a themed area with other colorful crafts, such as the colorful ocean jar decor to enhance the summery vibe!
Frequently Asked Questions
How long does it take for the jar to dry completely?
It’s best to allow your jar to dry for at least 24 hours. Depending on humidity and temperature, drying times may vary.
Can I use other containers for this project?
Absolutely! You can use any clear container, such as plastic bottles or even small aquariums, depending on the visual effect you’re aiming for.
What if my glitter settles at the bottom?
This can happen if the glue has not completely integrated. If this happens, gently shake the jar without opening it to remix the layers.
Conclusion
Creating a Magic Summer Galaxy Jar with rainbow glitter swirls is a joyful and engaging project perfect for family fun or solo crafting. Not only does this project beautify your space, but it also fosters creativity. For more summer-inspired ideas, you might enjoy exploring how to make Color Changing Lemonade or creating a Starry Night Sensory Bottle. Happy crafting!
Print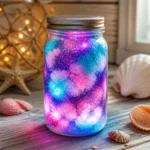
Magic Summer Galaxy Jar With Rainbow Glitter Swirls
- Total Time: 24 hours
- Makes: 1 jar
Description
Create a vibrant and stunning Magic Summer Galaxy Jar with rainbow glitter swirls to add joy to your home decor.
Materials
- Clear glass jar with a lid
- Assorted colors of fine glitter
- Clear craft glue or water-based adhesive
- Warm water
- Popsicle sticks or a similar tool for mixing
- Food coloring (optional)
- Small funnel or spoon for pouring
- A plastic tablecloth or newspaper to protect your workspace
Instructions
- Prepare your jar by cleaning and drying it thoroughly.
- Mix the assorted glitters in a separate bowl.
- Prepare the glue mixture by combining equal parts of clear craft glue and warm water.
- Layering begins by adding a few spoonfuls of the glitter mix to the jar, followed by a layer of the glue mixture.
- Repeat alternating layers of glitter and glue mixture until the jar is filled to your desired level.
- Finish with a final layer of plain glue to seal in the glitter.
- Let it dry by securing the lid and allowing it to sit upright for at least 24 hours.
Notes
Be creative with glitter colors and consider adding small shells or beads for texture.