

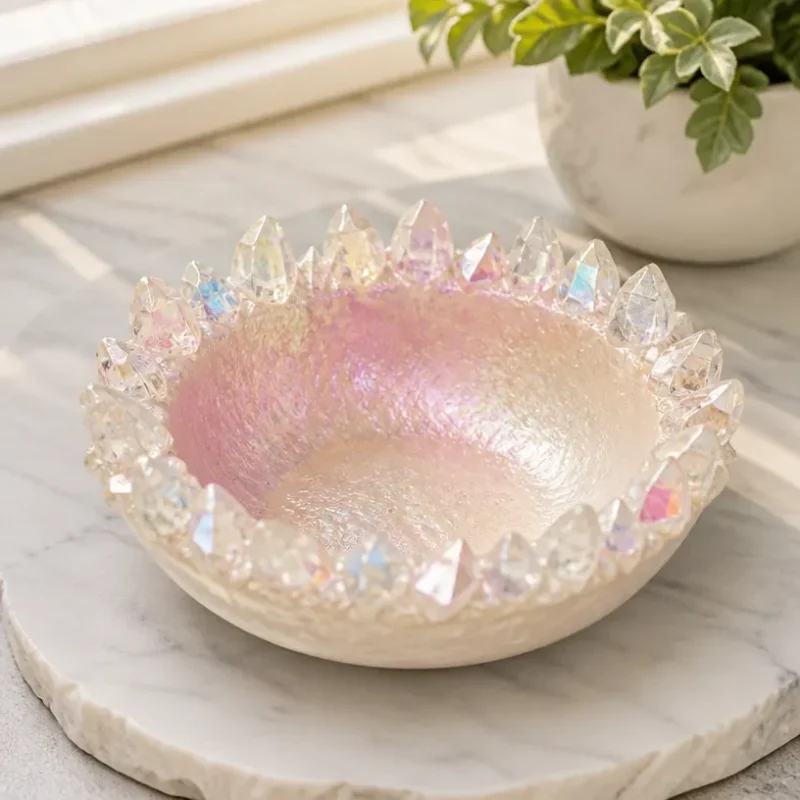
Iridescent Crystal Ring Stand for Jewelry Display
Creating your own Iridescent Crystal Ring Stand is not just an enjoyable project; it results in a visually stunning display for your jewelry. With beautiful crystals capturing and refracting light, this stand adds a touch of elegance to any space while keeping your rings organized. What makes this project accessible is its use of readily available materials and simple techniques. You may also find Crystal Ring Holder Elegant Jewelry Organizer useful.
Materials You’ll Need
To craft your Iridescent Crystal Ring Stand, gather the following materials: You may also find Rainbow Crystal Bat Clothespin Mobile For Kids useful.
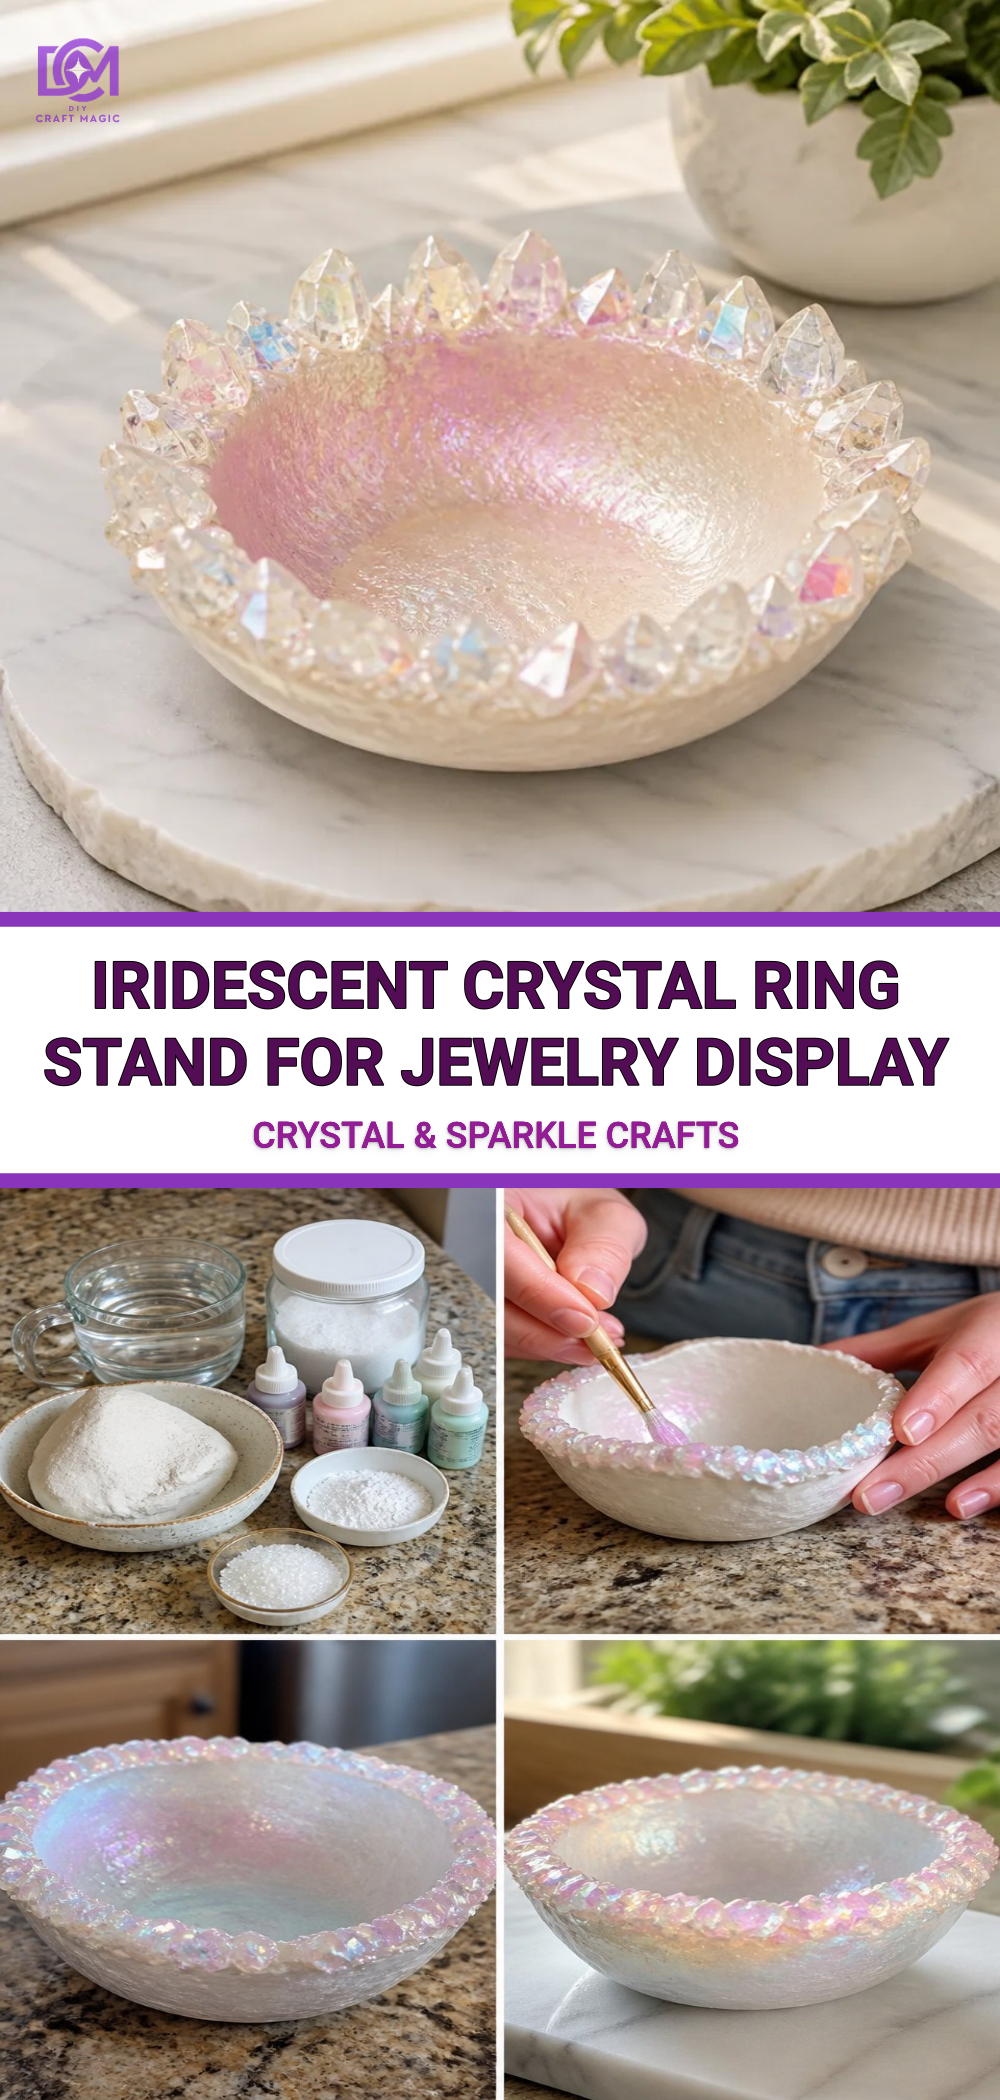
You may also find Borax Rainbow Crystal Bloom Tree Garden Decor useful.
- Clear resin
- Iridescent glitter or mica powder
- Ring mandrel or a similar cylindrical object
- Disposable cups for mixing resin
- Craft sticks for stirring
- Protective gloves
- A small blow torch or a heat gun (optional, for bubbles)
- A silicone mold (sphere-shaped works well)
Why This Craft Works So Well
This craft not only showcases your rings beautifully but also introduces you to the basics of resin crafting. The iridescent nature of the materials reflects light, creating a rainbow effect that changes with the angle of view. Plus, the hands-on process of mixing the resin and pouring it into a mold is satisfying and allows for creativity in design. You may also find Bunny Flower Pot Covers Diy Tutorial Spring Decor useful.
Step-by-Step Instructions
Prepare Your Workspace: Gather all your materials and cover your workspace with newspaper or a plastic sheet. Ensure you’re in a well-ventilated area since resin can emit fumes. You may also find Colorful Crystal Butterfly Rainbow Wings useful.
Mixing the Resin: Following the instructions on your resin package, measure the resin and hardener into disposable cups. Use a craft stick to stir until the mixture is thoroughly combined. This is a crucial step for ensuring your stand cures properly.
Add the Sparkle: Once mixed, incorporate iridescent glitter or mica powder into the resin. Start with a small amount and adjust to your preference, ensuring a beautiful sparkling effect.
Pour the Resin: Carefully pour the mixture into your silicone mold, filling it to the desired height. If you’ve chosen a ring mandrel for shaping, gently place it in the center of the mold to create the ring hold.
Eliminate Bubbles: To remove any air bubbles that may have formed, use a small blow torch or heat gun lightly over the surface. This helps create a smooth finish on your stand.
Curing: Allow the resin to cure fully according to the instructions provided. This usually takes about 24 hours. Make sure it remains undisturbed during this time.
Removing from Mold: After the resin has cured, carefully remove your ring stand from the mold. It should come out easily if the mold is flexible.
Final Touches: If desired, you can sand any rough edges for a smoother finish. Apply a layer of more mica powder or another coating of resin for extra shine.
Helpful Tips
Choosing Your Materials: When selecting resin, make sure to use one that’s compatible with glitter; some types react poorly to certain additives.
Customization: You could add flowers or other small objects into the resin before it sets for personal touches.
Display Ideas: Consider using multiple stands of varying sizes to create an attractive display of your jewelry.
Common Mistakes to Avoid
Not Wearing Protective Gear: Always wear gloves and, if necessary, a mask when working with resin to avoid harmful fumes.
Rushing the Mix: Ensure your resin is mixed thoroughly for proper curing, as improper mixing can lead to tacky results.
Ignoring Curing Time: Resist the urge to handle your stand too early; patience here is key for achieving a solid structure.
Frequently Asked Questions
What can I use instead of a silicone mold?
You can create a makeshift mold using plastic containers or firm cardboard if you don’t have a silicone option. Just ensure that it can release the resin once cured.
How should I store the ring stand?
Keep your ring stand in a dry, cool place, away from direct sunlight to maintain its iridescent finish.
Can I use other colors besides iridescent?
Absolutely! Feel free to experiment with different colors of glitter or pigments to match your home decor or personal style.Creating an Iridescent Crystal Ring Stand is a delightful way to transform simple materials into a decorative and functional piece. The process encourages creativity, and your unique touches will result in a beautiful final product that holds a special meaning for you.
Conclusion
This DIY project is a fantastic way to showcase your jewelry and explore the art of resin crafting. If you’re looking for other unique display ideas, consider checking out the Vintage Fenton Iridescent Glass Owl Ring Tree for inspiration or the Jetec 12 Pcs Hexagonal Jewelry Display Risers Acrylic Stands for practical, stylish options. Happy crafting!
Print
Iridescent Crystal Ring Stand for Jewelry Display
- Total Time: 1440 minutes
- Makes: 1 stand
Description
Learn to create a stunning Iridescent Crystal Ring Stand that beautifully displays your jewelry while showcasing your crafting skills.
Materials
- Clear resin
- Iridescent glitter or mica powder
- Ring mandrel or similar cylindrical object
- Disposable cups for mixing resin
- Craft sticks for stirring
- Protective gloves
- A small blow torch or heat gun (optional)
- A silicone mold (sphere-shaped)
Instructions
- Prepare your workspace by covering it with newspaper or plastic and ensure ventilation.
- Mixing the resin as per package instructions, measure resin and hardener into cups and stir until well combined.
- Add iridescent glitter or mica powder to the resin for a sparkling effect.
- Pour the mixture into the silicone mold and place the ring mandrel in the center if using.
- Eliminate air bubbles with a blow torch or heat gun for a smooth finish.
- Curing the resin fully according to instructions, typically 24 hours.
- Removing the ring stand from the mold, it should come out easily if the mold is flexible.
- Final touches may include sanding edges and applying more resin for shine.
Notes
Consider using multiple stands for a decorative display and ensure proper ventilation while working with resin.