

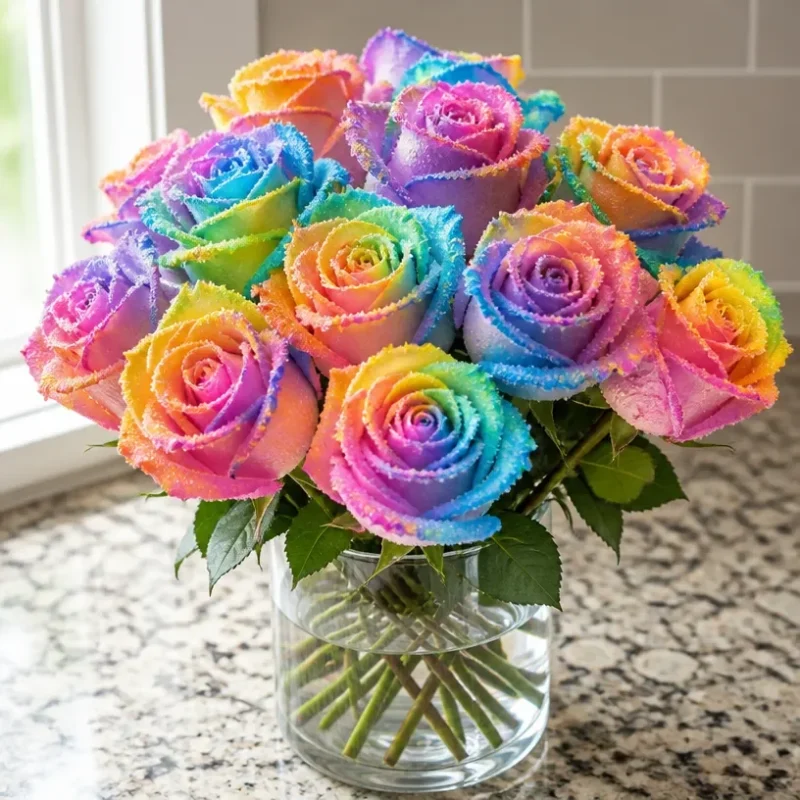
Why You’ll Love This Project
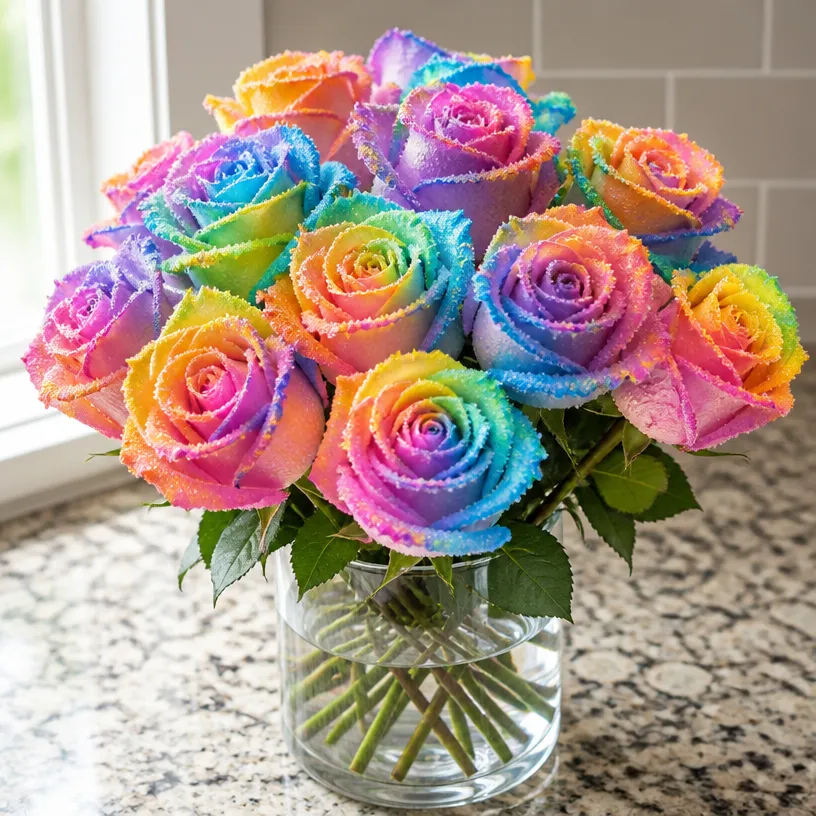
Crafting Rainbow Crystal Roses is an engaging way to create colorful, eye-catching decor for any occasion. These beautiful blooms are made using simple materials that become vibrant through a delightful crystallization process. You’ll enjoy watching these ordinary components transform into shimmering, rainbow-hued decorations. This craft is not only enjoyable but also serves as a lovely project that you can do with family and friends, making it a fun, collaborative activity. You may also find Borax Rainbow Crystal Bloom Tree Garden Decor useful.
Materials You’ll Need
Before diving into crafting, gather your materials to ensure a smooth process. Here’s what you’ll need: You may also find Colorful Crystal Sea Urchins Rainbow Guide useful.
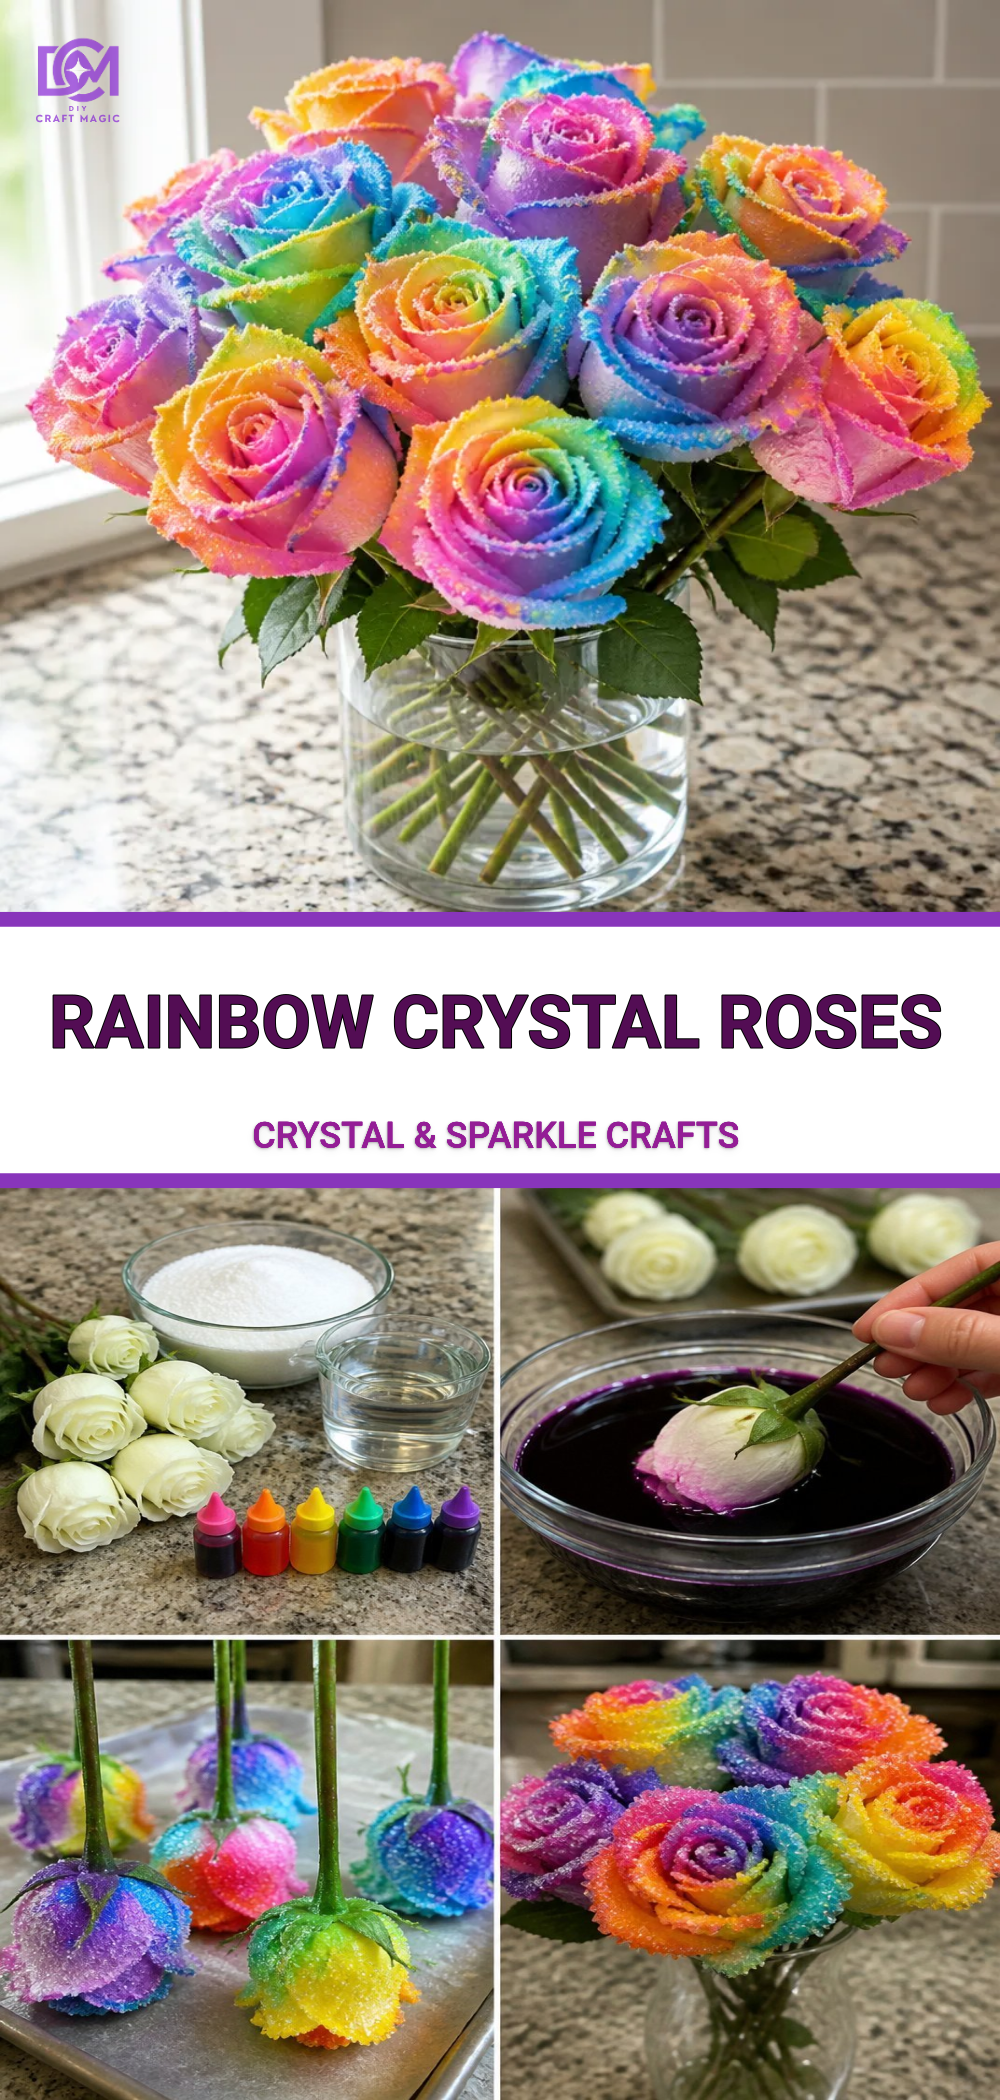
- Coffee filters (or paper towels)
- Liquid food coloring (various colors)
- Borax (for crystallization)
- Water
- Glass jars or containers
- Scissors
- Wire (for stems)
- Tape or glue (to secure petals)
- Optional: Glitter or sparkles for added effect
This project requires basic materials that are easily accessible, similar to those you’ll find in projects like coffee filter rainbow roses.
How to Make Rainbow Crystal Roses
To begin your Rainbow Crystal Roses, follow these step-by-step instructions for crafting beautiful blooms:
Step 1: Prepare the Coffee Filters
Start by cutting the coffee filters into petal shapes. You can make a template or freehand different sizes and shapes to create a variety of petals. The more petals you have, the fuller your rose will be.
Step 2: Color the Petals
Set up a dye station with small bowls of water mixed with different colors of liquid food coloring. Dip the edges of the petals into the colors, allowing them to soak for a few seconds before removing. This will create a vibrant ombre effect.
Step 3: Create the Crystallization Solution
In a separate glass jar, mix 3 tablespoons of Borax for every cup of hot water. Stir the mixture until the Borax is fully dissolved, creating a supersaturated solution perfect for crystallization.
Step 4: Assemble Your Flowers
Using your wire, create a stem by attaching the dyed petals with tape or glue. Arrange the petals around the wire, leaving some space at the top for the flower head. This step is similar to creating the structure for other similar crafts, like colorful crystal butterflies.
Step 5: Dip the Flowers
Carefully submerge the assembled flowers into the Borax solution, allowing them to soak for several hours or even overnight. This process will allow crystal formations to develop on the petals, granting them their dazzling finish.
Step 6: Dry and Display
Once the flowers have crystallized, remove them from the solution and allow them to dry completely. You can place them in a vase or use them for decoration in various areas around your home.
Helpful Tips
- Experiment with Colors: Don’t hesitate to mix colors to create unique shades.
- Crystal Size: The longer you leave your flowers in the solution, the larger the crystals will form.
- Customize Your Roses: You can add additional embellishments like glitter or glass beads for more sparkle, drawing inspiration from projects such as crystal-accented butterflies.
Common Mistakes to Avoid
- Making sure the Borax is fully dissolved is crucial; undissolved Borax will affect how the crystals form.
- Avoid overcrowding your flowers in the solution as this can inhibit crystal growth.
Frequently Asked Questions
Can I use other types of paper for this project?
Yes, you can use different types of paper, but coffee filters work best due to their absorbent qualities.
How long do the Rainbow Crystal Roses last?
If kept in a dry environment, they can last for several weeks. However, they may lose some vibrancy over time.
Can kids participate in making these roses?
Absolutely! This craft is great for family bonding, but adult supervision is recommended during the crystallization phase.
Conclusion
Creating beautiful Rainbow Crystal Roses is a rewarding and fun project you can do at home. Not only do you get to enjoy the vibrant results, but it’s also an excellent way to spend time with loved ones. For more unique options, consider checking out the Pastel Crystal Rose Flameless Candle for a touch of elegance or the Rainbow Crystal Rose by Sara Schulte for additional inspiration!
Print
Rainbow Crystal Roses
- Total Time: 150 minutes
- Makes: 1 bouquet
Description
A fun and colorful craft project to create beautiful crystal roses using coffee filters and Borax.
Materials
- Coffee filters (or paper towels)
- Liquid food coloring (various colors)
- Borax (for crystallization)
- Water
- Glass jars or containers
- Scissors
- Wire (for stems)
- Tape or glue (to secure petals)
- Optional: Glitter or sparkles for added effect
Instructions
- Prepare the coffee filters by cutting them into petal shapes.
- Color the petals using liquid food coloring in small bowls of water.
- Create the crystallization solution by mixing Borax with hot water.
- Assemble your flowers by attaching dyed petals to the wire stem.
- Dip the assembled flowers into the Borax solution for several hours.
- Dry and display the crystallized flowers once fully dried.
Notes
Experiment with colors and embellishments for unique designs. Ensure Borax is fully dissolved for optimal results.