

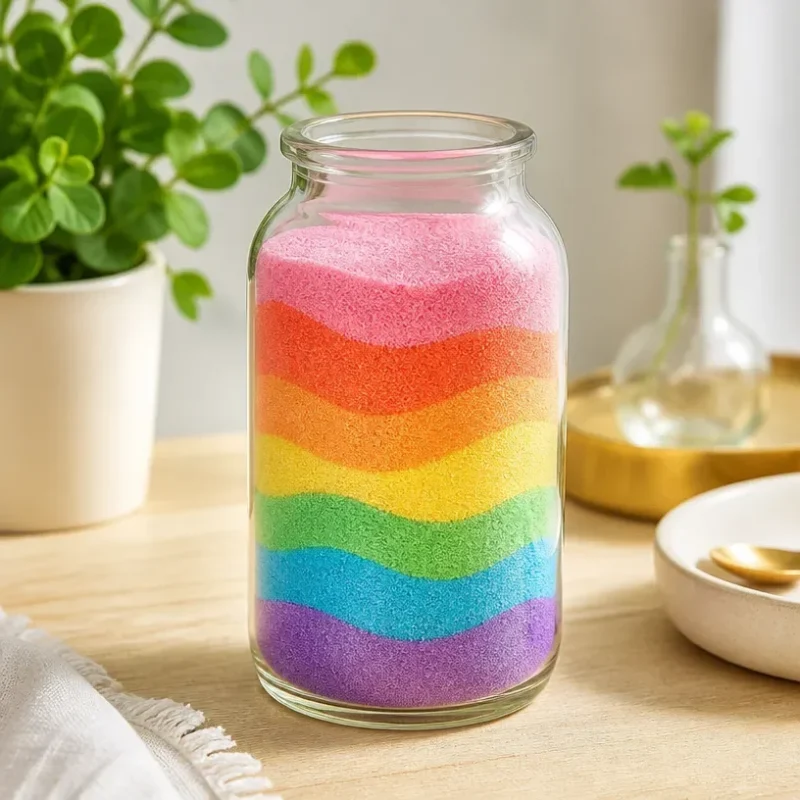
Ombre Sand Art Jar DIY Tutorial
Transform ordinary sand into an exceptional decorative piece with this Ombre Sand Art Jar project! In this tutorial, you’ll learn how to create beautiful layers of color within a jar, achieving a stunning ombre effect that will surely stand out in your home or make a thoughtful gift. This project is not only visually captivating but also simple and satisfying, making it perfect for crafters of various skill levels. You may also find Bunny Flower Pot Covers Diy Tutorial Spring Decor useful.
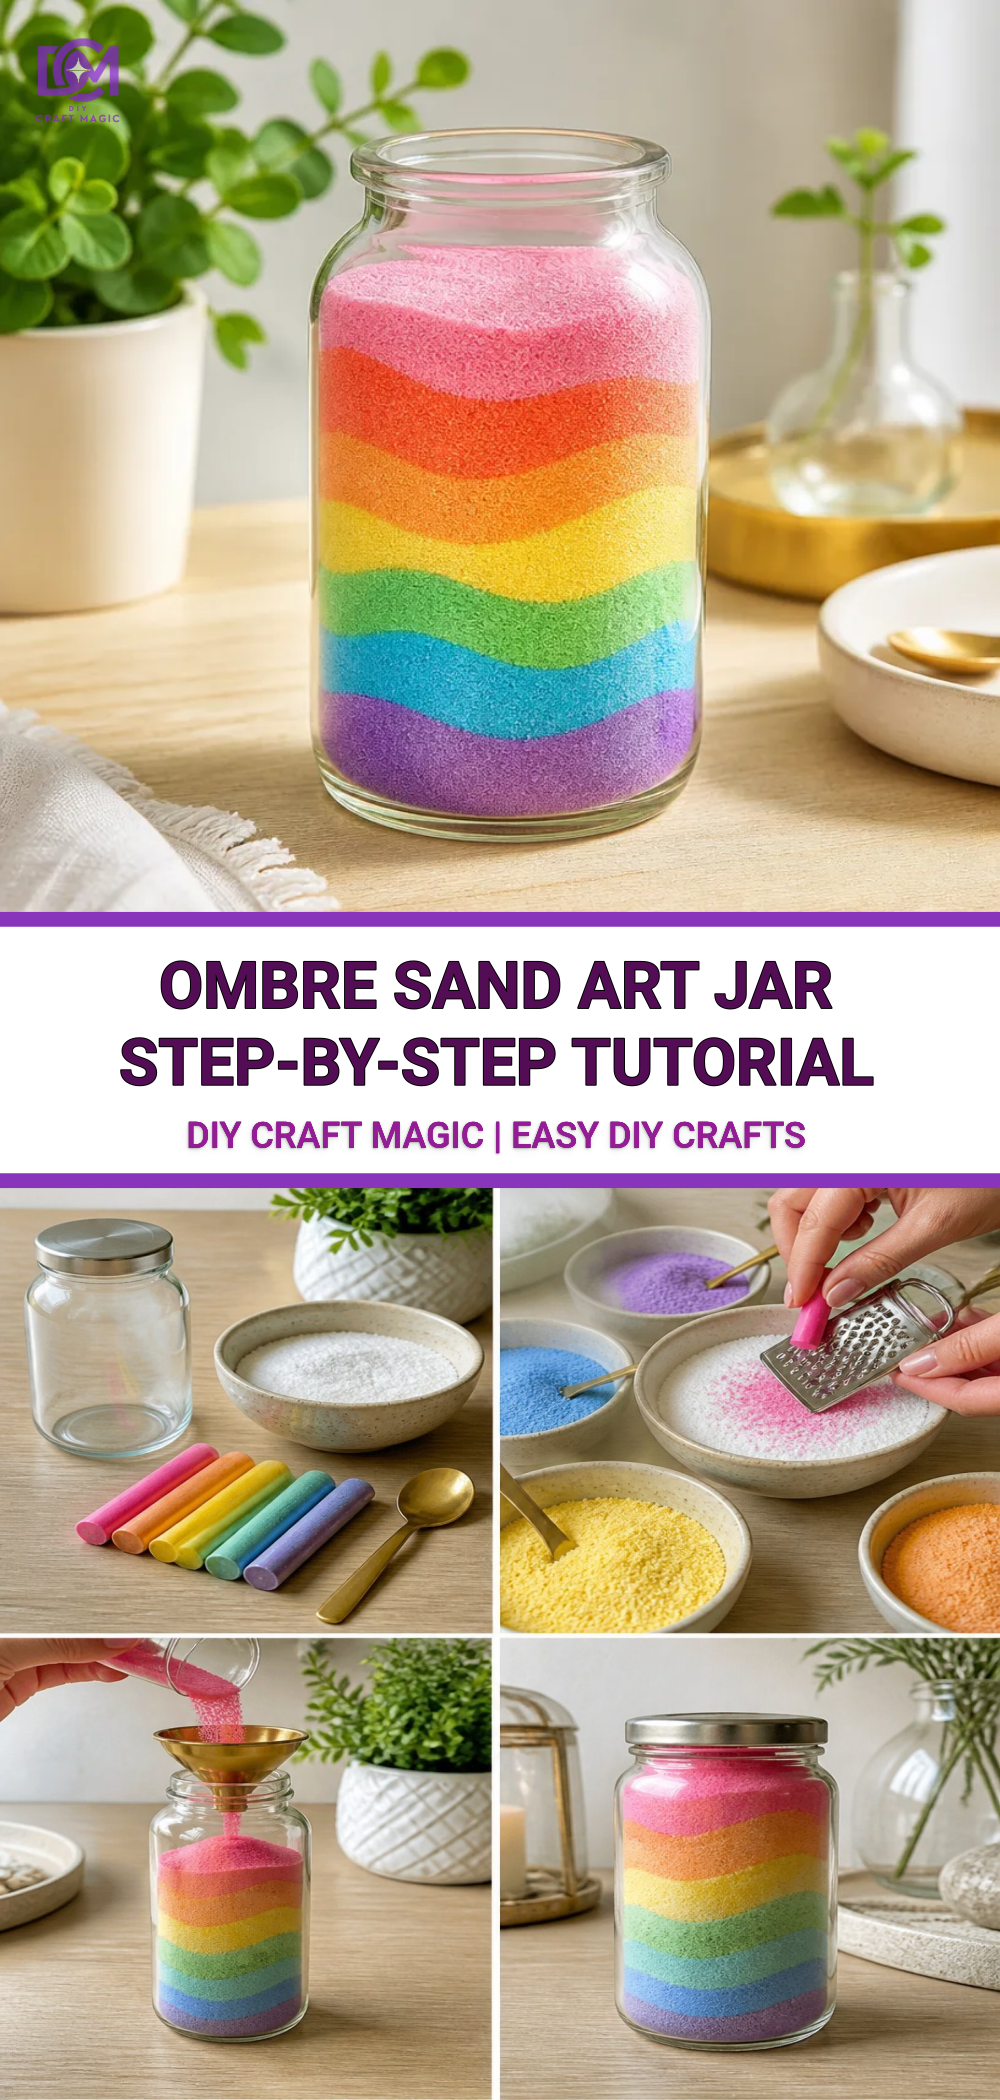
You may also find Diy Crystal Flower Roses Step By Step Tutorial useful.
Materials You’ll Need
To get started on your Ombre Sand Art Jar, gather the following materials:
- Colored sand (various shades for the ombre effect)
- A clear glass jar with a wide mouth
- A small funnel or a piece of paper (to help pour the sand)
- A spoon or stick (for adjusting the layers)
- Optional: a glue or sealant (to keep the sand in place)
Choosing Your Materials
When selecting colored sand, the colors you choose can greatly enhance the ombre effect. Opt for gradients that transition smoothly from light to dark shades. For instance, pairing pastel colors like light pink, peach, and deep coral will create a soft transition. If you are interested in exploring more craft ideas that involve bright colors and textures, you might also enjoy our Coffee Filter Tie Dye Flowers tutorial.
How to Make Ombre Sand Art Jar DIY Tutorial
Creating your ombre sand art is a straightforward process:
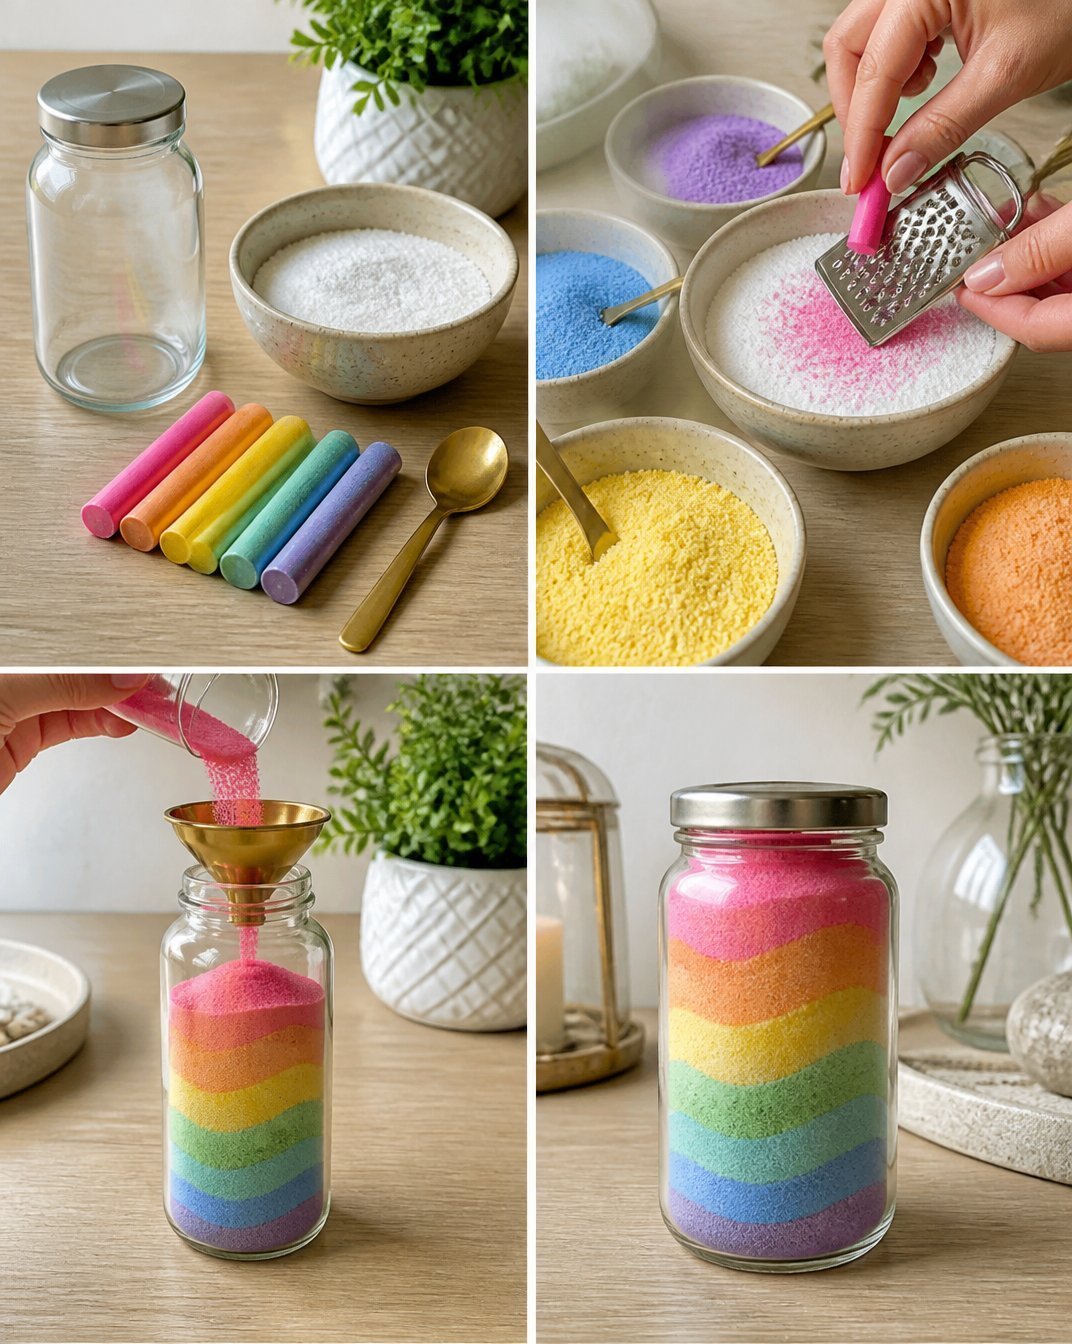
Prepare Your Jar: Make sure your glass jar is clean and dry before starting. If you want to add a personal touch, you can decorate the jar’s outside with paint or stickers before filling it.
Fill the Jar: Begin pouring the sand into your jar, starting with the lightest color. Use a funnel or a rolled piece of paper to help funnel the sand in without spilling. Fill the bottom layer about 1-2 inches high.
Add More Colors: After adding the first color, gently tap the jar to settle the sand. Then, proceed with the next color, making sure to pour it carefully so the layers are distinct. Repeat this process until the jar approaches the top.
Create a Smooth Transition: To achieve a seamless ombre effect, you can mix the colors at the transition points slightly, using a spoon or stick to blend the edges.
Seal the Sand (Optional): Once your jar is filled, you may choose to seal it with glue on the top layer of sand. This step isn’t required but can ensure that the sand stays in place over time.
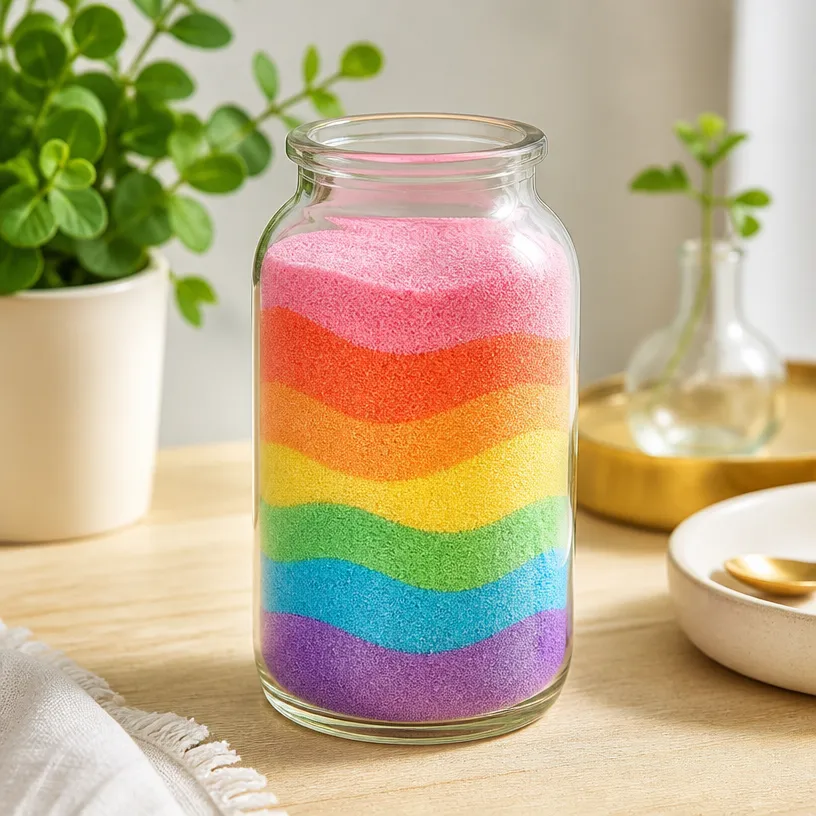
Getting the Colors Right
Selecting complementary colors is crucial for a beautiful ombre effect. Experiment with various shades and combinations before committing to your final design. Take inspiration from nature, such as sunsets or flower gradients that you love. Alternatively, if you’re interested in crafting with multiple colors, our Coffee Filter Rainbow Roses tutorial could inspire a colorful floral project to pair with your sand art.
Helpful Tips
- Start Slow: Pour the sand slowly to avoid mixing layers; patience is key to a perfect ombre.
- Experiment: Don’t hesitate to try out different color combinations in smaller jars before committing to a larger glass.
- Adjust Layer Heights: For a more pronounced ombre effect, vary the heights of each sand layer. Adding more of the contrasting colors can make the effect stand out even more.
Common Mistakes to Avoid
- Pouring Too Fast: Rushing can lead to unwanted mixing of colors, creating a muddy appearance.
- Not Using Enough Colors: Stick with at least three colors to really achieve the ombre effect.
Frequently Asked Questions
Can I use beach sand instead of colored sand?
Yes, you can use beach sand; however, it may need to be dyed in order to create the ombre effect.
How do I display my sand art jar?
You can place it on a shelf, a window sill, or center table as a decorative piece.
How do I clean the jar afterward?
Simply rinse with water and wipe with a soft cloth. If glue was used, it may require a gentle scrub to remove any residue.
Bring Your Creation to Life
Creating an Ombre Sand Art Jar is a delightful way to explore color layering while producing a stunning centerpiece. Whether you are crafting solo or enjoying the activity with your family, the results are bound to brighten your space. As you become more experienced, consider merging this art with other crafts, such as the delightful Beaded Heart Suncatcher project for a vibrant home display.
Conclusion
Crafting your own Ombre Sand Art Jar is a simple yet rewarding project, allowing for creative expression and beautiful results. As you dive deeper into crafting, explore other ideas, like the stylish Ombre Dip Dyed Pots tutorial or the colorful Painted Mason Jars: Pink. Each of these projects can enhance your crafting skills while adding unique touches to your home. Happy crafting!
Print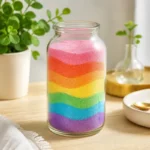
Ombre Sand Art Jar
- Total Time: 10 minutes
- Makes: 1 decorative jar
Description
Transform ordinary sand into a beautiful decorative piece with this Ombre Sand Art Jar project, perfect for crafters of all skill levels.
Materials
- Colored sand (various shades for the ombre effect)
- A clear glass jar with a wide mouth
- A small funnel or a piece of paper
- A spoon or stick
- Optional: glue or sealant
Instructions
- Prepare your jar by ensuring it is clean and dry.
- Fill the jar starting with the lightest color, using a funnel to avoid spills.
- Add more colors by gently tapping the jar to settle the sand.
- Create a smooth transition by blending colors at the edges with your spoon or stick.
- Seal the sand with glue if desired after filling the jar.
Notes
Take inspiration from natural gradients when selecting colors and experiment with color combinations in smaller jars first to perfect your design.