

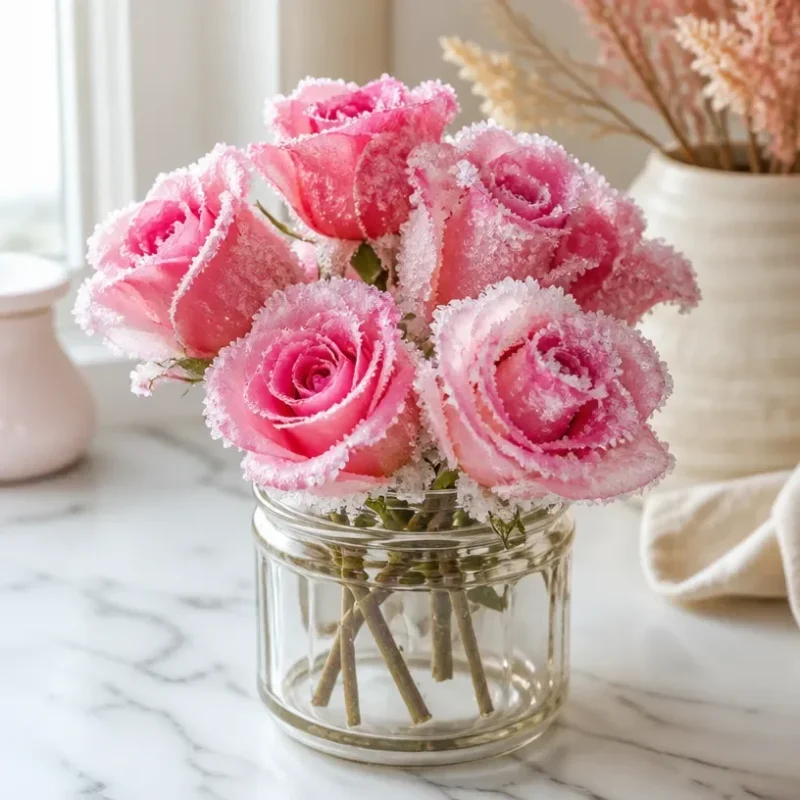
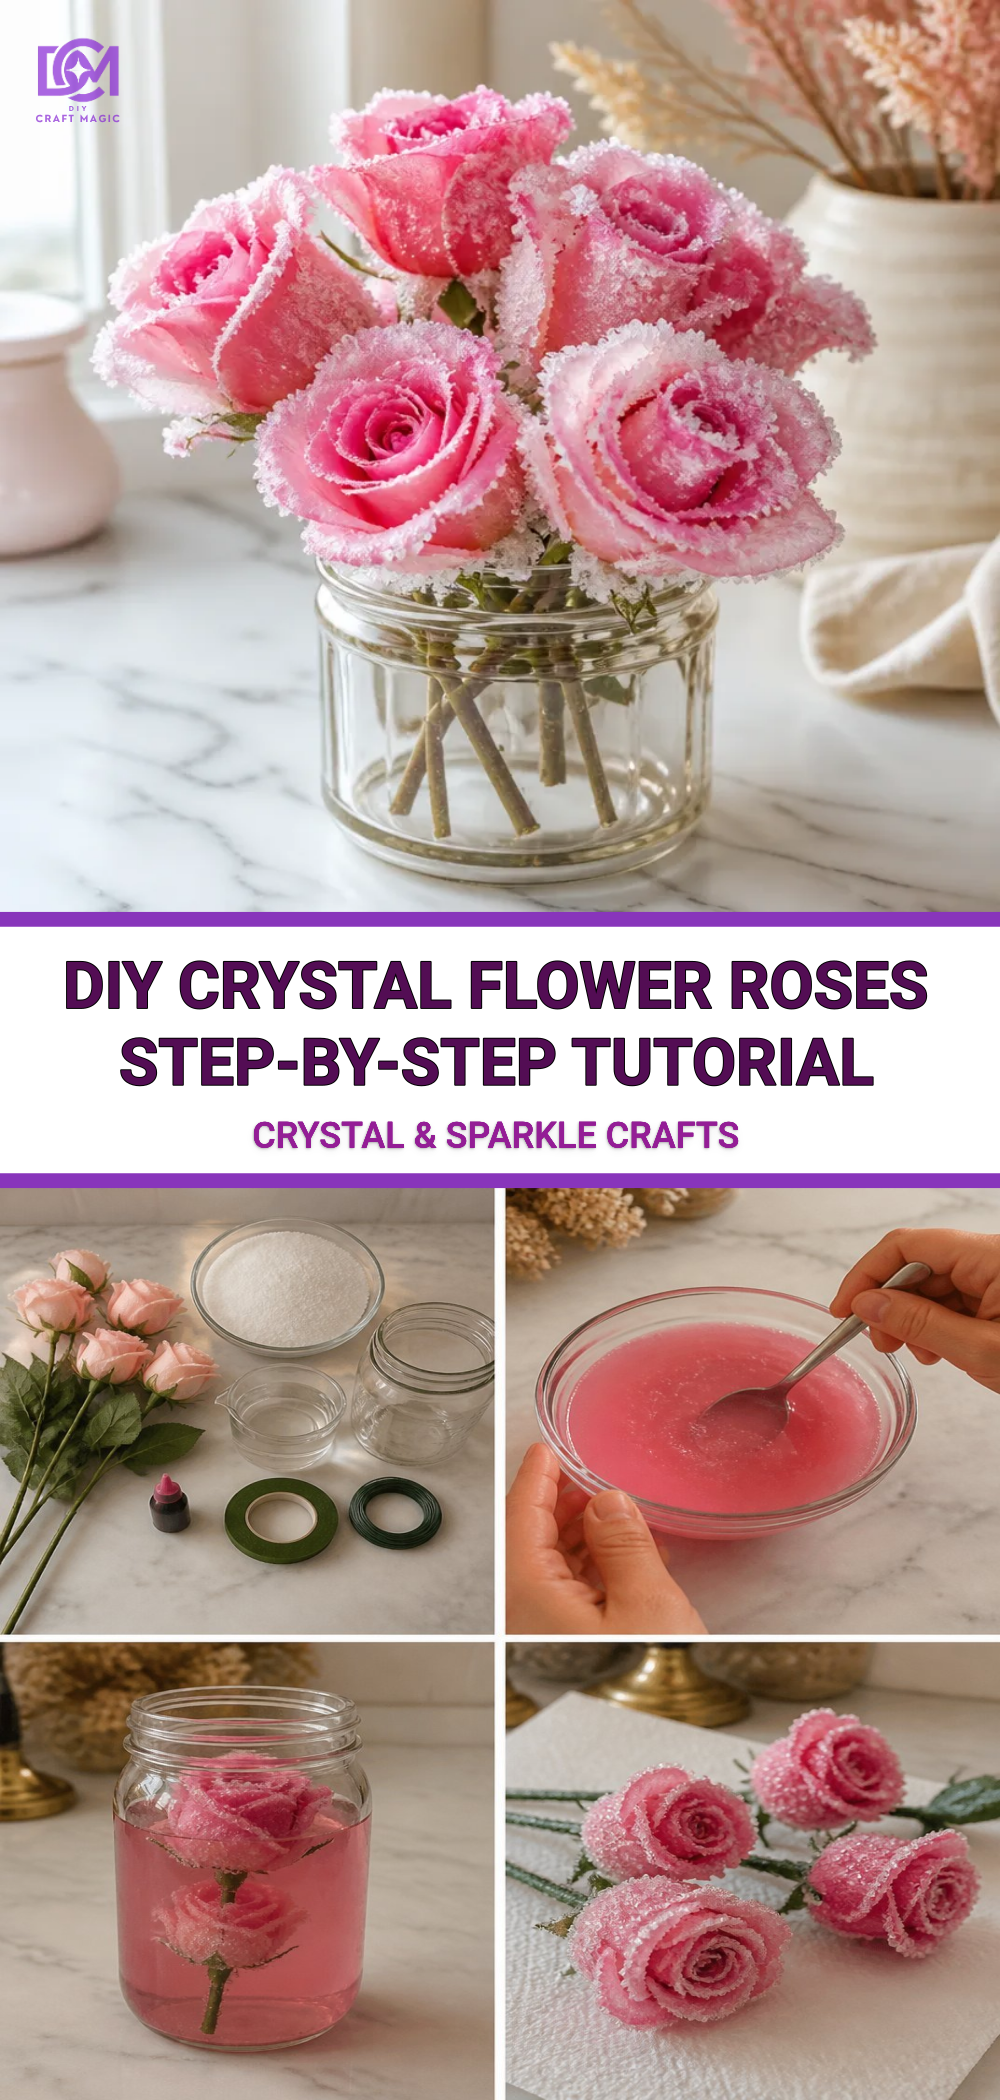
DIY Crystal Flower Roses: Step-by-Step Tutorial
Creating stunning DIY crystal flower roses is a fun and satisfying craft that adds a beautiful touch to your home décor. These delicate flowers sparkle and shimmer, making them an engaging project for anyone looking to explore the art of crafting. The transformation from simple materials to vibrant, crystal-like blooms is rewarding, and you’ll love seeing your finished piece come to life. You may also find Coffee Filter Tie Dye Flowers Diy Tutorial useful.
You may also find Colorful Cupcake Liner Witch Hat Flowers Tutorial useful.
Materials You’ll Need
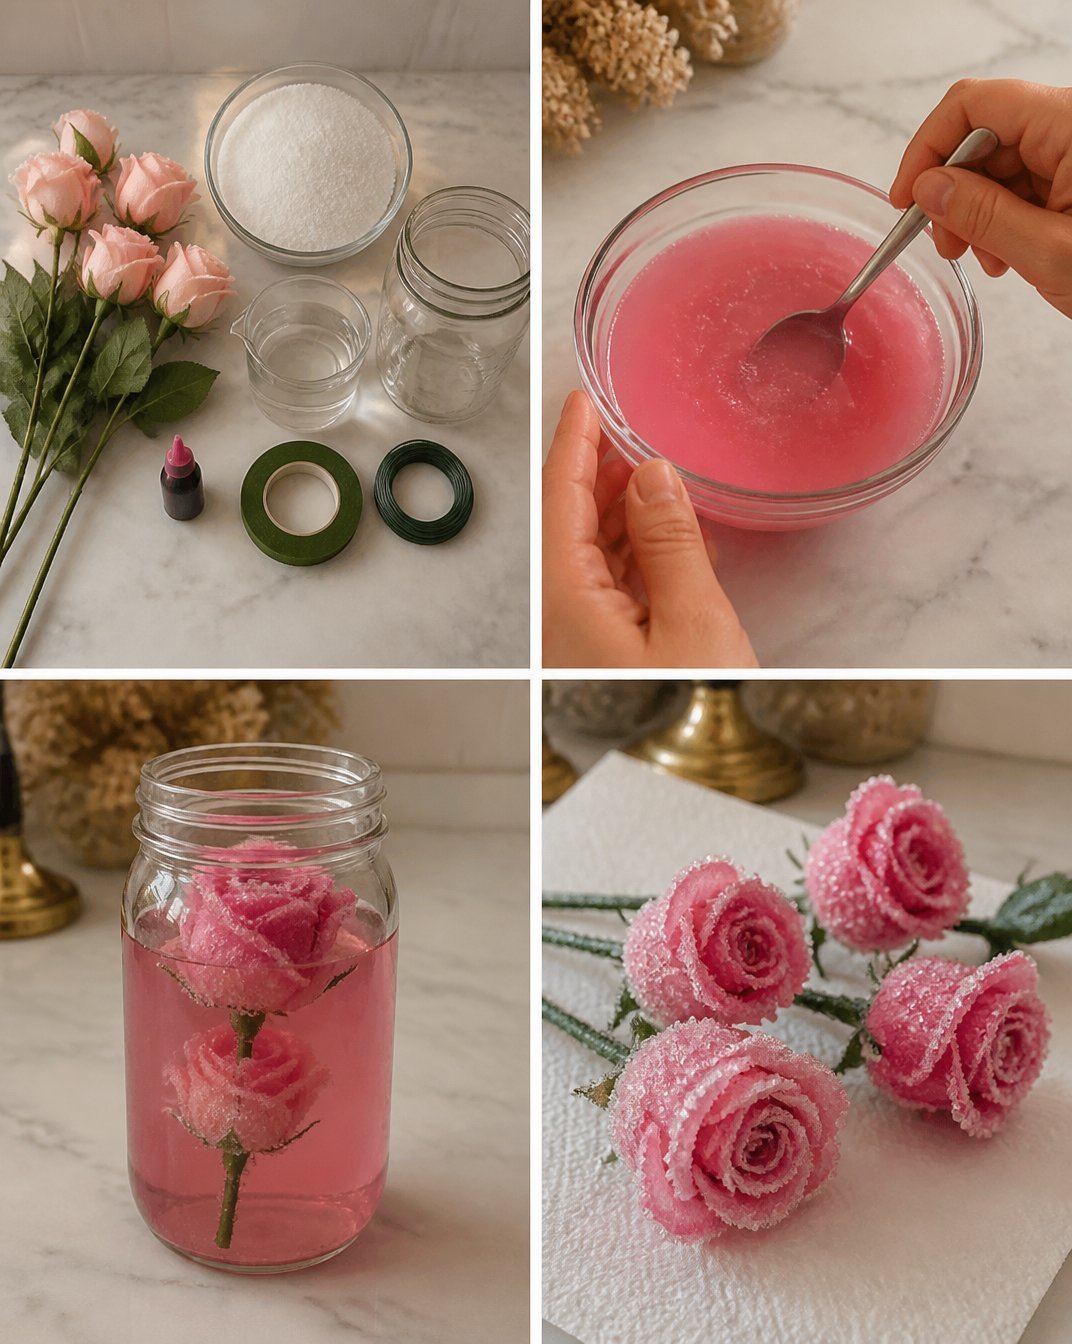
To make your crystal flower roses, gather the following materials:
- Flower templates (rose petals)
- Colored paper or cardstock
- Hot glue gun and glue sticks
- Washable markers or colored pencils
- Crystal clear glue or a similar adhesive
- Glitter (optional for added sparkle)
- Scissors
- Bowl of water with ice cubes
- Optional: Sticks or stems for support
Choosing Your Materials
When selecting materials, opt for colorful papers that will provide contrast and vibrance. Consider using textured cardstock to add depth to your flowers. Don’t forget the crystal clear glue, which is the secret to achieving that beautiful crystalline effect.
How to Make DIY Crystal Flower Roses: Step-by-Step Tutorial
Step 1: Prepare Your Petals
Start by creating flower petals using your templates. Trace them onto your colored paper and cut them out. You’ll need several petals per flower (5-7 is ideal). As you cut, don’t stress about making them perfect; each petal will contribute to your flower’s unique character. For more ideas on paper flowers, you can check out our coffee filter rainbow roses tutorial.
Step 2: Color and Shape Your Petals
Using washable markers or colored pencils, add depth and dimension by shading the edges of each petal. This touch enhances the visual impact when assembled. Next, gently shape the petals by curling them slightly this will help create a more lifelike appearance.
Step 3: Assemble the Flower
Start gluing the petals together at the base, layering them to form the shape of a rose. Apply hot glue judiciously; too much can make the flower messy, while too little might not hold it together. When finished, hold the flower gently to allow the glue to set.
Step 4: Create the Crystal Effect
To achieve the beautiful crystal-like finish, take your flower and coat it with the crystal clear glue. Ensure it’s evenly applied and covers all visible areas. This step can be slightly tricky, but with patience, it leads to a stunning effect. You might also want to sprinkle some glitter while the glue is still wet for added sparkle.
Step 5: Setting the Crystals
Once the glue is applied, carefully submerge your flower in a bowl of water with ice cubes for a few minutes. This will help the glue set quickly and encourage the formation of a crystalline texture on the petals. Remove the flower and allow it to dry completely on a flat surface.
Helpful Tips
- If you have young children participating, make sure they have supervision when using the hot glue gun.
- Experiment with different colors and sizes to create a variety of flowers for your display.
- For additional inspiration, explore our crystal cloud raindrops project.
Common Mistakes to Avoid
- Overloading the petals with glue can lead to a gooey mess. Use small amounts and build up if necessary.
- Be sure to let each layer dry completely before adding the next to avoid collapsing.
- Ensure your workspace is clear to prevent accidental spills or mishaps when working with glue.
Ways to Customize It
You can easily personalize your crystal flower roses by choosing aside from the usual rose colors. In addition, changing up the petal shapes or sizes can create entirely different flower designs. Consider pairing them with our Bunny Flower Pot Covers for a charming spring-themed display.
Display Ideas
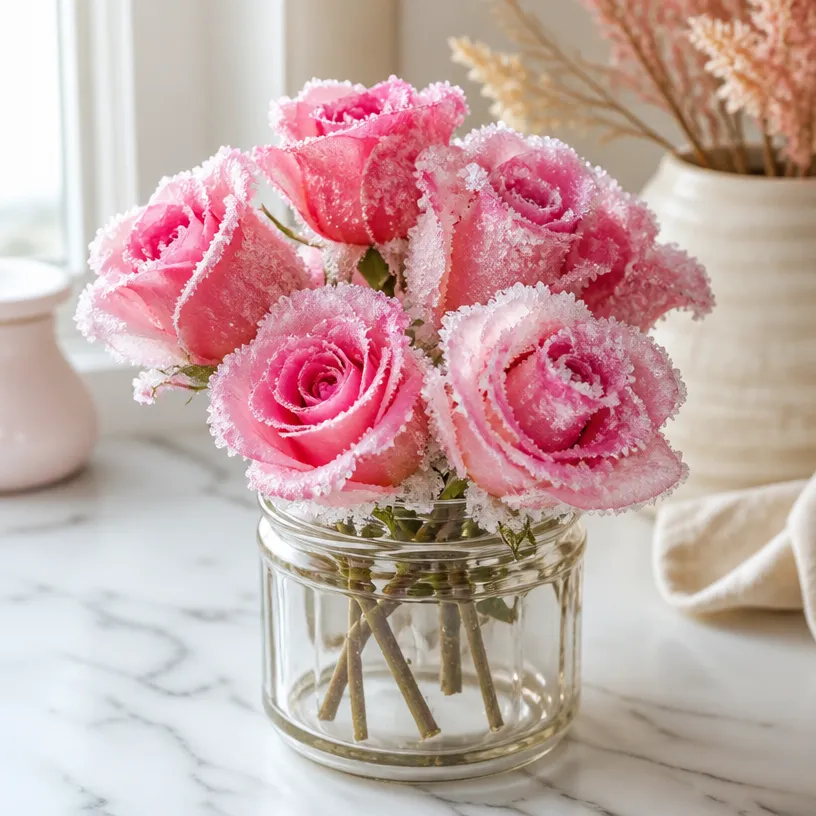
Once your DIY crystal flower roses are complete, think about how best to showcase them. You could create a lovely centerpiece by clustering several flowers in a vase or use them as decorative accents on a mantelpiece. If you want a seasonal touch, combine these flowers with festive decorations, or place them in pots for a garden-inspired look.
Frequently Asked Questions
How long does it take for the glue to dry?
Typically, hot glue dries quickly, but make sure to let your flowers sit for at least an hour for full bonding and a more secure shape.
Can I use different types of adhesive?
Yes! As long as it holds well and dries clear, feel free to experiment with other types of adhesives like tacky glue or Mod Podge.
Are these flowers durable?
Once properly dried and set, your crystal flower roses should hold up well. However, be cautious as they can be delicate if handled roughly.
Conclusion
This DIY project is an excellent way to explore your creativity while crafting something beautiful. If you’re looking for more flower-making inspiration, consider joining the Wild Rose Crepe Paper Flower Online Course or learn about another flower project with DIY Paper Rose | 6 Quick Steps to Create Your Own. Enjoy the process, and let your imagination bloom!
Print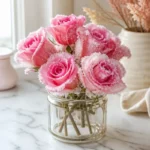
DIY Crystal Flower Roses
- Total Time: 45 minutes
- Makes: 1 flower
Description
Learn how to create stunning crystal flower roses with this step-by-step tutorial to beautify your home décor.
Materials
- Flower templates (rose petals)
- Colored paper or cardstock
- Hot glue gun and glue sticks
- Washable markers or colored pencils
- Crystal clear glue or a similar adhesive
- Glitter (optional)
- Scissors
- Bowl of water with ice cubes
- Optional: Sticks or stems for support
Instructions
- Prepare your petals by tracing flower templates onto colored paper and cutting them out.
- Color and shape your petals using washable markers or colored pencils, enhancing the edges.
- Assemble the flower by gluing the petals together at the base.
- Create the crystal effect by coating the flower with crystal clear glue and optional glitter.
- Set the crystals by submerging the flower in a bowl of ice water for a few minutes.
Notes
Use small amounts of glue to avoid messes, and supervise children when using hot glue.