

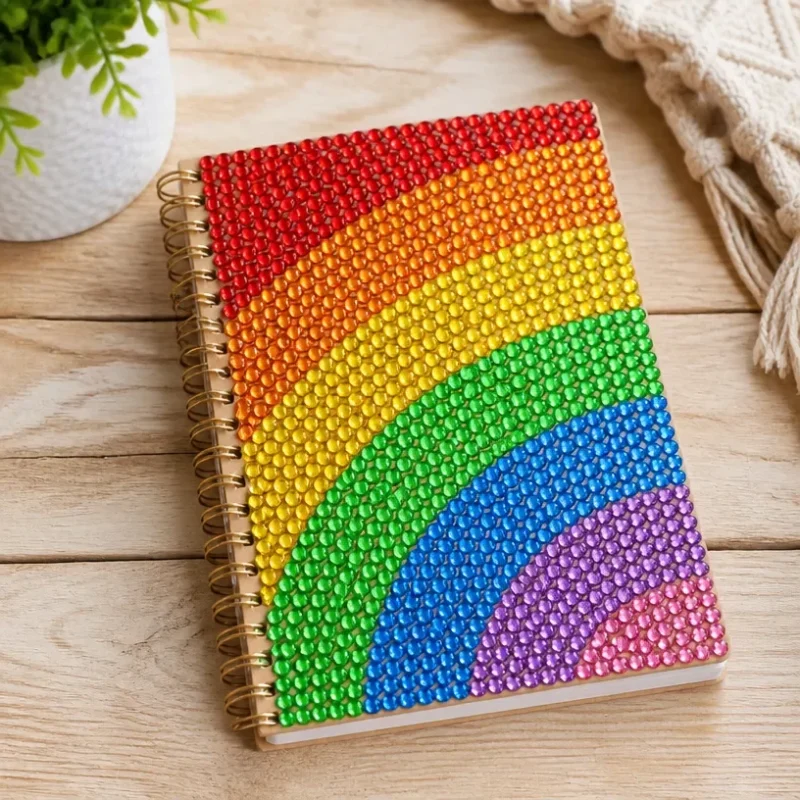
How to Make a Bedazzled Rainbow School Notebook Cover
Creating a bedazzled rainbow school notebook cover can be a fun and vibrant way to customize your school supplies. This craft not only makes your notebook uniquely yours but also adds a playful touch that reflects your personality. With simple materials and a little creativity, you can transform a plain notebook into a sparkling masterpiece that stands out in any classroom. You may also find How To Create Jellyfish Rainbow Salt Art useful.
You may also find How To Make A Lemon Suncatcher useful.
Materials You’ll Need
Before diving into the instructions, gather the following materials: You may also find How To Make Easy Frozen Pinecones useful.
- A plain notebook (preferably with a smooth cover)
- Rainbow-colored self-adhesive rhinestones or gems
- Mod Podge or clear-drying glue
- Paintbrush
- Scissors
- Pencil
- Optional: glitter, washi tape, or decorative paper for added flair
Choosing Your Materials
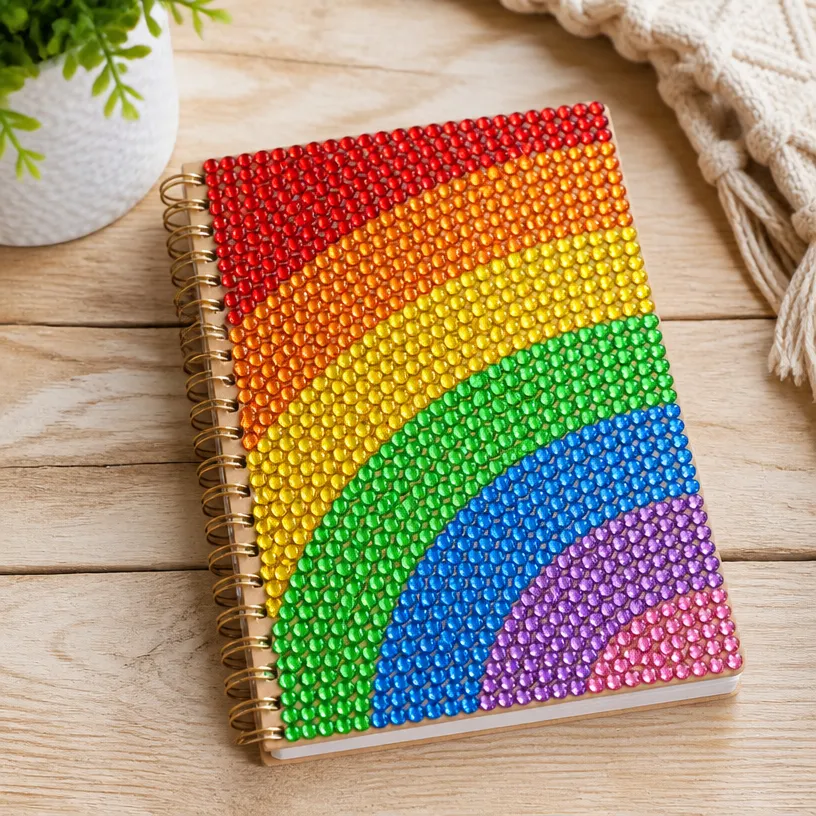
When selecting rhinestones, consider various sizes and shapes to create a more dynamic look. If you want to further personalize your notebook, you can also use decorative paper or washi tape. This way, you can blend different textures and colors to enhance the overall design. You may also find Rainbow Pencil Flower Bouquet Craft Back To School useful.
Step-by-Step Instructions
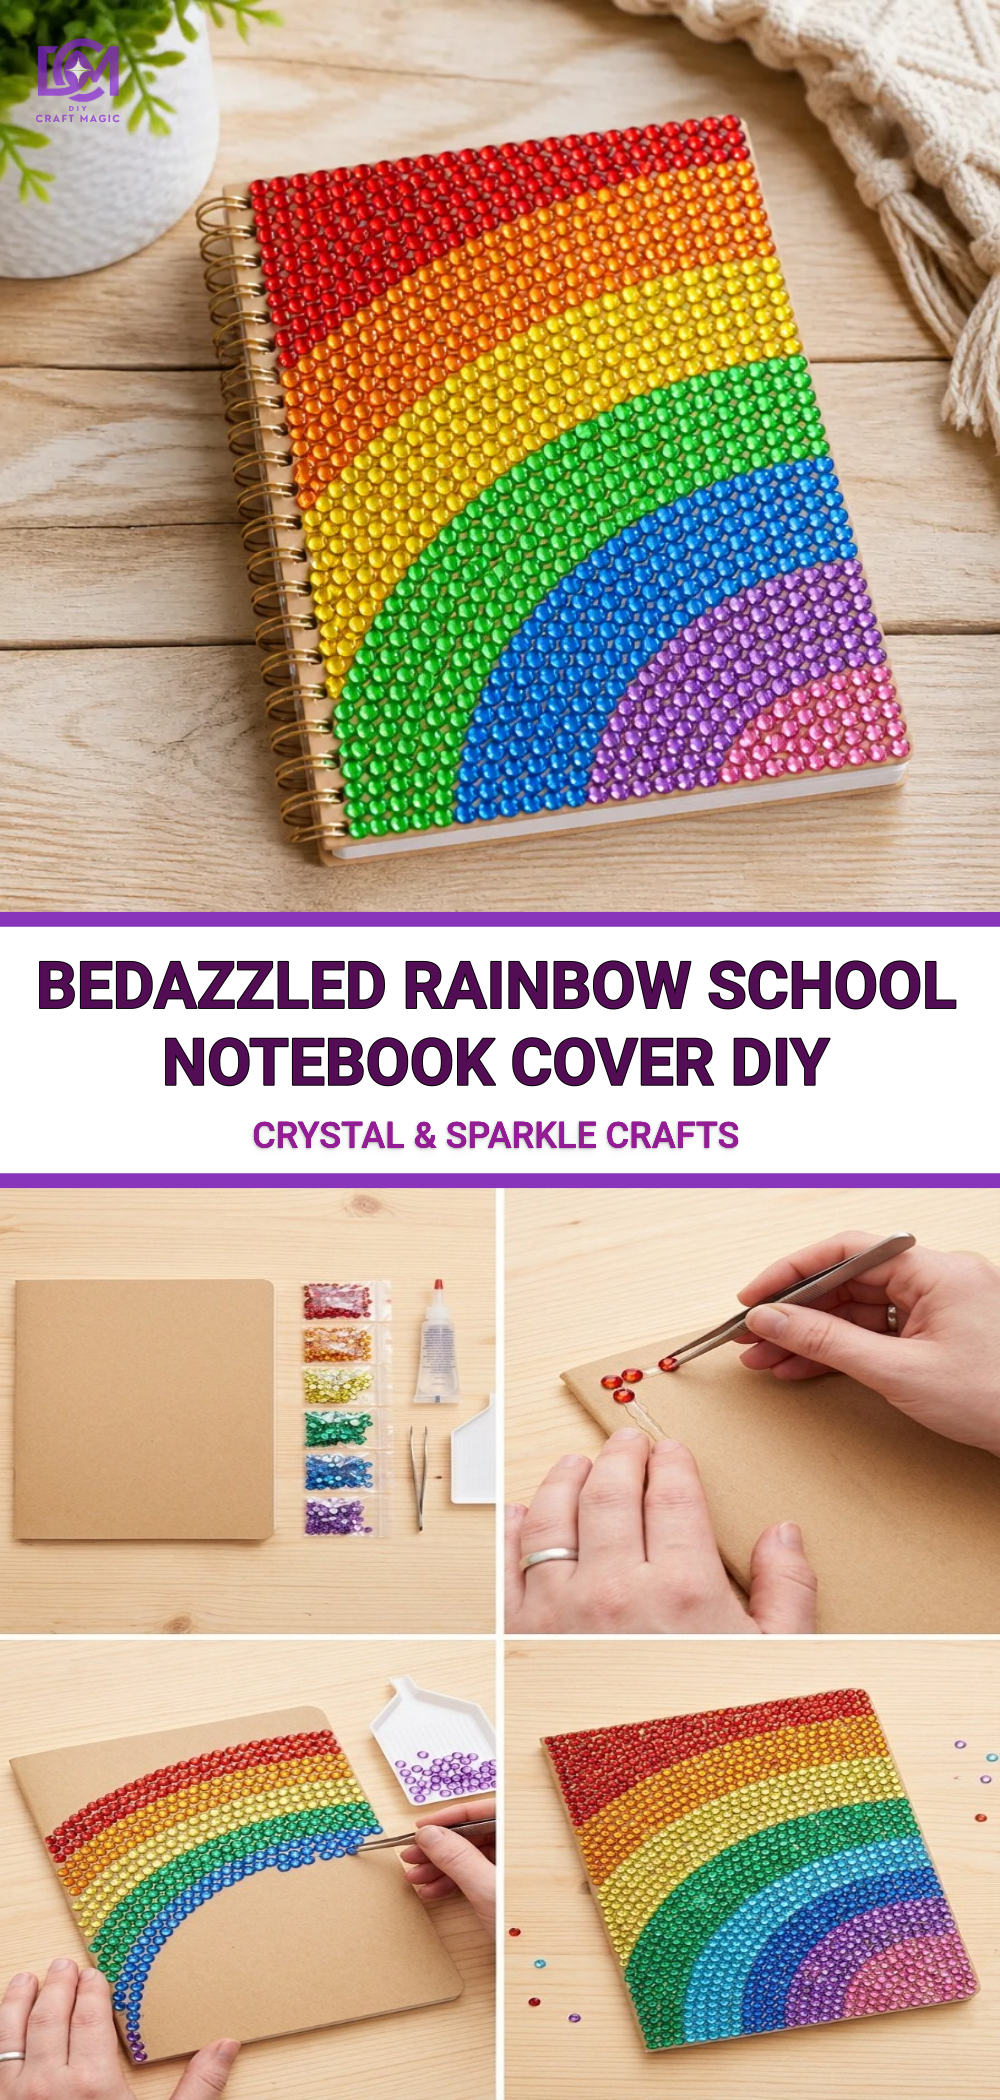
Plan Your Design: Before applying any rhinestones, sketch out your design with a pencil directly onto the notebook cover. You could create a rainbow pattern or any other shape that inspires you. You may also find Bunny Flower Pot Covers Diy Tutorial Spring Decor useful.
Apply Mod Podge: Using a paintbrush, apply a thin layer of Mod Podge over the area you want to decorate. Ensure it’s evenly coated to help the rhinestones stick securely.
Attach the Rhinestones: Begin placing your rhinestones onto the Mod Podge-coated area. Start with the largest pieces in the center and work your way outwards with smaller gems. Make sure to leave some space for a rainbow effect this is where having different colors will really shine.
Secure Everything: After all the rhinestones are in place, apply a final coat of Mod Podge over the gems. This will seal them and give a glossy finish, making your notebook even more eye-catching.
Allow to Dry: Let your notebook dry completely. This could take a few hours, so be patient! During this time, be careful not to touch the gems to ensure they set properly.
Personalize Further: Once dry, feel free to embellish your notebook further with washi tape or glitter for additional sparkle. Mixing in some decorative elements can make it even more fun.
Getting the Colors Right
When creating your rainbow pattern, consider using the traditional ROYGBIV color order (Red, Orange, Yellow, Green, Blue, Indigo, Violet) for a classic look. Alternatively, you can choose colors that resonate with you or even match your favorite outfits. This flexibility ensures your notebook is a true representation of you.
Helpful Tips
- Work in Small Sections: If your design is elaborate, work in small sections. This way, the Mod Podge won’t dry before you can place the rhinestones.
- Experiment with Layouts: Don’t be afraid to try different layouts before committing. You might find an arrangement that works better than your initial idea!
- Safety First: If using scissors or hot glue, please take care and supervise younger crafters.
Ways to Customize It
There are countless ways to make your bedazzled notebook truly unique:
- Use different shapes for rhinestones, like stars and hearts, alongside traditional gems.
- Integrate stickers or printed images between the rhinestones for added character.
- Adjust the background color using fabric or paint to provide a contrasting base for the gems.
Crafting With Kids
This project is perfect for crafting with children. They will love the sparkle and get creative in designing their own unique notebook covers. Just be sure to assist with any cutting or applying hot glue to keep things safe.
Troubleshooting
If some gems begin to lift or fall off, don’t fret! Simply reapply a bit of Mod Podge and press them back down firmly. Ensuring they are coated well and applying a layer over the top will help keep everything in place.
Frequently Asked Questions
How long does the Mod Podge take to dry?
Typically, it takes about 2-4 hours to dry completely. However, for maximum durability, it’s best to leave it overnight.
Can I use other types of glue?
You can use any clear-drying glue, but Mod Podge provides a nice finish and helps seal the rhinestones effectively.
Is this project suitable for younger children?
Yes! It’s a great craft for kids with adult supervision, especially during the cutting and gluing steps.Completing a bedazzled rainbow school notebook cover is not only satisfying but also encourages creativity and self-expression. This project can be repeated easily with different designs and materials. So grab your crafting supplies and start creating!
Conclusion
Now that you have created your personalized notebook, why not check out other creative ideas? You might enjoy crafting your own DIY school supplies by exploring DIY SCHOOL SUPPLIES! – Faking It Mostly or finding a fun bling pencil case to complement your new look. Crafting is always more enjoyable when you expand your collection of unique items!
Print
Bedazzled Rainbow School Notebook Cover
- Total Time: 2 hours 10 minutes
- Makes: 1 notebook cover
Description
Transform a plain notebook into a fun and vibrant bedazzled masterpiece with colorful rhinestones.
Materials
- A plain notebook
- Rainbow-colored self-adhesive rhinestones or gems
- Mod Podge or clear-drying glue
- Paintbrush
- Scissors
- Pencil
- Optional: glitter, washi tape, or decorative paper
Instructions
- Plan your design with a pencil on the notebook cover.
- Apply a thin layer of Mod Podge over the area you want to decorate.
- Attach the rhinestones starting from the center and working outwards.
- Secure everything by applying a final coat of Mod Podge over the gems.
- Allow the notebook to dry completely for a few hours.
- Personalize further with washi tape or glitter once dry.
Notes
Great project for kids with adult supervision; ensure safety when using scissors.