

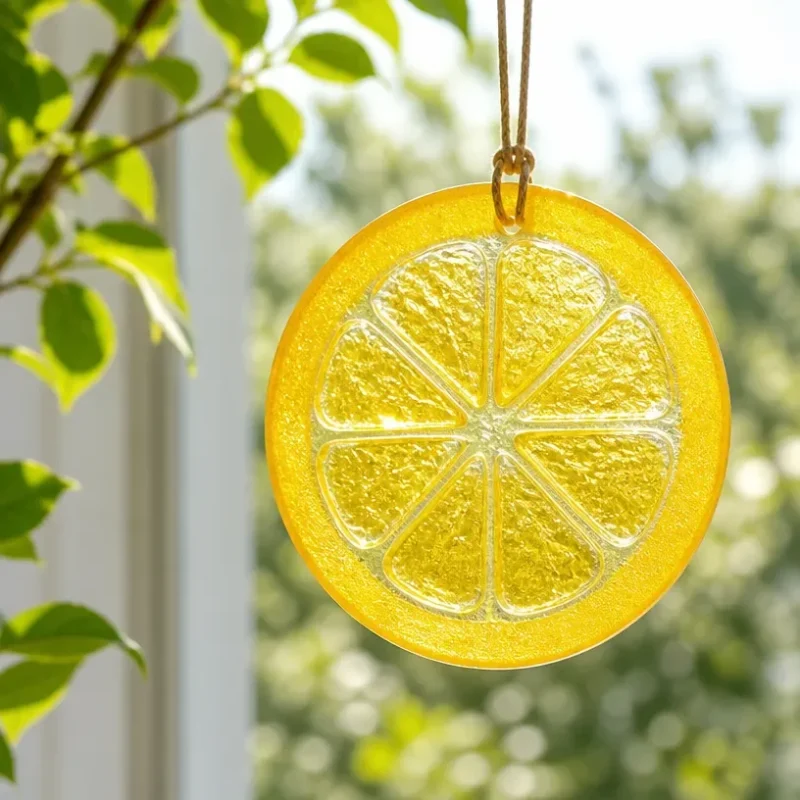
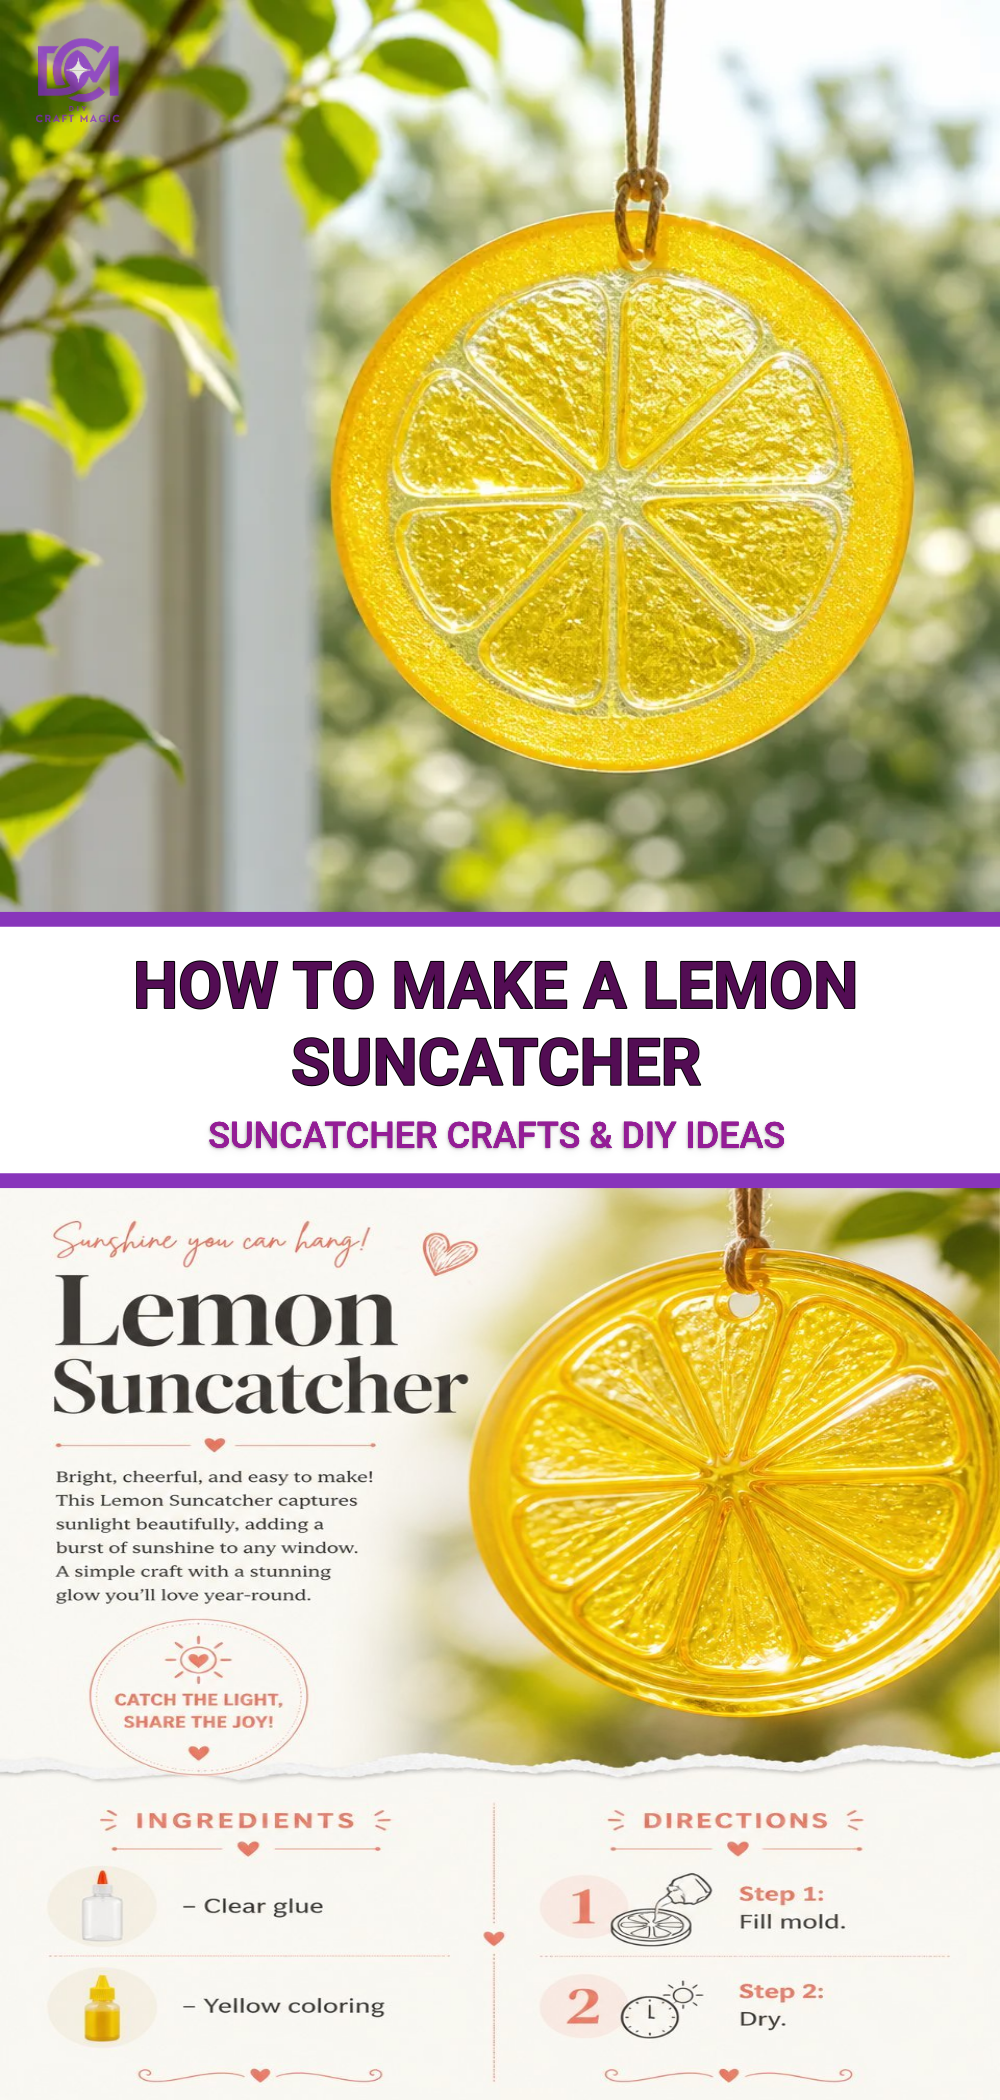
How to Make a Lemon Suncatcher
Creating a Lemon Suncatcher is a delightful way to brighten up your home while engaging in a fun and simple craft. These suncatchers catch the sunlight with their bright colors and playful shapes, making for a stunning decoration in any room. Not only are they visually appealing, but this project also offers an approachable way to craft something beautiful, perfect for families and beginners alike. Let’s gather our materials and get started! You may also find How To Create Jellyfish Rainbow Salt Art useful.
You may also find Bunny Flower Pot Covers Diy Tutorial Spring Decor useful.
Materials You’ll Need
To make your Lemon Suncatcher, you will need the following materials:
- Colored tissue paper (various shades of yellow, green, and orange)
- Clear contact paper
- Scissors
- A pencil
- A marker
- A circular template (like a small plate)
- String or fishing line for hanging
- Optional: Glitter or sequins for added sparkle
Having these materials ready will ensure a smooth crafting experience. If you enjoy working with colorful materials, you might also be interested in making melted bead suncatchers, which offer a wonderful combination of color and creativity.
Step-by-Step Instructions
Draw Your Shapes: Start by using your circular template to trace two circles on a piece of cardboard. These will serve as the base for your lemon slices. Cut them out carefully so that they are uniform in size.
Create the Lemon Flesh: Take your yellow tissue paper and cut it into small squares or triangles to represent the lemon flesh. You can use a mix of shades to give your suncatcher depth and interest.
Design the Lemon Layer: Next, prepare pieces of green tissue paper to act as a border around the lemon. These should be cut into thin strips that can be arranged around the edges of your cardboard circle.
Assemble the Suncatcher: Lay one piece of clear contact paper sticky side up on a flat surface. Place your cardboard circle on top. Begin arranging the yellow and green tissue paper pieces on the contact paper, creating a vibrant lemon design.
Seal the Design: Once you’ve arranged all the tissue paper, place another piece of contact paper over the top to seal the design. This will protect the colors and allow your suncatcher to be durable.
Finish with a Border: Trim the edges of the contact paper, leaving a small border around the cardboard circle. Use a hole punch to make a hole at the top for the string to go through.
Hang Your Suncatcher: Attach a piece of string or fishing line through the hole and hang your suncatcher where it can catch the sunlight. Watching it shimmer in the light can be quite satisfying!
Helpful Tips
- Color Variations: Don’t be afraid to mix in other colors or shapes. For instance, you might consider accenting your lemon suncatcher with some additional shapes, such as butterflies or other fruits for a vibrant display.
- Creating Depth: Layering tissue paper in different shades will create a beautiful depth effect, enhancing the visual appeal of your suncatcher.
- Crafting with Kids: This project is great for children as it helps develop fine motor skills while allowing them to express their creativity. Always supervise younger children when using scissors.
Common Mistakes to Avoid
When crafting your lemon suncatcher, here are a few common pitfalls to steer clear of:
- Overlapping Paper: Ensure your tissue pieces are layered but not overlapping too much, or they may not stick well after sealing.
- Air Bubbles: When applying the second sheet of contact paper, check for air bubbles. Use a credit card to smooth them out from the center to the edges.
Display Ideas
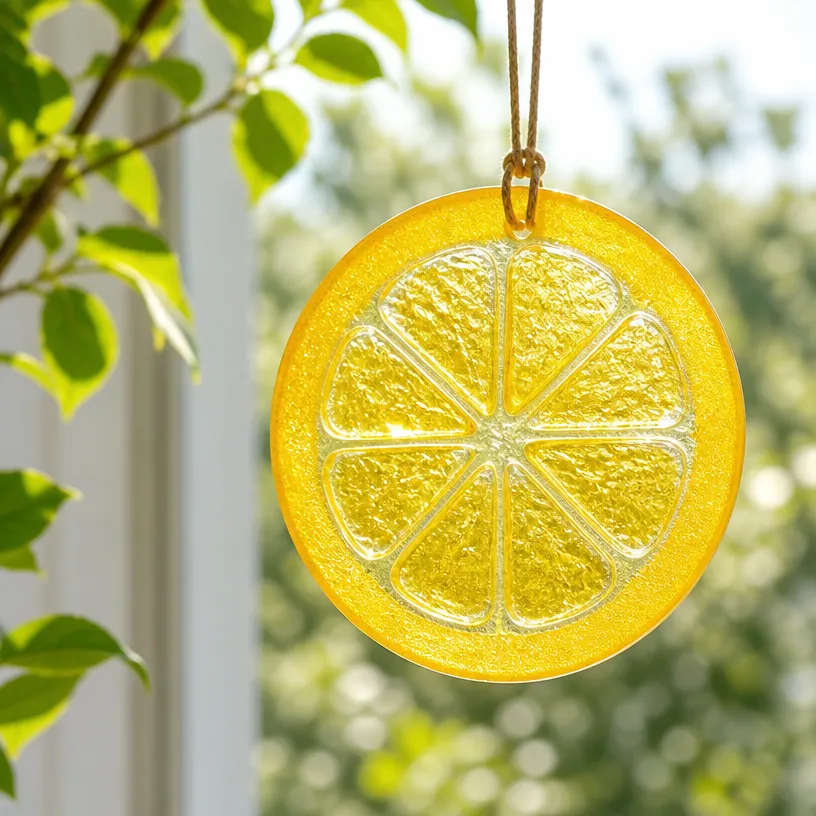
Hang your Lemon Suncatcher in a window where it will be hit by sunlight to showcase its colors. You could even create a themed display with other fruit suncatchers, like a beaded heart suncatcher, to make a colorful window garland.
Frequently Asked Questions
How do I store my Lemon Suncatcher?
When not displayed, keep your suncatcher in a protective box to prevent any damage or dust accumulation.
What can I use if I don’t have contact paper?
You can use a laminating sheet or even craft glue if contact paper is not available. Just ensure it’s sealed properly to maintain the suncatcher’s durability.
How durable is this craft?
While your Lemon Suncatcher is relatively durable, it’s best displayed indoors or in shaded areas if you want to retain its vibrant colors over time.
Conclusion
Making a Lemon Suncatcher is not just a fun project; it also adds a cheerful touch to your home decor. Don’t hesitate to explore more ideas like creating Citrus Suncatchers for the Holidays, which you can enjoy throughout the year, or check out striking designs like the Glass Lemons Suncatcher Hanging Decor for inspiration to elevate your crafting experience! Happy crafting!
Print
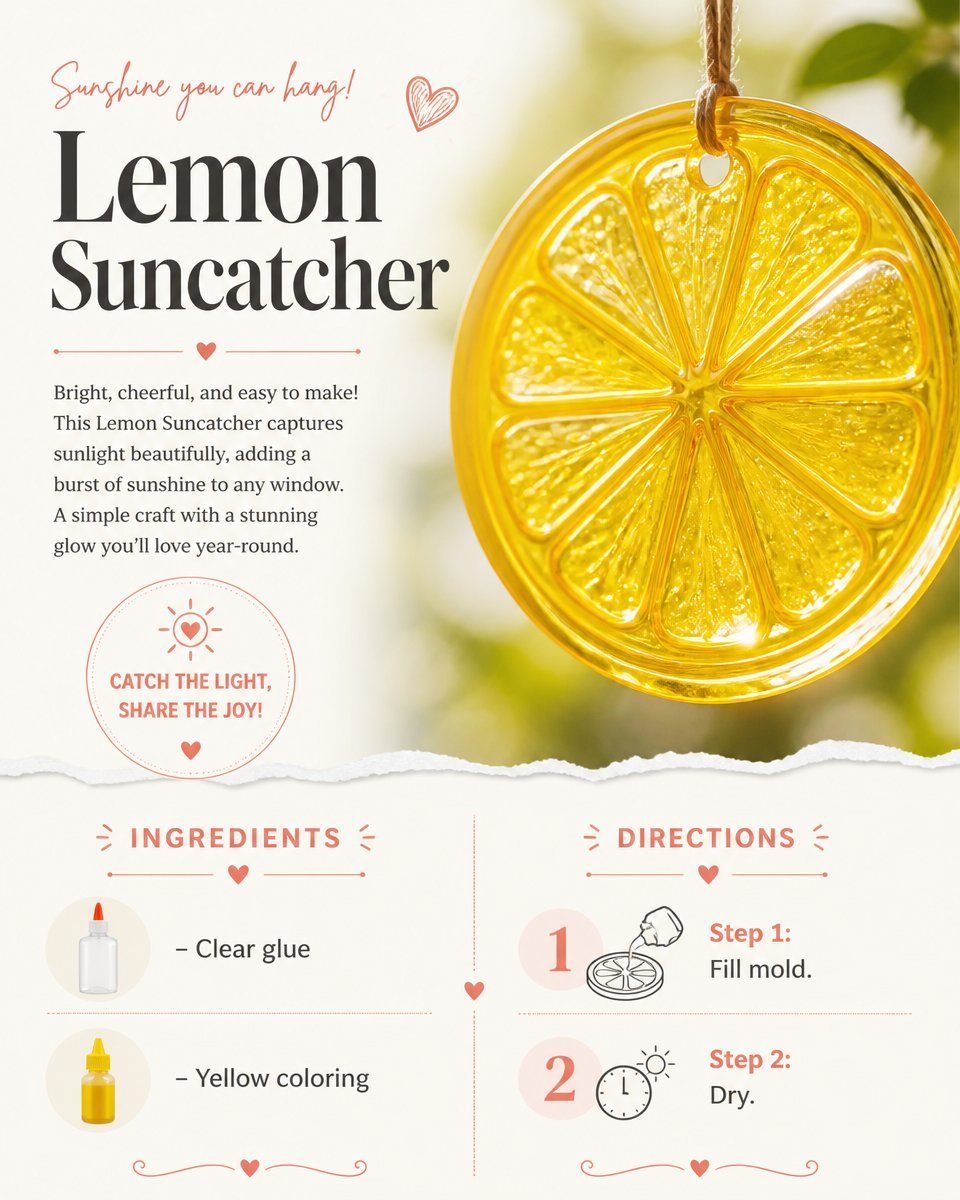
Lemon Suncatcher
- Total Time: 15 minutes
- Makes: 1 suncatcher
Description
Create a vibrant Lemon Suncatcher to brighten your home with sunlight and color.
Materials
- Colored tissue paper (various shades of yellow, green, and orange)
- Clear contact paper
- Scissors
- A pencil
- A marker
- A circular template (like a small plate)
- String or fishing line for hanging
- Optional: Glitter or sequins for added sparkle
Instructions
- Draw your shapes: Trace two circles on cardboard using a circular template and cut them out.
- Create the lemon flesh: Cut yellow tissue paper into squares or triangles.
- Design the lemon layer: Cut green tissue paper into thin strips for the lemon border.
- Assemble the suncatcher: Lay clear contact paper sticky side up, place the cardboard circle on top, and arrange yellow and green tissue paper.
- Seal the design: Cover with another piece of contact paper.
- Finish with a border: Trim edges and punch a hole at the top for hanging.
- Hang your suncatcher where it can catch the sunlight.
Notes
Use bright colors and layers of tissue paper for depth. Supervise children with scissors.