


Create a Back-to-School Rainbow Schoolhouse Photo Frame
Embark on a delightful DIY project this back-to-school season by making a Rainbow Schoolhouse Photo Frame! This vibrant frame will not only capture your child’s first-day photos but also bring a splash of color to your home. The final result presents a visually appealing array of colors, perfect for showcasing those cherished memories. This project combines simple materials with a hands-on crafty process, making it approachable even for beginners. You may also find First Day Rainbow Pencil Butterfly Suncatcher useful.
Materials You’ll Need
Before you dive into the crafting, gather the following materials to make your Rainbow Schoolhouse Photo Frame: You may also find Rainbow Pencil Butterfly Suncatcher First Day Gift useful.
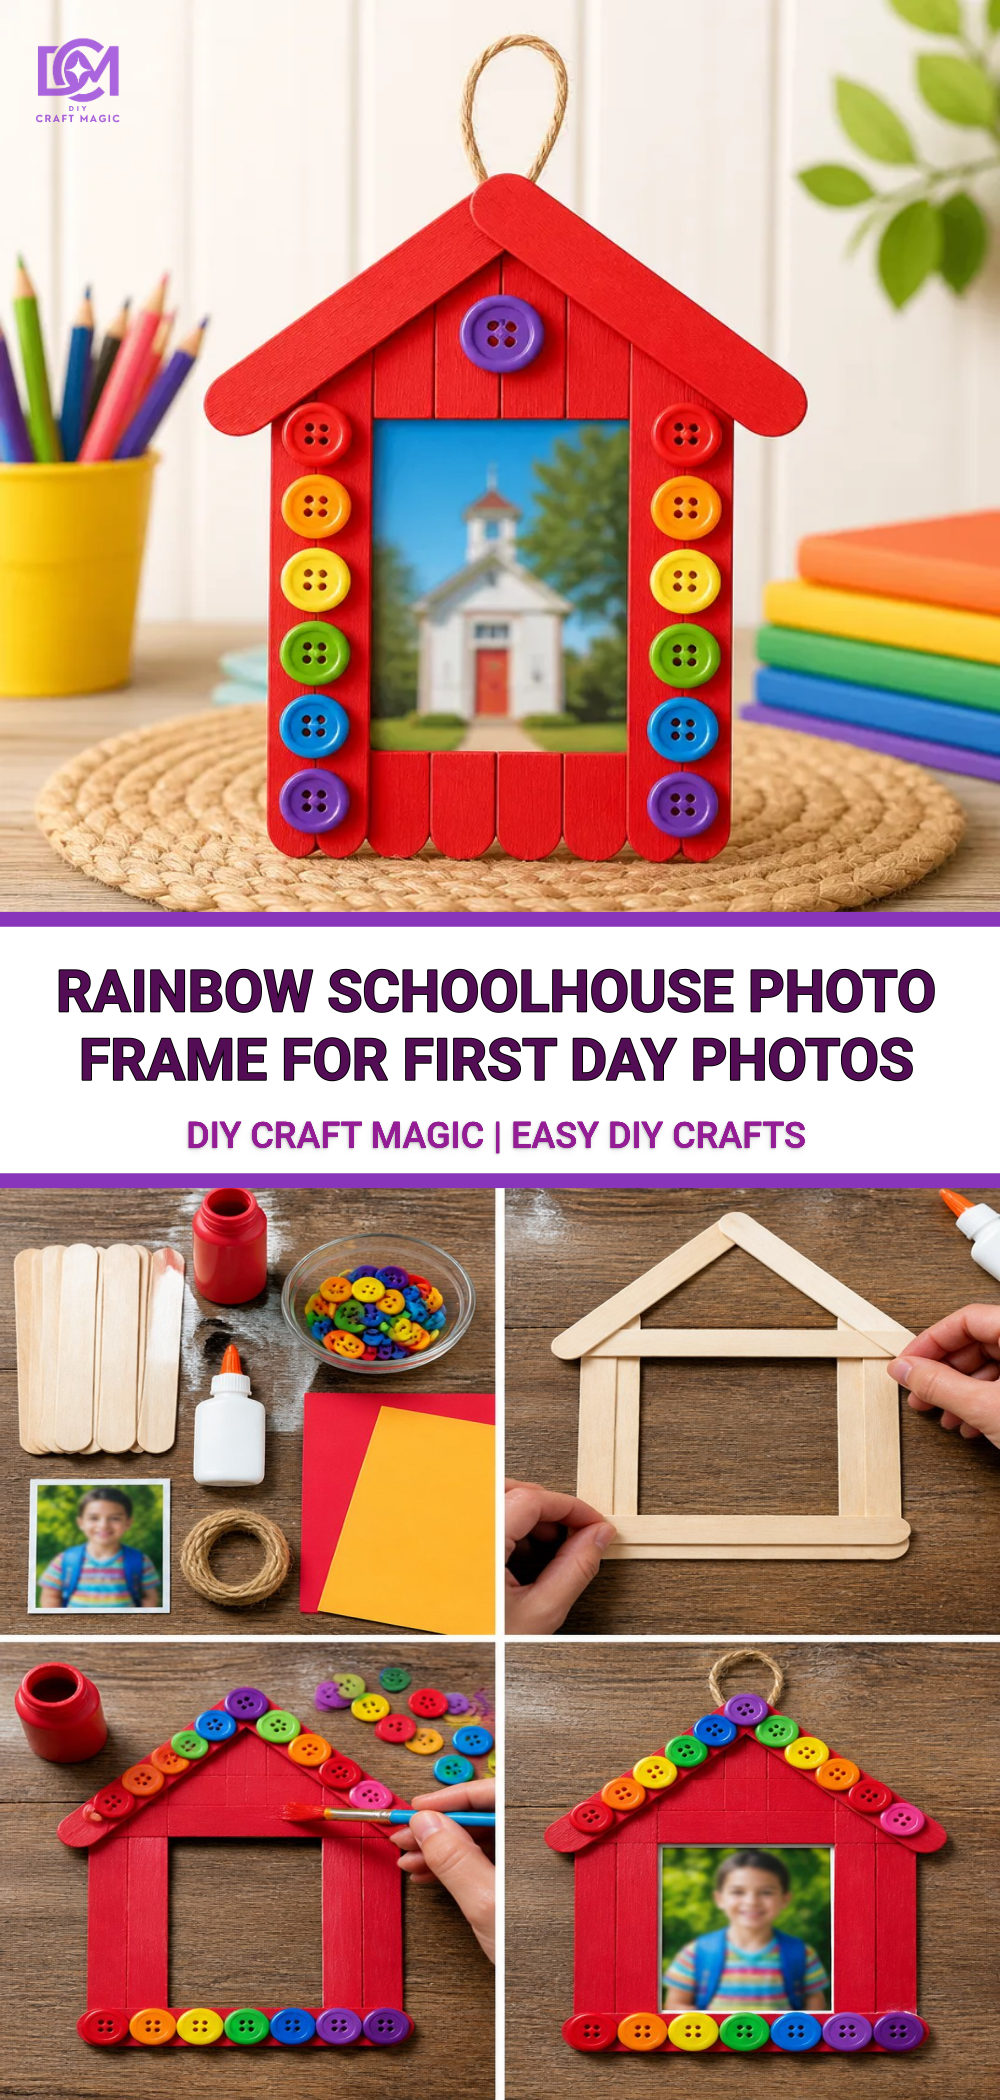
You may also find Diy Rainbow Mandala Stones For Home Decor useful.
- Cardstock or heavy paper in various colors (red, orange, yellow, green, blue, indigo, violet)
- A pair of scissors
- Glue stick
- Ruler
- Pencil
- Craft knife (for adult use)
- Decorative elements (stickers, glitter, or washi tape)
- A 4×6 photo to frame
Choosing Your Materials
Choosing bright and colorful cardstock will enhance the visual effect of your photo frame. Consider going for materials that have a slightly textured surface to add depth and interest once assembled. If you want to get really creative, you can incorporate colorful stained glass effects to give your frame a special touch.
How to Make the Back-to-School Rainbow Schoolhouse Photo Frame
Follow these steps carefully to create your beautiful photo frame: You may also find Melted Crayon Rainbow Butterfly Suncatcher For Kids useful.
- Measure the Base: Using the ruler and pencil, draw a rectangle measuring 6 inches by 8 inches on a piece of cardstock for the frame’s base.
- Cut the Base: Carefully use the craft knife to cut out the base. Remember, adult supervision is recommended if children are involved.
- Create the Window: Draw a smaller rectangle (4 inches by 6 inches) in the center of your base and cut this out to create the window where the photo will be displayed.
- Cut Color Strips: From the other colored cardstock, cut multiple strips (1 inch wide) of varying lengths, creating a rainbow effect. Make sure to keep the lengths different to offer visual interest.
- Glue the Strips: Starting from the bottom of the frame, glue the strips of colored cardstock around the window you created. Be creative and mix the order of the colors to give your frame a unique look.
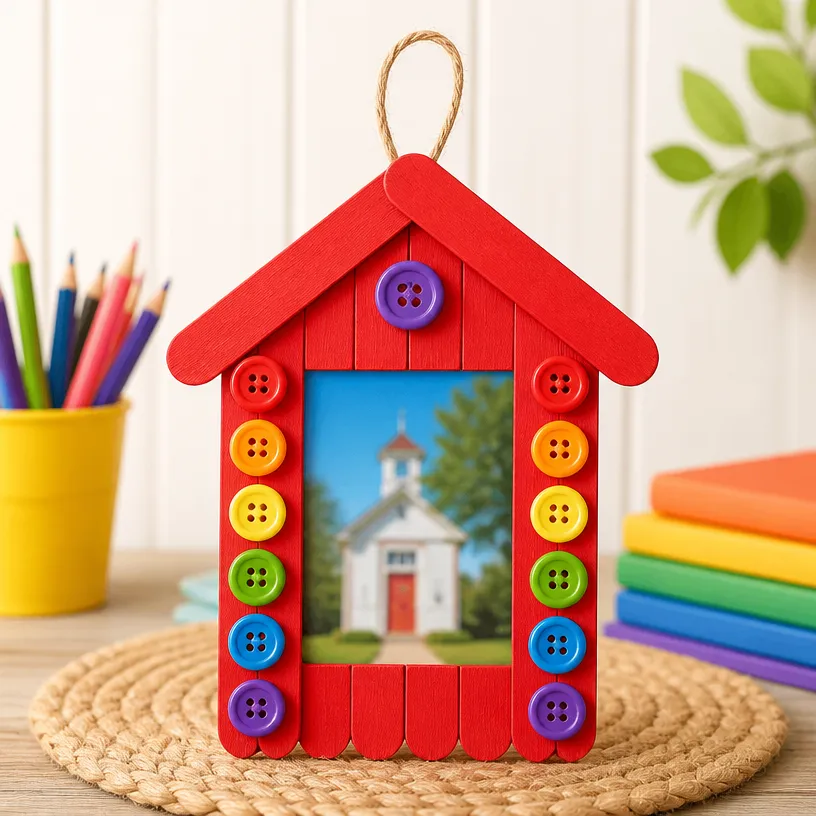
- Decorate: Once the glue is dry, you can add any decorative elements such as stickers, glitter, or washi tape around the edges of the frame. This step is where you can truly let your creativity shine!
Tips for a Perfect Frame
To ensure a stunning finish, here are a few tips:
- Allow each glued section to dry before moving on to the next to prevent any shifting.
- When adding decorative elements, a little goes a long way choose a few standout pieces rather than overwhelming the frame with too many decorations.
- Consider making a matching frame for siblings or friends to create a cohesive display of first-day photos.
Common Mistakes to Avoid
- Skipping Measurements: Ensure you measure properly to maintain the proportions of the frame and the photo cutout.
- Rushing the Drying Process: Take your time with the glue; this is crucial for durability.
- Choosing the Wrong Colors: Picking colors that clash may detract from the overall appeal of the frame. Instead, stick with colors that align with the rainbow theme.
Customization Ideas
There are numerous ways you can personalize your Rainbow Schoolhouse Photo Frame:
- Use pictures from various seasons to celebrate each new school year.
- Let your kids paint their own designs on the strip sections for a more personal touch.
- Change the shape of the window to be a star, heart, or other fun shape!

Frequently Asked Questions
How long does it take for the glue to dry?
Typically, it takes about 30 minutes for the glue to dry, but it’s best to wait a full hour before handling the frame.
Can I use thinner paper instead?
While thinner paper can work, it may not offer the same durability as heavier cardstock. Opt for the heaviest cardstock you can find for the structure.
What if I don’t have a craft knife?
If a craft knife is unavailable, a pair of sharp scissors will suffice, but make sure to cut carefully around the inner window.
Conclusion
Creating a Back-to-School Rainbow Schoolhouse Photo Frame is a wonderful way to commemorate your child’s beginning of the school year. This project not only allows for a bright and colorful display but also encourages creativity and personalization. For more inspiration, explore the options available for back-to-school photography or find unique themes on Etsy for your photo sessions. Happy crafting!
Print
Back-to-School Rainbow Schoolhouse Photo Frame
- Total Time: 45 minutes
- Makes: 1 frame
Description
Create a vibrant photo frame to celebrate your child’s first day of school with this simple DIY project.
Materials
- Cardstock or heavy paper in various colors (red, orange, yellow, green, blue, indigo, violet)
- A pair of scissors
- Glue stick
- Ruler
- Pencil
- Craft knife (for adult use)
- Decorative elements (stickers, glitter, or washi tape)
- A 4×6 photo to frame
Instructions
- Measure the base: Using the ruler and pencil, draw a rectangle measuring 6 inches by 8 inches on cardstock.
- Cut the base: Carefully use the craft knife to cut out the base, with adult supervision.
- Create the window: Draw a smaller rectangle (4 inches by 6 inches) in the center and cut it out.
- Cut color strips: From other colored cardstock, cut strips (1 inch wide) of varying lengths for the rainbow effect.
- Glue the strips: Glue the strips around the window to create a unique look.
- Decorate: Add stickers, glitter, or washi tape around the edges once the glue is dry.
Notes
Allow each glued section to dry before progressing. Use fewer decorative elements for a cleaner look.