

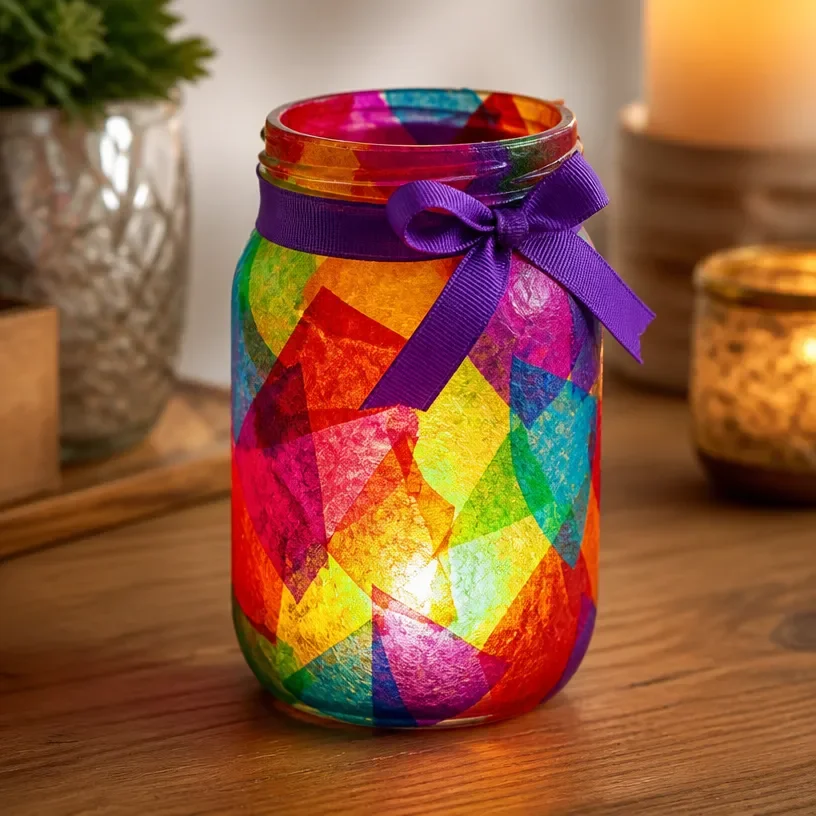
Colorful Rainbow Stained-Glass Lantern for Candles
Creating a Colorful Rainbow Stained-Glass Lantern for Candles is a delightful way to add a cheerful glow to your home decor. This craft transforms simple materials into a stunning, vibrant centerpiece that radiates warmth and creativity. By using translucent colors, this lantern not only illuminates a candle but also serves as a piece of art that brightens any room. The process is straightforward and incredibly satisfying, making it an excellent project for both experienced crafters and beginners alike. You may also find Diy Rainbow Mandala Stones For Home Decor useful.
Why You’ll Love This Project
This stained-glass lantern is a perfect combination of beauty and simplicity. The bright colors create a captivating stained-glass effect that shifts and changes with the light. Moreover, crafting this lantern doesn’t require expert skills; you can create a masterpiece using everyday materials that are likely found in your home. Plus, it offers a unique opportunity to explore creativity with your kids! If you enjoyed making this lantern, you might also love exploring more colorful lantern projects.
Materials You’ll Need
To get started, gather the following materials: You may also find Melted Crayon Rainbow Heart Suncatcher For Kids useful.
- Glass jar (like a mason jar)
- Translucent tissue paper in various vibrant colors
- Mod Podge or white craft glue
- Paintbrush
- Scissors
- Tea light candles (battery-operated for safety is preferred)
- Wax paper (optional)
Choosing Your Materials
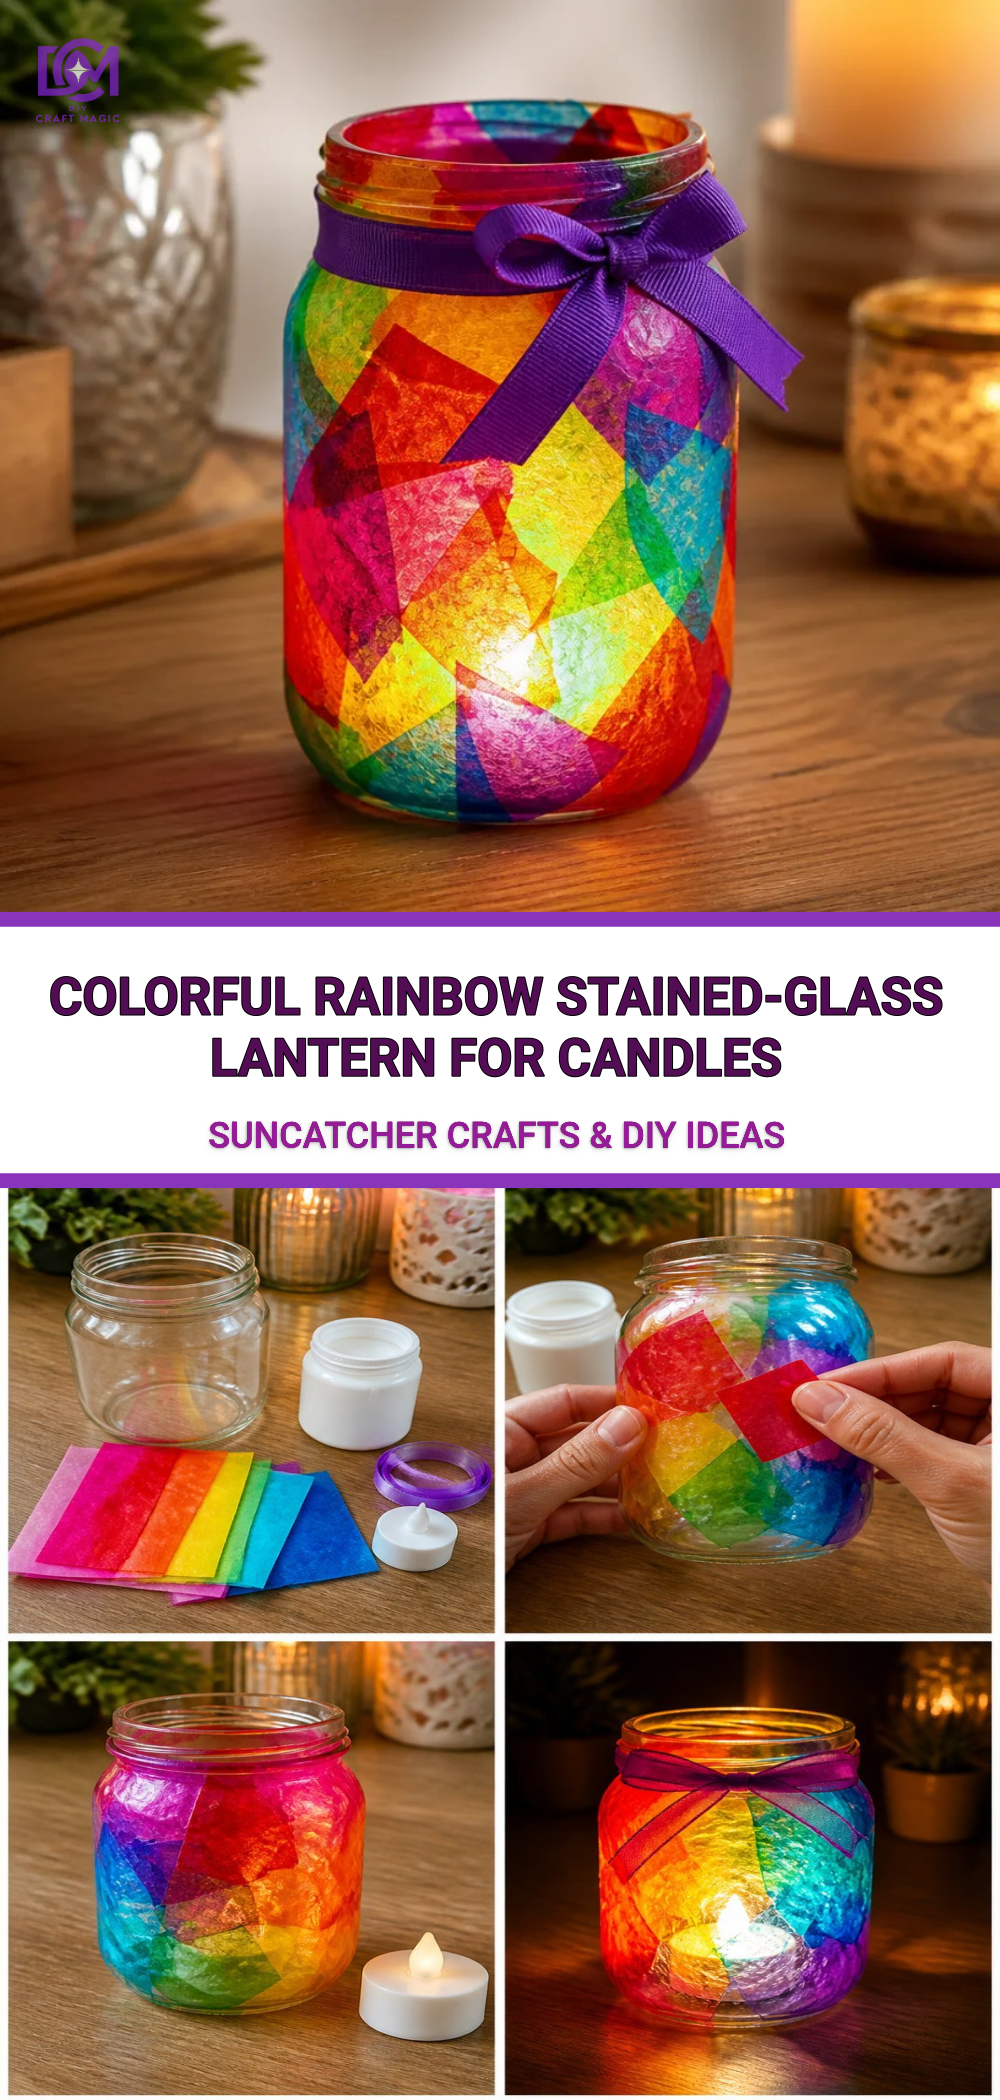
When selecting tissue paper, consider using a rainbow of colors such as red, yellow, green, blue, and purple. These colors will create a beautiful gradient effect. The glass jar acts as the base of your lantern and will showcase the vibrant hues you choose. Additionally, if you want to add more textural interest, you can incorporate other materials or embellishments.
How to Make Colorful Rainbow Stained-Glass Lantern for Candles
Step-by-Step Instructions
Prepare Your Workspace: Lay down newspaper or a craft mat to protect your surfaces. Gather all your materials within reach.
Cut the Tissue Paper: Cut the tissue paper into small squares or shapes, ensuring you have a mix of colors. Sizes can vary, but about 2 inches square works well.
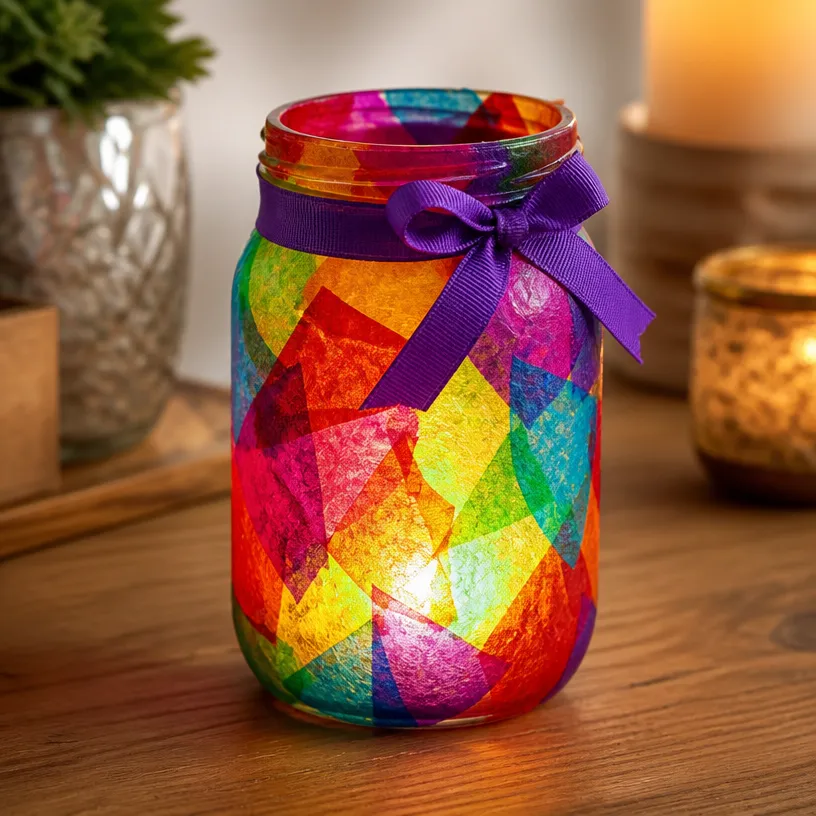
Apply Mod Podge: Using the paintbrush, apply a thin layer of Mod Podge to the glass jar. Start from the bottom and work your way up to avoid any drips.
Position the Tissue Paper: Press the cut tissue paper pieces onto the Mod Podged area. You can overlap pieces for added texture and color depth. Ensure each piece smoothly adheres to the jar to minimize air bubbles.
Seal with Mod Podge: Once all the pieces are applied, brush another layer of Mod Podge over the top of the tissue paper to seal it in place. This will give it a glossy finish and help to protect the colors.
Drying: Allow your lantern to dry for at least an hour. The lantern will continue to harden, so giving it enough time will enhance its durability.
Add Your Light Source: Once dry, place a tea light candle inside the jar. If you choose a real candle, always supervise it while lit. Battery-operated candles are a safer alternative.
Helpful Tips
- To create a more dynamic look, consider using multiple layers of tissue paper in varying colors.
- If you’re crafting with kids, supervise them especially when using scissors and applying Mod Podge.
- Enhance your lantern’s design by adding embellishments like ribbons or beads around the rim.
- For outdoor use, try creating lanterns with recycled materials that are more weather-resistant.
Common Mistakes to Avoid
One common mistake is applying too much Mod Podge, which can make the tissue paper look soggy. A thin, even layer is best. Additionally, don’t rush the drying time, as this can lead to peeling or lifting of the tissue paper.
Ways to Customize It
Feel free to personalize your lantern further. You can experiment with shapes like hearts or stars and mix different colors for seasonal decorations. If you want to create themed lanterns, look into how you could use this project during holidays like Halloween or Christmas by choosing appropriate colors or designs.
Display Ideas
Your Colorful Rainbow Stained-Glass Lanterns can be displayed on windowsills, tabletops, or as part of a festive centerpiece. If you’re feeling playful, you can make a set and string them together to create a colorful garland for outdoor gatherings or parties.
Crafting With Kids
This project is particularly engaging for kids. They get to cut, glue, and watch as their creation comes to life. It’s a fantastic way to bond, encourage creativity, and teach them about colors and light! For another fun project idea, check out melted crayon suncatchers.
Frequently Asked Questions
How do I ensure the lantern is safe if I use a real candle?
Make sure to supervise the lantern at all times when using a real candle. Alternatively, opt for battery-operated tea lights for peace of mind.
Can I use other types of paper instead of tissue paper?
Yes! You can experiment with colored wrapping paper or even napkins, but remember that their translucency will affect the final look.
How long will my lantern last?
If properly cared for, your lantern can last for many seasons. Just keep it away from moisture and harsh sunlight which may fade the colors.
Conclusion
Creating a Colorful Rainbow Stained-Glass Lantern for Candles is not only enjoyable but also a rewarding project that can brighten your home. If you’re looking to enhance your decor, consider browsing for unique options like a Rainbow Stained Glass Mosaic Lantern. For an engaging addition to your celebrations, explore DECORKEYs Ramadan decorations to inspire your crafting journey.
Print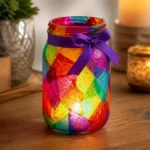
Colorful Rainbow Stained-Glass Lantern for Candles
- Total Time: 1 hour 15 minutes
- Makes: 1 lantern
Description
Create a delightful stained-glass lantern for candles using simple materials to add a cheerful glow to your home decor.
Materials
- Glass jar (like a mason jar)
- Translucent tissue paper in various vibrant colors
- Mod Podge or white craft glue
- Paintbrush
- Scissors
- Tea light candles (battery-operated for safety is preferred)
- Wax paper (optional)
Instructions
- Prepare your workspace: Lay down newspaper or a craft mat to protect your surfaces and gather all materials.
- Cut the tissue paper into small squares or shapes, ensuring a mix of colors, about 2 inches square works well.
- Apply a thin layer of Mod Podge to the glass jar starting from the bottom and working up.
- Position the cut tissue paper pieces onto the Mod Podged area, overlapping for texture and color depth.
- Seal the tissue paper by brushing another layer of Mod Podge over the top.
- Dry the lantern for at least an hour to harden and enhance durability.
- Add a tea light candle inside the jar, supervising if using a real candle, or use a battery-operated one for safety.
Notes
For dynamic looks, use multiple layers of tissue paper and consider adding embellishments like ribbons or beads.