


Holographic Glowing Lantern for Schoolhouse
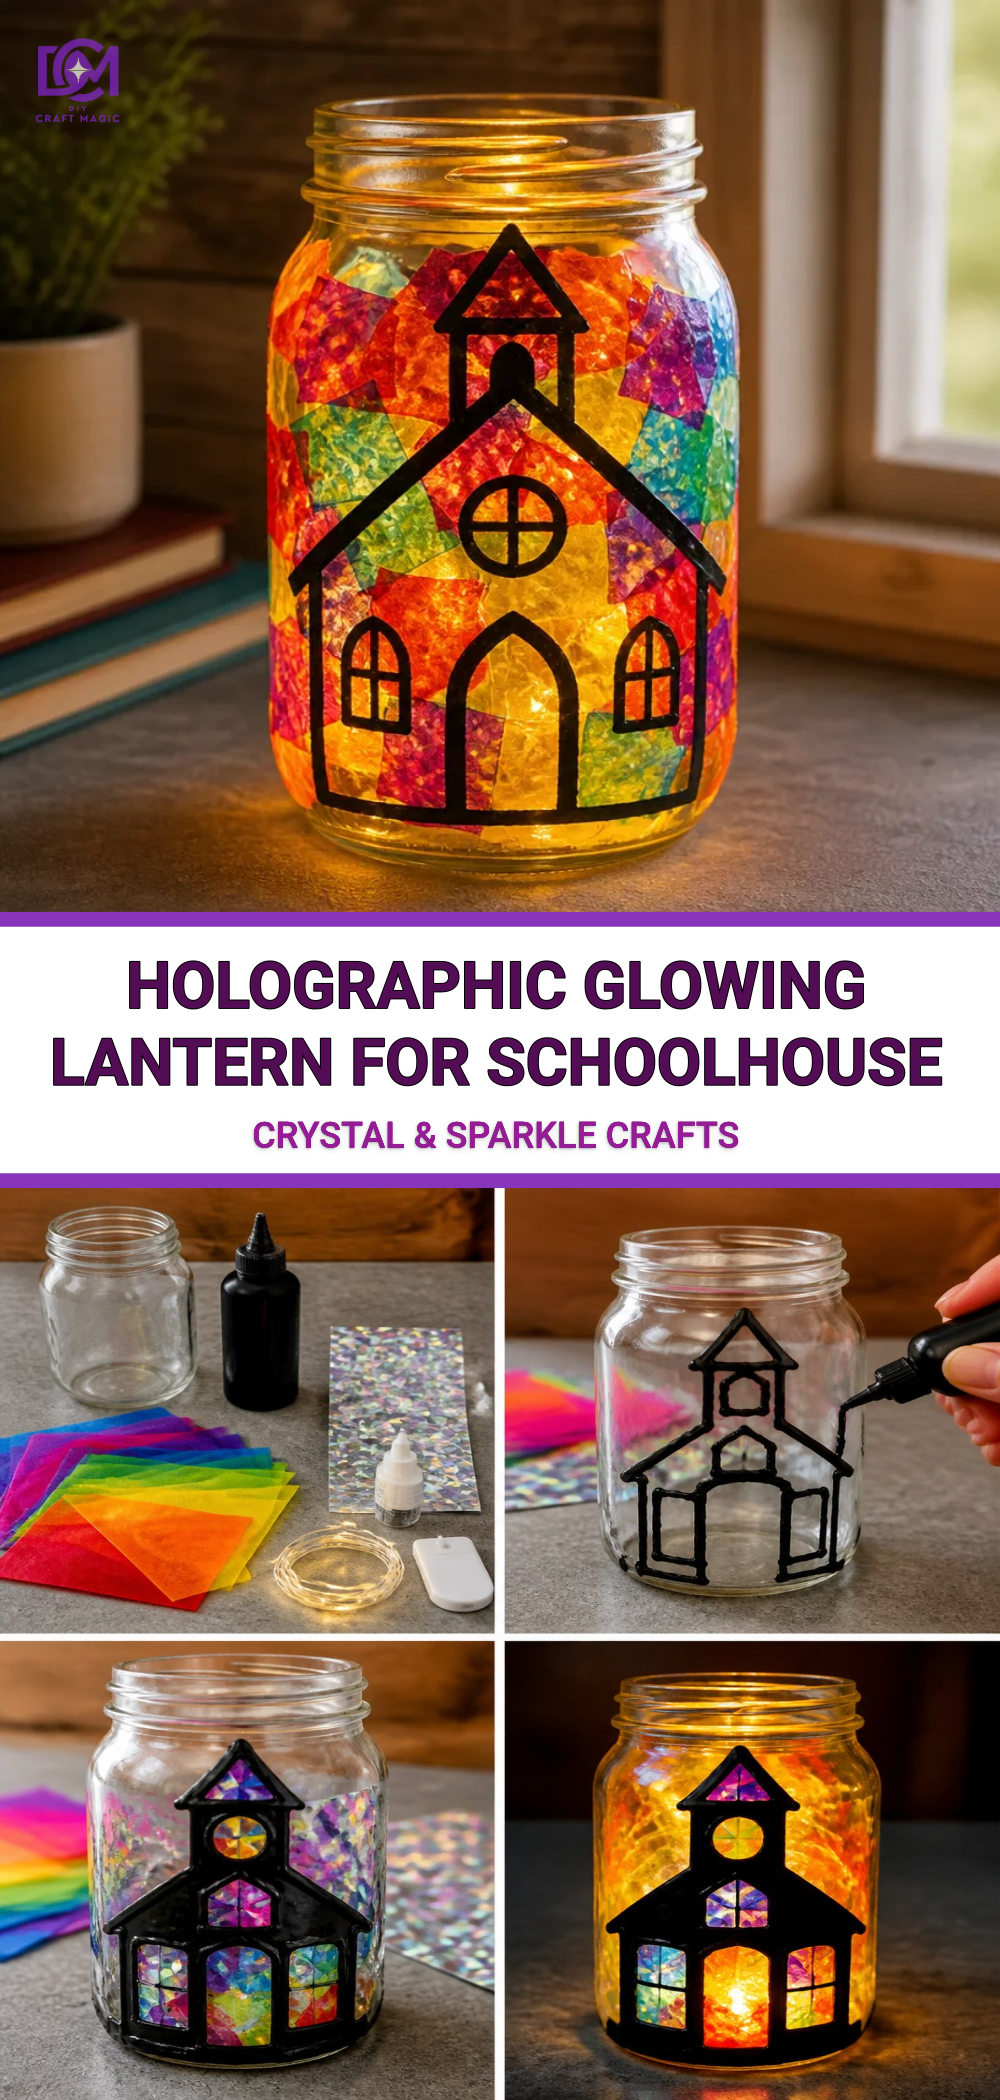
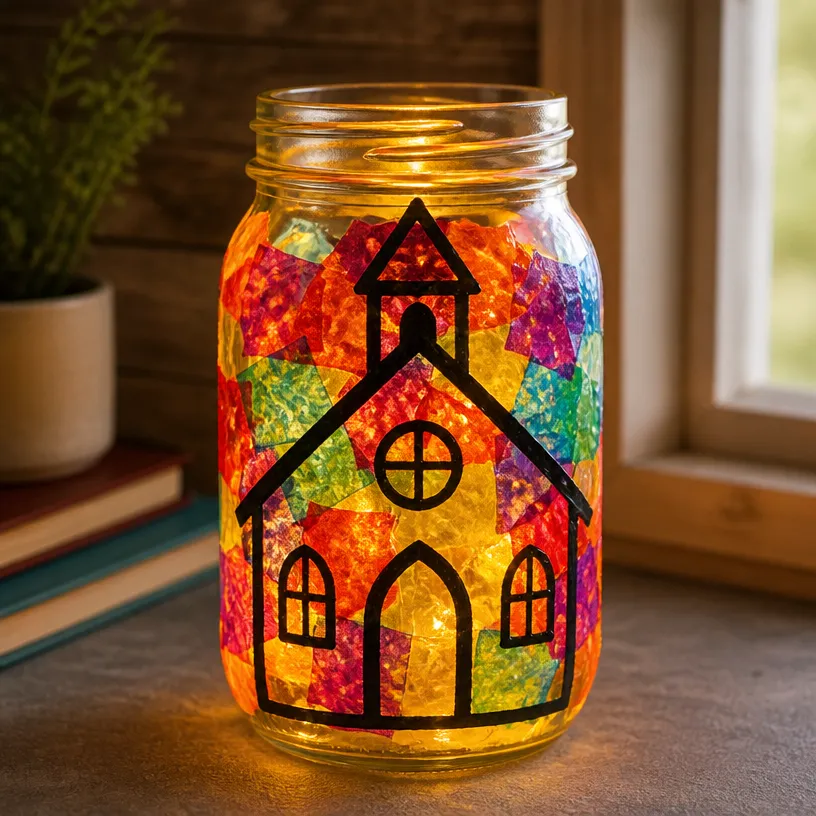
Crafting a holographic glowing lantern for your schoolhouse is a fantastic way to create an enchanting décor piece that captures children’s imaginations and enhances any classroom setting. This project stands out due to its shimmering effects and vibrant colors, making it visually captivating while remaining simple and satisfying to create. The process is approachable for crafters of any skill level, allowing for a fun and engaging creative experience. You may also find Diy Glowing Ocean Jar Tutorial Home Decor useful.
You may also find Diy Rainbow Mandala Stones For Home Decor useful.
Materials You’ll Need
To get started on your holographic glowing lantern, gather the following materials:
- Clear plastic or glass jar
- Holographic craft paper
- Scissors
- Battery-operated tea light
- Hot glue gun and glue sticks
- Decorative elements like ribbons or stickers (optional)
Choosing Your Materials
Selecting the right materials is crucial for achieving a stunning outcome. For the lantern, clear jars work best because they allow the light to shine through effectively. Holographic craft paper adds the iridescent touch you’ll want to create a glowing effect. Consider browsing through DIYCraftMagic’s collection of easy projects, like the colorful rainbow stained glass lantern for inspiration.
How to Make Holographic Glowing Lantern for Schoolhouse
Step-by-Step Instructions
Cut the Holographic Paper: Begin by cutting the holographic paper into shapes. These can be squares, circles, or any design you prefer. Make sure they are slightly smaller than the height of the jar.
Attach the Paper: Using your hot glue gun, attach the pieces of holographic paper to the outside of the jar. Space them out evenly, leaving some clear areas to create a contrast with the light.
Add Decorative Elements: If you’d like, embellish your lantern with ribbons or stickers. This extra touch can personalize your lantern and make it uniquely yours.
Insert the Tea Light: Place a battery-operated tea light inside the jar. Ensure it fits snugly so it doesn’t tip over.
Finish Up: Once everything is dry and secure, you can light up your holographic glowing lantern. Turn off the lights, and watch the magic happen as the colors dance around the room.
Helpful Tips
- Experiment with Shapes: Feel free to experiment with different shapes of holographic paper to see how they affect the light’s dispersal. Geometric designs can create stunning patterns.
- Test Light Levels: Before finalizing the lantern, test the tea light’s glow. Dim the room lights to see how well your lantern illuminates.
Adding layers of holographic paper can enhance the crystalline effect, reminiscent of beautiful sun catchers, much like those made in the rainbow tissue paper flower lantern project.
Display Ideas
Once completed, choose a prominent location for your lantern. Whether on a classroom shelf, as a centerpiece on a table, or hung from the ceiling, the holographic lantern will surely attract attention while providing a warm glow.

Frequently Asked Questions
Can I use other types of light sources?
Absolutely! While battery-operated tea lights are safest, you could use LED string lights or any other low-heat lighting to create a glowing effect.
How long will it last?
This lantern can last indefinitely with gentle handling and indoor use, allowing students to enjoy it throughout various seasons.
Is this project suitable for kids?
Yes, this project is great for kids! However, adult supervision is recommended when using hot glue guns and scissors.For those interested in similar projects, check out the cupcake liner sunflower wreath, which is another fun and kid-friendly craft.
Conclusion
Creating a holographic glowing lantern is not just a delightful craft but also an opportunity to bring vibrant colors and light into your schoolhouse. If you’re looking to explore more creative ideas, consider visiting Trick ‘r Treat – Laserdome for exciting options or check out how to download floating ghost face stock images for free to incorporate into your crafty themes. Enjoy your crafting journey and let your creativity shine!
Print
Holographic Glowing Lantern for Schoolhouse
- Total Time: 15 minutes
- Makes: 1 lantern
Description
Create a stunning holographic glowing lantern to enhance your classroom with vibrant colors and shimmering effects, suitable for crafters of all skill levels.
Materials
- Clear plastic or glass jar
- Holographic craft paper
- Scissors
- Battery-operated tea light
- Hot glue gun and glue sticks
- Decorative elements like ribbons or stickers (optional)
Instructions
- Cut the holographic paper into shapes, slightly smaller than the height of the jar.
- Attach the pieces of holographic paper to the outside of the jar using hot glue, spacing them evenly.
- Add decorative elements like ribbons or stickers to personalize your lantern.
- Insert the battery-operated tea light inside the jar, ensuring it fits snugly.
- Finish by lighting up your lantern and enjoying the magical glow.
Notes
Experiment with different shapes of holographic paper to see how they affect light dispersion. Use LED string lights for alternative lighting options.