

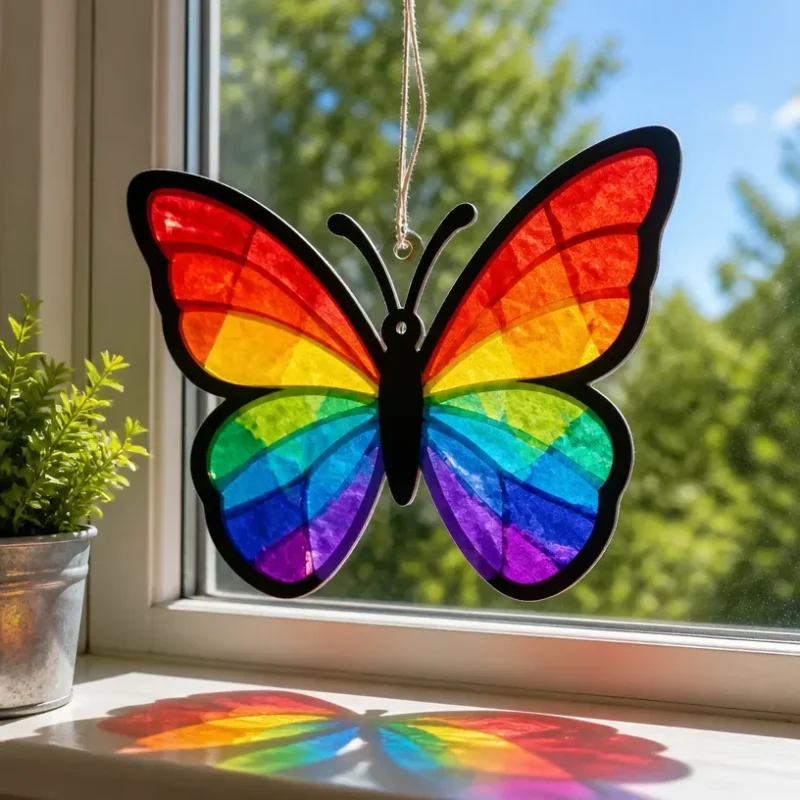
DIY Layered Rainbow Butterfly Suncatcher
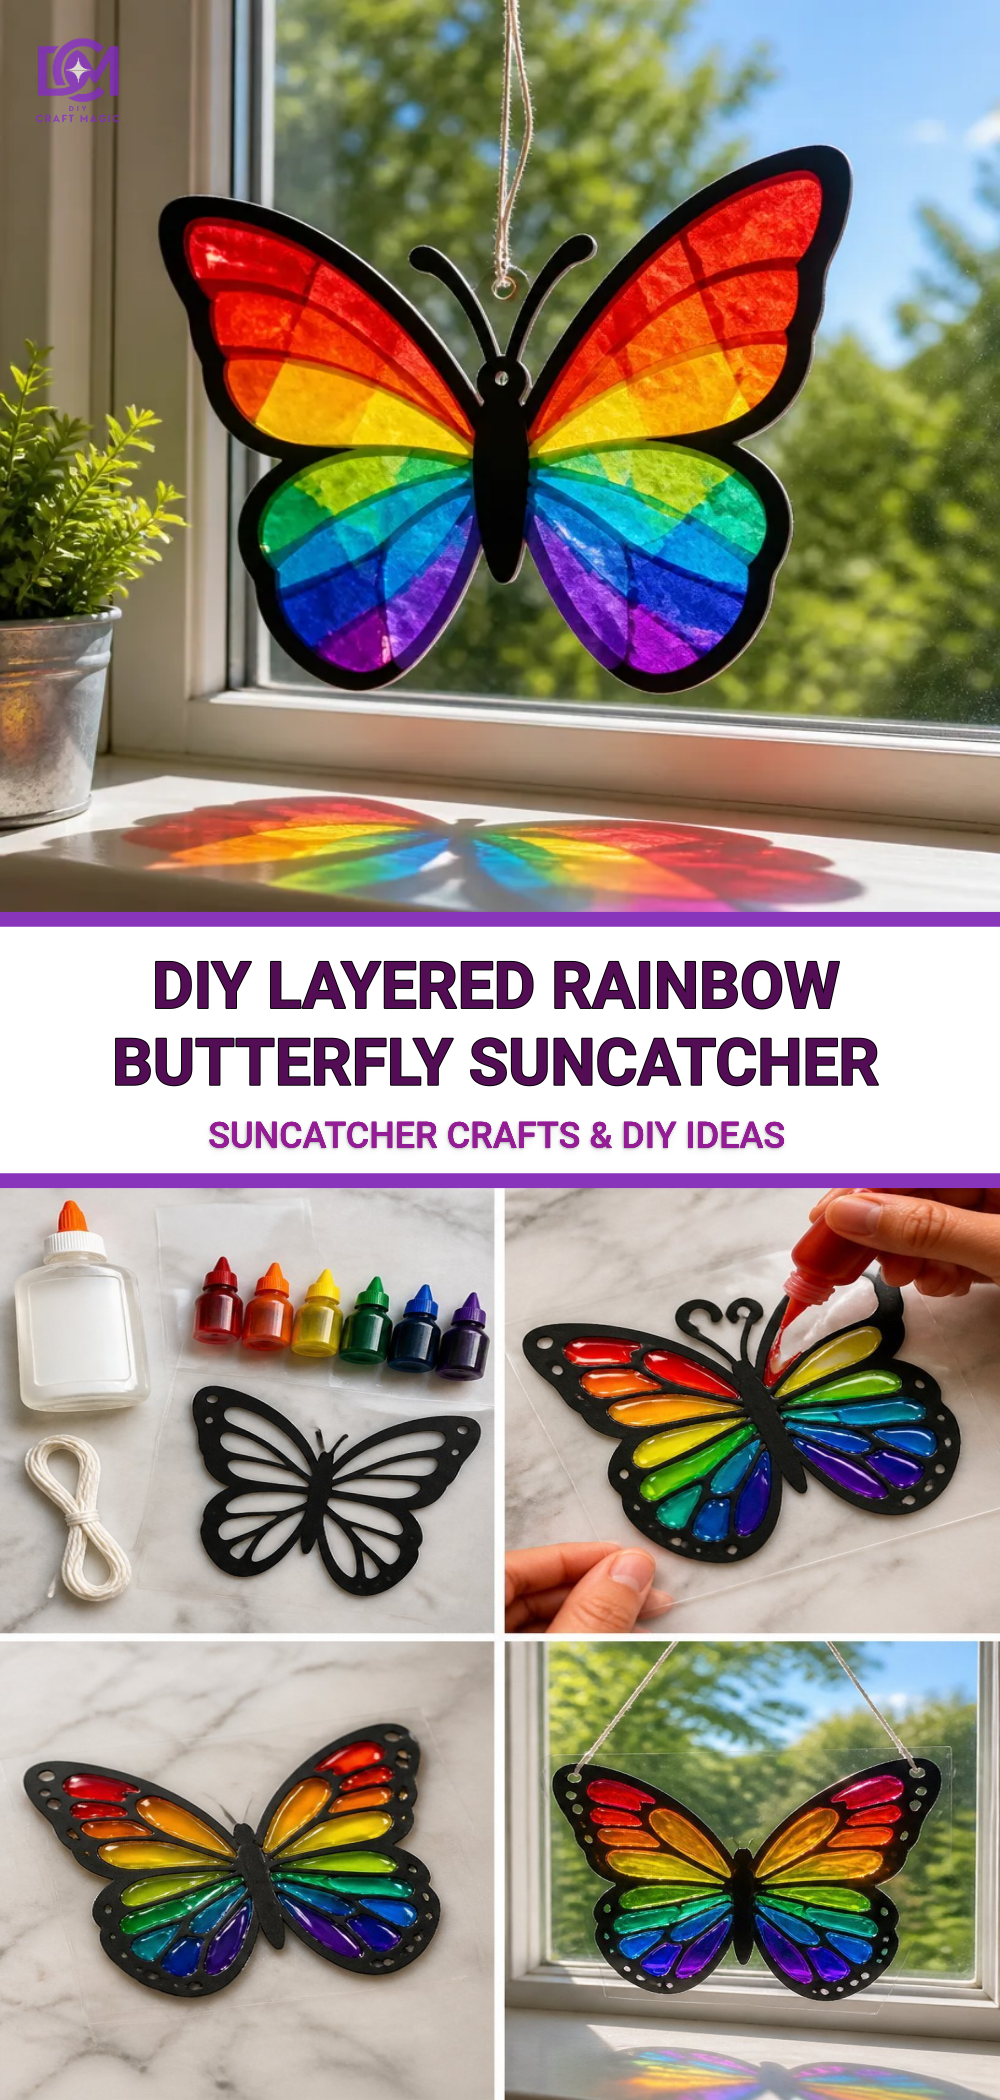
Creating a DIY Layered Rainbow Butterfly Suncatcher is a delightful way to add a splash of color to your home. This project is visually appealing, not only because of the vibrant layers but also due to the way light filters through the materials, creating a stunning display. The process is straightforward, making it perfect for beginners and families looking to enjoy some quality crafting time together. You may also find Layered Rainbow Butterfly Suncatcher Craft useful.
You may also find Clear Blue Rainbow Bat Suncatcher Wreath Diy useful.
Materials You’ll Need
To begin your crafting adventure, gather the following materials: You may also find First Day Rainbow Pencil Butterfly Suncatcher useful.
- Transparent plastic sheets
- Colored tissue paper
- Scissors
- Glue
- Butterfly template
- Black marker or pen
- String or fishing line
This list contains everything you need to make your suncatcher, and all the materials are easily accessible.
How to Make Your DIY Layered Rainbow Butterfly Suncatcher
Follow these step-by-step instructions for a successful suncatcher project:
- Print and Cut the Butterfly Template: Start by printing out your butterfly template and carefully cutting it out along the edges. This will serve as the outline for your suncatcher.
- Trace on a Plastic Sheet: Next, place your butterfly template on a transparent plastic sheet. Using a black marker, trace around the template to create the shape.
- Cut Out the Shape: Once you’ve traced the butterfly onto the plastic sheet, cut out the shape carefully. This forms the base of your suncatcher.
- Prepare the Tissue Paper: Tear the colored tissue paper into small pieces. You can use a variety of colors to create a beautiful layered effect on your butterfly cutout.
- Arrange the Layers: Begin placing the tissue paper pieces in layers on top of the butterfly shape. Feel free to overlap the colors to create depth and a vibrant rainbow look.
- Glue the Tissue Paper: Using glue, attach the tissue paper to the plastic sheet, ensuring that you cover the entire surface of the butterfly. Don’t rush this step; take your time to create a visually pleasing arrangement.
- Let It Dry: Allow the glue to dry completely. This step is crucial for the longevity of your suncatcher, as dried glue will keep the tissue paper securely in place.
- Add a Hanging Hole: Once dry, punch a small hole at the top of the butterfly. This will allow you to attach a string or fishing line for hanging.
- Display Your Suncatcher: Finally, enjoy your colorful butterfly suncatcher! Find a sunny window where the light can illuminate the colors beautifully.
In addition to the layered rainbow butterfly, you might also be interested in trying other suncatcher projects like the rainbow melted crayon butterfly suncatcher or the melted bead butterfly suncatcher for more colorful fun.
Tips for Success
- Color Combinations: Take a moment to plan the colors you want to use. Complementary colors will create a striking effect, while analogous colors will yield a more harmonious look.
- Be Mindful of Drying Time: Ensure the glue is thoroughly dried before proceeding to the next step. This prevents any accidental displacement of the tissue paper.
Ways to Customize Your Suncatcher
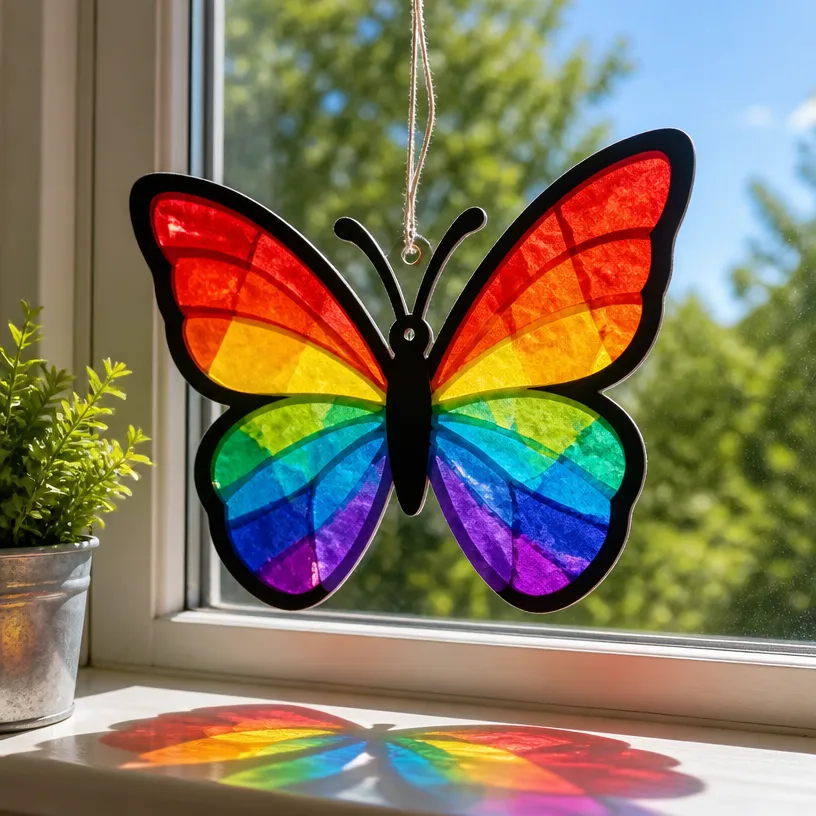
This project is wonderfully versatile! Here are some ideas to customize your layered rainbow butterfly suncatcher:
- Seasonal Themes: Change the colors and shapes based on holidays or seasons; pastel colors for spring or darker hues for autumn can be beautiful options.
- Different Shapes: Experiment with different butterfly shapes or even other animals to create a unique collection.
Creating a Crystal Effect
To achieve a beautiful crystal-like effect, consider layering different shades of one color or using white tissue paper for a softer shine. This can help mimic the look of stained glass, further enhancing the beauty of your suncatcher.
Common Mistakes to Avoid
- Too Much Glue: It’s easy to overdo the glue, but too much can seep through the tissue paper and make it difficult for light to shine through.
- Inadequate Drying: Rushing the drying time can lead to parts of the tissue paper shifting or peeling off the plastic sheet.
Frequently Asked Questions
How do I hang my butterfly suncatcher?
You can use string or fishing line to hang your suncatcher. Just thread it through the hole you punched at the top and tie it securely.
Can I use regular paper instead of plastic sheets?
Regular paper is not recommended as it may not be transparent enough to let light shine through. Stick with transparent plastic sheets for the best effect.
How do I clean my suncatcher?
To clean your butterfly suncatcher, simply use a damp cloth to avoid damaging the tissue paper.
Final Thoughts
Creating a DIY Layered Rainbow Butterfly Suncatcher is not just a fun craft but also an opportunity to bring a burst of color into your home. Display it in a sunny spot, and watch as the colors come to life. With so many ways to customize this project, you’ll find endless enjoyment in crafting and displaying your own beautiful suncatchers.
Conclusion
Crafting with your family can be a rewarding experience, and this project is a perfect choice. If you’re interested in making more creative decorations, be sure to check out easy suncatcher window clings or try a DIY washable window paint recipe for more colorful fun. Enjoy your crafting!
Print
DIY Layered Rainbow Butterfly Suncatcher
- Total Time: 30 minutes
- Makes: 1 suncatcher
Description
A delightful and colorful craft project to brighten your home using transparent sheets and tissue paper.
Materials
- Transparent plastic sheets
- Colored tissue paper
- Scissors
- Glue
- Butterfly template
- Black marker or pen
- String or fishing line
Instructions
- Print and cut the butterfly template.
- Trace on a plastic sheet using a black marker.
- Cut out the traced shape carefully.
- Tear the colored tissue paper into small pieces.
- Arrange the tissue paper pieces in layers on the butterfly shape.
- Glue the tissue paper to the plastic sheet.
- Let it dry completely.
- Add a hanging hole at the top of the butterfly.
- Display your suncatcher in a sunny window.
Notes
Plan your color combinations for the best visual effect, and be sure to allow adequate drying time.