

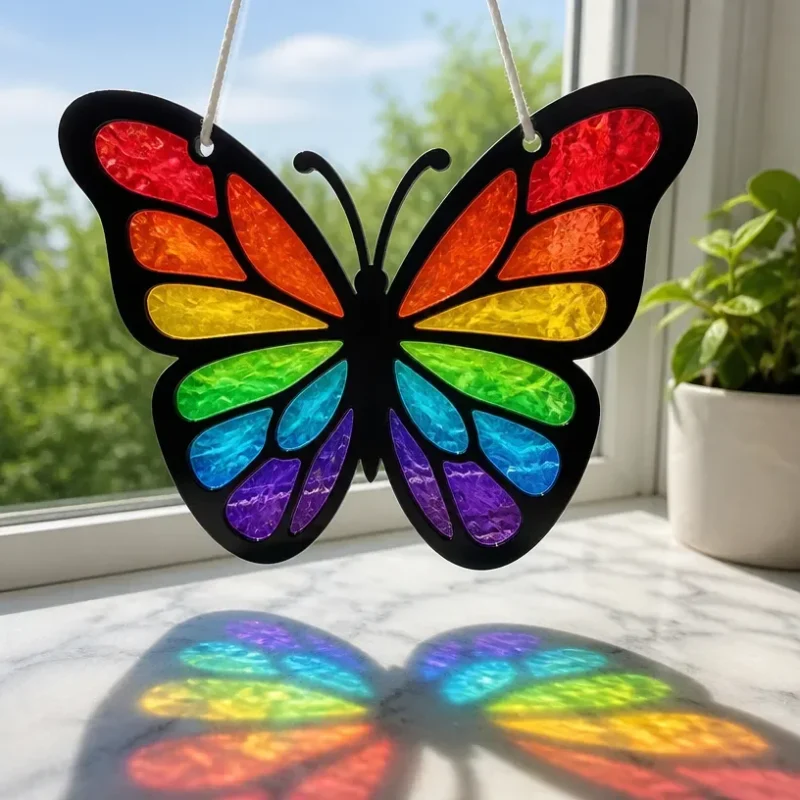
DIY Layered Rainbow Butterfly Suncatcher
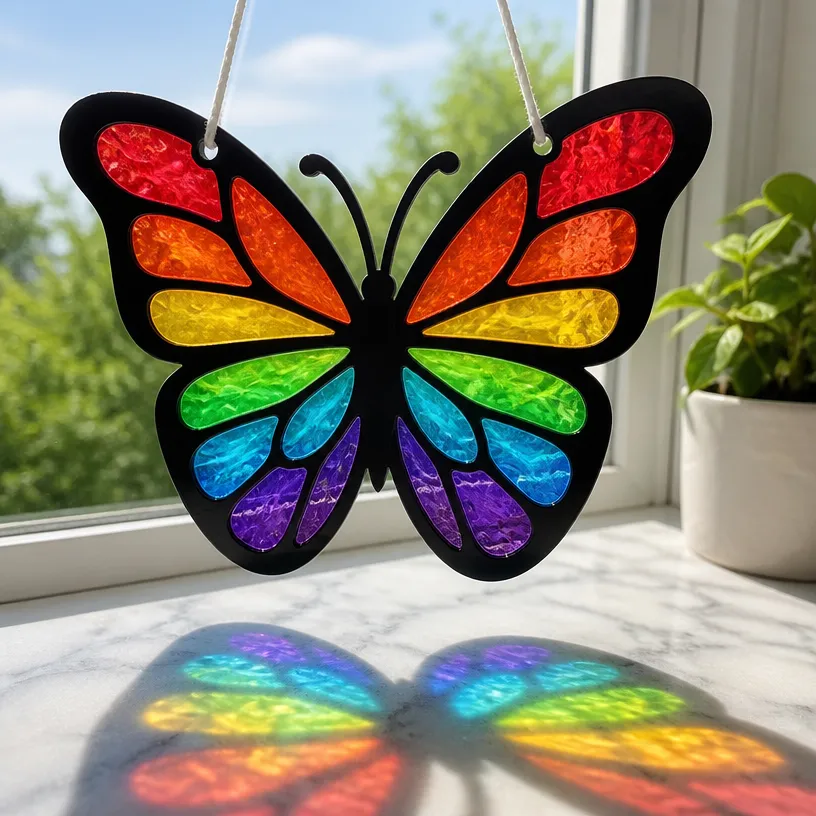
Creating a beautiful DIY Layered Rainbow Butterfly Suncatcher not only adds vibrancy to your home but also provides a fun and engaging activity for both adults and children. This project combines colorful materials to produce a visually stunning piece of art that captures light beautifully, creating vibrant reflections. The layering technique offers a satisfying crafting experience, resulting in a piece that’s both attractive and a great conversation starter. You may also find Clear Blue Rainbow Bat Suncatcher Wreath Diy useful.
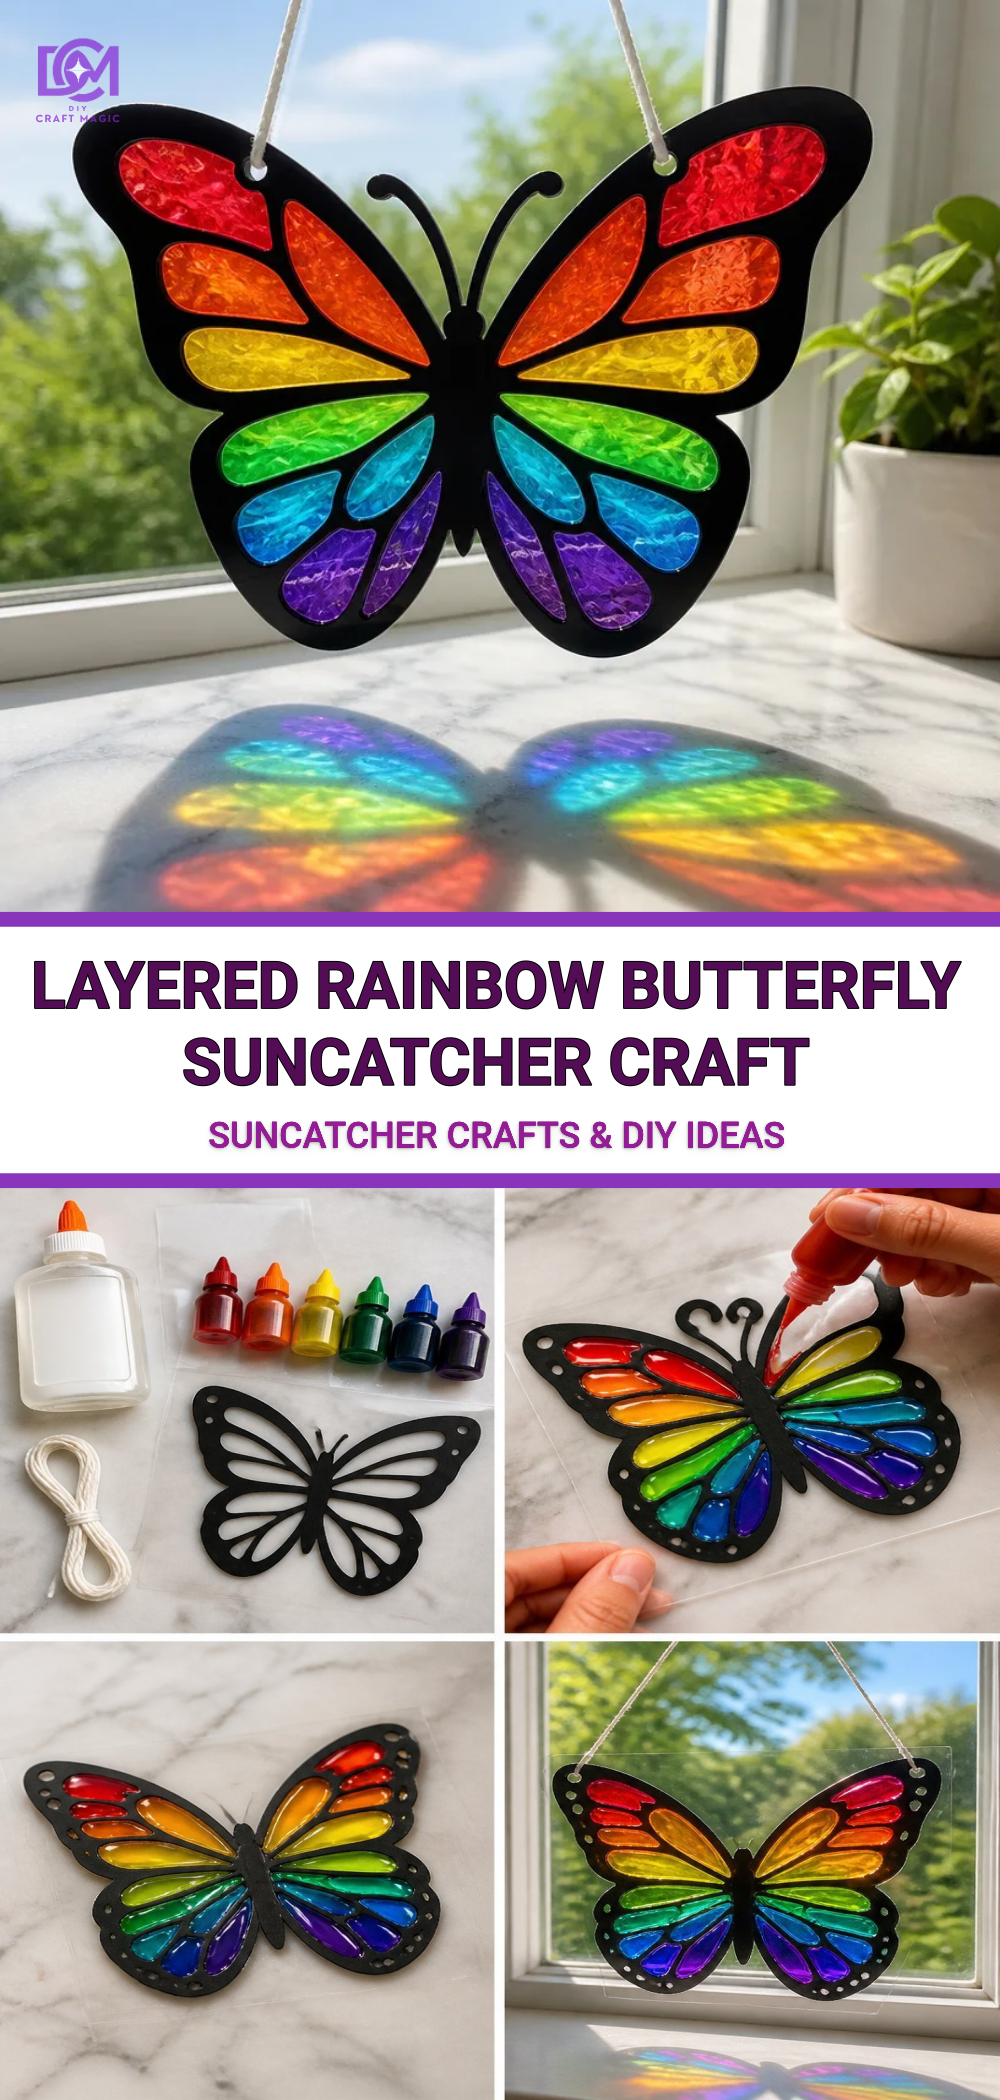
You may also find First Day Rainbow Pencil Butterfly Suncatcher useful.
Materials You’ll Need
Before starting, gather the following materials: You may also find Melted Bead Butterfly Suncatcher Diy Tutorial useful.
- Parchment paper: This will serve as your work surface.
- Transparent glue: A clear-drying adhesive is essential for maintaining the beauty of your colors.
- Wax paper: This helps create the layered effect.
- Colorful tissue paper: Choose a variety of colors to make a rainbow effect.
- Butterfly template: You can either draw your own or print one from online resources.
- Scissors: For cutting out your butterfly shapes.
- Markers or crayons: To give added details to your design.
Now that you have everything, let’s move on to the crafting process.
How to Make DIY Layered Rainbow Butterfly Suncatcher
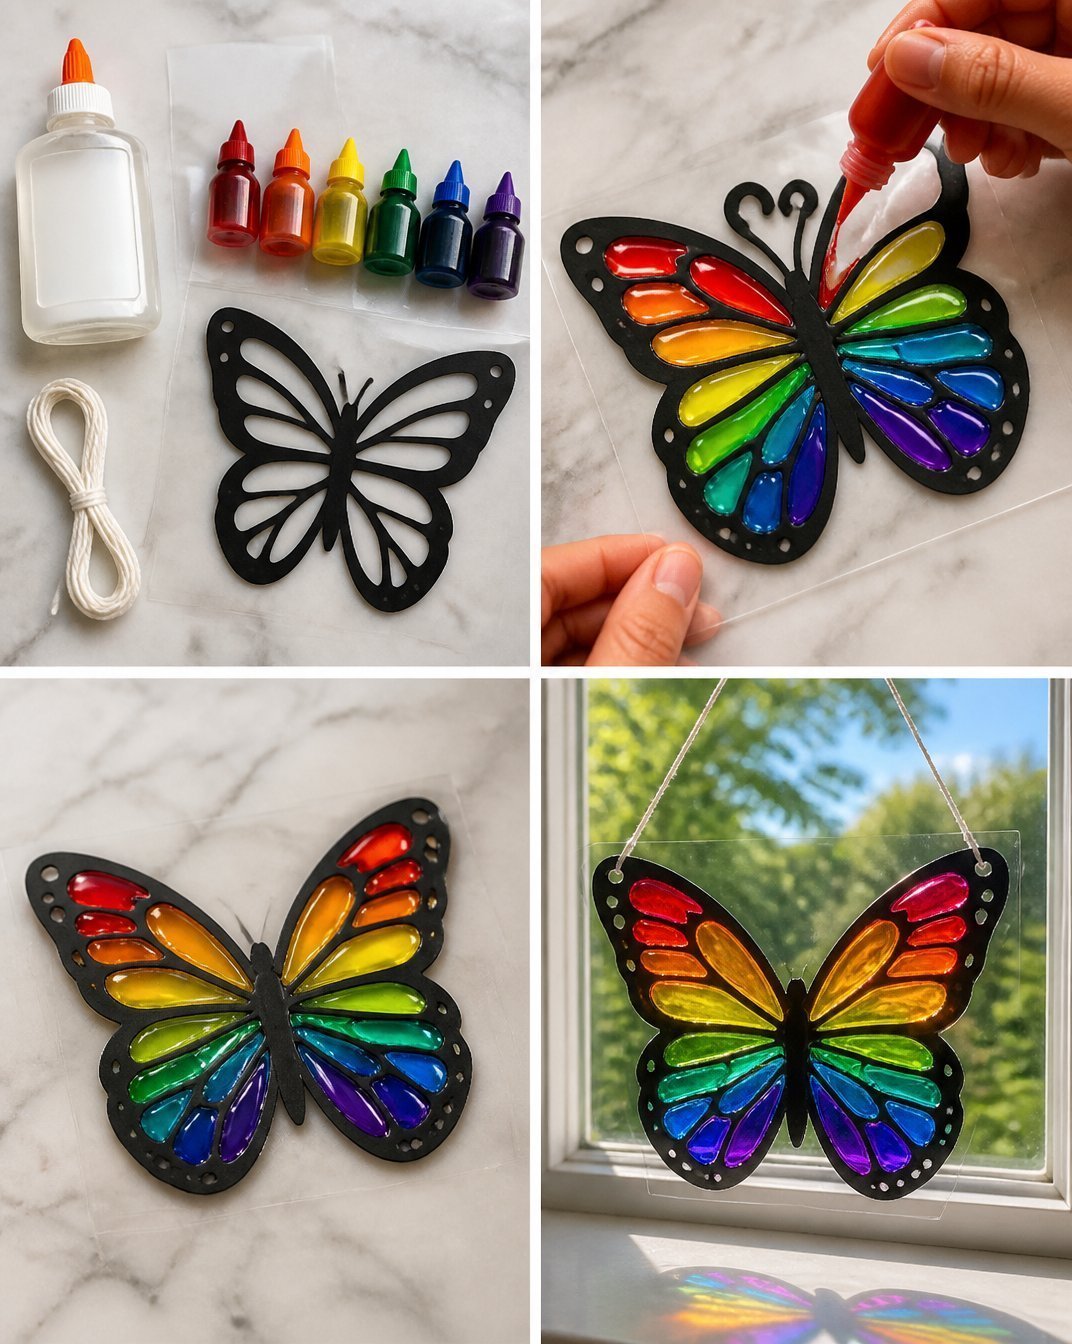
Prepare Your Workspace: Lay out the parchment paper on a flat surface. Make sure your area is well-lit to help you visualize your colors.
Create Butterfly Templates: Using your butterfly template, trace and cut out several butterfly shapes from the tissue paper. Aim for at least three layers in varying colors to create depth.
Layering Technique: Start by laying down your first butterfly cut-out, gluing it to the wax paper. Make sure it’s flat, as the glue will keep the layers adhered together.
Add Colorful Layers: Continue to add layers, gluing each cut-out atop the previous one. Ensure that the colors are aligned but not identical in placement, allowing a beautiful mix of colors to show through. For more inspiration, check out this rainbow melted crayon butterfly suncatcher.
Finalizing Your Craft: Once all layers are in place, weigh down your creation with a book while it dries. This will help the butterfly maintain its shape and avoid curling.
Cutting Edges for Style: After drying, you can trim any excess wax paper around the butterflies for a cleaner fit. This helps focus on the colorful layers and enhances the suncatcher’s graphics.
Getting the Colors Right
Choosing the right colors is essential to achieving a stunning visual effect. Remember that lighter colors can slightly blend into darker shades when layered. For more creative approaches, consider referencing a melted crayon butterfly suncatcher for kids which showcases vibrant colors that pop!
Helpful Tips
- Experiment with Shapes: Feel free to use other butterfly templates or even flowers to diversify your suncatchers.
- Use Special Effects: Incorporate glitter or metallic tissue paper to add an extra sparkle to your design.
- Incorporate Educational Elements: Use this craft as a teaching moment about colors, light refraction, or butterfly lifecycles, making it a great family project.
Common Mistakes to Avoid
- Overlayering: While it’s tempting to add many layers, too much can weigh down the tissue paper and prevent it from hanging properly.
- Rushing the Drying Process: Allow ample time for the glue to dry completely; otherwise, your layers may shift and lose their dimension.
Frequently Asked Questions
How do I hang my suncatcher?
Use fishing line or a suction cup hook for easy display on a window.
Can I use other materials?
Yes! Experiment with felt or even plastic sheets for different textures and effects.
What’s the best way to clean my suncatcher?
Gently wipe with a damp cloth to remove dust or debris.
Conclusion
Creating a layered rainbow butterfly suncatcher is a delightful way for families to bond over crafting while producing a beautiful piece of art. For those interested in making complementary crafts, consider checking out how to make easy suncatcher window clings with Cricut decals for additional fun. You could also learn how to attract butterflies by crafting an easy homemade butterfly feeder to enhance your garden space. Happy crafting!
Print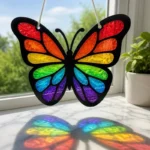
DIY Layered Rainbow Butterfly Suncatcher
- Total Time: 45 minutes
- Makes: 1 suncatcher
Description
Create a vibrant DIY Layered Rainbow Butterfly Suncatcher using colorful tissue papers and a simple layering technique. A fun project for families to enjoy together!
Materials
- Parchment paper
- Transparent glue
- Wax paper
- Colorful tissue paper
- Butterfly template
- Scissors
- Markers or crayons
Instructions
- Prepare your workspace by laying out parchment paper on a flat surface.
- Create butterfly templates by tracing and cutting out several butterfly shapes from tissue paper.
- Layering technique: Glue the first butterfly cut-out to the wax paper.
- Add colorful layers by gluing each cut-out atop the previous one.
- Finalize your craft by weighing it down with a book while it dries.
- Cut any excess wax paper around the butterflies for a cleaner look.
Notes
Experiment with different shapes and materials to enhance your suncatcher. Allow ample drying time to maintain shape.