

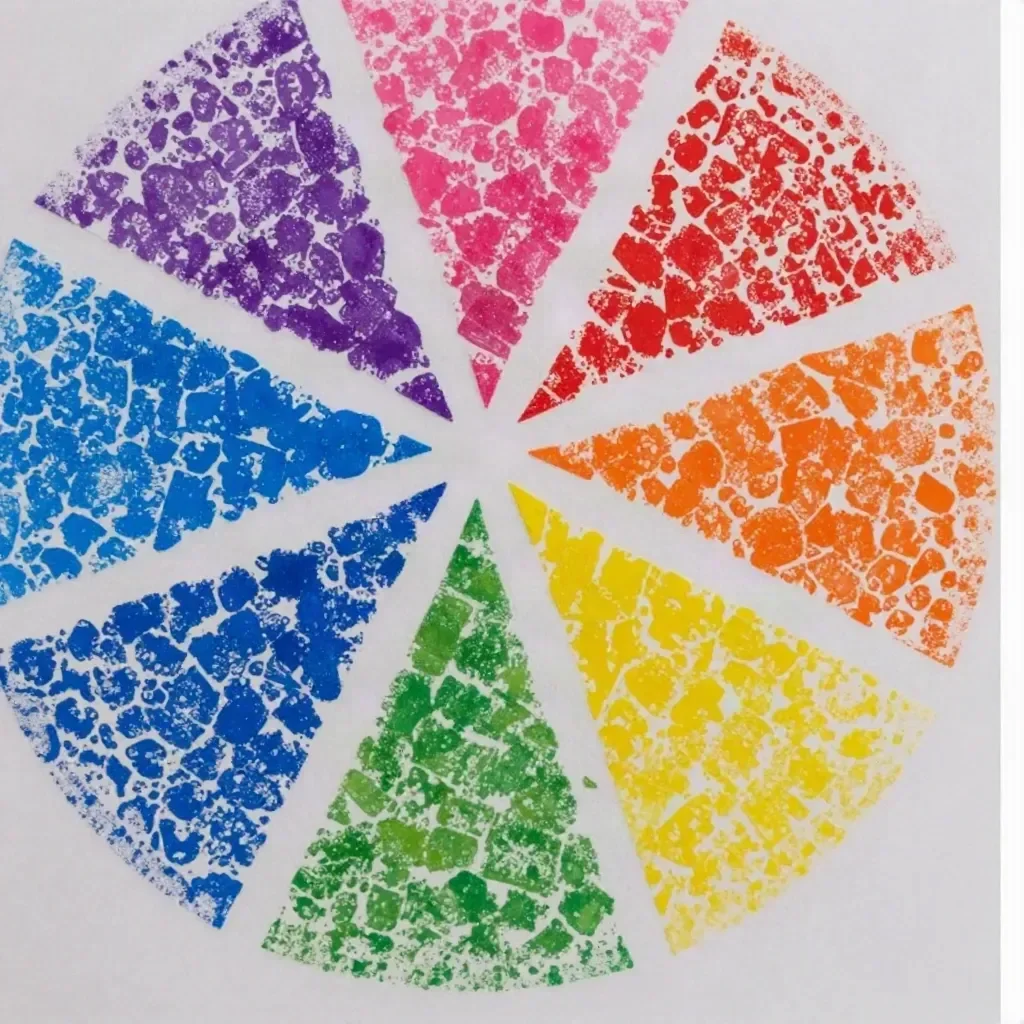
Bubble-Wrap Pinwheel Painting
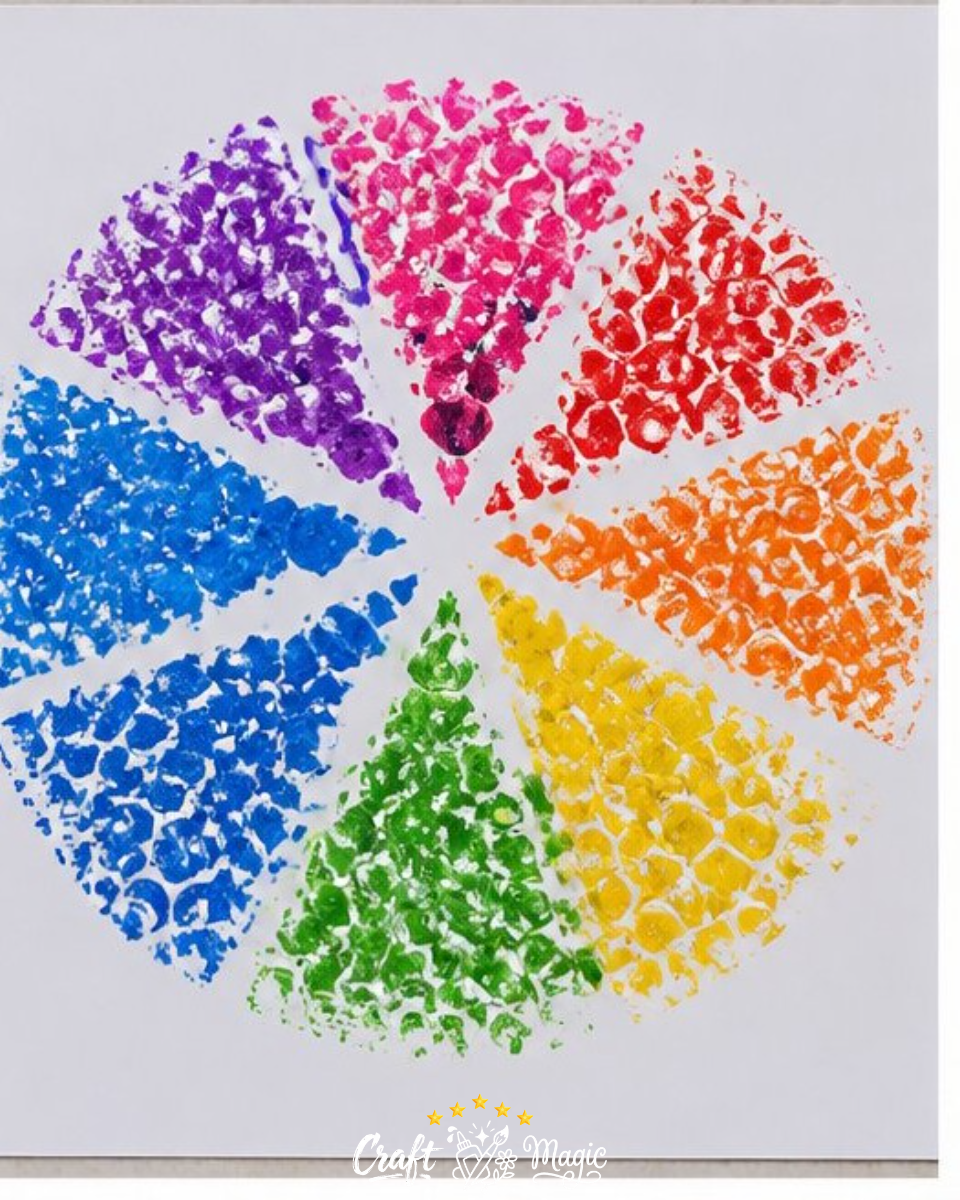
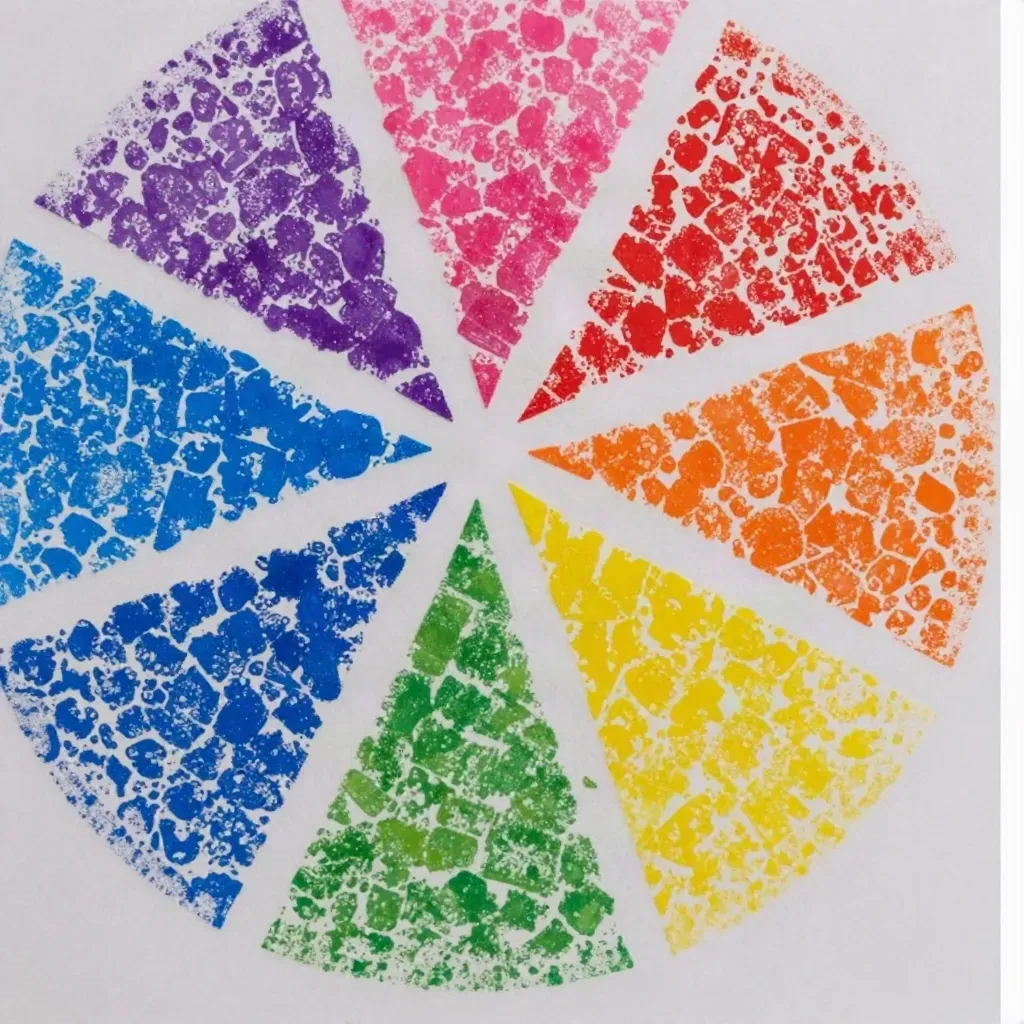
Get ready to create a delightful and colorful art piece with your little ones using bubble-wrap pinwheel painting. This fun project transforms bubble wrap into a vibrant tool for painting, allowing for beautiful, textured prints. The unique patterns and colors created through this process make each piece visually captivating, and it’s an approachable craft that children and families can enjoy together.
Materials You’ll Need
- Bubble wrap
- Washable paint
- Paper
- Scissors
- Cardboard circle
- Tape
This project is not only engaging but also a fantastic way to introduce kids to the world of art using everyday materials. If you’re looking for more creative projects with a similar engaging aspect, check out our rainbow puppy paw salt painting for more fun ideas!
How to Make Bubble-Wrap Pinwheel Painting
Creating your bubble-wrap pinwheel painting involves a few simple steps that will lead to a delightful crafting experience. Here’s how to get started:
- Preparing the Bubble Wrap
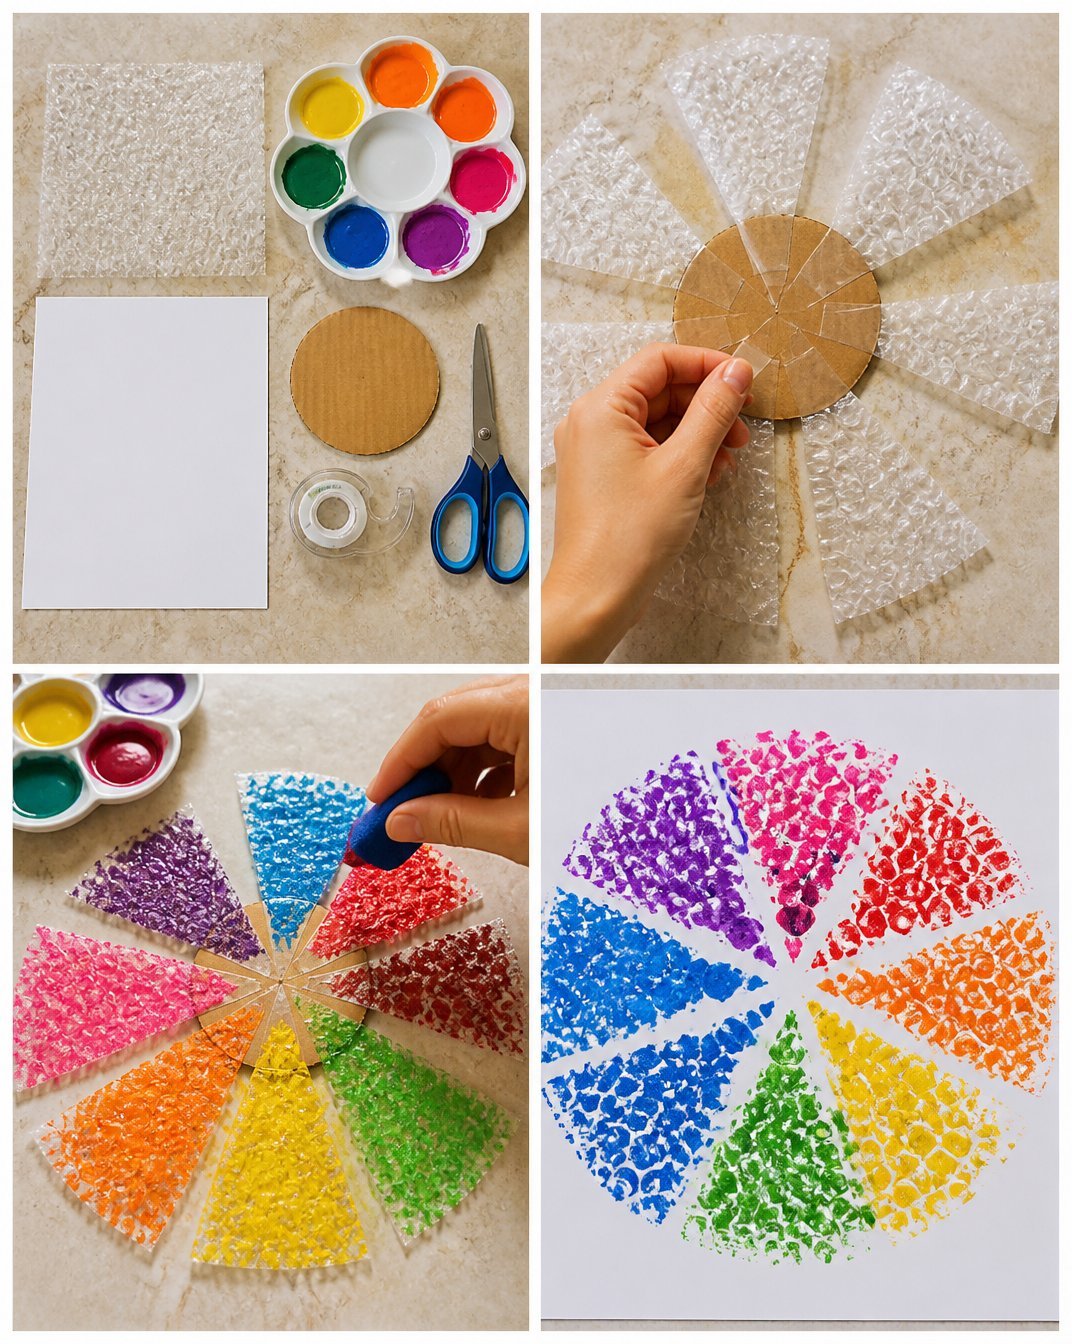
Begin by cutting the bubble wrap into wedge shapes. These wedges need to be connected to your cardboard circle, so make sure to have enough to cover the entire circle. Once you’ve cut the bubble wrap, firmly tape each piece onto the cardboard circle, ensuring that they fit snugly against one another.
Adding Color
Next, dabbing different washable paint colors into each section of the bubble wrap can add dimension and brightness to your prints. You can choose colors that are vibrant and engaging, allowing each touch to create a lively burst on your paper.Creating the Prints
Once your colors are applied, it’s time to create art! Press and twist the painted bubble wrap tool onto a sheet of paper. The bubble wrap will leave behind a stunning textured pattern, resembling pinwheel prints that are uniquely yours. Feel free to experiment with different colors and applying varying pressure!Finishing Touches
After you’ve made your prints, ensure to allow your artwork to dry completely before displaying or using the creations. This drying step is crucial as it keeps the colors intact and vibrant.
Helpful Tips
To make your crafting experience as enjoyable and stress-free as possible, here are some useful tips:
- Use a variety of colors for a more dynamic print, but consider color combinations that complement each other to avoid muddiness.
- When cutting bubble wrap, be cautious with scissors and ensure small children are supervised to prevent any accidents.
- Experiment with the amount of pressure used when pressing the bubble wrap onto the paper to achieve different textural effects.
Common Mistakes to Avoid
While making your bubble-wrap pinwheel painting, here are some common pitfalls to consider:
- Skipping the drying time can lead to smudged results, so patience is key!
- Not using enough paint can lead to less vibrant prints, while too much paint may cause the colors to blend unpleasantly.
Frequently Asked Questions
Can I use acrylic paint instead of washable paint?
Yes, you can; however, keep in mind that acrylic paint may not wash out easily from surfaces or clothing. Washable paints are more forgiving for children’s crafts.
How do I store my artwork?
Once your artwork is dry, it’s best to keep them flat in a portfolio or a large folder to prevent any creasing or damage.
Can we use different surfaces to paint on?
Absolutely! Besides standard paper, you can use canvas or cardboard for different textures and effects.
Conclusion
Bubble-wrap pinwheel painting is an engaging and colorful project that can foster creativity in children and families alike. For a different twist on painting, be sure to check out this creative video tutorial that combines bubble wrap with a fun stomping technique! Enjoy crafting and celebrating your beautiful artwork together!
Print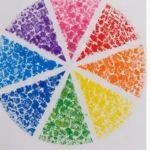
Bubble-Wrap Pinwheel Painting
- Total Time: 15 minutes
- Makes: 1 artwork piece
Description
Engage your little ones in a colorful art project using bubble wrap to create stunning textured prints.
Materials
- Bubble wrap
- Washable paint
- Paper
- Scissors
- Cardboard circle
- Tape
Instructions
- Begin by cutting the bubble wrap into wedge shapes.
- Firmly tape each piece onto the cardboard circle.
- Next, dab different washable paint colors into each section of the bubble wrap.
- Press and twist the painted bubble wrap tool onto a sheet of paper.
- Allow your artwork to dry completely before displaying it.
Notes
Use a variety of colors for more dynamic prints, and ensure adult supervision when using scissors with small children.